
The first thing I have to say about painting these two antique washstands is that I didn’t follow my own advice.
But, before we get into that, let me show you how the pieces looked before…

I painted these pieces in MMS Milk Paint in Linen a few years ago for our master bedroom in PA. They were the perfect size for that long and narrow room, but they looked dinky against in our new home’s higher ceilings.

I knew I was going to sell them when I found replacements for them. As I was working on the guest room, I found two dressers to flank the bed and that meant I needed to get this pair ready to sell. I could’ve sold them as-is, but some of the paint rubbed off during the move and I felt like they could use some freshening up. Chris, my Junk Bonanza booth-mate, is bringing a lot of blue pieces, so I decided to work with that (you know blue was such a stretch for me, but I went with it) and paint these two a custom-mixed blue.
When I’m painting a piece in a custom mix, I am a bit impatient about it. I like to just mix the color on intuition and start painting. I don’t like painting out swatches, waiting for them to dry, comparing colors, etc. So, I mixed up a cup of a blue/green. I knew if the color was off in any way, I could tweak the mix when I apply the second coat.

This color was 1 part French Enamel + 1 part Kitchen Scale + 2 parts Mora.

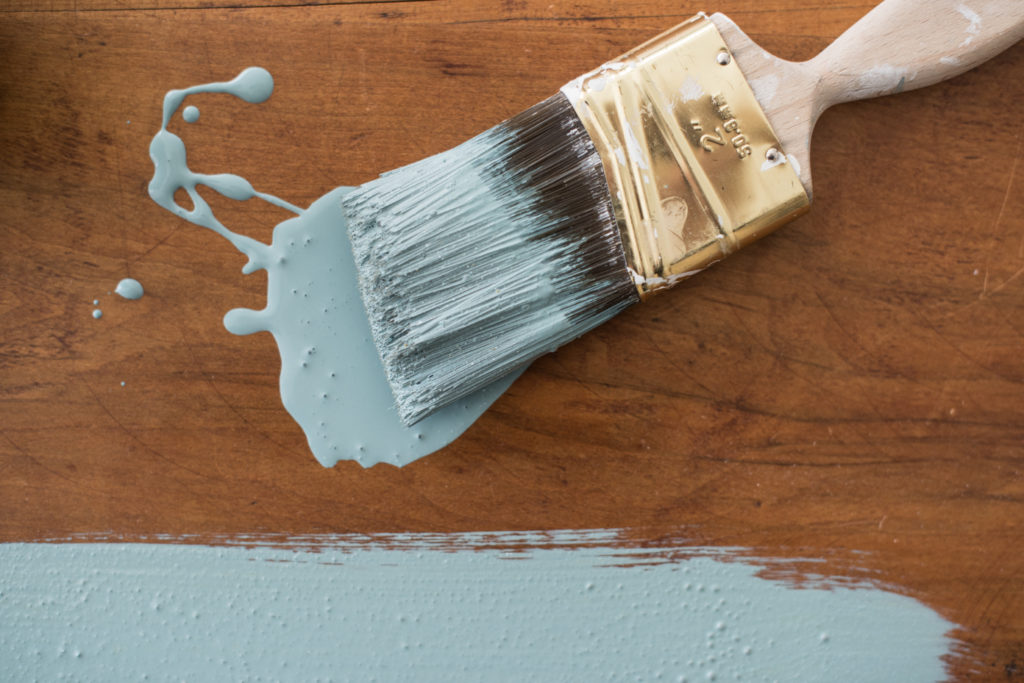
I had a feeling when I started brushing it on that it was going to be a bit bolder than I intended, but it was still a pretty color. To show how much (or little) paint I used, this is what was left in the cup after putting a full coat on both pieces.

Once the paint dried, my gut feeling proved to be correct. The color was too strong for what I envisioned. So, I added some Trophy (to gray the color) and Linen (to lighten it and warm it up) to the paint remaining in the cup.
The interesting thing about color is how it appears to change based on what it’s compared to. When I looked at the new mix on its own, it looked like a nice, pale blue. When I compared it to the first custom mix, it looked like a muddy gray.

But once it was brushed on the piece and dried, it was the pretty pale blue I envisioned…

The front dresser is the new color (that looked like a muddy gray in the cup above) and the back dresser is the first custom color.
Since this color was mixed into the remnants of an already mixed custom color, I decided to make it again, so I could share the recipe. The recipe for the second custom color is: 1 pt Trophy + 1 pt Kitchen Scale + 1 pt French Enamel + 2 pts Mora + 4 pts Linen. I know that’s a complicated recipe, but it would be a great way to use up excess milk paint from other projects or even use sample packs. I made the mix with 1 tablespoon measurements and that was enough to paint these two pieces.

Now we get to where I didn’t follow my own advice.
In my workshops and demos, I always suggest giving a piece a light sanding prior to painting. It typically takes less than 15 minutes and it helps a lot with adhesion. Well, I didn’t do it. I did it when I painted these pieces the first time, but I didn’t bother sanding this time. I just went right into painting and the milk paint didn’t stick well to tops, which were an unsanded, hemp oiled-surface.
Dumb, Marian. Just dumb.

But, it gives me the chance now to share how to fix it when a piece chips too much for your liking.
I sanded it with 60 grit paper to remove all of the loose paint and then to rough up the surface to give it tooth (something for the paint to grip.)

I started sanding by hand, but I finished up with the palm sander, so I could rough it up quickly and thoroughly.

I vacuumed off the dust and chipped paint and then painted on another coat. It stuck like a champ.

Had I taken the five minutes to sand the tops in the first place, it would’ve saved me having to sand and repaint, which can be annoying. I could’ve added Bonding Agent, too, but I preferred the look of Milk Paint on its own for these pieces. It’s just a personal taste thing, though, not a right or wrong choice.
I finished them off with Tough Coat to provide durability and to seal a few areas where there was some great crackling and crazing.
I’ll share how the pieces turned out in tomorrow’s post.
Also, if you’re into furniture makeovers and milk paint, I’d like to invite you to join our “move mountains with milk paint” group on Facebook. We launched the group a few weeks ago and it’s been such an awesome place to hang out. I’ve been inspired by all of the beautiful pieces people are creating with our products. We share exclusive tips and tutorials from retailers, host a Furniture Feature Friday “party”, and share our weekend DIY & furniture rehabbing wins each week.
You can click HERE to find the group and ask to join.


18 Responses
I love how these turned out. I’ve been searching for washstands like these ever since the first time you painted them. I so wish I lived closer. I would snap them right up. Thanks for sharing the entire process.
Snap them up anyway! If you would love & treasure them, it would be worth cost to ship.
Your washstands are lovely. Both shades of blue are beautiful!
Regardless of who gets the renewed washstands, they will have lucked into a hard-to-find matched set of stunning antiques. Your taste and color sense lift the pieces out of the ordinary.
The humorous description of repainting the washstands was very instructive. You have an excellent sense of which details to include and which ones to leave out. Thanks for the valuable lesson.
It is great to learn from mistakes, sometimes cutting corners when too spontaneous does it. My experience too.
I am glad that you can teach us from this painting mishap and have the honesty to show that a pro like you can still learn and tell others.
One chest of drawers is awaiting my Schloss milk paint and I think I’d better give it some tooth even though it is not painted, but the years may have coated the wood with enough “whatever” that could make the surface less absorbent. Your message came right on time!
I have one on my porch exactly like those washstands and now I can’t wait to get at it in a milk paint color like that. It was refinished by me years ago .I had to put a new top on it that I think I won’t paint .
Looking forward to spring! Thanks for your inspiration, Marian.
Great tip – I’ve run alcross this problem of too chippy!
I like both colors of blue that you used. Glad you show how to fix the “too much chipping” problem.
Can you explain why didn’t the paint chip on the rest of the dressers, though? I’m confused. 🙂 Also, I love this blue shade that you mixed up!
The bottom was painted in milk paint and finished with our Tough Coat, which milk paint will stick to. I had hemp oiled the top and didn’t sand prior to painting, so that’s why it only chipped off the top.
I’ve done a whole house remodel and am now down to the finishing touches–and I had to be away caring for my sick brother for the last 6 months! Your approach makes me less frantic about it all. I hastily bought a new couch that I’m not so sure of. But now I feel like I can relax and enjoy transitioning these spaces more organically… And summer is coming! and I can sand that old pedestal table from grandma’s house outside! Yay! Thank you.
Yes, decorating should be fun and an organic process. It shouldn’t feel rushed and most mistakes can be fixed. There are very few true emergencies in decorating (although it feels like it sometimes!)
I loved the first blue! It’s good to stretch yourself sometimes. You might be surprised with the results.
Ha! I was actually being sarcastic about the blue since it’s my favorite color! 🙂
Love the new studio cabinet for storage. Are you going to paint it ?
Yes, definitely! I’m just waiting to get that last door finished and then I’ll paint it out and add the hardware.
Love these! I have really missed your furniture makeovers.
LOL, I love this post and your take on “decorating emergencies,” that in reality they don’t exist. The real lesson here (which I actually learned many years ago, since I am 73) is “If you don’t have time to do it right the first time, how are you going to have time to do it over?” Believe me, this applies to so many things, not just painting and decorating!
Thanks for the tips, Marian, I so enjoy your blog!