
Welcome to part three in this updated version of my slipcover series.
In part one, I covered how to make custom piping and in part two, I show how I cut my fabric pieces to get ready for pinning and sewing.
And now we’re going to start pinning and sewing. This is where people start getting nervous, but we’re going to take it section-by-section and you’ll be surprised how it all comes together to make a slipcover.
Really. If you can sew a reasonably straight line, you can do this.
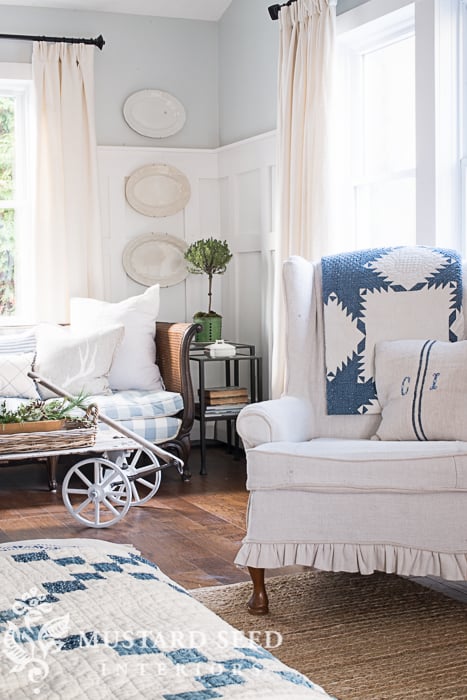
Pin fitting is the best way for me to make a slipcover. Basically, I use the chair as my model, my dress form, and I pin the slipcover to it, inside out. There’s no templates or patterns, so it’s a lot more straight forward. This makes for a nice, tight fitting slipcover.
Here’s how…
Up next, we’ll start pinning and sewing the wings and arms…
Here is the rest of the series…
part one | making custom piping
part three | pinning & sewing the fabric


14 Responses
I used your method to make two slipcovers this summer and I was very happy with the way they turned out. They were chairs without arms (kind of like a large slipper chair, but more curved) and I’ve never seen chairs like them. so your method was just was needed. It required some gathering to fit properly (because of the inner curve) and I didn’t use any piping, but fitting the fabric and cutting on the chair worked great. I did both in one evening.
No piping? ;D
Actually, there will be in the next segment. I didn’t use piping on those seams. 🙂
Hi Marian,
Just a suggestion …. it would be helpful to note you decided to not use piping on the back. I’ve watched the series multiple times and have started my own chair. I’ve been going nuts trying to figure out why you added the piping in Part 4 AFTER you stitched the seam in Part 3. I’m really glad I watched every part and didn’t start sewing 🙂
Thank you, Marian, for this tutorial. I am trying to work up enough courage to begin a slipcover, and your instruction will be extremely valuable. Can you recommend a not-too-expensive fabric for my first project?
I am going to use a drop cloth for maiden voyage in making a slip cover.
Yes, as Carla said, drop cloths are a good option, but I would also suggest cotton twill (denim).
Marion I just love the new videos! Your enthusiasm/confidence is very catch-I am almost finished with my chair..and this time I haven’t noticed as many flaws. Mainly just a “signature” here & there! And might I also add that I finished my box cushions for my patio set(10 all together!)& after studying the covers more closely I see mine are just as good as theirs, they just know how/where to hide their boo boos & now I do to . So thank you for everything!
Alicia
So excited to watch this series. I have two chairs that I need to re-cover, and am trying to prepare as much as possible before working on them. I would love to see a feature on your blog where others showed their attempts/successes after watching these videos. 🙂
Are you all using a heavy duty sewing machine?I have white denim.
For years, I just used a run-of-the-mill $150 Kenmore and it was fine on white denim. Just use a heavy duty needle and do slow over the thick parts. When I started using more grain sack and hemp sheets, I was breaking noodles left and right and finally needed to get an upholstery machine. So, just watch your fabric weight and you’ll be fine.
You really make me feel like I could accomplish this skill…great video.
Now, this one I can follow 🙂
I wish this would work for a sectional with the two sides being different!