

There was a time when I thought English ivy was charming. I mean, it is. When you see it growing up old brick homes, there is something beautiful about it. Now that I have lived in a mid-century brick home that was half-eaten by English ivy, I no longer find it charming. It stains the brick, it grows in windows and screens, it chokes out bushes and trees, and it’s incredibly hard to remove and control once it’s gone unchecked. A lot of ivy was removed from our home before it was put on the market. We could see the remnants of it and have cleaned off the roots and staining as we’ve worked on the exterior of the home. (You can read about how we removed ivy roots & stains HERE.) And now we’re working on removing ivy from an overgrown bed on the left side of the house.
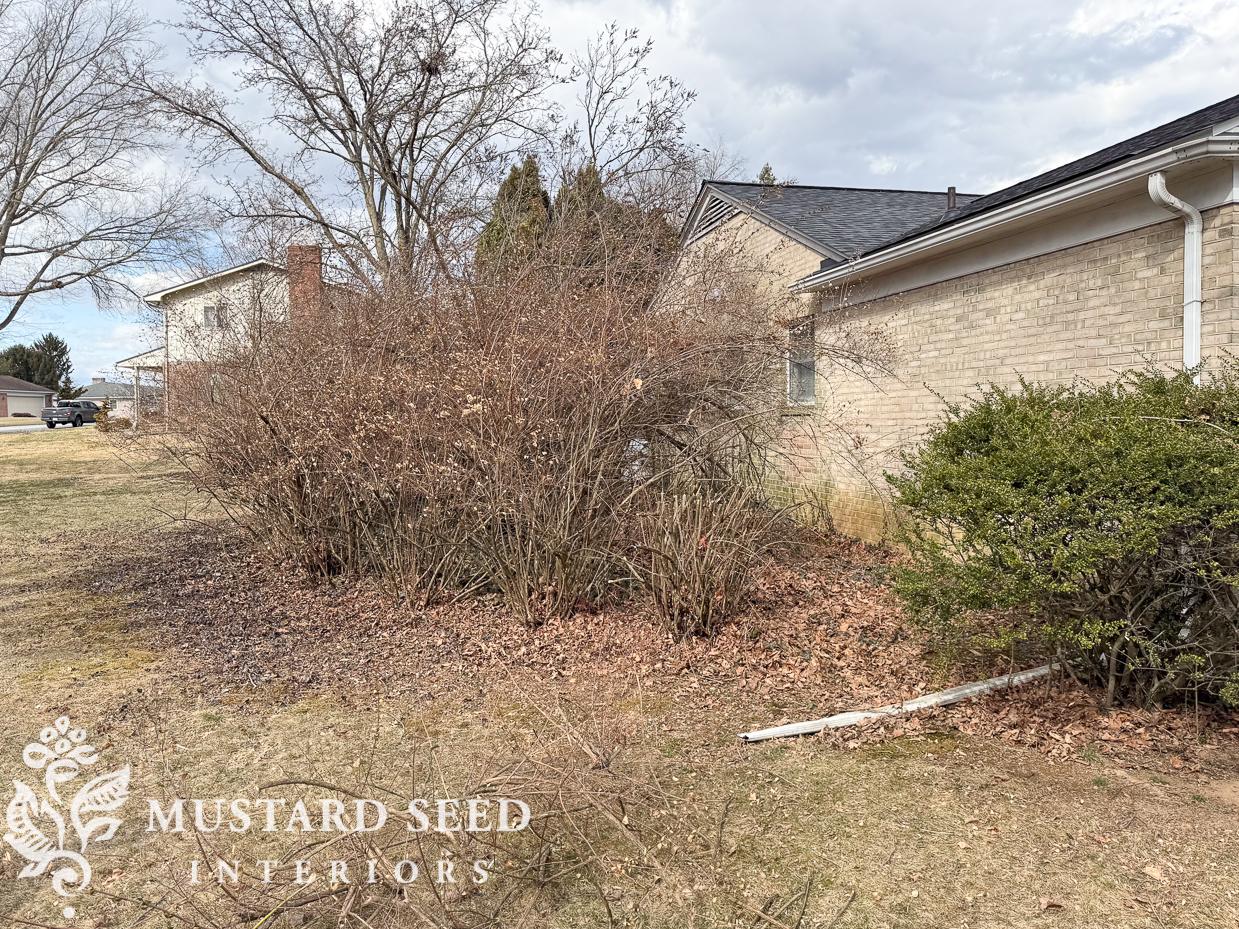
Before we get into removing ivy, here is a home in our neighborhood showing how English ivy can be done well. It’s all around the foundation of the house, but they have kept it trimmed and under control. I think the key is it’s trimmed regularly (probably weekly during most of the year), and the ivy isn’t planted among other bushes and plants that it can climb or hide behind. It’s easy to access and therefore easier to control.

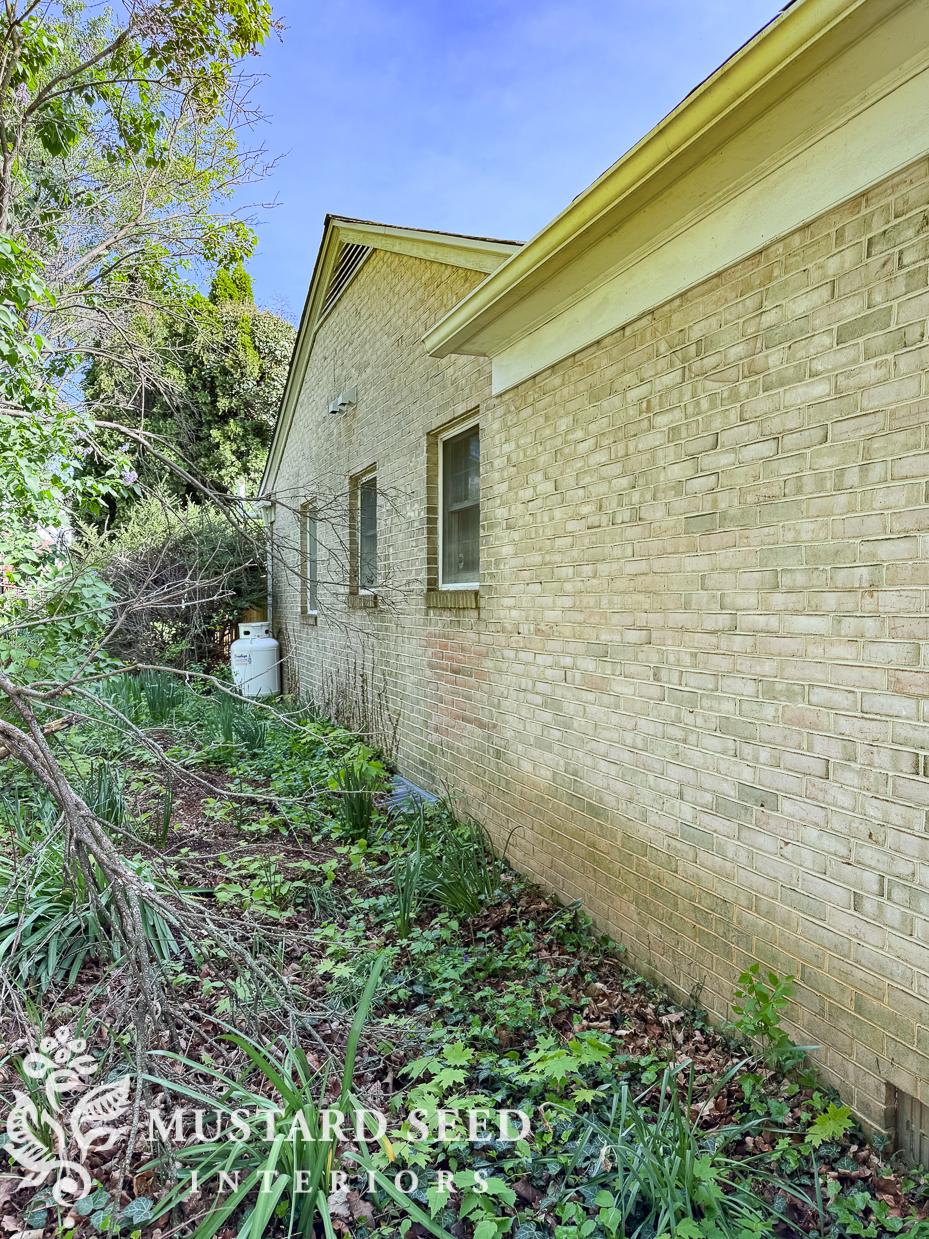
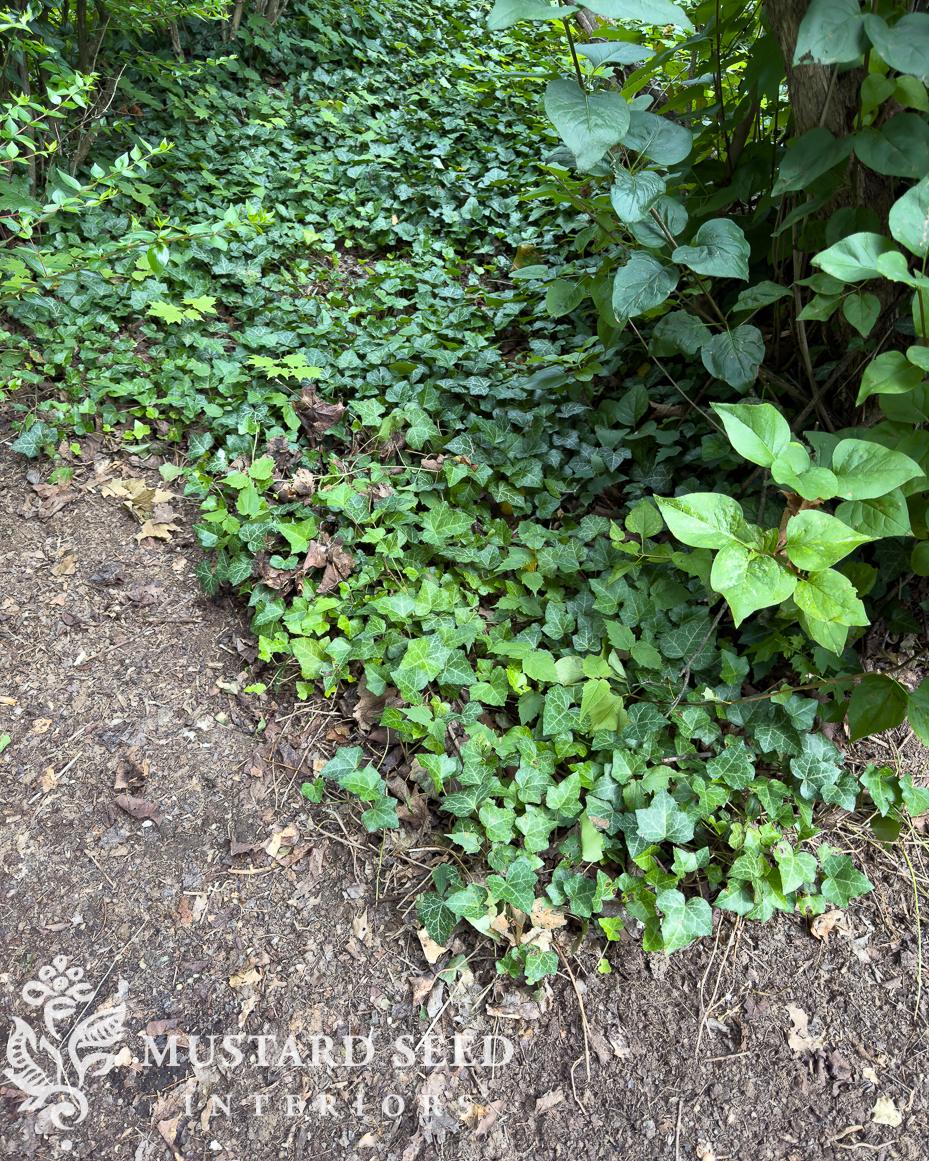
This is the left side of our house that we’ve been working on cleaning up since February. Based on the root remnants, we could see the ivy was growing up almost to the peak of the gable at one time, and it was growing in a couple of the basement windows and the bathroom window screens.
We trimmed the abelia hedge over the winter, which was the first step to getting this area cleaned out. It revealed the mess that was behind the hedge, though. It’s a tangle of English ivy, maple saplings, weeds, and some bulbs that were once planted back there.
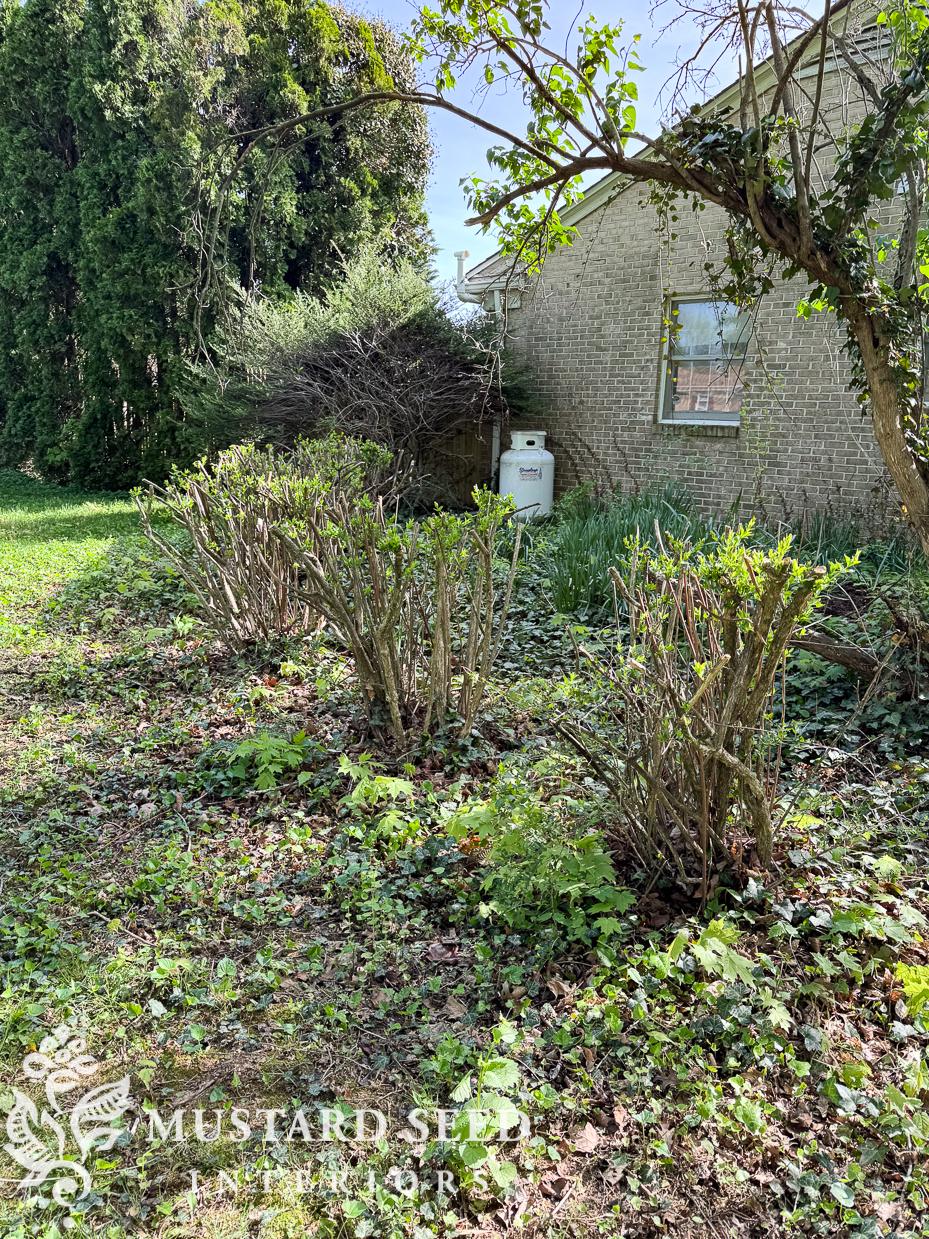
In addition, we’ve been using this area as a dumping ground for chipped leaves. You can see, it was just a mess.
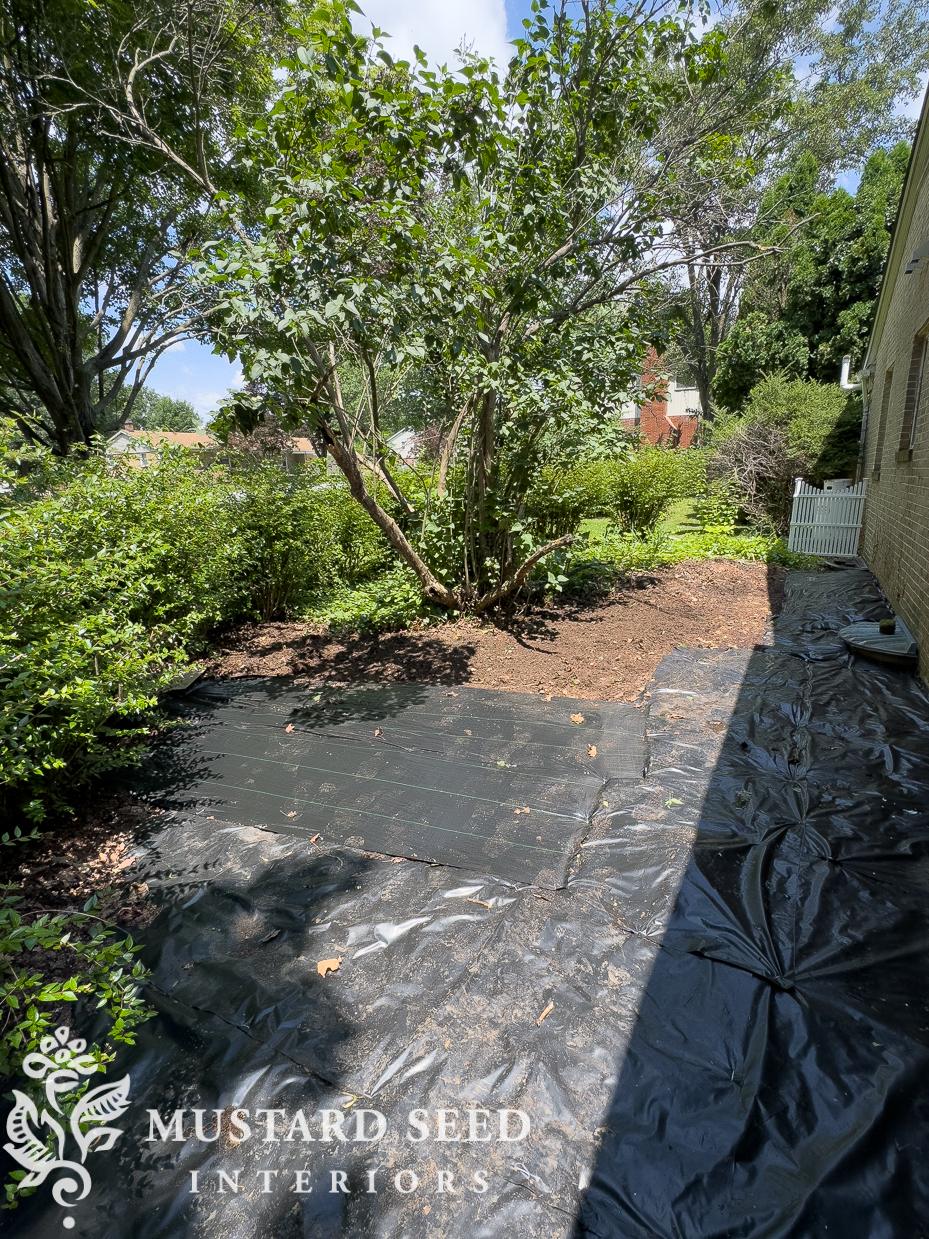
I’ve been working little by little, raking out the debris, hand-pulling the English ivy, and then covering cleared areas with either thick black plastic (I use THIS) or a heavy-duty weed barrier (I use THIS ONE). I’ve tested a few different methods for removing the English ivy until I settled on the one that worked best for me. I’ve made some good progress chipping away at it, but I was still only halfway through with the area.
Jeff jumped in to help me last week and took a different approach. Here are the two methods…
removing english ivy | method one
Let’s call this the Marian method or manual method.
Suggested attire:
- Overalls (for full coverage when bending over and lots of pockets!)
- long-sleeved shirt (in case you have poison ivy, Virginia creeper, or other skin-irritating weeds mixed in)
- garden boots (in case of critters and snakes)
- heavy-duty work gloves
Tools:
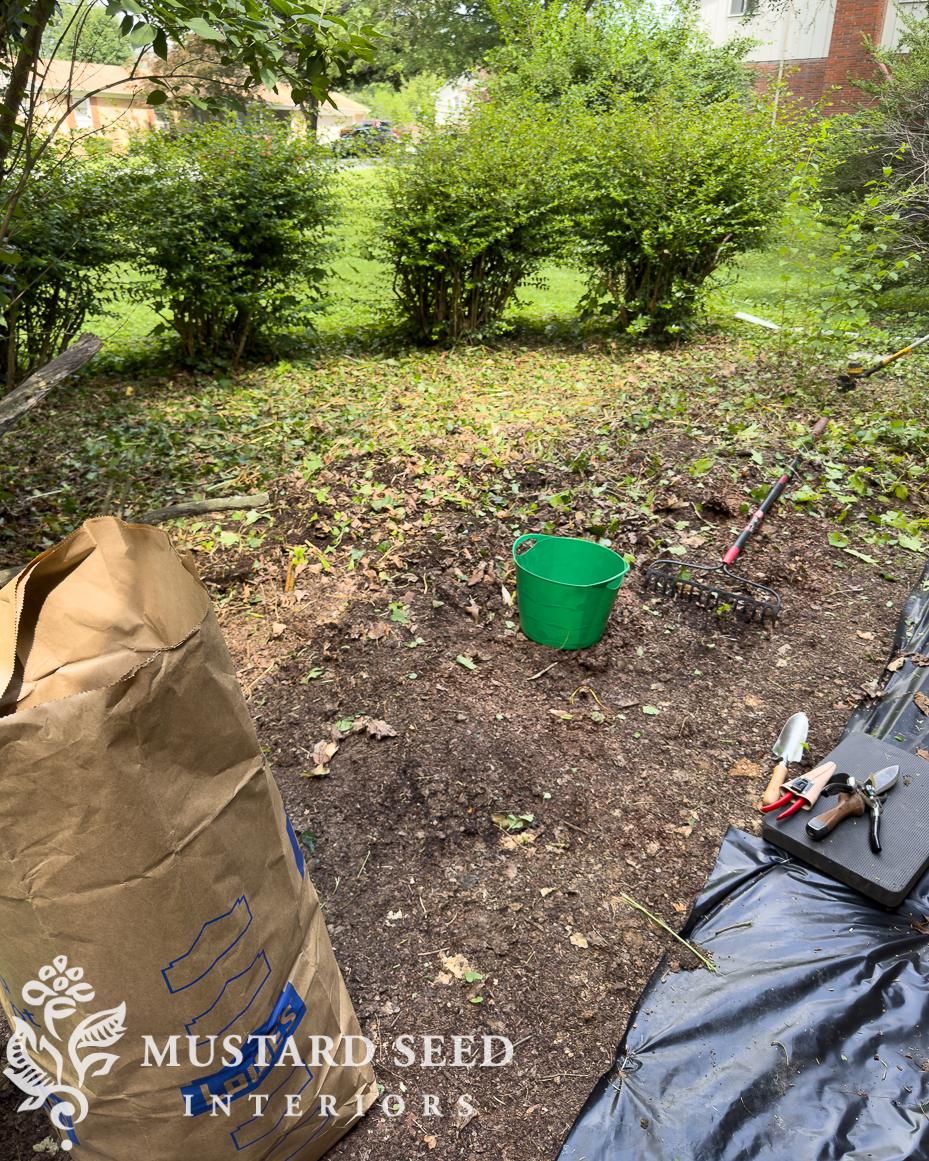
Use a heavy-duty metal garden rake (as opposed to a leaf rake) to remove debris from an area. I worked in about 2-3-foot sections at a time.
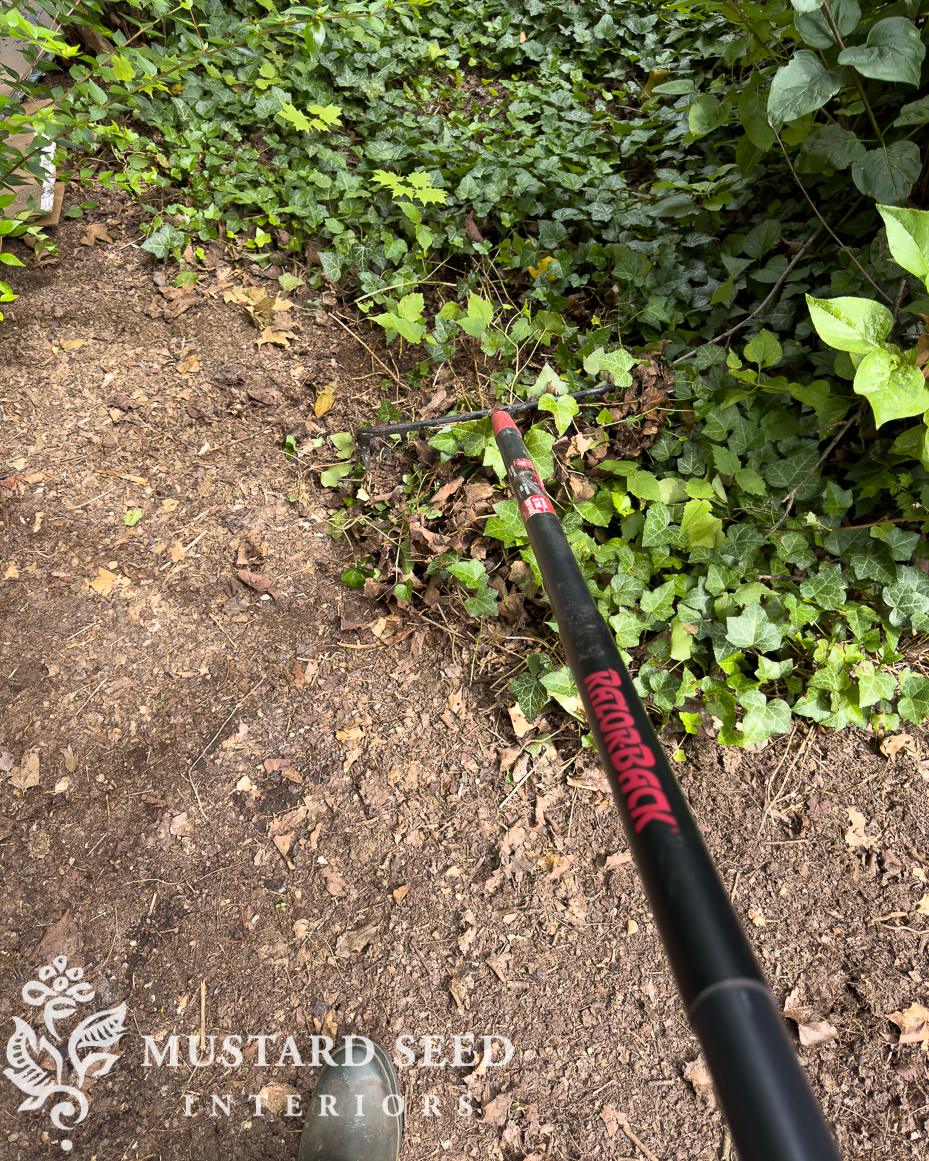
Remove as much of the debris and ivy leaves as possible until surface-level ivy roots are primarily what remains.
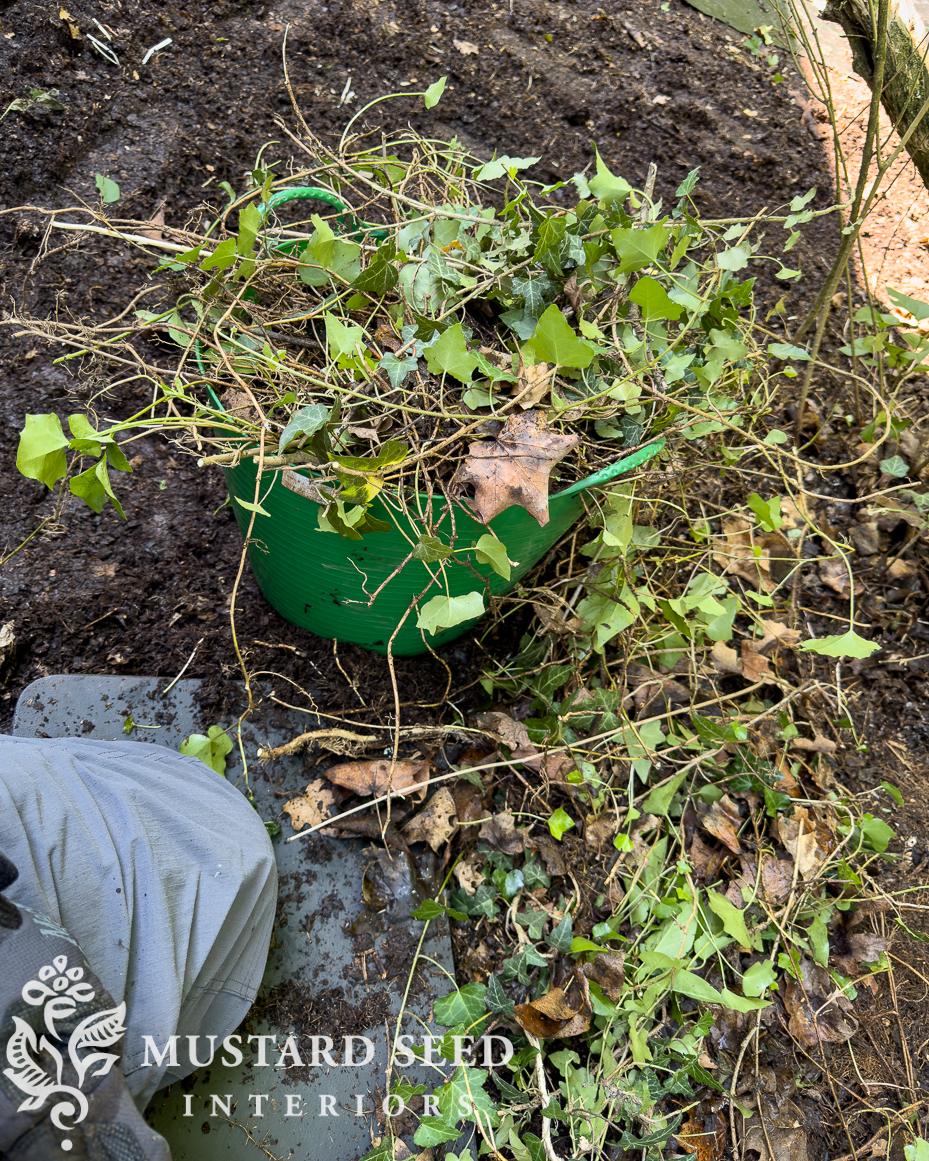
I fill English garden buckets (THESE are a new favorite) or five-gallon buckets and then put the debris in a paper yard bag.
Remove the rest of the roots by hand-pulling. I use a nice knee pad and a pair of heavy-duty work gloves (garden gloves aren’t thick enough to protect your hands from this kind of work). For tools, I use a garden knife for digging out deeper roots and loosening roots, and pruning shears to cut off sections of ivy. I have found it helps to grab a fistful of roots like a ponytail and cut them with the pruning shears. It makes pulling the ivy vine network a little easier on the hands and arms.
It’s slow and methodical, but it works. I’ll just put on an audiobook or listen to a musical, and work until I’m tired.
removing english ivy | method two
We’ll call this the Jeff method. After I’d been working slowly and steadily on this for a few weeks, he came out to help me last week. After a short review of my process, he went to the garage to grab the weed whacker to see if power tools could do more of the work for us.
Attire is pretty much the same as method one, but you want to add glasses (protective or sunglasses), and a gator can be helpful to wear while you’re weed whacking. It’s amazing how much debris can go flying in your face!
Tools:
- All of the tools in method one
- Weed whacker
- Lawn mower fitted with a bag
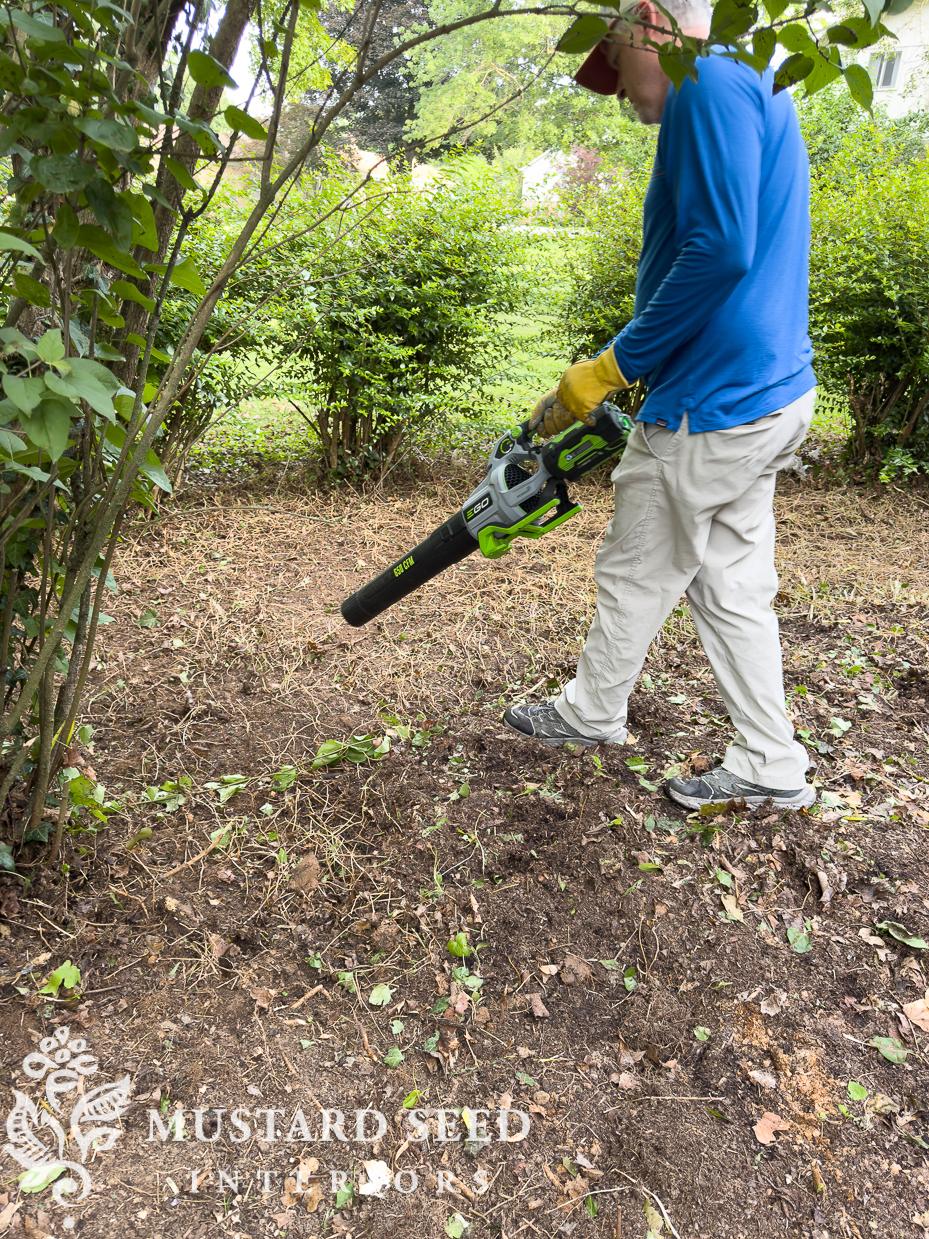
- Leaf blower
Instead of raking, Jeff used a weed whacker to take out the bulk of the leaves and weeds.

It was much faster than raking and it was effective. He then ran the mower over the area a few times with the bag fitted on the back, so it could mulch and collect as much of the loose leaves and weeds as possible.
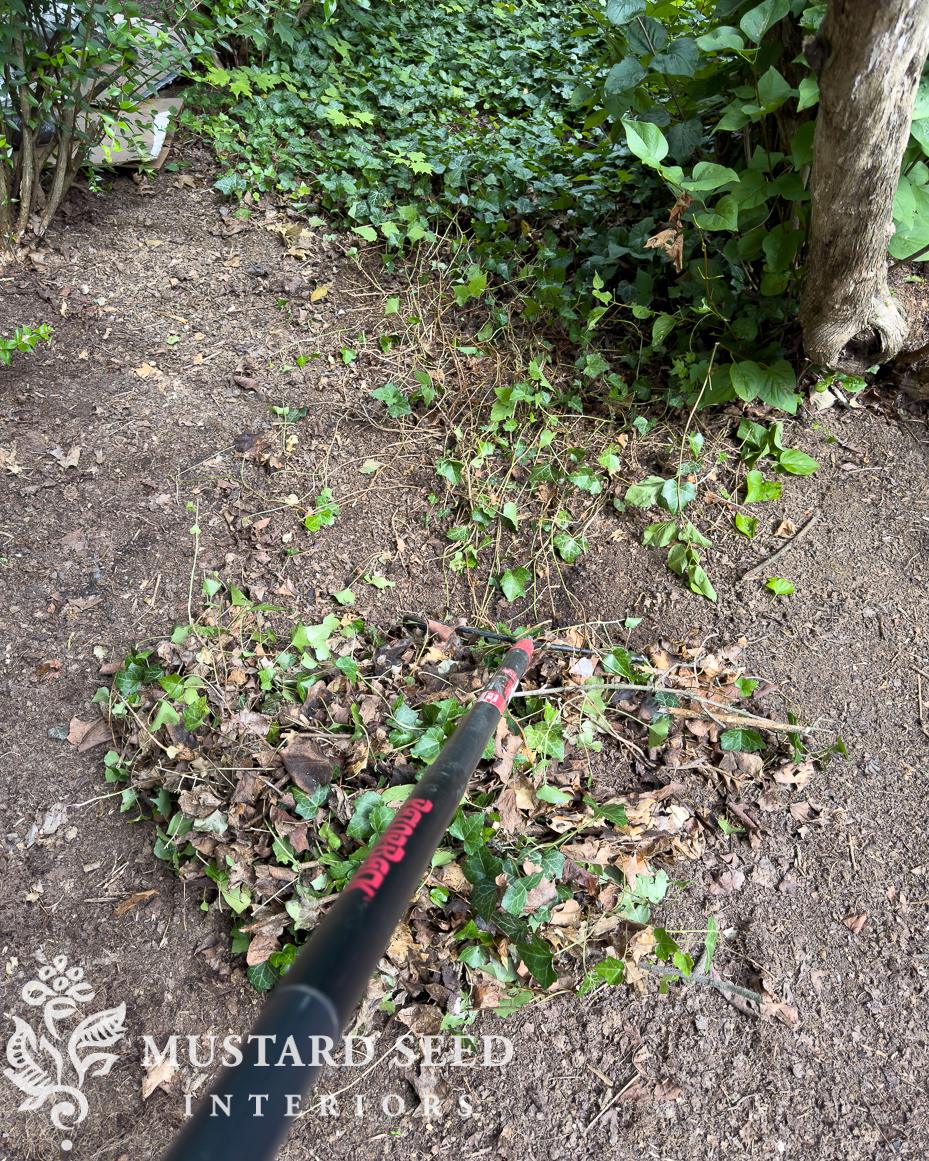
I didn’t even think of using the leaf blower because I assumed the remaining debris would be too tangled in the ivy roots, but that was also quick and highly effective. Jeff blew all of the debris out, leaving bare roots and stripped weeds in just a couple of minutes. We still had to rake and bag the debris, but we didn’t have to fight through the ivy roots to do it.
You can see how it left just the bare ivy roots…
At this point, I had to acknowledge that his way was much better. Method one works if you don’t have those power tools, but if you do, I would suggest using them!
Jeff didn’t have any ideas for speeding up the removal of the ivy roots, but at least they were easier to see and pull. We each got on a kneeling pad, he worked from one end, and I worked from the other until we had a larger area cleared. What would’ve taken me several days of working took us just a couple of hours.
Both methods still require pulling the roots. If you use the weed whacker, mower, and blower, but leave all of the roots intact, they will fill back in. I’ve been told it can even rejuvenate the ivy, making it grow back thicker.
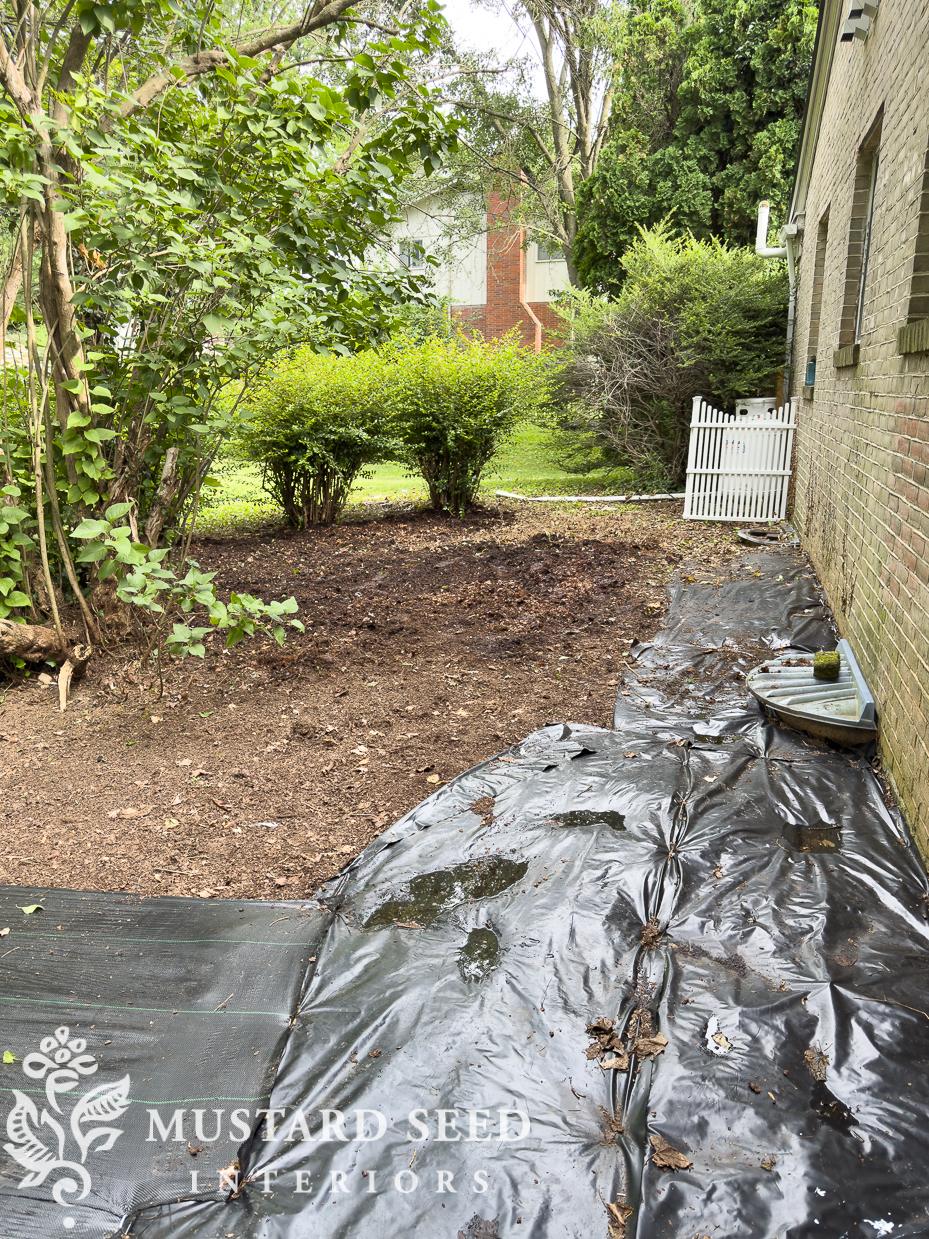
We still need to clear out the area around the propane tank and in front of four abelia bushes, but we are almost done pulling this blasted English ivy! I’ll put down the plastic and/or weed barrier in the next couple of days to stifle any possible new ivy growth and prevent weeds.

Once we cut the lilac way back and wash the side of the house, we’ll put down mulch to cover the plastic and make it look nice.
Several of my blog readers and Instagram followers have mentioned the need to remove English ivy from their yards, so I hope these tips and methods help!


6 Responses
Wow, it looks so good, such a hard job! Your whole yard has come alive with charm!
You are a trooper!! Nice job on the cleanup! Your yard (front and back) is looking incredible!
P.S. I couldn’t believe what a difference power washing the sidewalk made!!
I have that same Ego leaf blower and I love all their products! I have several more landscaping tools – I bought the one extension handle, then bought 3 or 4 tool attachments as opposed to all separate tools. They all work great. I also bought their power washer and a 4 gallon back pack weed sprayer (blackberries and horsetail are a real problem out here). I even bought their small, battery operated generator (it holds 4 batteries) for when the electricity goes out and have already used it several times over two years. (When the electricity goes out here, it’s typically only out for a few hours, but even an hour is too long not to be able to make coffee in the morning!)
Ivy is a real thug in the garden and if you let it flower, then the seeds shot all around the garden which is why you end up with such a dense network of roots. If you use a large garden fork this will loosen the roots and allow you to gather them easily from the surface. I would step the plastic away from the base of the house though, because you are creating an area where moisture can’t escape, which will in time cause problems with damp penetration in the brick work. Instead put a layer of gravel about 15cm (6in) wide along the base of the wall, which allows moisture to drain away and will make any weed growth in that area easy to remove.
I am facing down this task soon so I found this very helpful. Like you I have loved seeing ivy on old homes or in landscape so I made the mistake of planting some. I wanted it to cover an ugly chain link fence. I don’t know why I didn’t realize it would travel all over like it had won a paid vacation around the globe. Never again will I say to myself, “Ivy is pretty. Let me get some to cover…” I’ll throw out what I want to cover before getting ivy. Thank you. You have such useful posts!
I was wondering if a rototiller would work to dig up
the weeds and there roots once you got to this stage.