
Let’s talk about painting wallpaper. In most cases, I am not in favor of it. Painting wallpaper bonds the wallpaper to the drywall in a way that makes it almost impossible to remove down the road. Some wallpaper will bubble and crease when dampened by a fresh coat of paint. It’s a shortcut that will almost always require more work at some point, such as replacing the drywall entirely or covering it with paneling. But, there are times when the speed of painting over wallpaper outweighs all of the negatives.
Such is the case with our basement. For this basement to get a proper update, it really needs to be entirely redone. New drywall, new ceiling, new lighting, and it would benefit from being reconfigured to allow some natural light. When we bought the house, we thought we would renovate the basement, but after a couple of years of living here, we decided that wasn’t the best place to put our renovation budget and energy, at least for the foreseeable future. Since any future renovation would involve ripping out the walls anyway, and this is a roughly finished space, painting the wallpaper was the most logical option.
I’ve been thinking about this project since the day we moved in, and I finally broke out the high-hiding primer last week when it was too hot to work on projects outside.
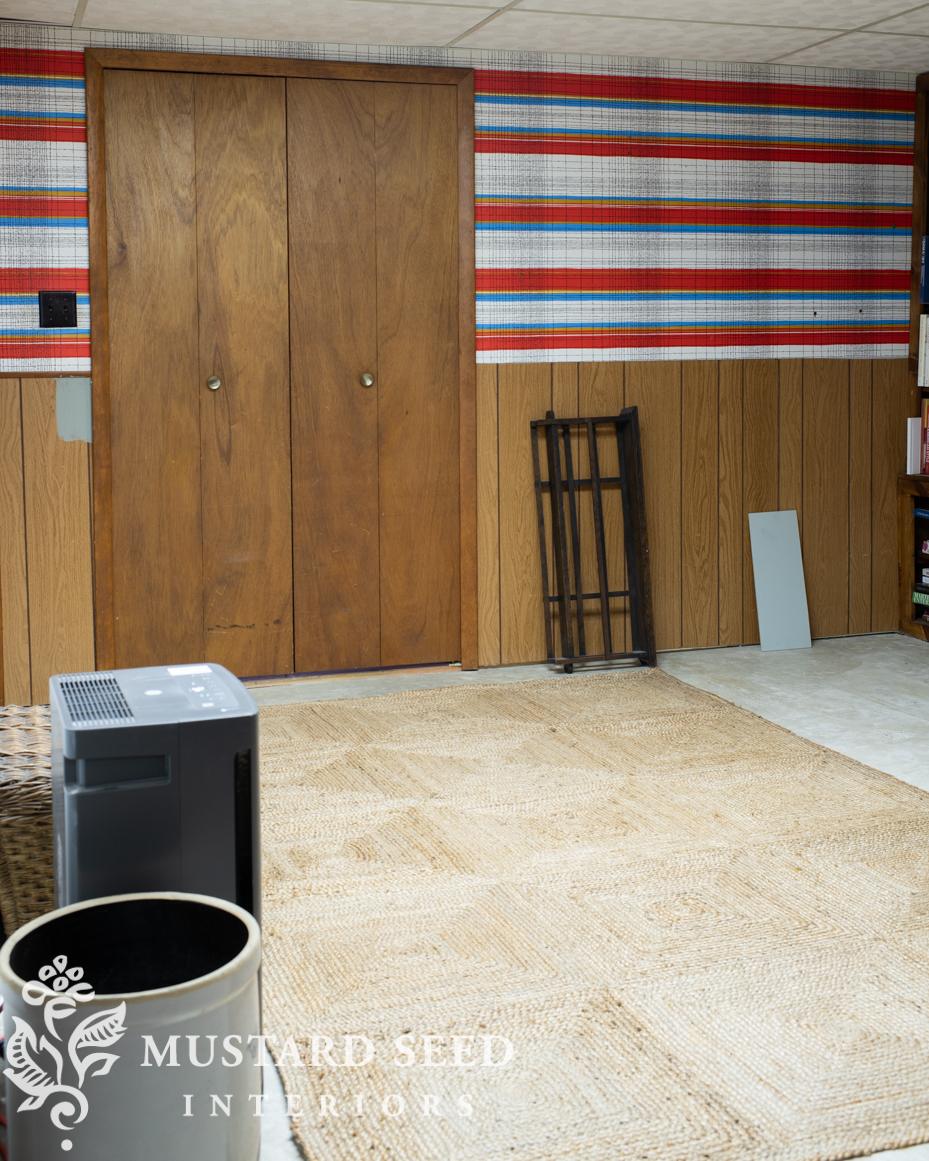
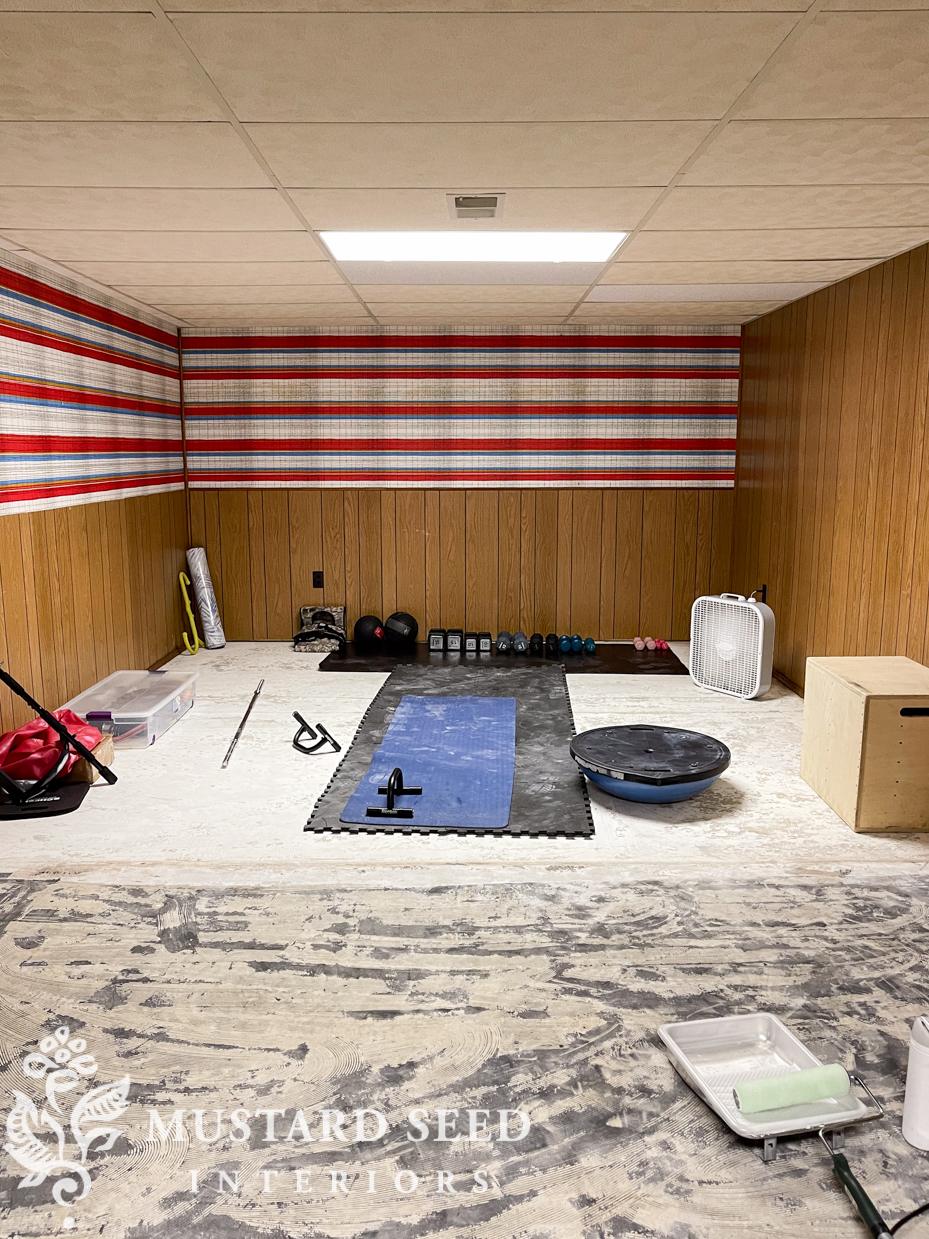
As a reminder, this is the wallpaper I’m talking about…
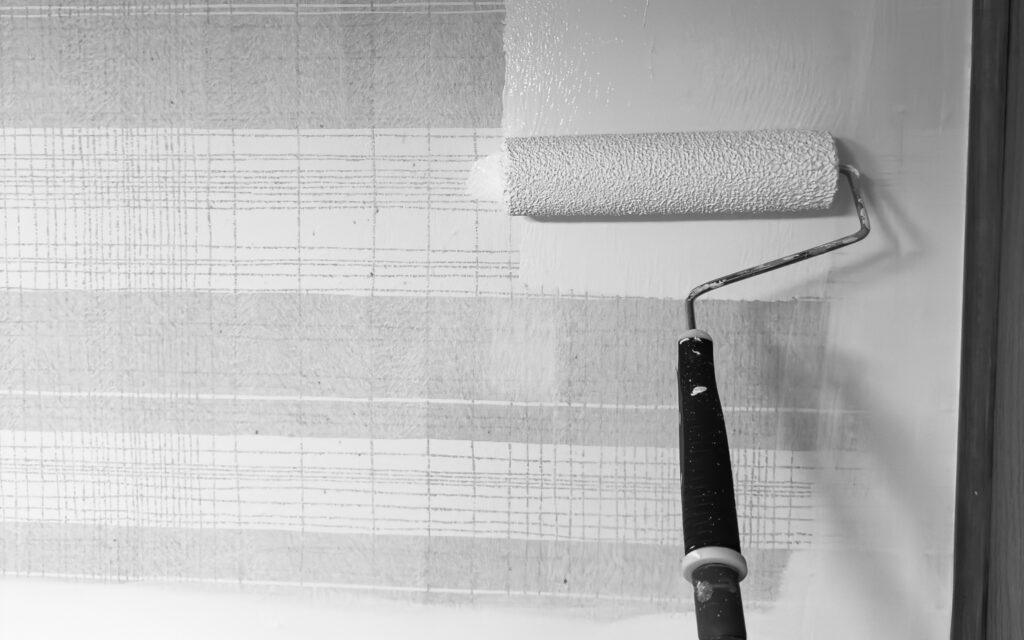
I’ll tell you what, nothing about this wallpaper is lukewarm. It is busy and in your face. I knew that covering this pattern would take multiple coats, which is probably why I dragged my feet on starting this project. I ended up using one coat of Kilz 3 Premium Primer and three coats of Sherwin-Williams Emerald Matte paint in Pure White, which is the same white I used in our kitchen.
When painting wallpaper, use a quality bonding and/or high-hiding primer and always test the primer in a small area to see how the wallpaper reacts. Some papers will bubble or wrinkle when painted, or the water in the paint will even reactivate the glue and cause it to seep through the paper. You can end up with a big mess on your hands and more work than you bargained for if you don’t paint a test swatch first.
Also, keep in mind the texture of the wallpaper and what imperfections will show once painted. Seams and nail holes will be more visible, along with any corners or edges where the paper is peeling. Paper that is thick and in good condition is the best candidate to paint. White will be most forgiving when it comes to hiding imperfections, but will require more coats than a mid-tone or dark color. I knew it would mean more coats, but I went with white to make it light and bright.
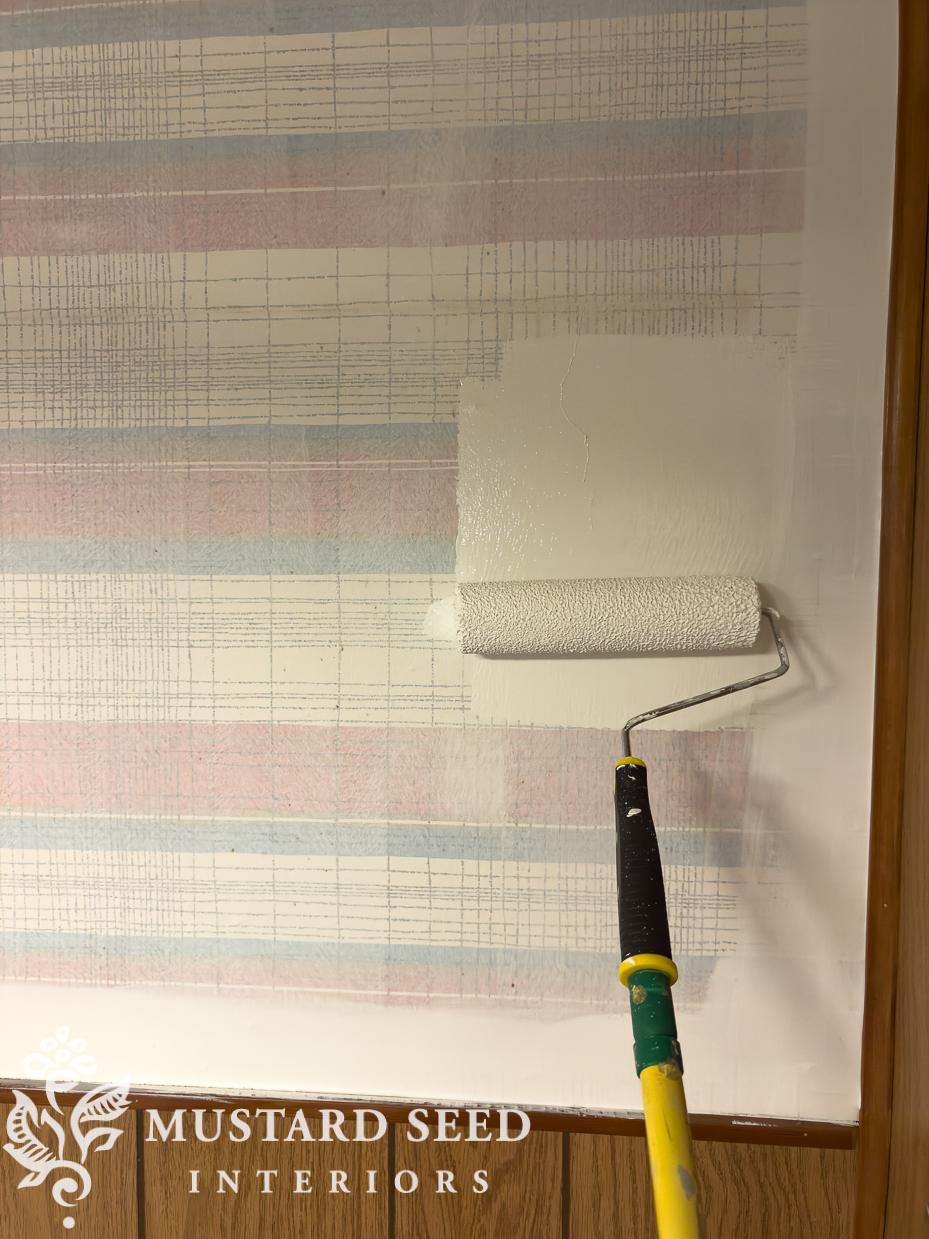
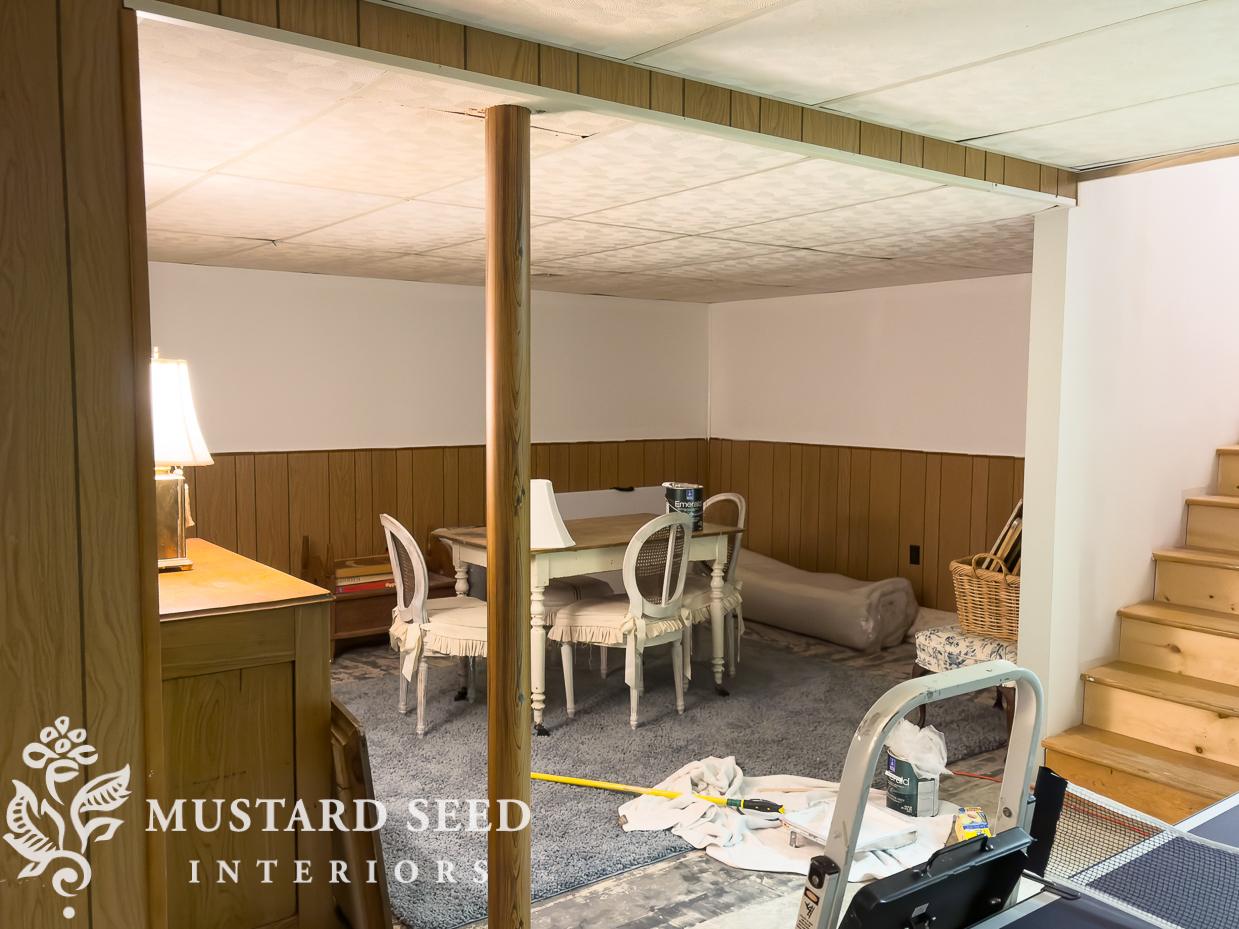
Here is how it looks after priming and painting the wallpaper…
It is such a massive improvement that I can hardly believe it only took about $100 in paint and 2-3 hours of work!
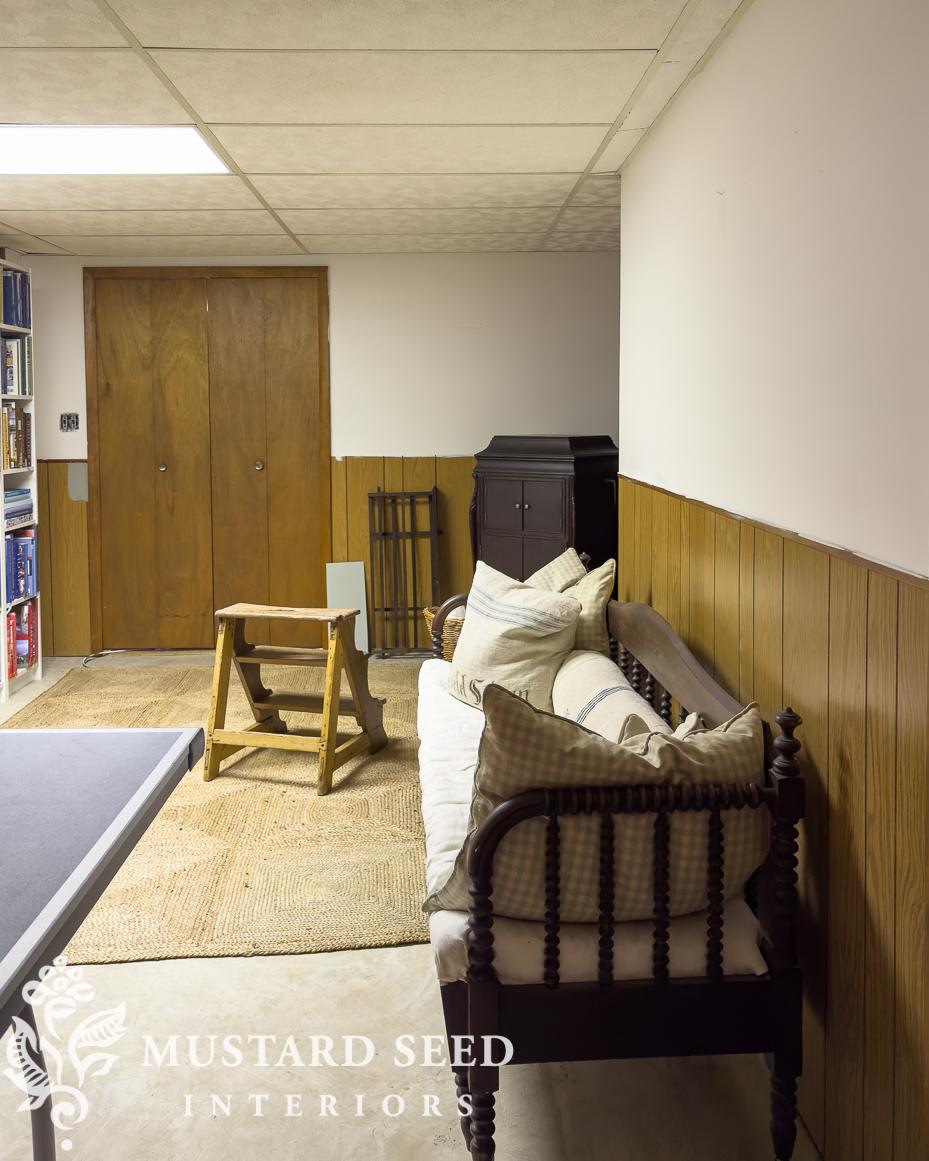
Here’s a view of the other side before…
…and with the wallpaper painted…
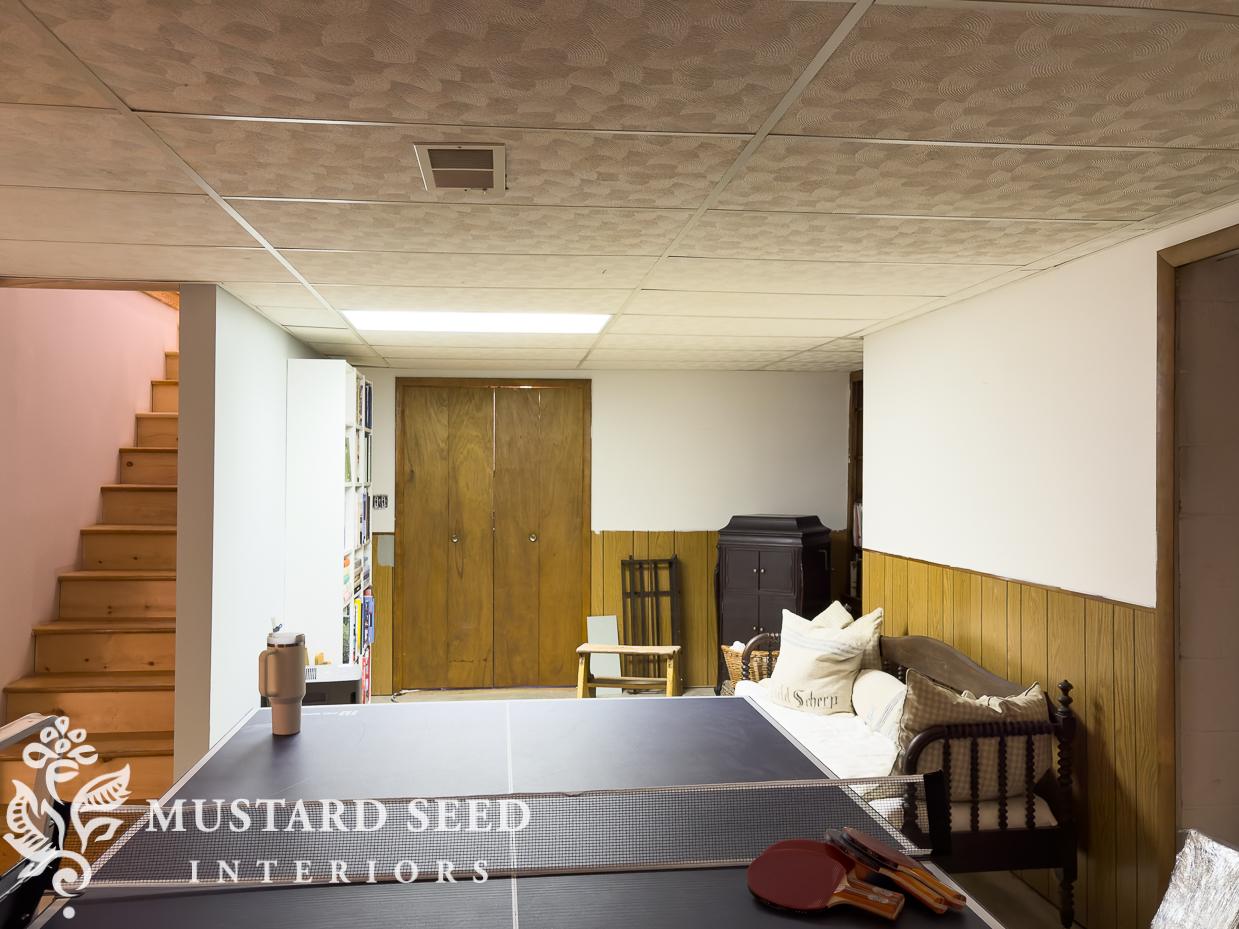
As I’ve shared the progress we’ve made on the basement on my Instagram Stories, I’ve received a barrage of questions and suggestions about improving/replacing the ceiling, lighting, and other things. If we had an unlimited renovation budget, we’d rip it all out and have it professionally done with drywall, can lights, a better floor plan, and an added egress window to bring in natural light. That’s not what we’re doing here.
This is a 1970s basement that looks like it was a budget-friendly DIY project done over 30 years ago. We’re going to let it be what it is and work with what we have. The drop ceiling, as ugly as it is, is staying. We have three old-school fluorescent lights but only four working bulbs right now (out of twelve), so we finally decided to get those upgraded to LED panels, which is happening later this week. We’ve tried replacing the bulbs, but one fixture flickers no matter what we try, and several bulb outlets are broken. Since we don’t have natural light in this space, lighting is pretty key, and it’s been an issue for a few months.
This makeover is about making the space better and more comfortable to use. It’s not about making it perfect.
With the painted wallpaper looking surprisingly good, priming and painting the paneling, doors, bookcase, and trim was next…


16 Responses
Huge practical improvement! I’ll never understand how half paneling and horizontal wallpaper was a thing in the 1960s and 70s. I remember with a shudder.
Looking great!
I painted over wallpaper on lath and plaster (1929 house) because I was pretty sure stripping wallpaper would leave a lot of damage. It worked.
Yours looks so much better.
Wow! What a difference just getting rid of that crazy wallpaper! I think it would have given me vertigo just working down there in the basement.
That looks so great! I can’t wait to see it with the panels painted. And I bet you will use a really beautiful chair rail. Maybe even something substantial with pegs? I bet you will surprise yourself about how great you can make this basement in the end, even with the smaller DIY choices. I just put up beadboard wallpaper with a chair rail and painted it all. Huge difference in this room. Painting over the paper was super smart.
Isn’t it funny, one of your less glamorous projects leaves me with lots of reactions. First, you’ve been so gracious about the previous owners. And I know this is a product of time. But wow, that wall paper! EEeesh. I don’t know why, as loud as it is, it has beach vibes.
Appreciate you sharing even the smallest of jobs that have big impact, even if they’re not a new glamorous kitchen or garden trellis.
I love your new steps. I know they’re just basement steps, but the wood color is so pretty.
I also love both floor coverings. The natural woven and the blue toned carpet. I want both.
This is inspiring.
Better is better!
Ah, the magic of paint. Sometimes good enough really is good enough. This really is good enough.
It looks so much better with the paint. The flickering light is probably caused by a bad ballast. Just a caution, a bad ballast can cause an electrical fire. It is rare for it to catch fire but it can happen. Usually it will just burn the wire and cause a breaker to flip off. If you hear a buzzing sound or other strange noises, that is another sign it is going bad. Just be sure you don’t leave it on when no one is around to detect the smell of burning wires. I’m glad you are replacing these with LED panels next week. I am sure your small updates over time will make this space even better until it is time for a full renovation.
Thanks for that tip! We’re having the lights replaced on Thursday so it will no longer be an issue. Until then, I have removed all of the bulbs, and we keep it off when we’re not there.
Congratulations! The room looks so much better. Isn’t it great when you trust your judgment and go ahead and do the thing you want to do, despite the possible negatives. And then it’s a success. Good for you and your family.
Thanks for confirming we don’t have to have magazine quality changes to be improvement enough. So easy to deal with things we don’t like because we can’t make them perfect. Like you said a small financial investment and a bit of time and wow what an improvement. Once again you motivate us to just do.
Looks great so far! I’ll be waiting to see what you paint the trim and paneling.
It looks like an old fashioned “Rec Room” and good enough to enjoy.
What a huge, huge difference paint made. Love how cute having just the table and chairs made that area with the painted walls. Am very excited to see the progress. You’re an inspiration to us all. Seems like the male species tend to see overall job in bulk versus our more detail-oriented vision. My daughter always sings “taking care of business” when her dad arrives on the “job” with his tools. We complement one another.
Looking great! Btw, Sherwin Williams Super Bond Primer is magic for paneling. My 1979 rancher had cheap, slick paneling. Use one coat of Super Bond with a foam roller , and then paint with your color of choice m. (Mine was Card Room Green.😊) Huge time saver and has looked great for years!