

I knew I wanted to install a new sink when we were putting in new counters. The sink we had was an enamel-coated cast iron sink that was full of scratches and chips and water was always hanging around the lip. So, when I was looking for a new sink, I considered a farmhouse-style sink, but I already hated having a white sink (think coffee settling into all of the fine scratches and looking grungy all the time) and I thought it would be a real pain to retrofit the cabinets to accommodate one. I also didn’t think that style of sink would suit this house. With that fleeting thought shot down, I immediately went to an undermount sink.
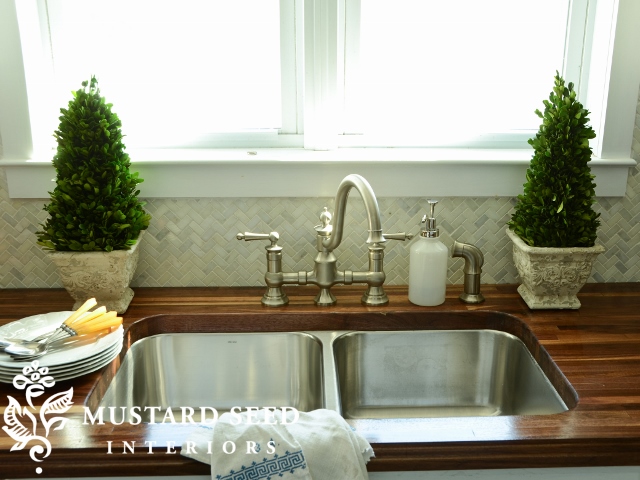
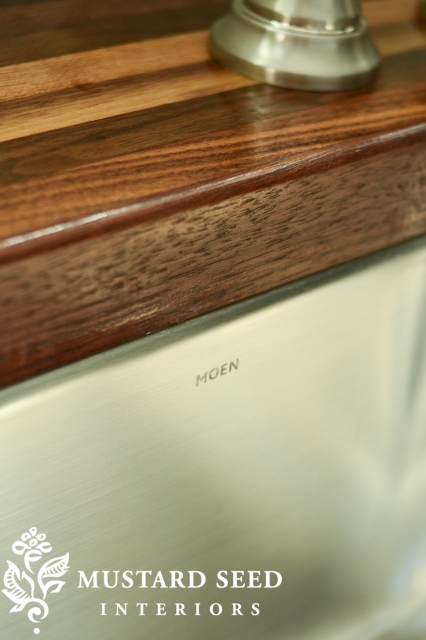
I looked for one that was a similar size to the current sink we had, so the plumbing would line up. I also knew I wanted stainless steel. We had a 20+ year old stainless steel sink in our townhouse and I could still get that thing to shine up beautifully and I wanted that kind of longevity. The last thing I looked for was a deep, double bowl sink. Depth, to hide the dishes waiting to be washed and a double bowl, so one side could be for washing and the other for a dish drainer. I ended up going with THIS Lancelot Sink from Moen.
It came with a template we used to cut out the sink hole. Actually, we used their template to make a negative template that could be used as a guide for our router. Cutting the hole was definitely the hardest part. Since it’s very visible, it had to be perfect and smooth. I include all of the details of cutting the sink hole in the tutorial that will be available on HGTV.com in a few weeks/months. (I will link to it when it’s live.)
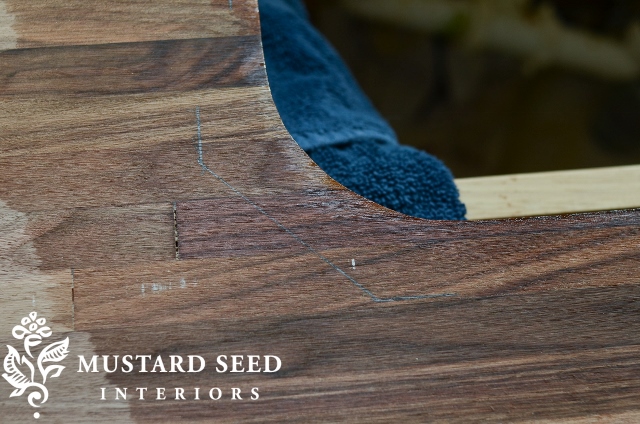
Once the counter was finished, which took 11 days for application and cure time, we carried it up to get it ready to install. Since the sink is undermount, it had to be affixed to the counter before we could put the counter in place. We turned the counter upside-down on the cabinets (with some blankets and towels protecting the finish) and positioned the sink over the cut hole.

We marked the position of the sink corners with a pencil.
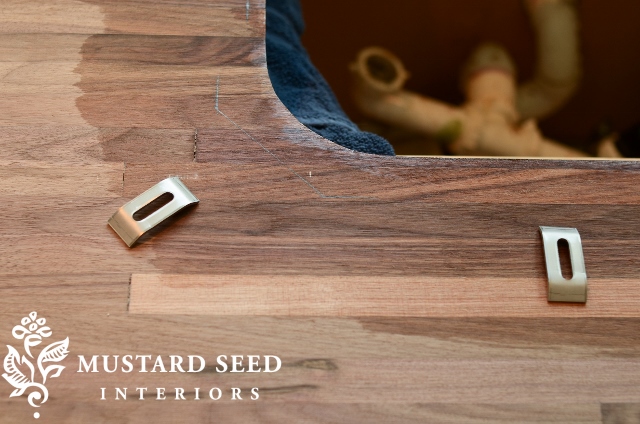
…and made a plan for where the brackets would be positioned to support the sink.
With everything set, I applied a bead of silicone to create a waterproof seal between the sink and counter.
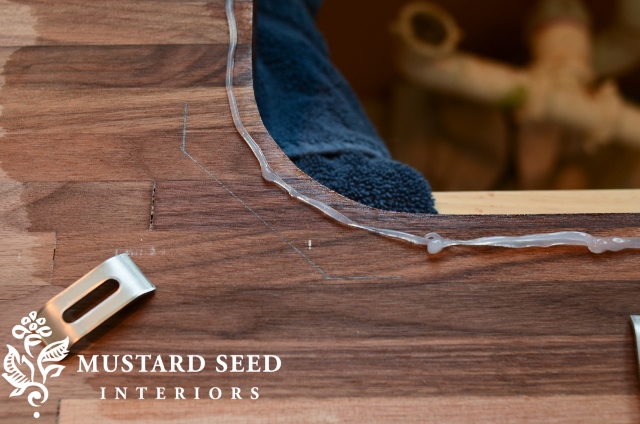
We pressed the sink firmly into the silicone, making sure the edges lined up with the pencil marks. The brackets were then screwed down with washers and wood screws. Any silicone squeeze out was wiped away with mineral spirits.

I’m not even going to begin to explain how my husband did the plumbing…not my thing. He did a great job, though, and I was thoroughly impressed with his DIY skills.
A few things I learned while working on this project…
- Make sure you think through the positioning of the sink, how it relates to the faucet and cabinets. We measured and sketched and gave it a lot of thought, but we missed the fact that the brackets would stick out to where the counters made contact with the cabinets. Our cabinets happened to be bowed at the sink, so it ended up working out, but it could have been an issue.
- Seal the underside of the wood counters around the sink for protection against moisture.
- Take it one step at a time. The sink was the most intimidating part of the counter project and it also took the most time by far. We just worked on it in steps and agreed we would call in a professional if we hit a snag. We never had to make that call. Woo hoo!
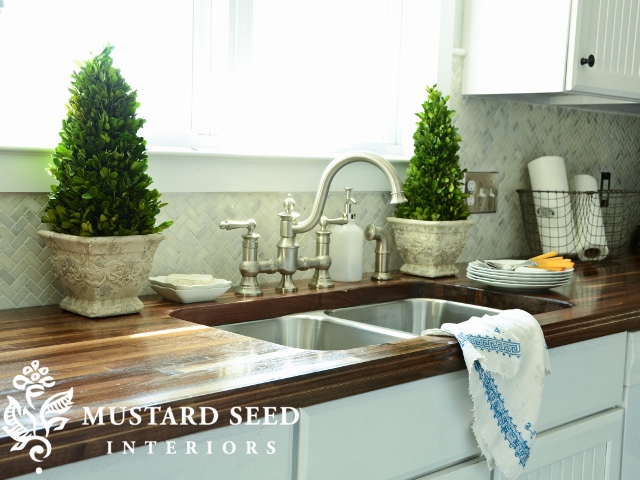
I will let you know in time how the wood holds up around the edge of the sink, but so far so good. I just wipe the counters with a towel after doing the dishes, so water isn’t sitting or pooling on the finish for extended periods.
I absolutely love the sink, though.
You can see the full kitchen makeover (along with resources and cost breakdown) HERE.
![]()
Tomorrow I’m heading out to some antique shops to start looking for pieces to take to Lucketts. I already have a pretty good head start, but I really need to get moving and build up my inventory. Lots of furniture painting is in my future! May will be here before I know it.
![]()
Disclosure: Moen gave me the sink in exchange for advertising on my blog. I am very impressed with the quality of their products and it’s an honor to promote their brand. All opinions are my own.


26 Responses
I’m still torn with idea of getting a butlers sink or not BUT I am now loving how this looks too!
alicia
Good luck for Luckett’s (pun intended)! Can’t wait to see what you create! If you ever make it all the way down to Manassas, VA there is a great little shop in an old house there called Iron Horse Antiques. Best prices around so a lot of dealers actually shop there. Your kitchen looks beautiful and I am glad you can enjoy what you’ve envisioned all these years. Especially love the kitchen chairs (wink).
I found a gently used farmhouse sink on Craigslist yesterday for $50. After consulting my brother-in-law/plumber I headed to pick it up. Upon my arrival I was told it had just sold. I was so bummed. Reading your entry today made me do some thinking. I am hard on sinks and perhaps the white sink will end up looking horrible after a year or two. Thanks for the insight!
Your new sink is fabulous. I guess I have never seen a quality stainless steal sink because all of the ones that I have seen are dull and water stained so I thought I would never want one. Thanks for opening my eyes to another option.
Traci
Hi Traci,
You would be AMAZED by what a little baking soda mixed with dish soap will do for a tired looking stainless steel sink! It won’t take out the scratches but other than that it will make it brand new! I had a friend who once complained that it was “impossible” to clean the tea stains out of her sink – a bit of baking soda, dishsoap and 2 minutes of scrubbing and it looked like new! Try it! You can just sprinkle it in and scrub with your dishbrush but I make a tub of it to keep under the sink – I buy the baking soda at the Bulk Barn and mix in just enough dishsoap to make it the consistency of cupcake icing. 🙂
Jennifer,
I haven’t heard of this, thanks for the tip! I’m going to try it tonight 🙂
Hi Jody,
Let me know how it works out for you!!!! I love that it is cheap and also non-toxic. I also use it to scrub out my tub.
One more tip… baking soda mixed with hydrogen peroxide to make a paste will clean cooked on (for years) gunk off baking sheets and pots and pans.
Thanks for the tip Karen! Do you think it would work on the cast iron grills/grates on my gas stove? They came with the house and have years of baked on crusty, gunky who knows what on them that NOTHING will take off….. I was about to go to a last resort – ammonia – which I’ve never used before. I’m going to try this first!
Kudos to you & hubby on a great job! I have the exact same sink except I have granite counters. My son is redoing his kitchen and going to do wood countertops and I was wondering about how the wood is going to handle all the moisture and cleaning after a few years. I’m always wiping and scrubbing especially in those hidden crevices—like where the undermount meets the counter. Are you going to have to continue to reapply a sealant as it wears away? That crevice between wood and sink is quite a large trap for moisture. Did you finish/seal part of the underside of the wood opening where the sink is? Just concerned about the wearing away of the wood finish with all the water,suds,grease, etc.
Yes, we sealed the sides and bottom of the counter around the sink as well. I just wipe up drips and splashes to prevent water from sitting on the wood finish. I know people actually make wood sinks and seal them with Waterlox, the product we used, so I think it will hold up well. time will tell. The nice thing about wood is that I can always refinish it if it gets really bad.
We had bought the cheapest stainless steel sink at Home Depot back 6 years ago when we had to replace ours and needed a quick fix, thinking later we would get a higher quality farm sink etc. I have LOVED the stainless steel. I can keep it shiny with a good scrub of Bon Ami.
I can also get old as the hills stainless steel sinks in the older (70’s) condos I clean at the local ski resort to shine with the same method.
So now i am sold on stainless steel kitchen sinks and have no desire to replace mine.
Didn’t know Moen made sinks. We have a Moen faucet in the kitchen of the house we bought. The soap dispenser went. We called Moen in hopes of being able to order a part. Instead, they sent us a new one free of charge. Fantastic customer service! We always pick Moen, now, when we have a choice. Great to deal with a company that backs up their product.
Love the butcher block with the undermount sink! We are going to try that in our laundry room. Thanks for the inspiration 🙂
Looks great! I have a big deep Franke stainless sink & love it! It works well with my barn red cabinetry and is timeless. Enjoy your kitchen!!
Kelly
The sink looks lovely. Would love to hear how the counters hold up around it in time. That is my biggest worry with wood counters. Ooooh, good luck on the hunt! Can’t wait to see what you come up with 🙂
good thing you have clamps. ours was installed years before we bought the house. no clamps as it is mounted to a granite counter top. we moved into the house in August and by October when I was washing the dishes, a sink full of water, the whole sink fell out. It fell down into the cabinet beneath. Water went everywhere and we had a hard time finding anyone who would come fix it. Plumbers would not come and the builder did not respond to our phone calls since we were not the original owners.
big mess. we finally had a granite guy come fix it for us. this was after more than a week of no kitchen sink. yours looks lovely. 🙂
I installed a fireclay ceramic farm sink when I remodeled my kitchen two years ago. I love the look but would probably would not recommend it. It’s very deep and we end up splashing lots of water when we way dishes (leathered black granite counters) and yes, lots of hairline cracks.
I think the sink is just beautiful. The silver of the stainless with the wood countertop is just so striking. It was a perfect choice!
Cindy
White porcelain Butler Sinks look great in English country houses which have Aga’s in the kitchen…..they really miss the mark in suburban American homes for the most part because the other appliances don’t complement the ‘concept’ of a British country kitchen.
Marian, I think you chose correctly with the Moen underbench sink. Porcelain sinks don’t the heat of hot water as well as a stainless sink (mine is a Franke with a double thick bottom for insulation, and three bowls….two large and a smaller one in the middle for a garbage disposal. (No I don’t compost as don’t have a large garden). It is excellent. Good glasses also break more easily in a porcelain sink than they do in a stainless…but don’t ask me why.
Good choice, and looks terrific. Now, on to a new stove!
Cheers,
Nancy
Glasses break more easily in porcelain sink because, in every p. sink I’ve seen, the porcelain is on top of metal (iron, I think.). It’s a hard surface and I’m not all that careful, so we installed a not very expensive stainless steel sink and it polishes up beautifully. And I hardly ever lose a glass anymore.
Beautiful!
Have fun shopping! Maybe I will see you out and about, Diane just got some great ironstone!
Marian,
The sink, cutout, and entire kitchen looks fabulous! You and your hubby did a wonderful job!
Your kitchen looks amazing! Are the plants on both sides of the sink real? I like the height but I cannot keep plants alive near my sink. I enjoy your blog and appreciate your good descriptions and explanations. Thanks!
These undermount sink clips work well for these types of projects for both the kitchen or bathroom.
http://www.amazon.com/gp/product/B00YO4TNME?keywords=sink%20clips&qid=1444143427&ref_=sr_1_8&sr=8-8
Hi, I am also installing an undermount sink. Could I ask you where you bought those clips?
Thank you.