

When I shared the installation of the new vinyl shutters along the back of the house, several people asked if I could share the specific products, tools, and techniques I used, so here is a post all about how to paint vinyl shutters.
When we moved into our PA house way back in 2006, there were vinyl shutters on the front windows that were a faded country blue. Not long after moving in, I took them down and spray-painted them with exterior spray paint made for plastic. I don’t think I primed them or anything. When I look back at photos of those shutters, I can see the spray paint marks. Ooof.

I’ve learned a lot about painting over the past 20 years, so now I use a combination of a brush and roller to apply a quality exterior primer and paint. I will say, though, that paint is still holding up, so it did the job!
Let’s discuss a way to do the job that doesn’t limit your color choices (since both vinyl and spray paint come in only a few shades) and looks sharp when completed.
how to paint vinyl shutters | tools & materials
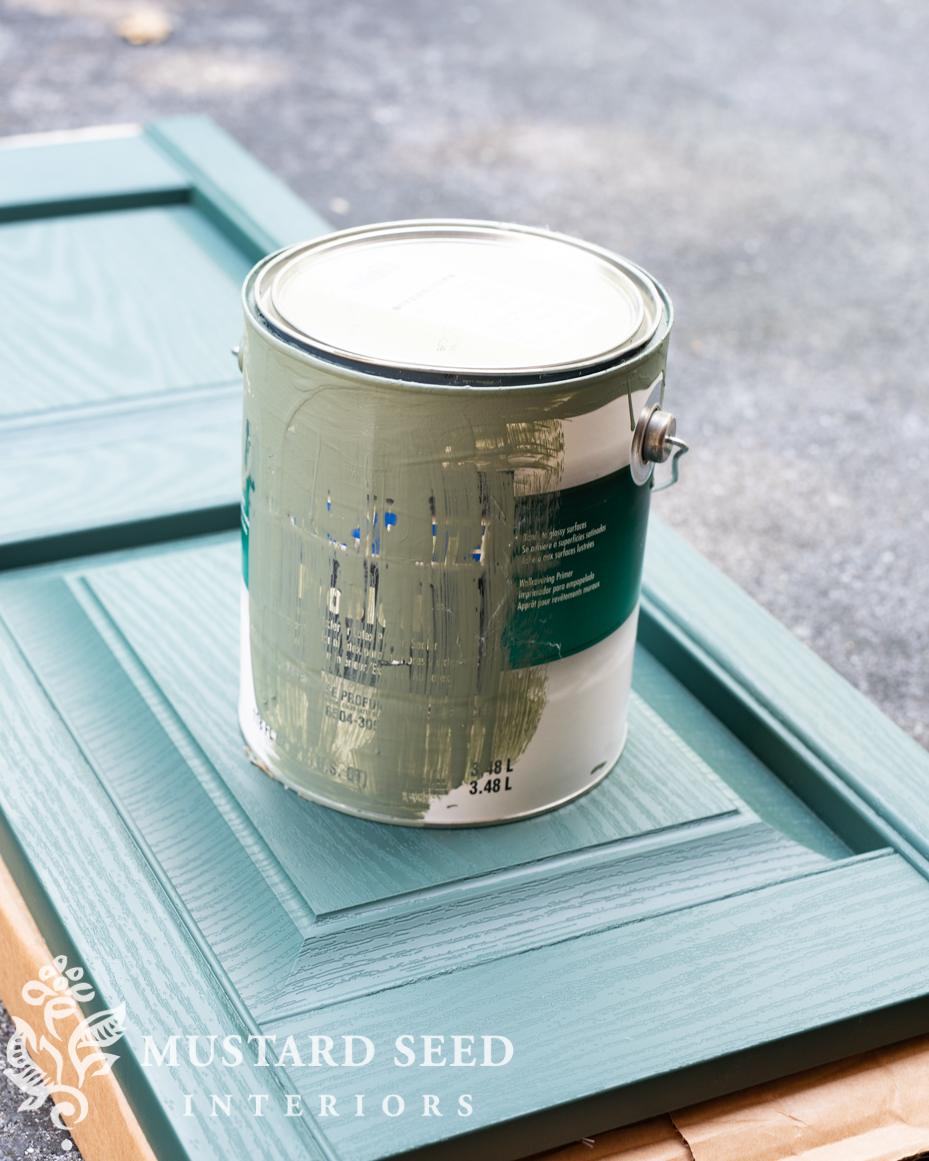
- A high-quality, exterior bonding primer. I used PrepRite ProBlok primer by Sherwin-Williams, tinted to the paint color Card Room Green. Frewer coats will be required if the primer is tinted to match the final paint color.
- Exterior paint. I used Farrow & Ball Exterior Eggshell in Card Room Green No. 79
- 6″ roller frame and microfiber roller covers
- 2″ angled sash brush (THIS is my favorite)
- paint tray and liner
- If painting used/old vinyl shutters, you will need soap to wash them
The first four things listed in this project matter. Using a quality primer ensures the final coat adheres and will extend the life of the work. Using a quality paint means fewer coats and a better finish. Using a quality brush and roller means less lint and bristles stuck in your work, along with a reduction of strokes and marks in the final coat. Your job will be easier and look more professional if you invest in high-end tools and materials.
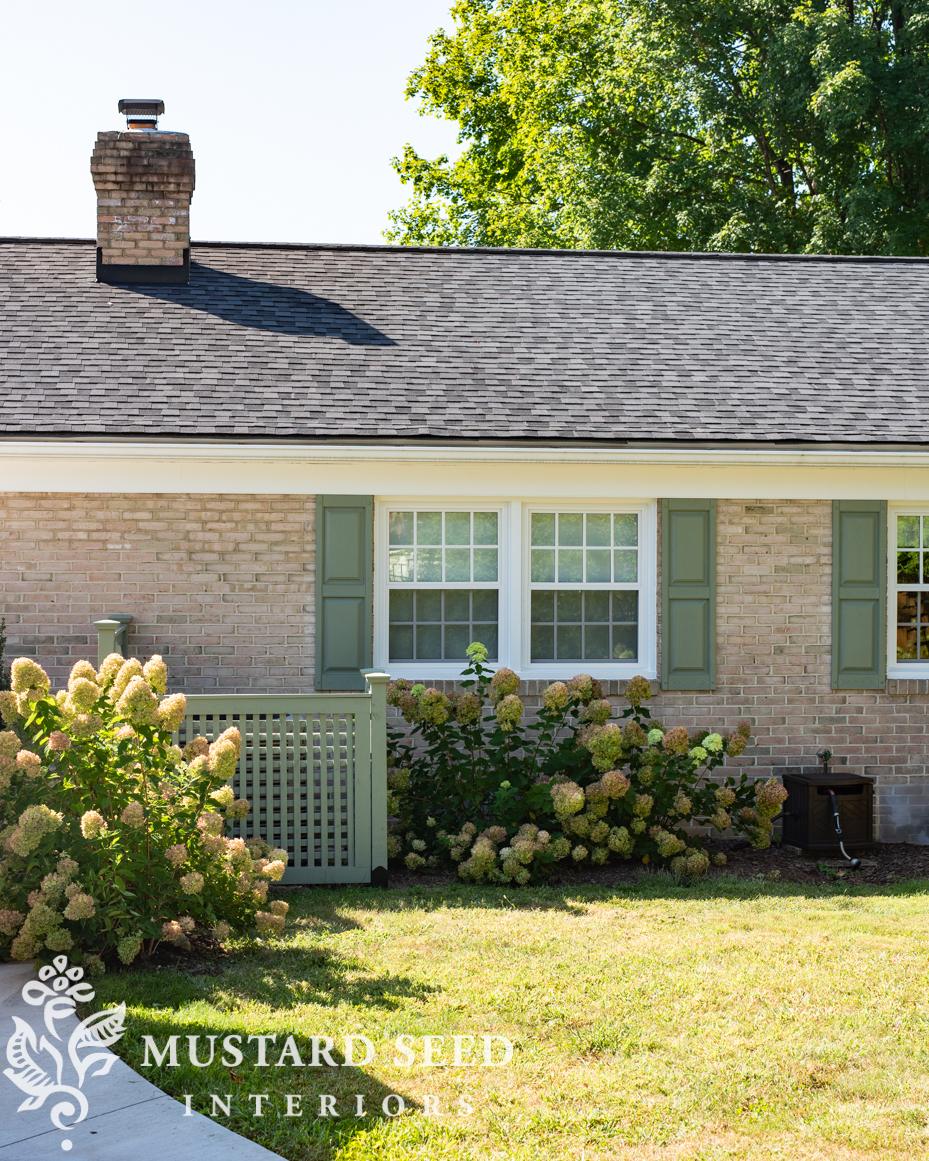
THESE are the vinyl shutters I purchased. They come in a variety of sizes and colors, so pick whichever shade is closest to the desired final paint color and size is appropriate for the windows. I selected these so they would match the shutters already installed along the front and kitchen side of the house. Originally, the shutters on the house were made of wood, but they rotted and were removed before we bought the home. Although new vinyl shutters were installed along the front and most visible side of the house, they were not replaced along the back and left side. Adding shutters back is true to the original design, and they are an opportunity to bring in some color and architectural interest.
As a note, I can tell from the paint outlines that the original shutters were slightly wider than the replacement vinyl shutters, but having custom shutters made would’ve dramatically increased the price of this project. It was better to give up an inch or so and go with ready-made shutters.
If you’re painting brand-new shutters, I would suggest painting them prior to installation and then doing a little bit of touch-up once installed. If your shutters are already installed, you can paint them in place. I trust my steady hand, so I didn’t use tape when painting the shutters along the front and side of the house, but I would recommend it if you’re not confident about cutting in neatly.

how to paint vinyl shutters | steps
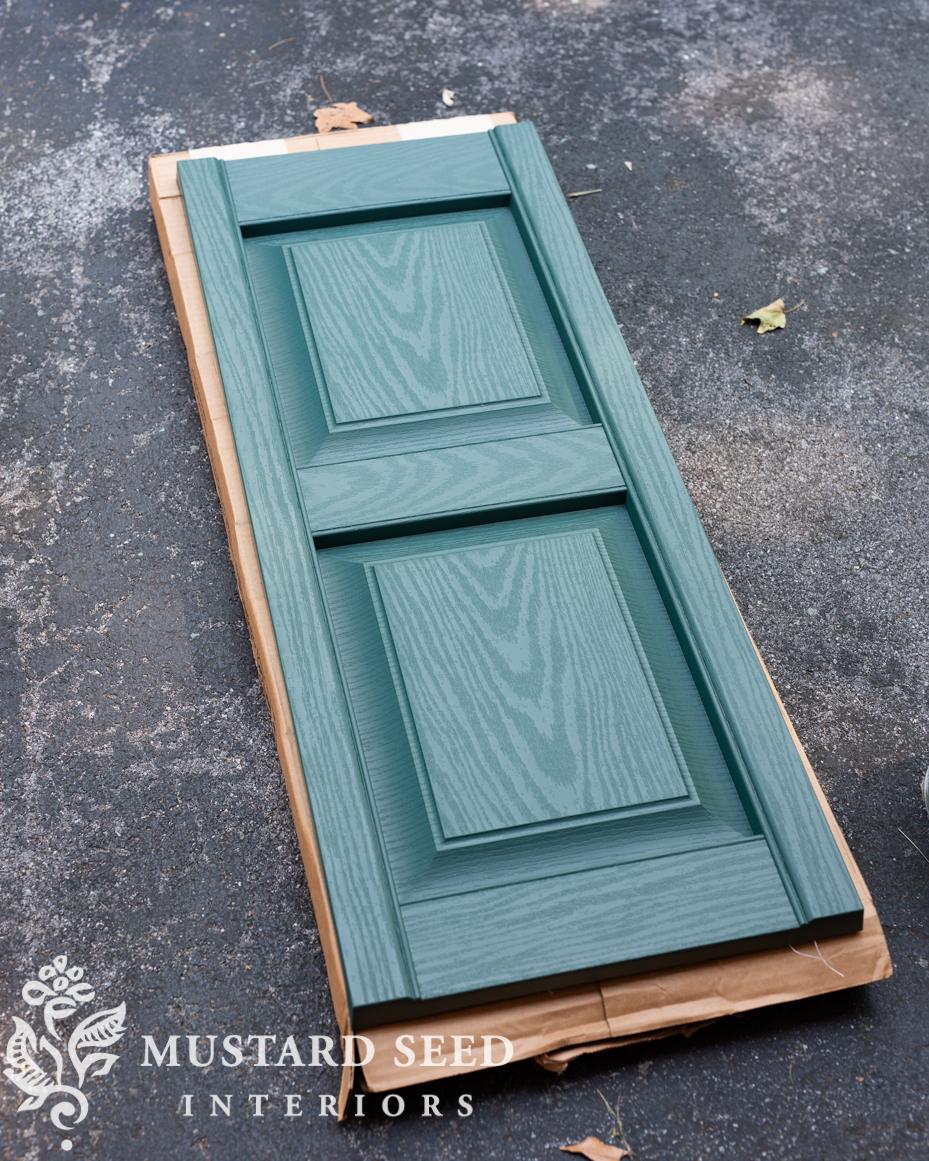
Step one: There is no need to prep brand-new shutters beyond making sure they are free of dust and any packing materials. If you’re painting shutters that are used or already installed, take time to wash them thoroughly with soap (something like Dawn or Simple Green Cleaner would be fine) and water. Make sure they are completely dry prior to installing primer.
Step two: Working one shutter at a time, roll primer onto the large, flat surfaces on the shutter. It’s important to work one shutter at a time, so you can keep a wet edge on the paint. This will result in a smoother, more uniform finish.

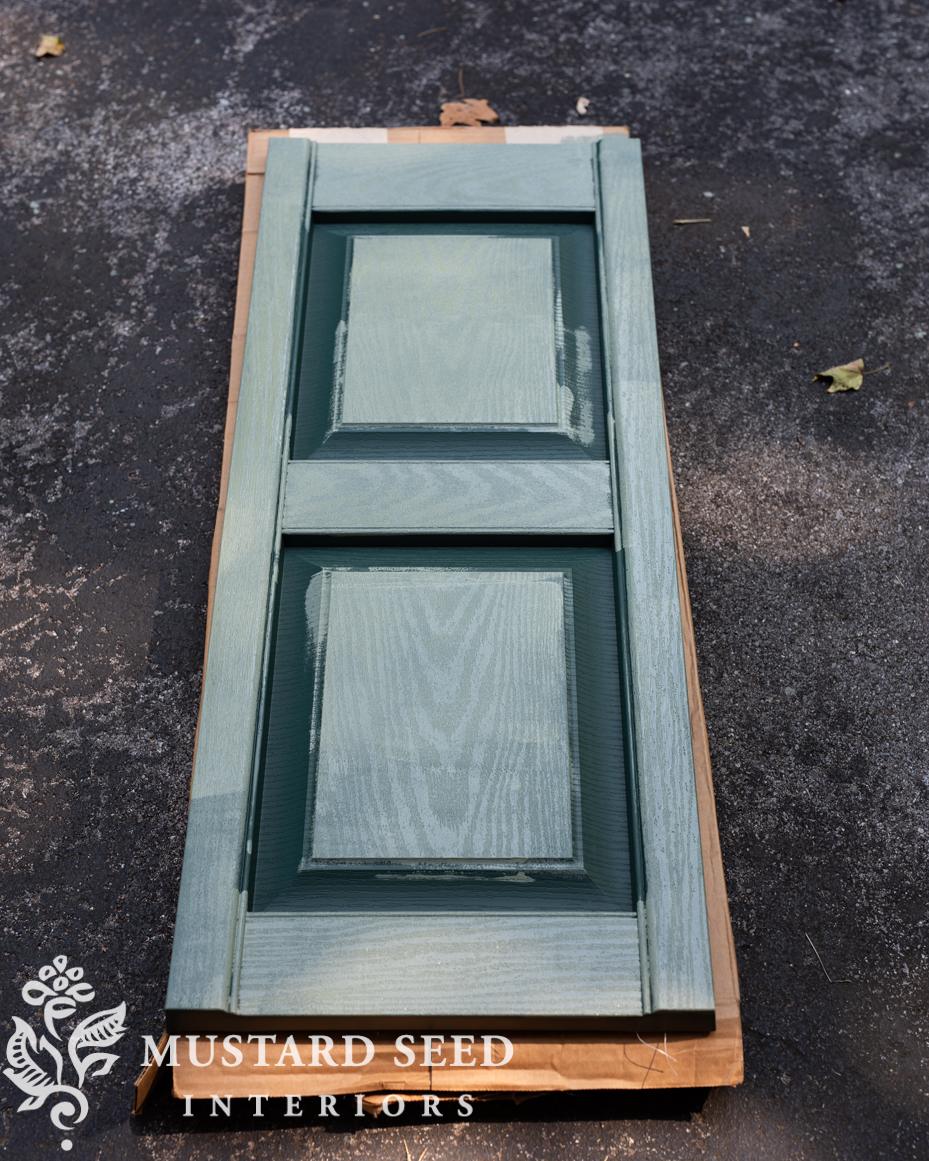
Here is what the shutter looks like after rolling the primer on…
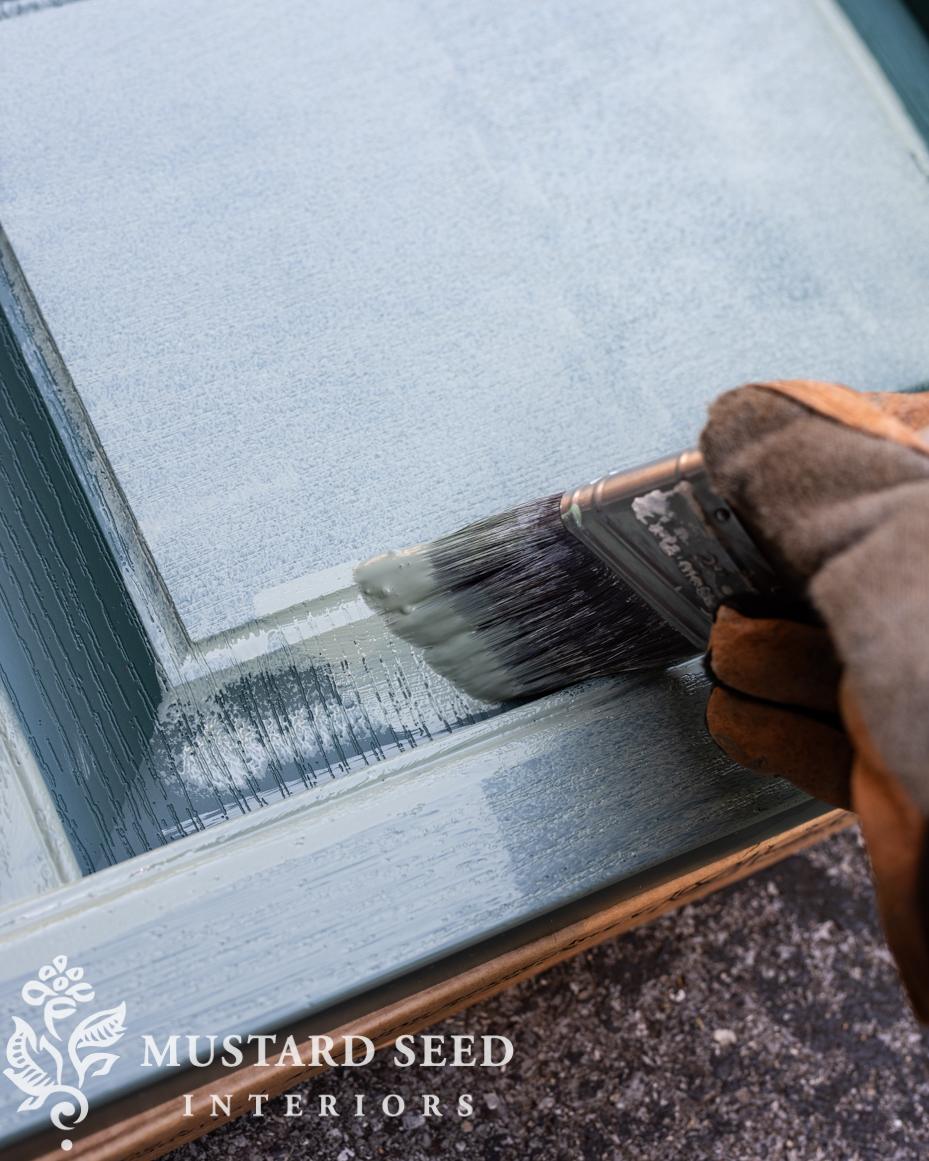
Step 3: Cut in with a 2″ angled sash brush to prime the detailed and recessed areas. If any rolled areas of primer are uneven, drag the brush (not loaded with paint) over the wet surface to smooth. (Don’t do this once the paint is tacky or dry.)
Step 4: Allow the primer to dry, which should take about an hour. It is particularly important with a non-porous surface like vinyl to allow the first coat to completely dry prior to applying a second coat. If you rush this step, the paint can pull off the primer as you brush or roll it on.
This is also the ugly stage of painting vinyl. It’s normal for the primer to look streaky and uneven. Don’t fret! The coat of paint will pull it all together. If you are seeing a lot of the original shutter color showing through, it might be worth applying a second coat of primer prior to painting.
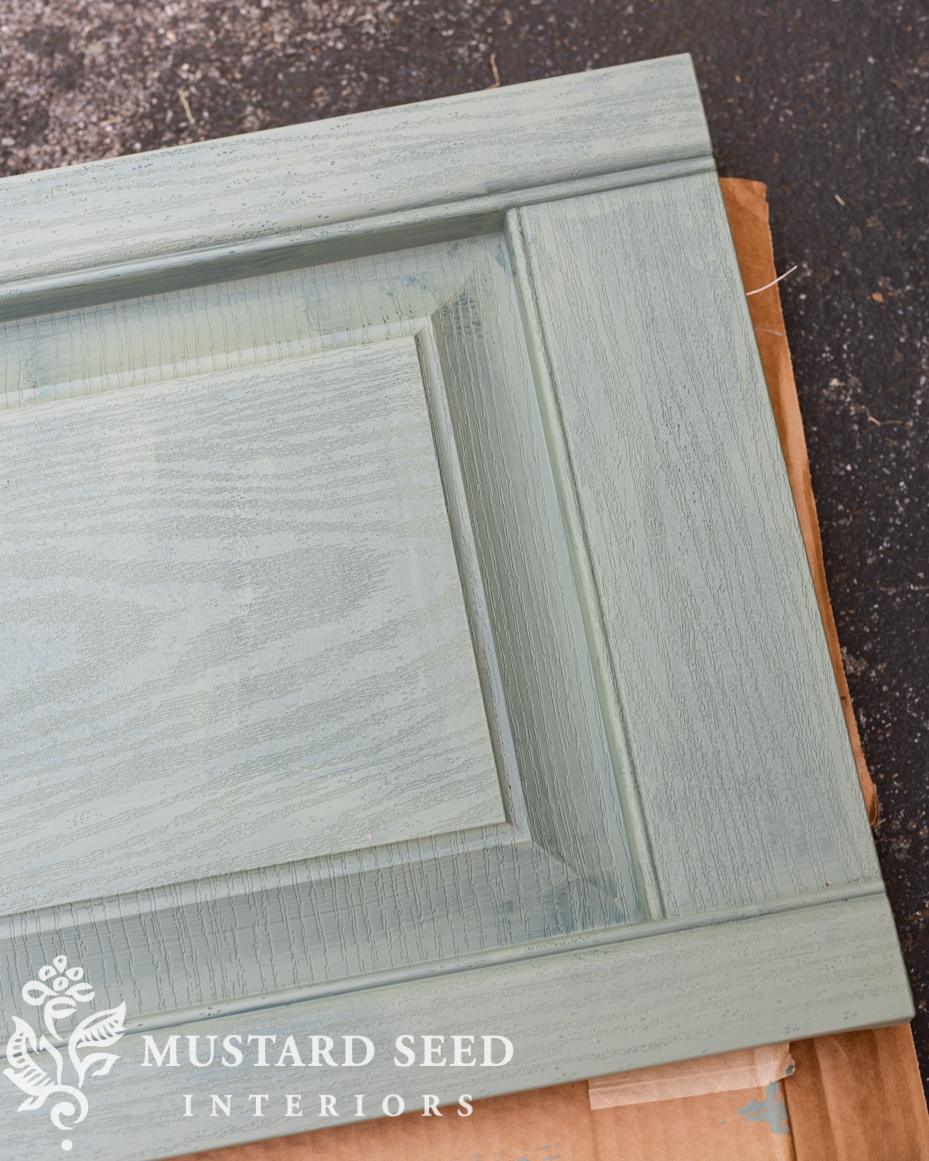
Step 5: Apply the paint in the same manner as the primer. Work one shutter at a time, roll, then apply the paint with a brush. Because I used a tinted primer, the shutters only needed one coat of paint.
After installing the shutters, I touched up the visible buttons on the brick anchors. Now, there is a disclaimer on the hardware bags that they shouldn’t be painted, but I’m living dangerously. I will report back if I learn that I committed some egregious offense. My guess is that the paint will be marred if the shutters need to be removed, but I can live with that. I’ll just touch them up again.
While I was looking through old photos, I found a great before picture to compare. This is before we did any work along the back of the house…
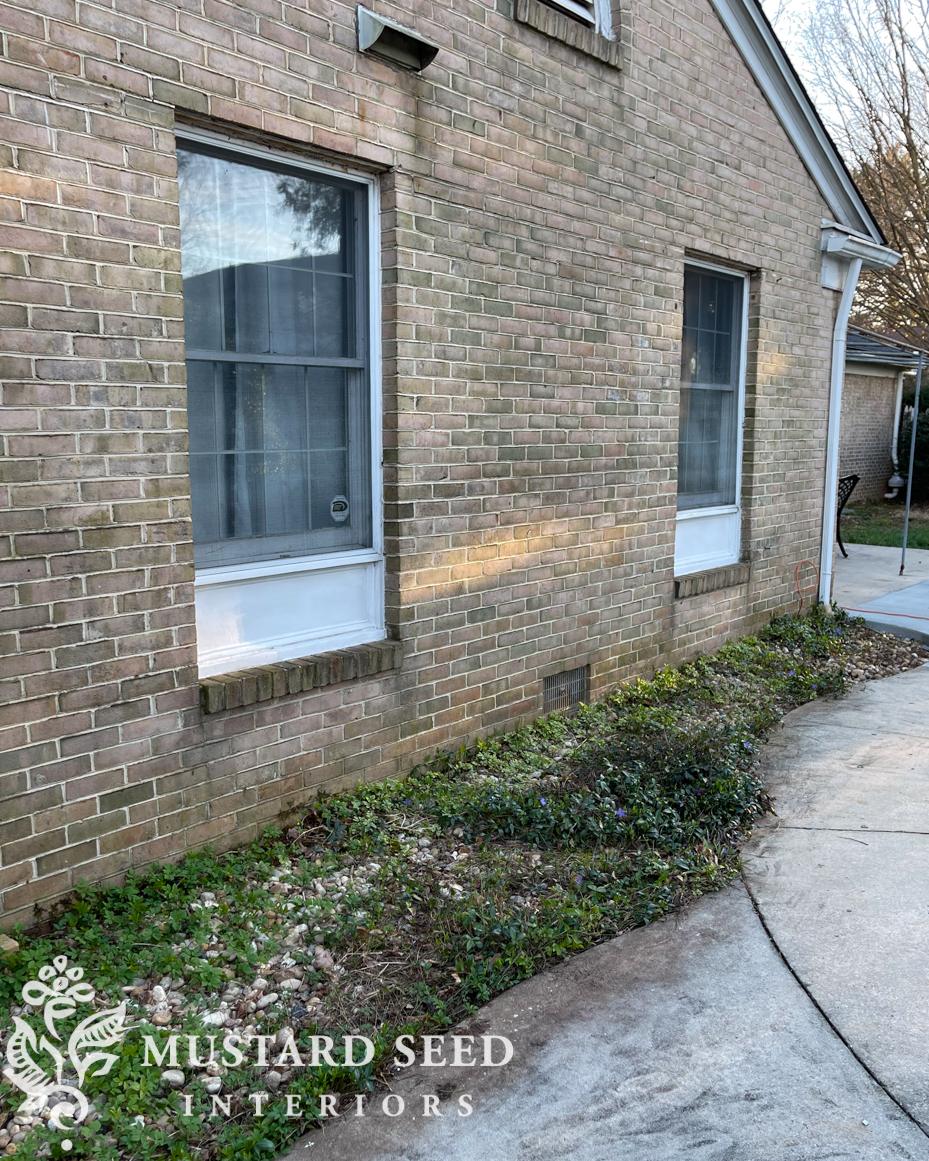
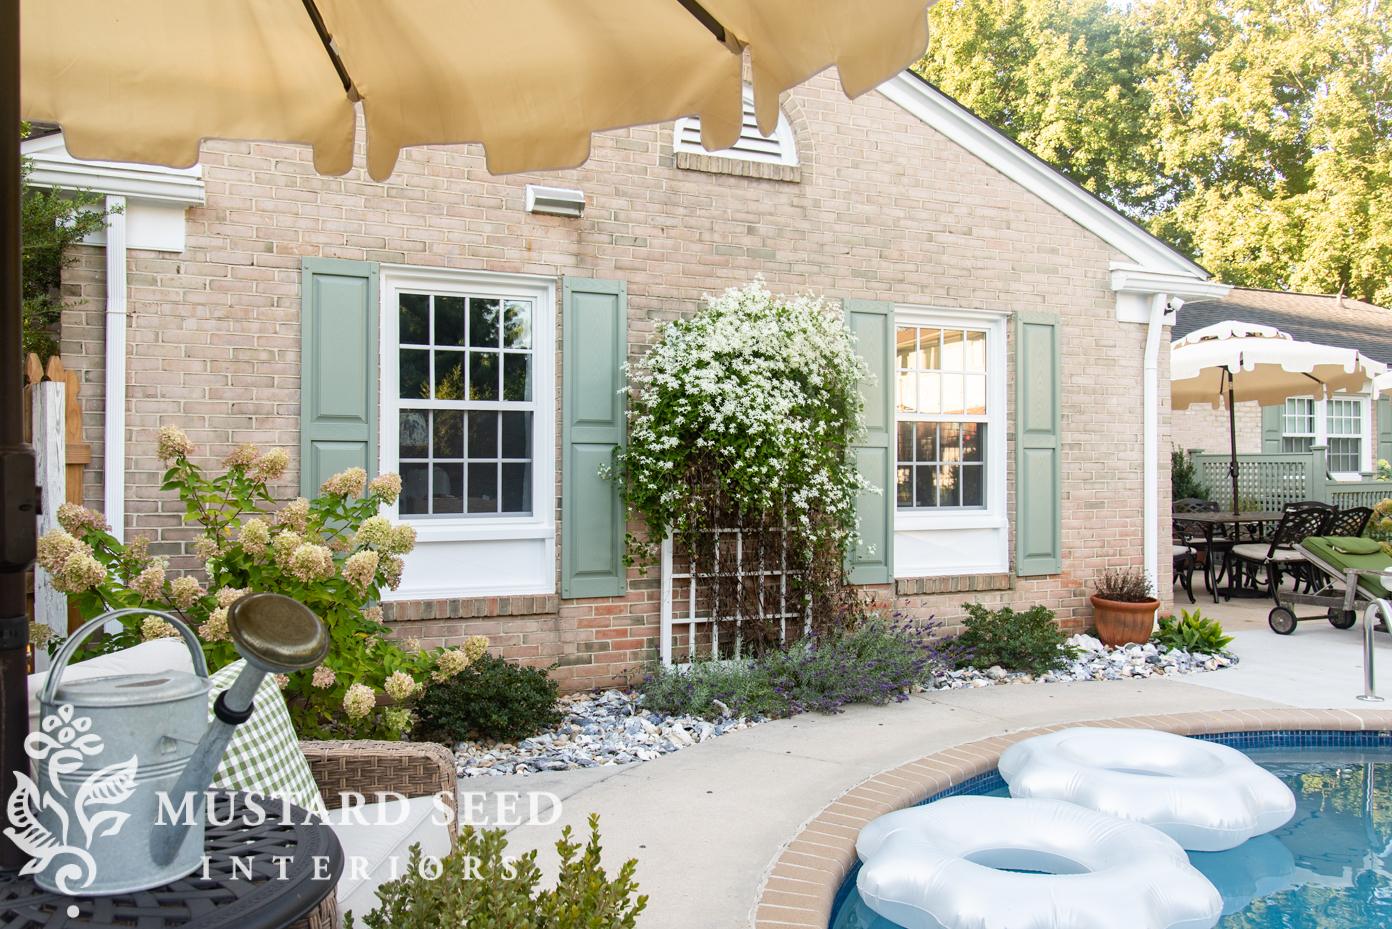
And how that wall looks now…
Oh man, it took forever to clear out that rock bed!
Anyway, the painted shutters look amazing and have set off everything else we’ve done to the house so far.

You can read about painting the front door HERE. You can find more posts about the work we’ve done on the exterior of our 1970s home HERE.
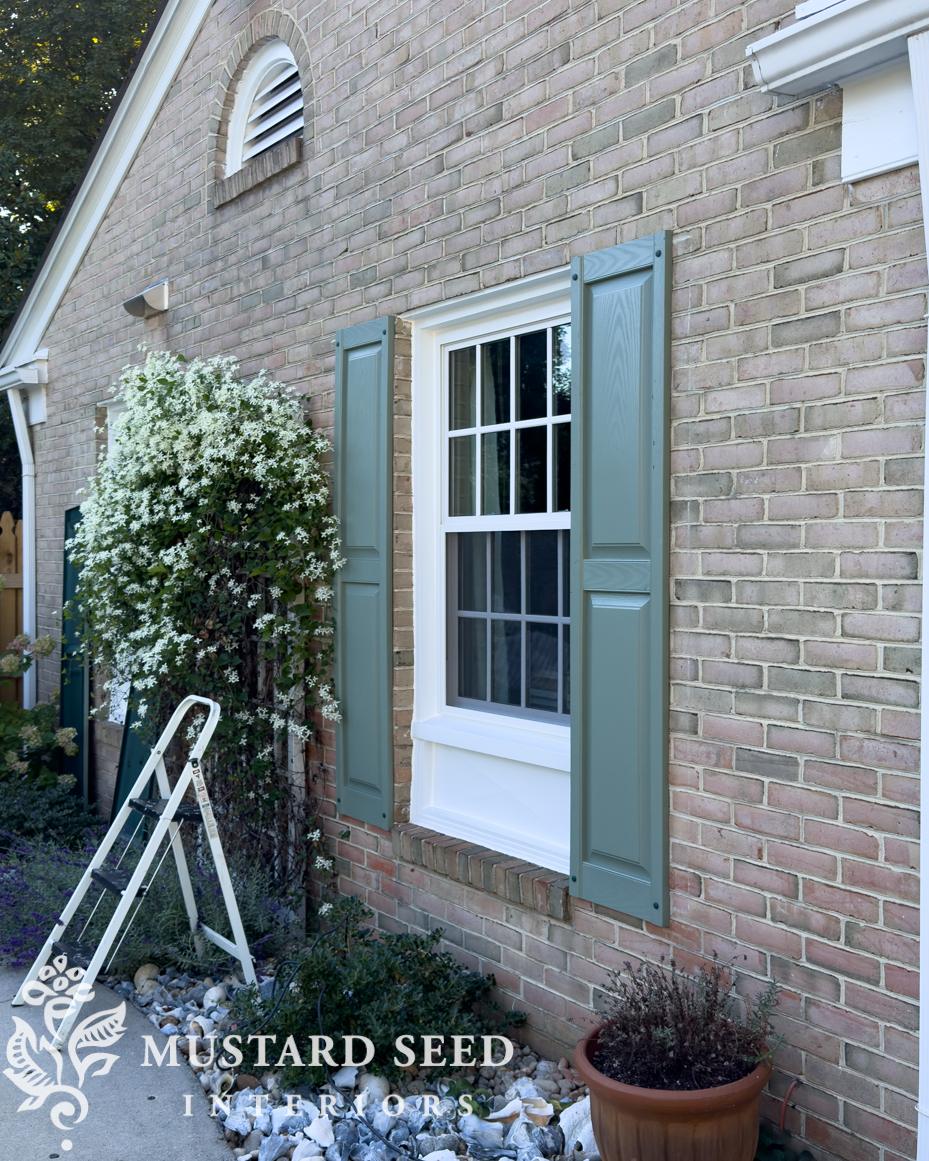
Even my mom asked where we were installing the shutters I painted last week and photographed for this post. They will be going on these three windows…
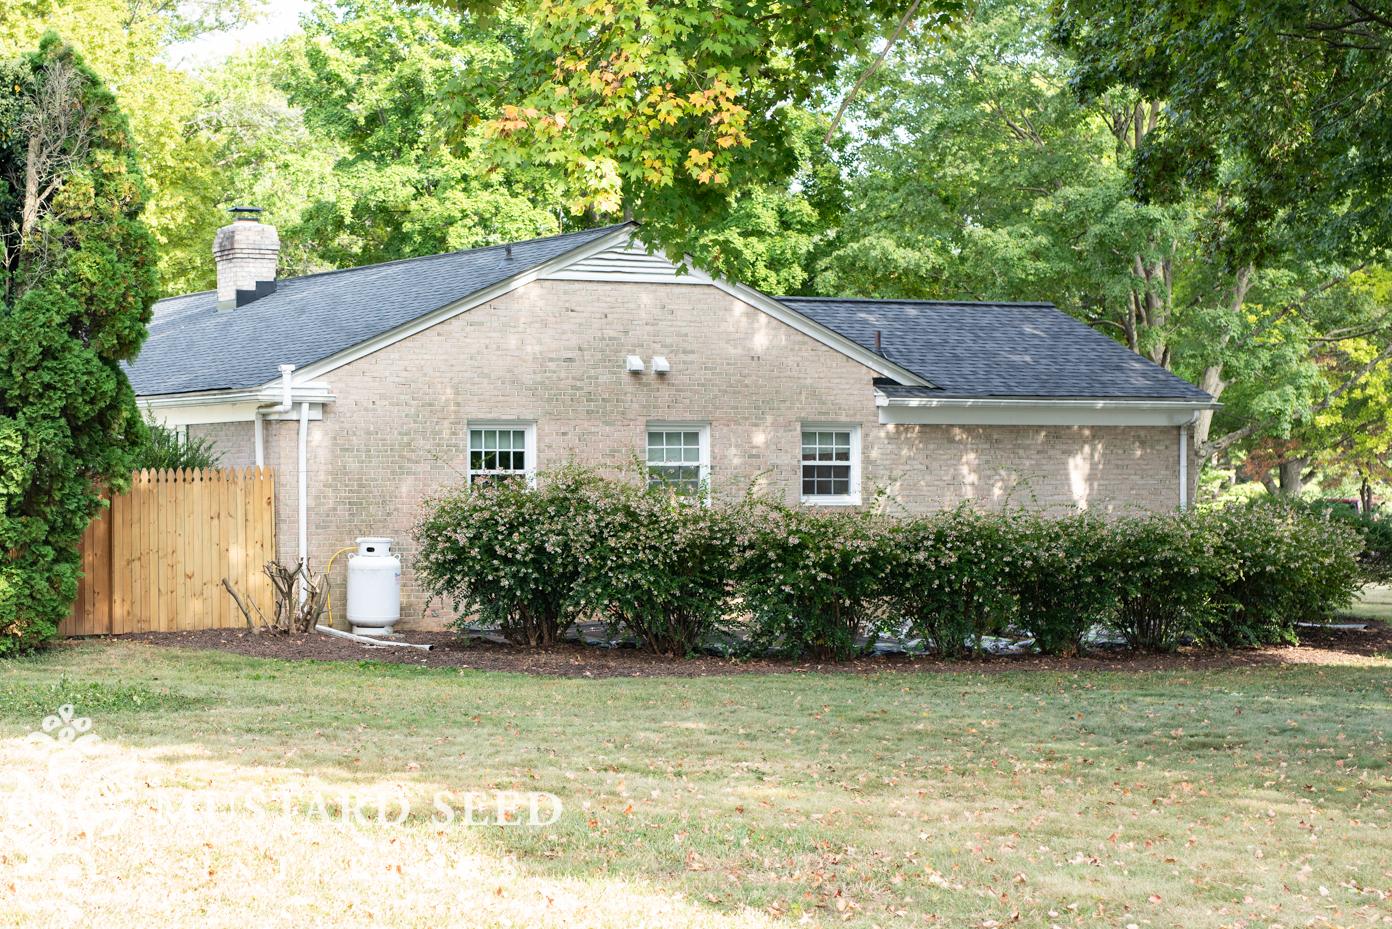
I can’t wait to share a final before & after of this side of the house. This entire area was so overgrown and infested with ivy that you couldn’t see the house. It’s taken weeks of work, but it’s really coming along! We’re installing the shutters today, and we’ll build a surround (similar to the one we made for the A/C unit) for the propane tank this week.


8 Responses
Hi Marian,
may i ask? what does your propane tank fuel? Just a BBQ ?
I live in CA and ours fuels the furnace and water heater,so it’s much larger.
I have never seen one so small before.
They really do make a difference to the look of the house. They look great! If you don’t mind, can you tell us what brand of drill bit you used? You said it installation so much easier. Thank you.
Yes, I’m going to do a post specifically on the installation.
Thank you!
BRAVO! Looking sooooo good!!!!!
The house is coming along so beautifully. The last 2 pictures of the before/after of that wall are a testament to your hard work. The last picture is very lovely!
Yes, it’s been a lot of hard work!
The Automatic Aluminum Rolling Shutter is an excellent choice for businesses seeking enhanced security and modern design. Crafted from durable aluminum, it offers strong protection against both weather and intruders. The easy-to-use automatic function adds convenience, while its sleek design complements any building’s architecture. This innovative solution perfectly balances practicality and aesthetic appeal, making it ideal for commercial spaces.