

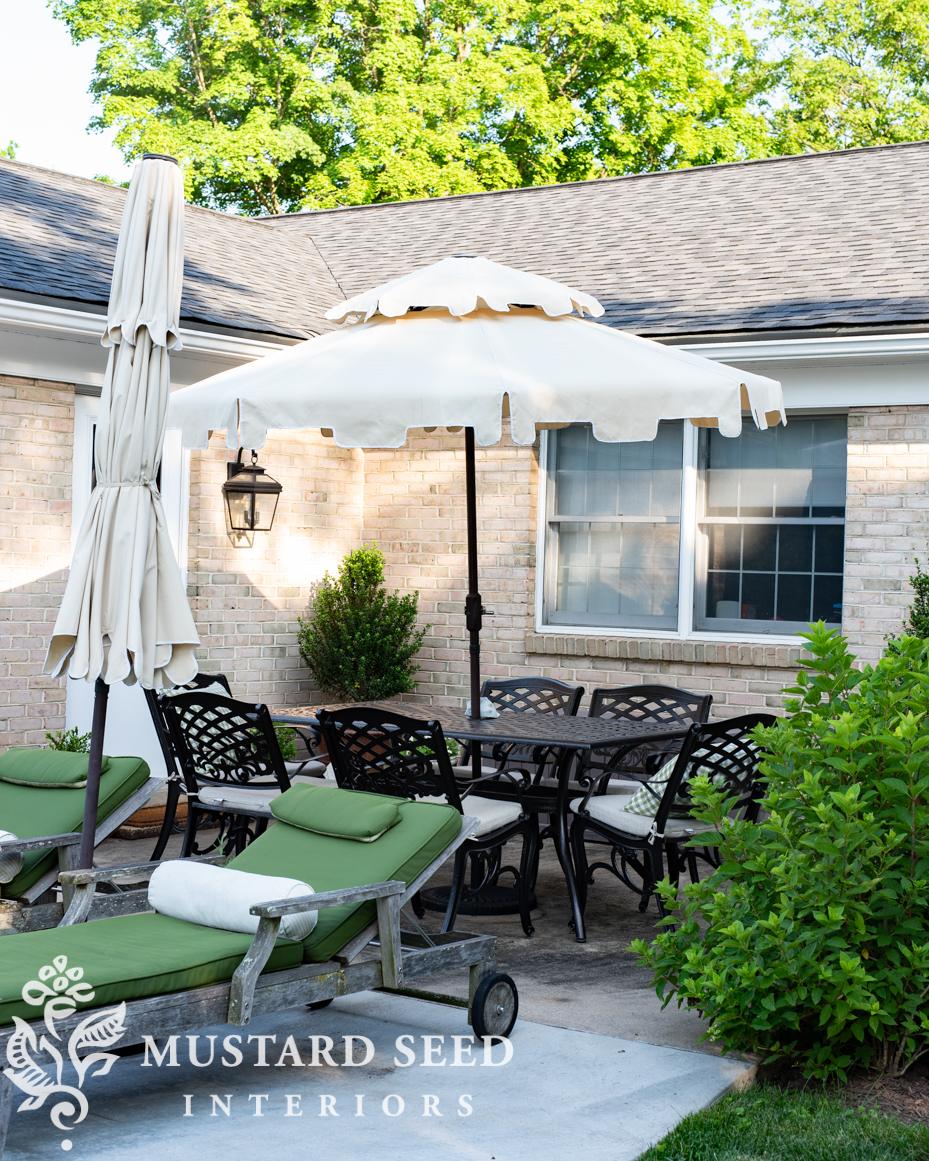
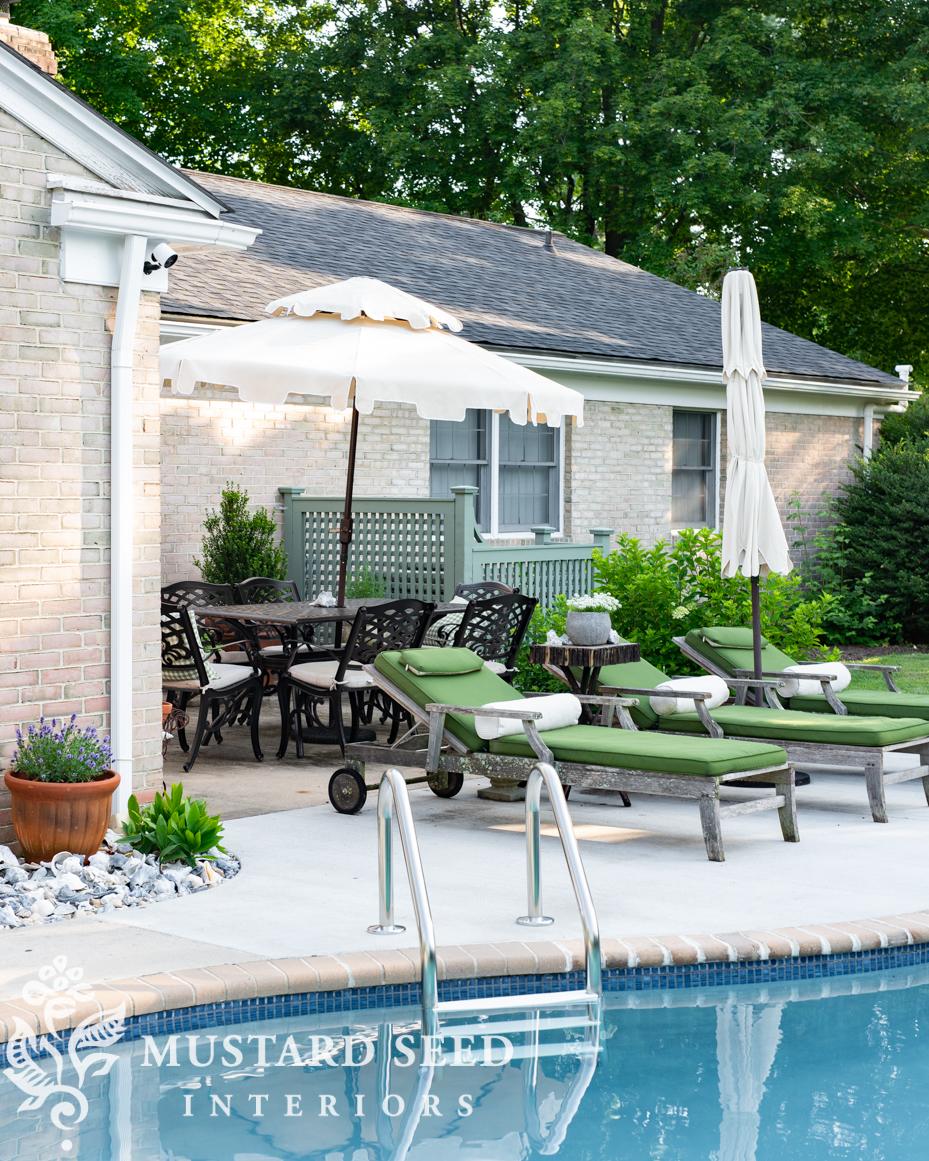
When the weather first started warming up this spring, I had a long to-do list for the back exterior of the house. New windows, paint, and install shutters, build a custom A/C surround, paint the trim, power wash the patio, and work on the garden beds. We’ve been chipping away at these projects over the spring and summer, and I finally checked the last one off the list – hanging the shutters. They had been sitting in the garage for almost a year. I primed and painted them in early summer. They were just waiting to be installed and, now that it’s done, I don’t know why we waited so long! Actually, I do know why. Jeff and I both had the notion that installing shutters on brick would be a tedious project.
We have installed a few things on brick before, and it was a real struggle to drill a deep hole, even with a corded drill and masonry bit. Jeff estimated it would take a couple of hours just to drill the holes.
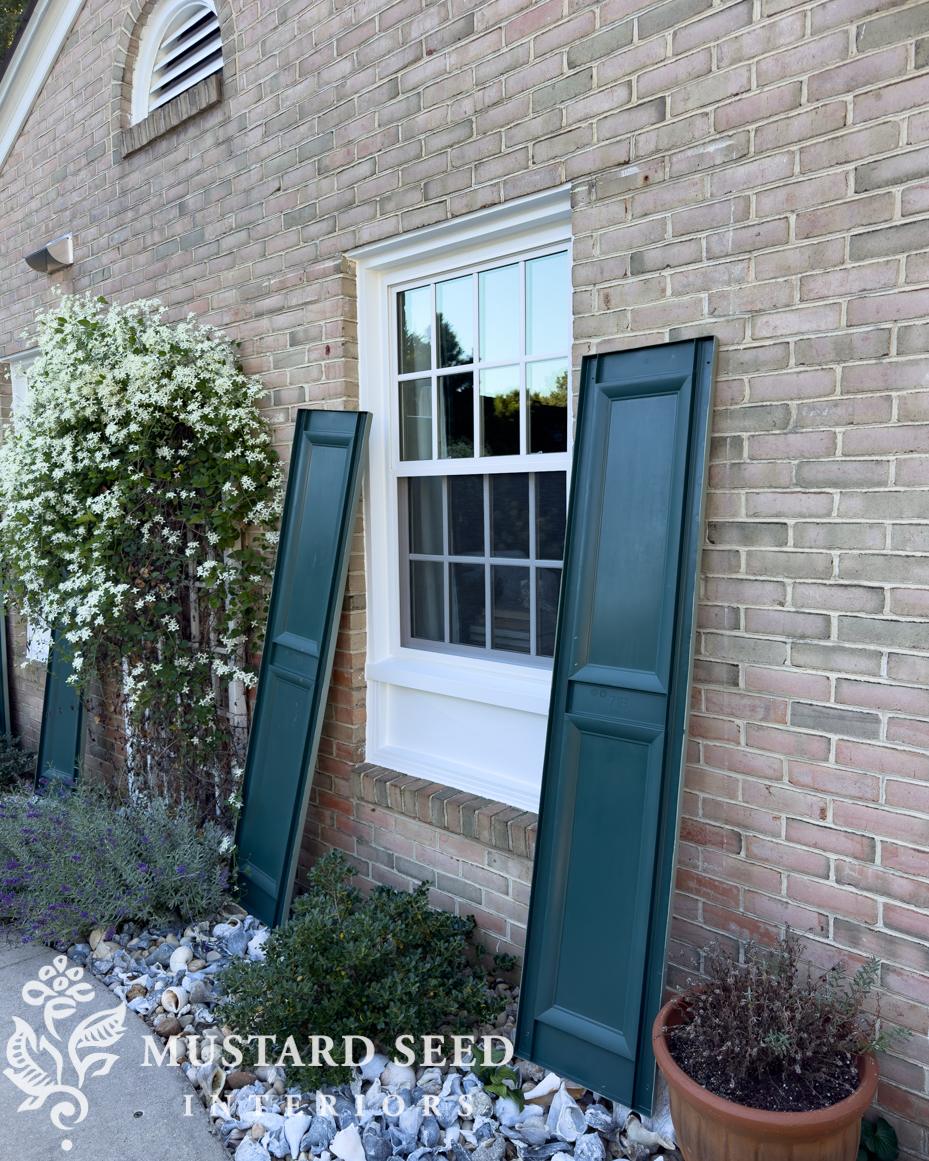
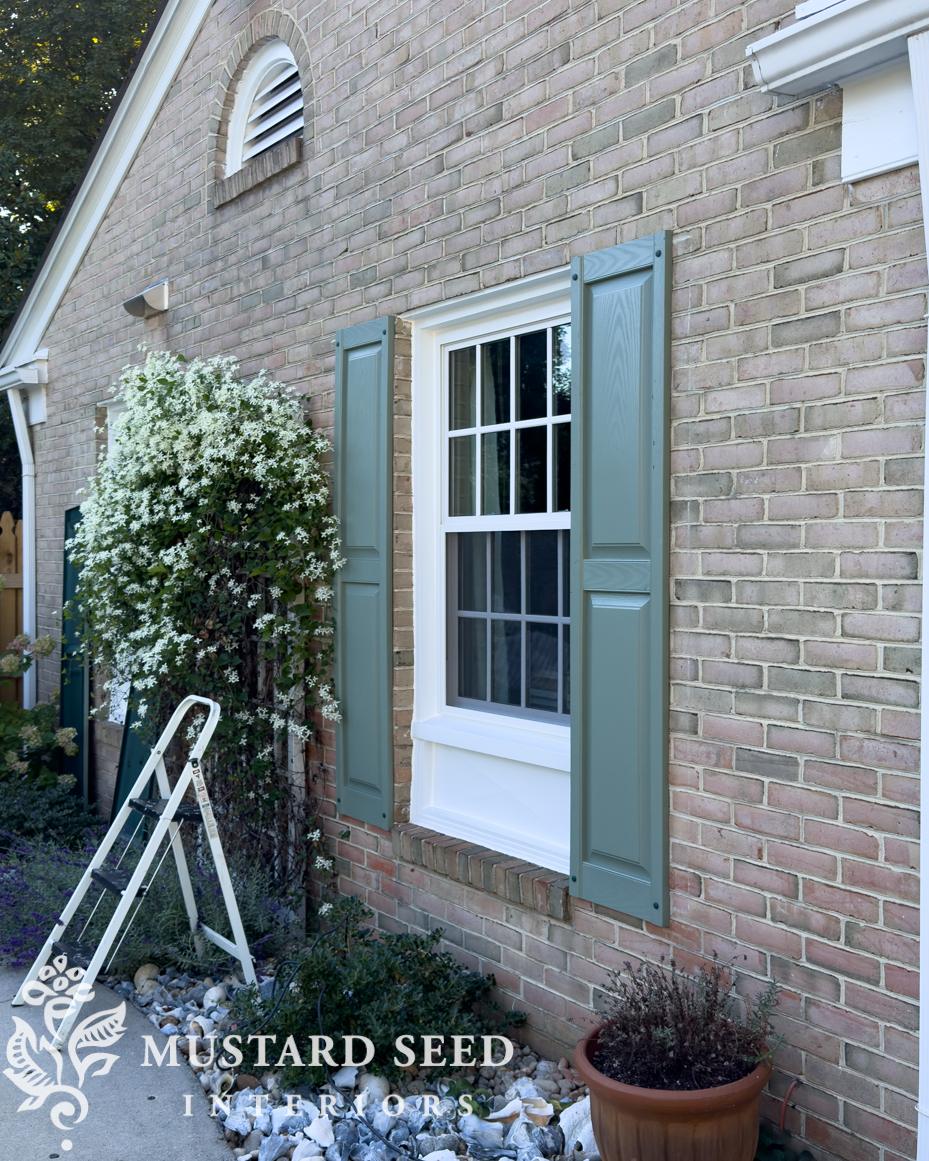
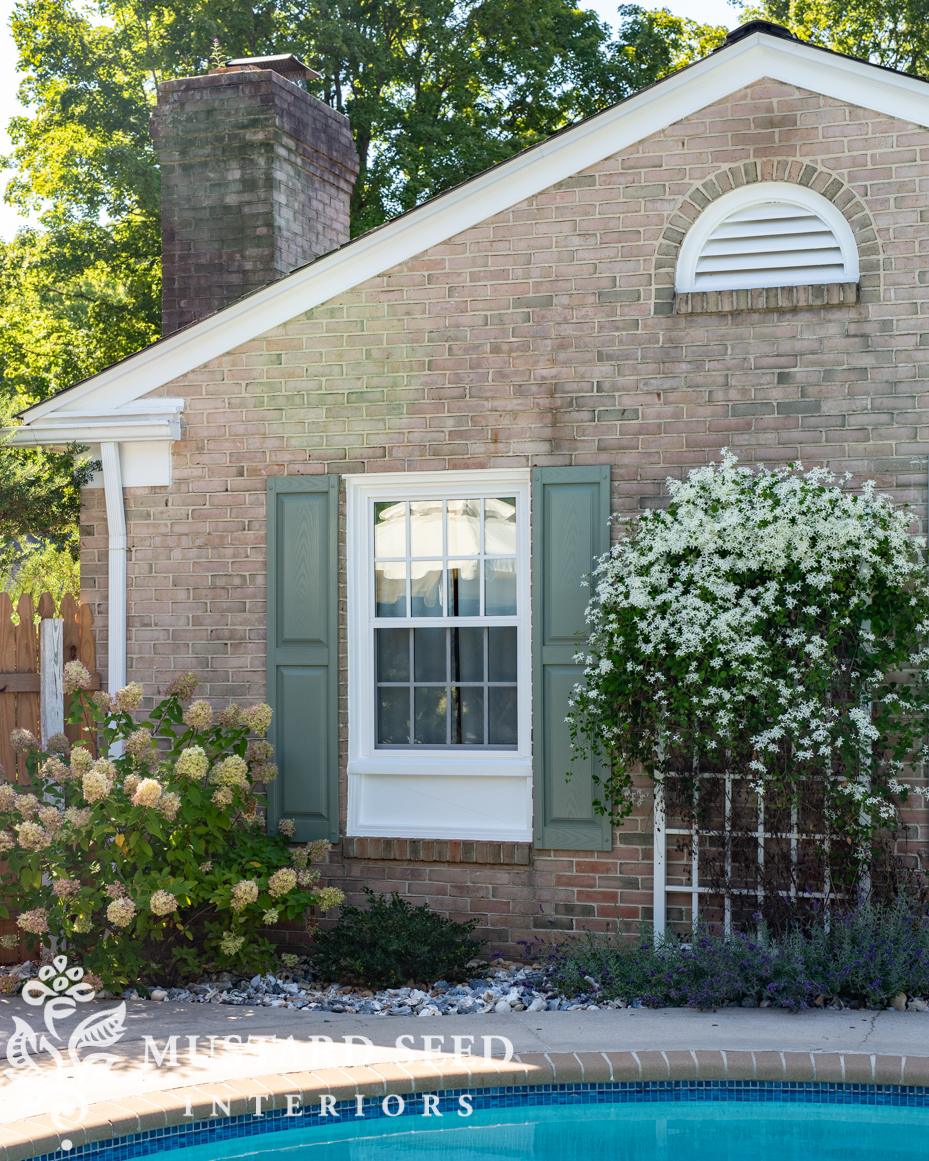
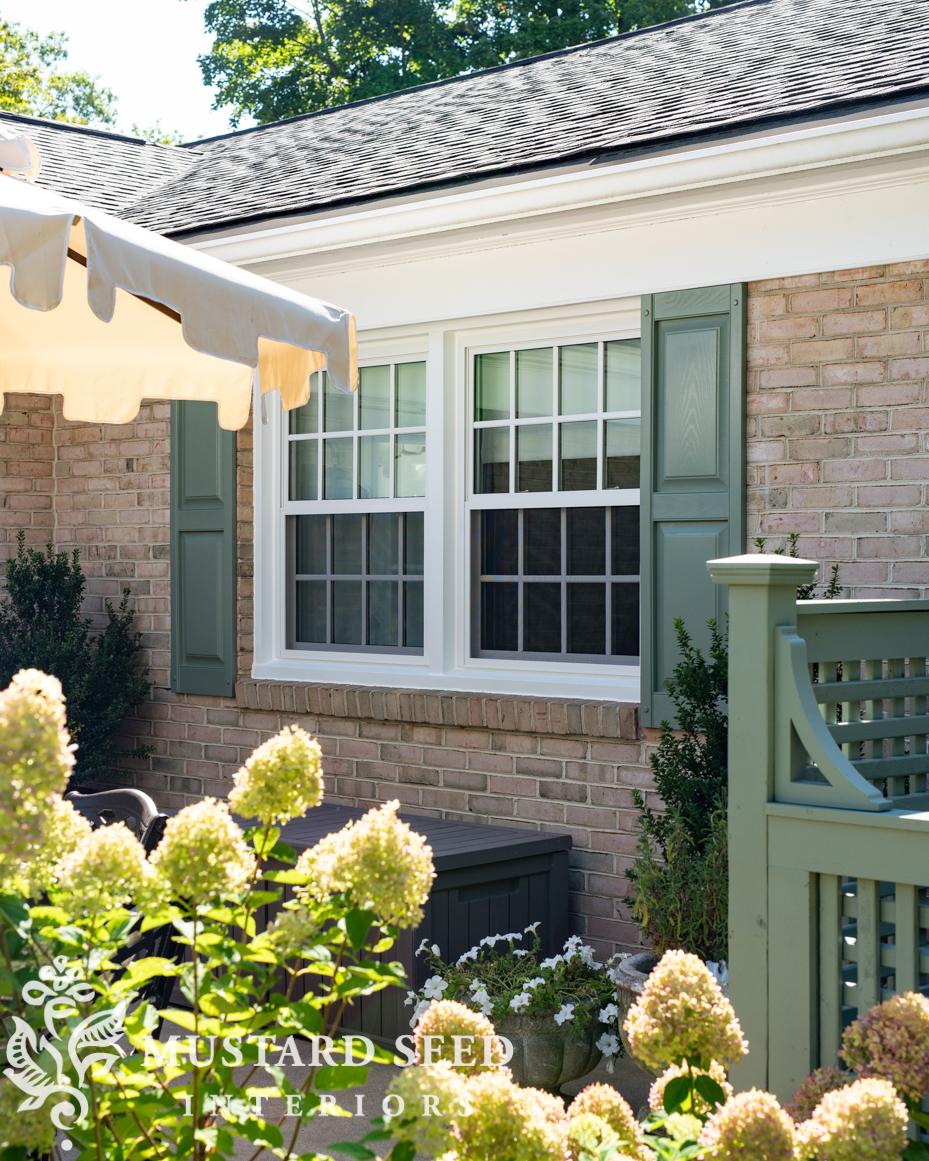
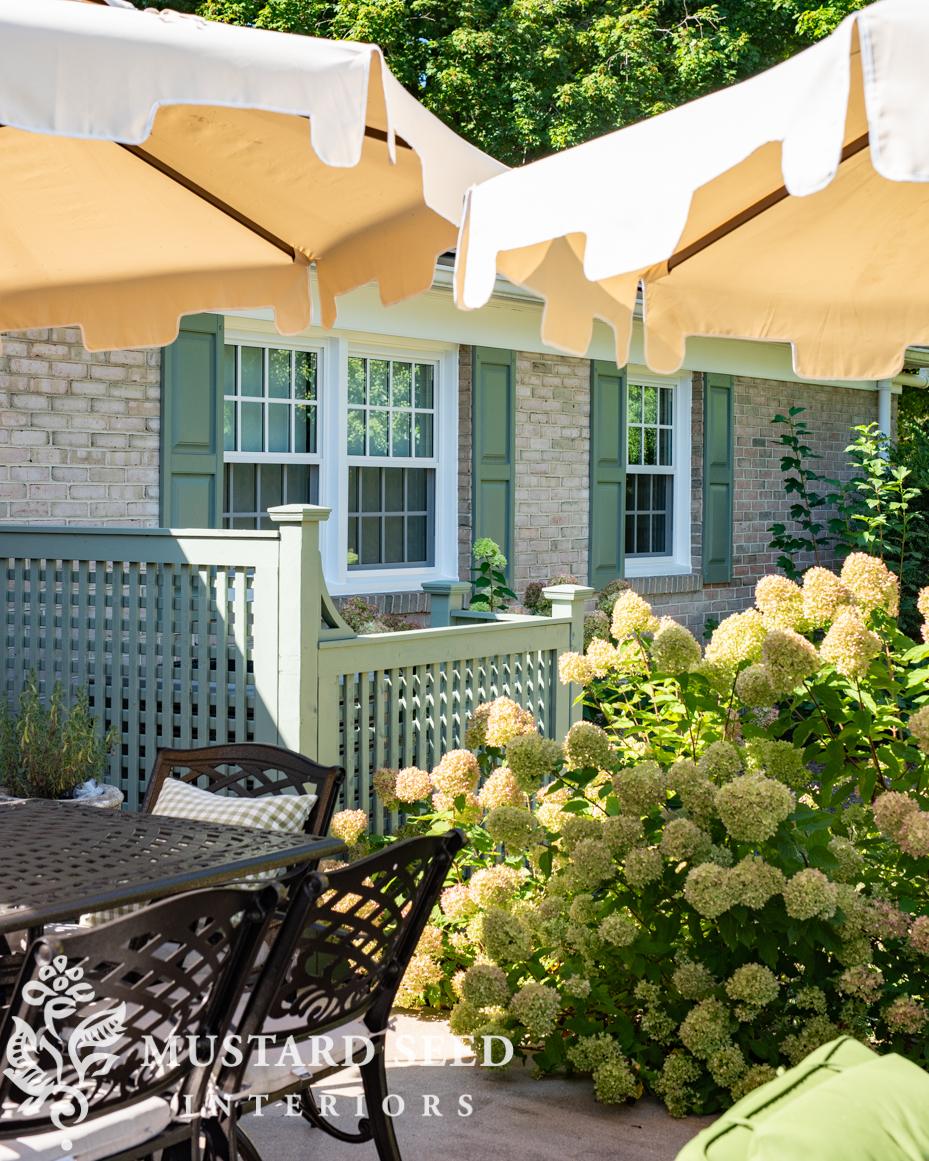
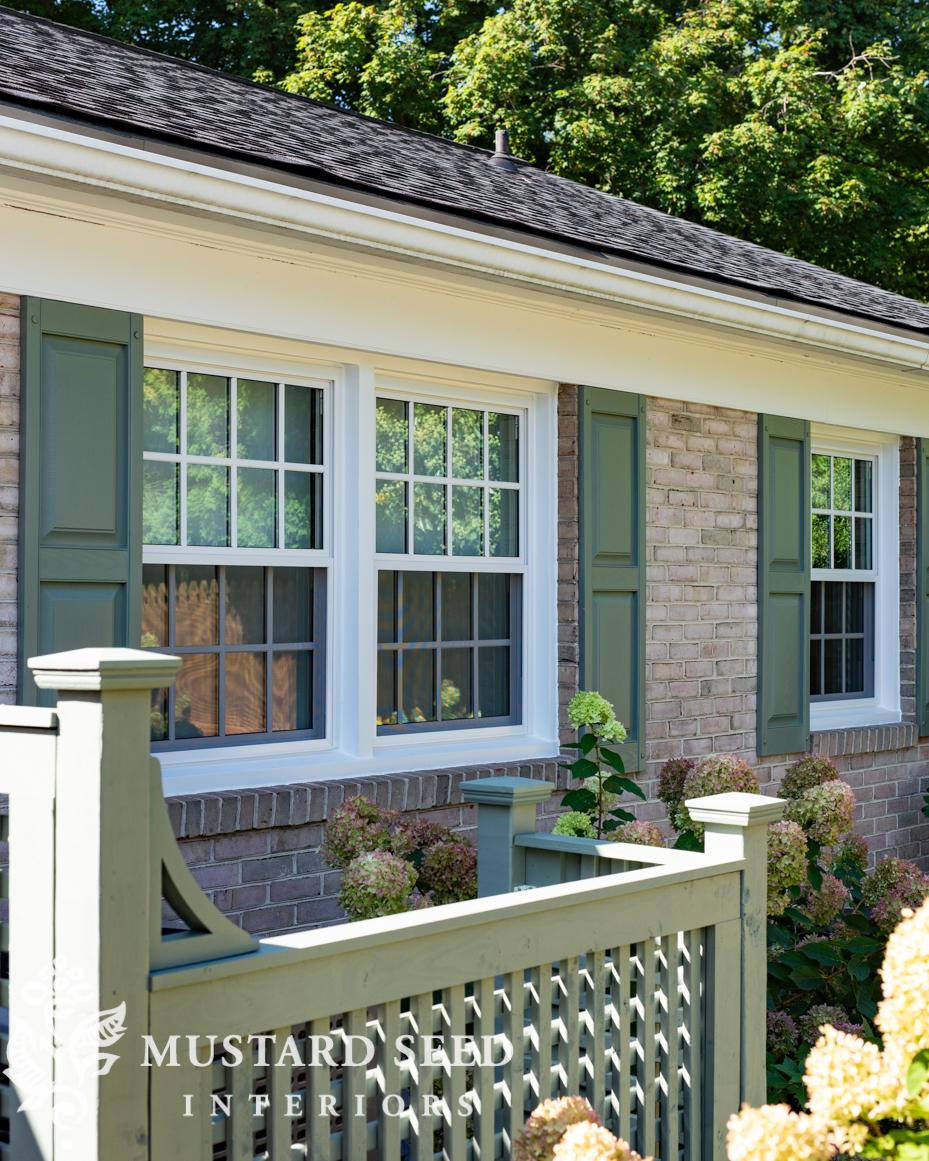
So, over the holiday weekend, we decided to get started. THESE are the shutters we installed, which matched the ones already hanging in the front. I primed and painted them in Card Room Green. (You can read about painting the shutters HERE).
I made a template out of cardboard so the holes would be in the same spot on all of the shutters. I marked the shutters, and Jeff drilled the holes. We then used each shutter as a template to mark where to drill in the brick. (As a little note, these shutters have a top and a bottom, which we didn’t realize when we installed them on the garage window in the front. One shutter is upside down on three windows along the front! We made sure all of these shutters were installed the right way.)
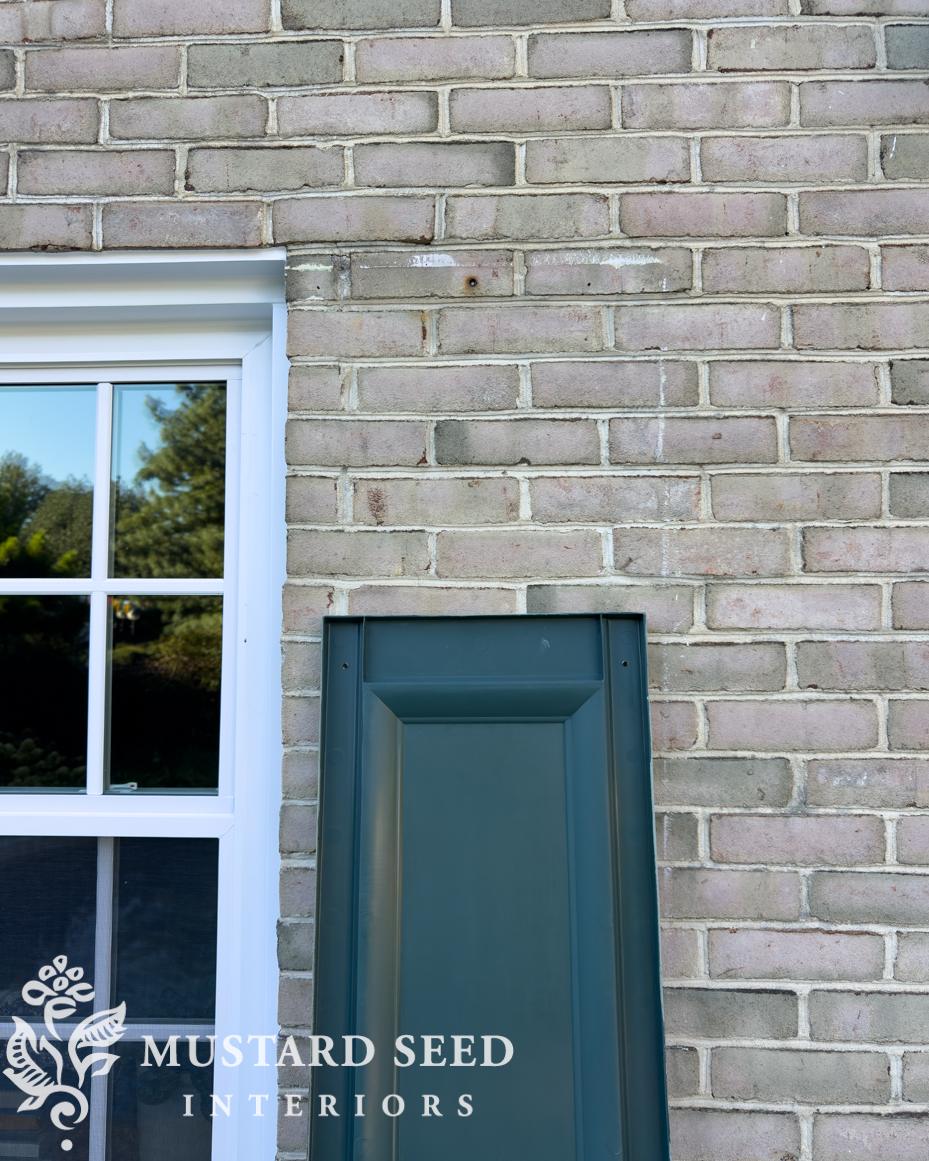
If you look carefully, you can see the Sharpee marks where Jeff would drill the holes. The large hole in the middle was the old anchor for the original wood shutters that had long since rotted and been removed. You can even see the ghost of an old paint job from the original shutters.
Jeff had purchased a new masonry bit for this project, and that ended up being the secret to an easy and quick install. We’ve never seen a masonry bit work so well! I’m not sure what has been wrong with previous bits we used, but this one went through the brick like butter. Jeff and I looked at each other with big grins. A project we assumed would span the week turned into something we would finish before breakfast. It usually works the other way with DIY projects!
We used the plastic brick anchor bolts that came with the shutters, and they worked great. We just pounded them into the holes Jeff drilled, and that was it. There is a note on the bag the bolts came in, instructing the user not to paint the head, but I decided to ignore that. I have painted the rest of the bolt heads on other shutters, and it’s been fine. There are times when it’s obvious why you shouldn’t paint something, but I’m not sure about these. I will let you know if anything catastrophic happens.
I was giddy when we were done. I’ve wanted to hang shutters on these windows since we bought the house, so I was overjoyed to see it done. It’s even sweeter because they are framing the beautiful new Window World windows.
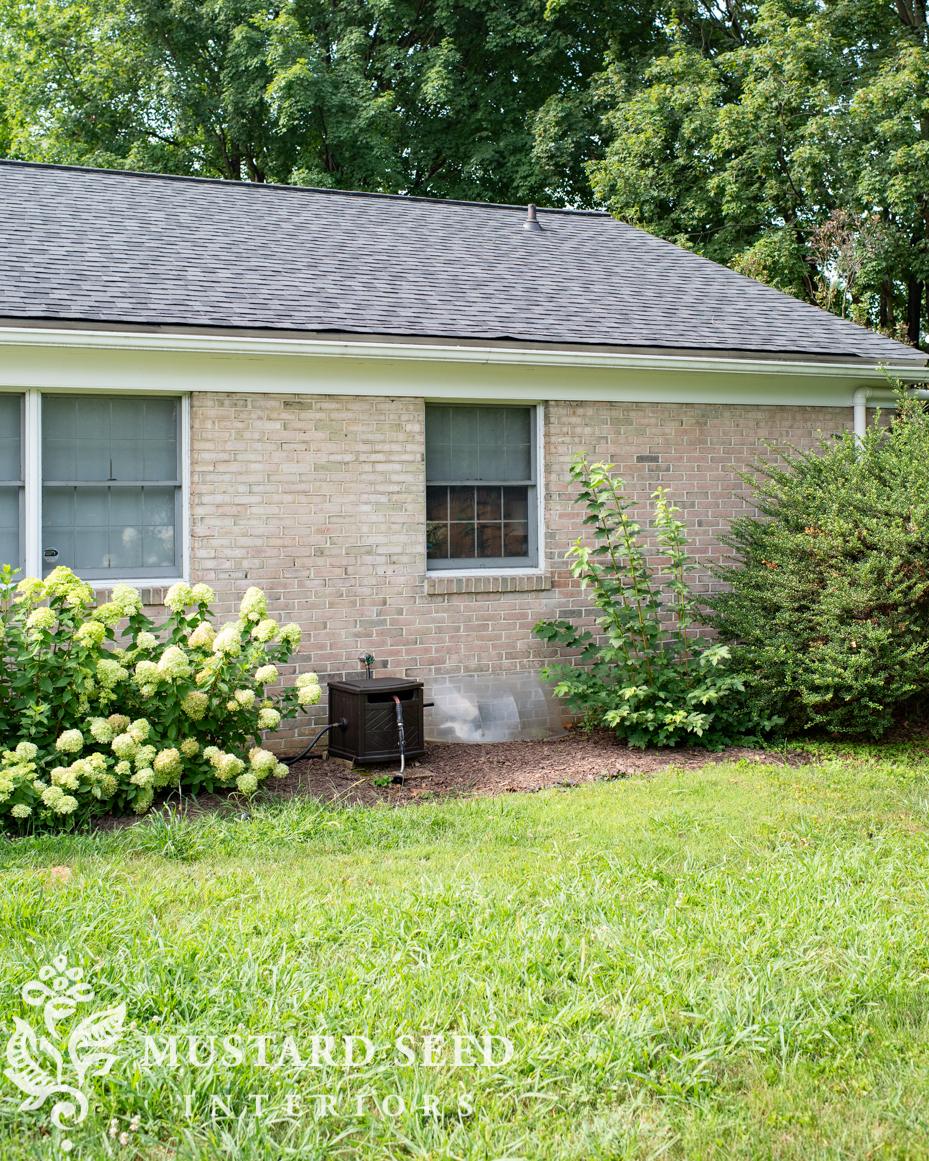
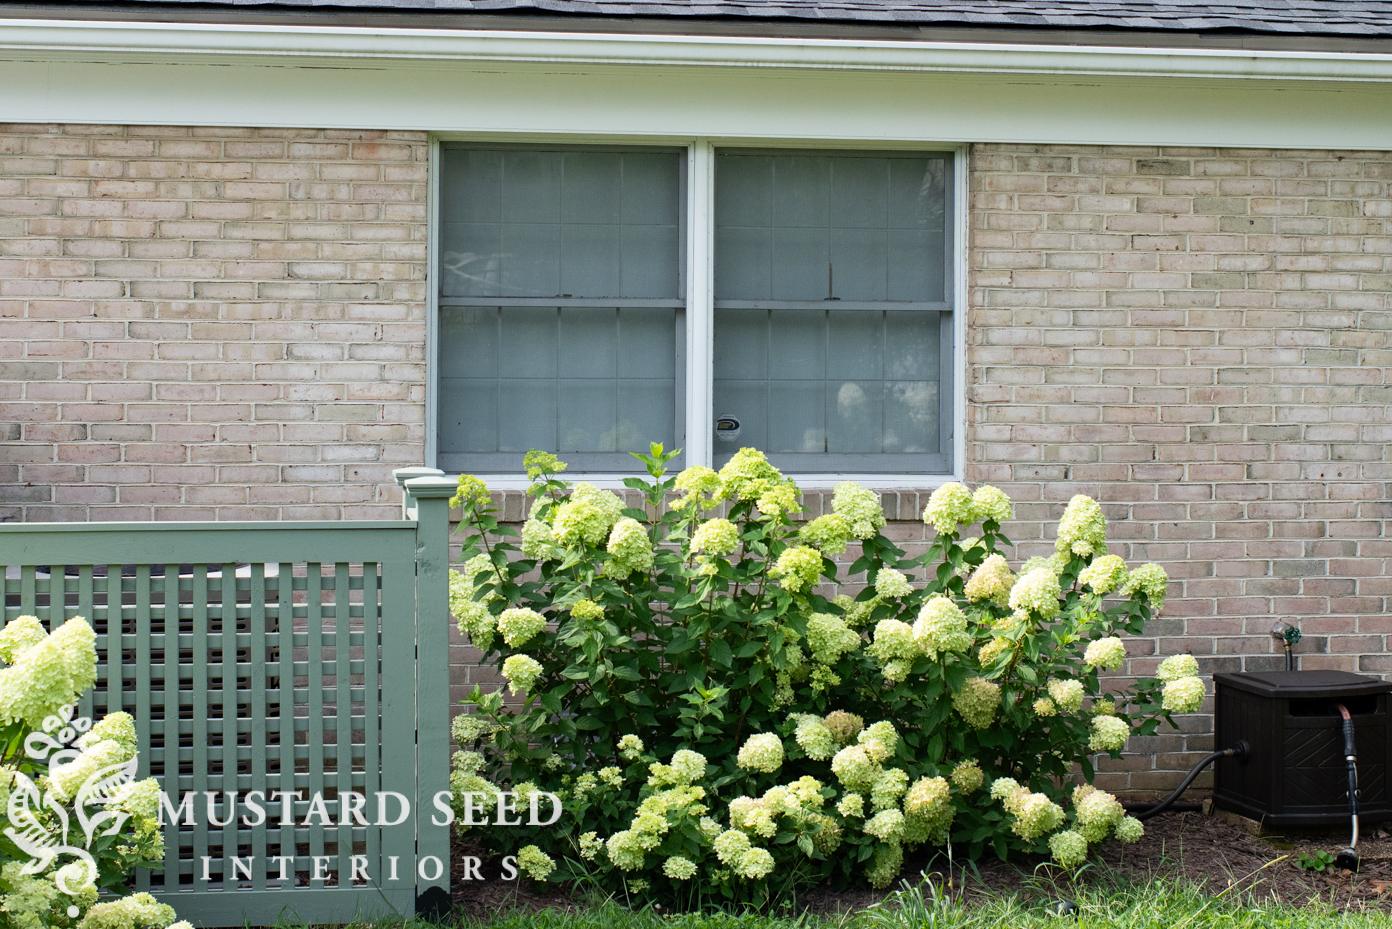
Here is a before…
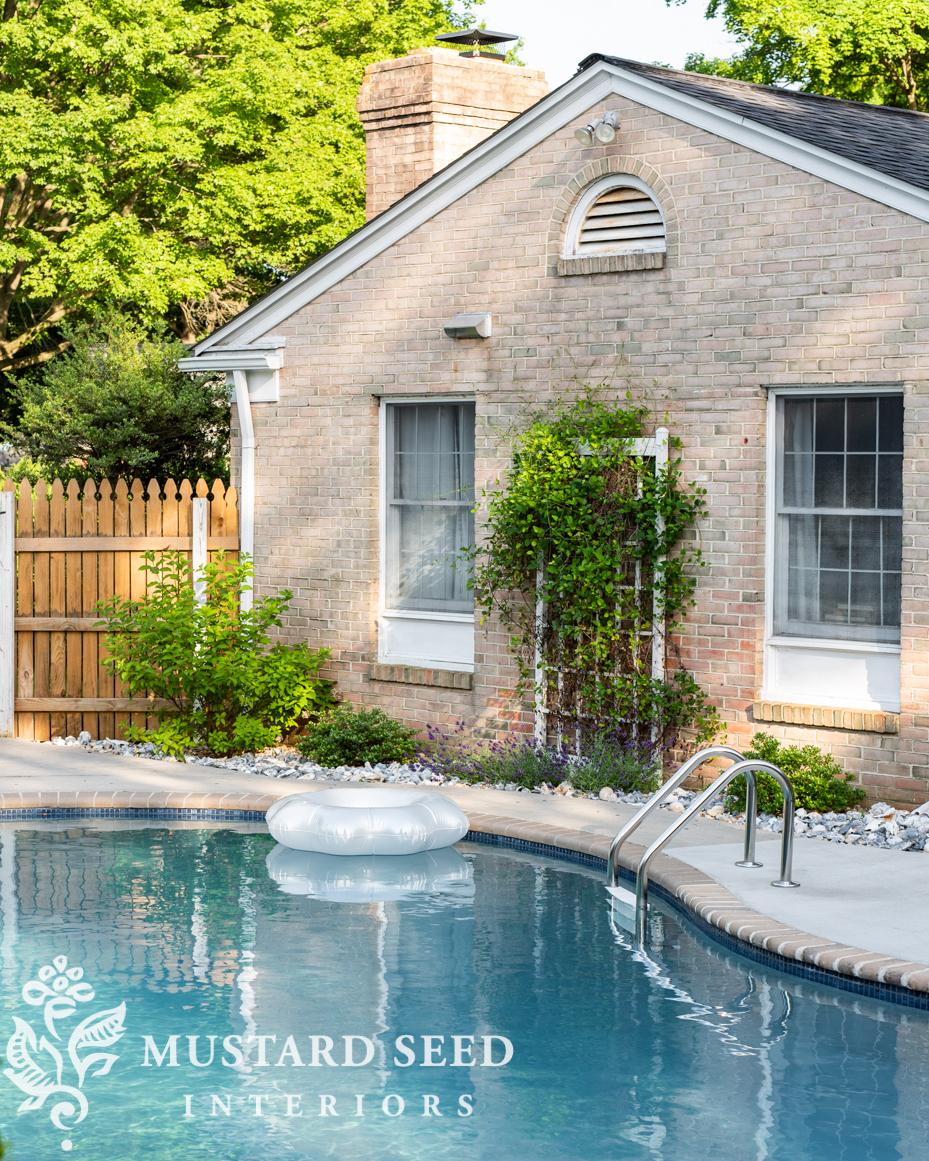
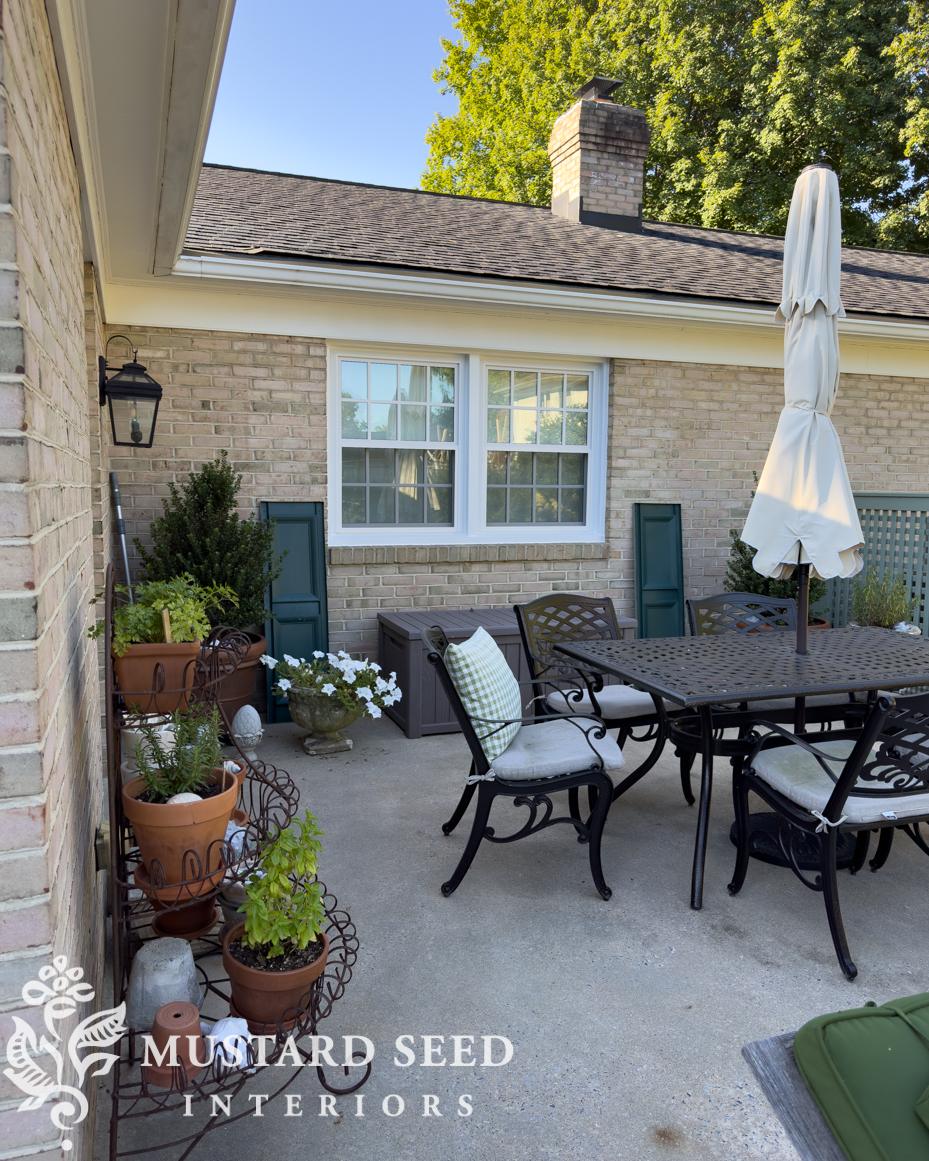
And now with new windows, shutters, and the trim painted…
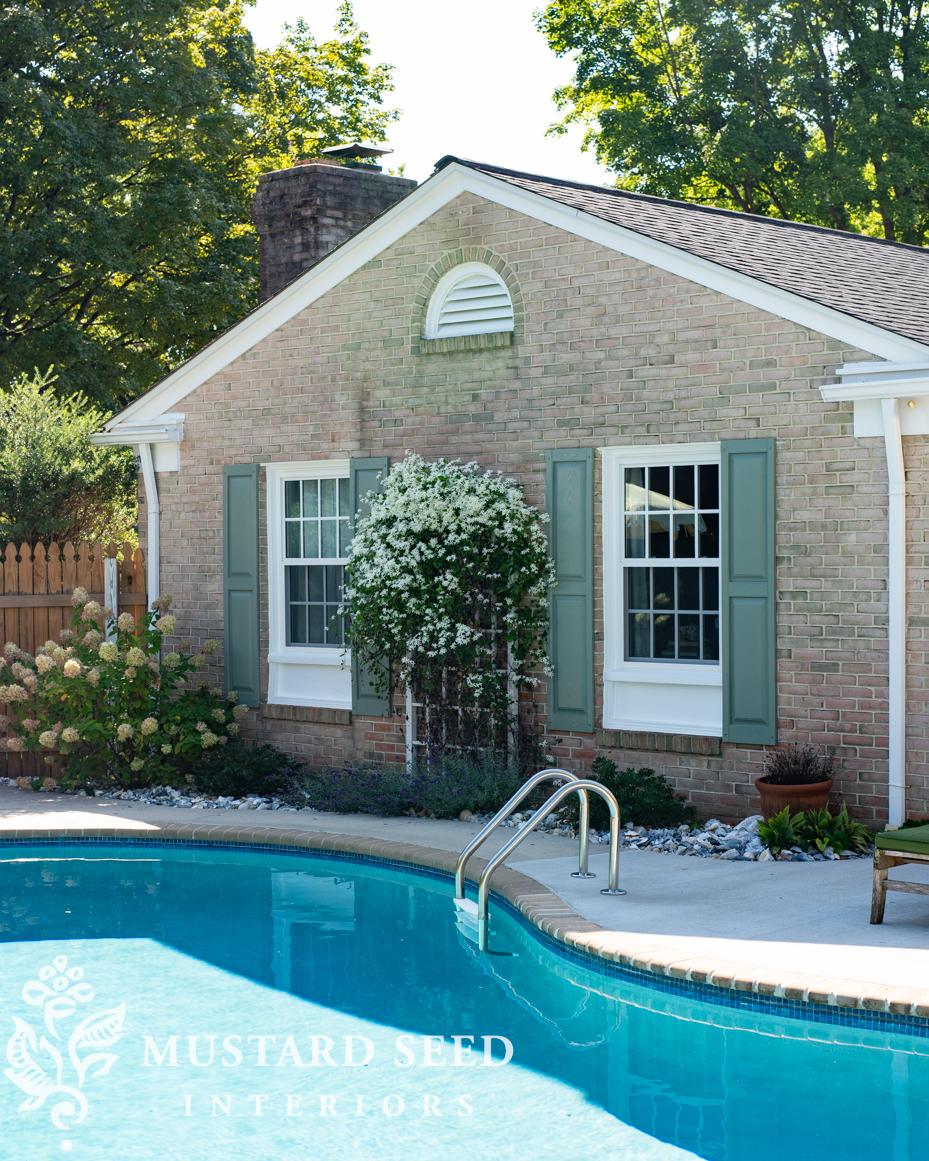
(In case you’re scrutinizing the photos and notice the vent and security light are missing, those are still there in real life. I just edited them out of the pictures.)
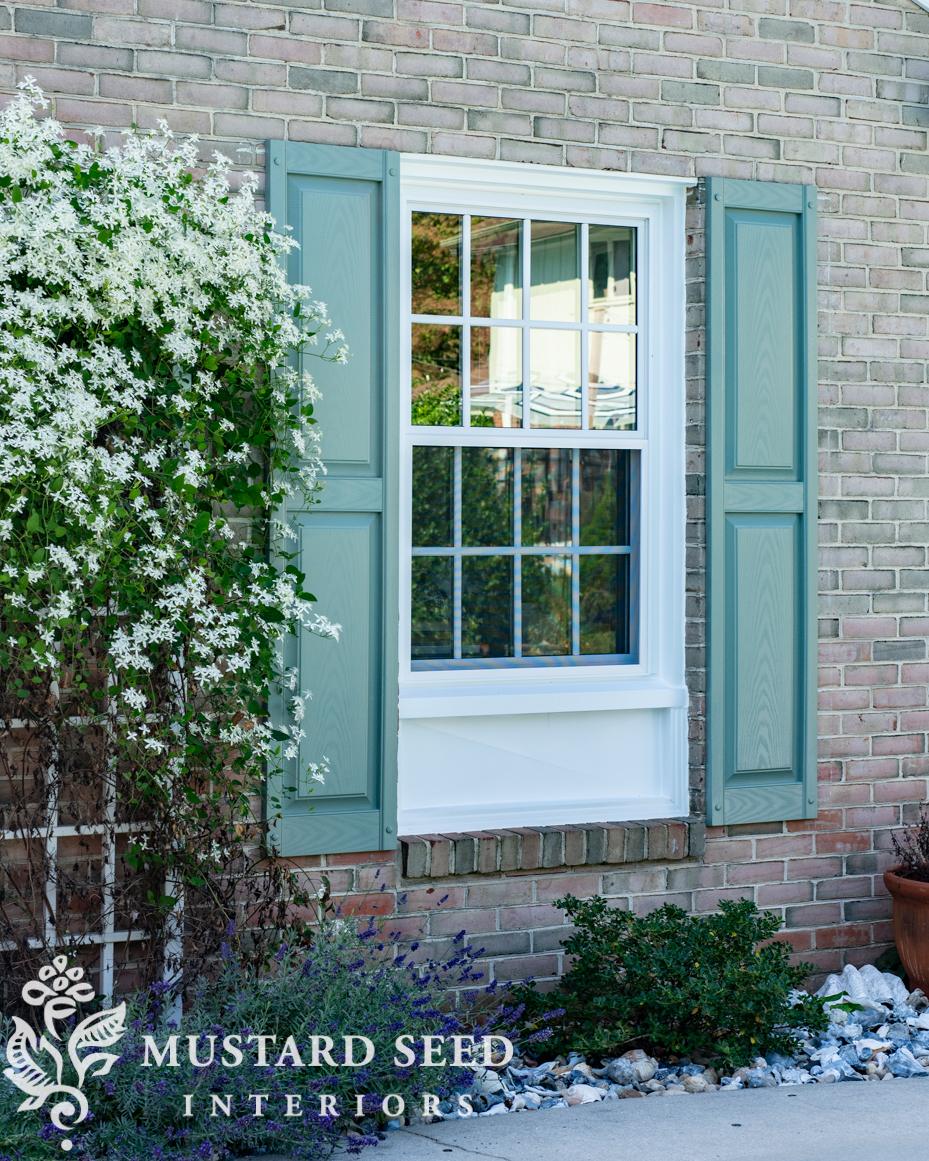
The shutters do exactly what they are supposed to do – they frame the windows and add some architectural interest. Between the new windows and the shutters, the windows have so much more presence and umph!
Here are a few more before & afters…

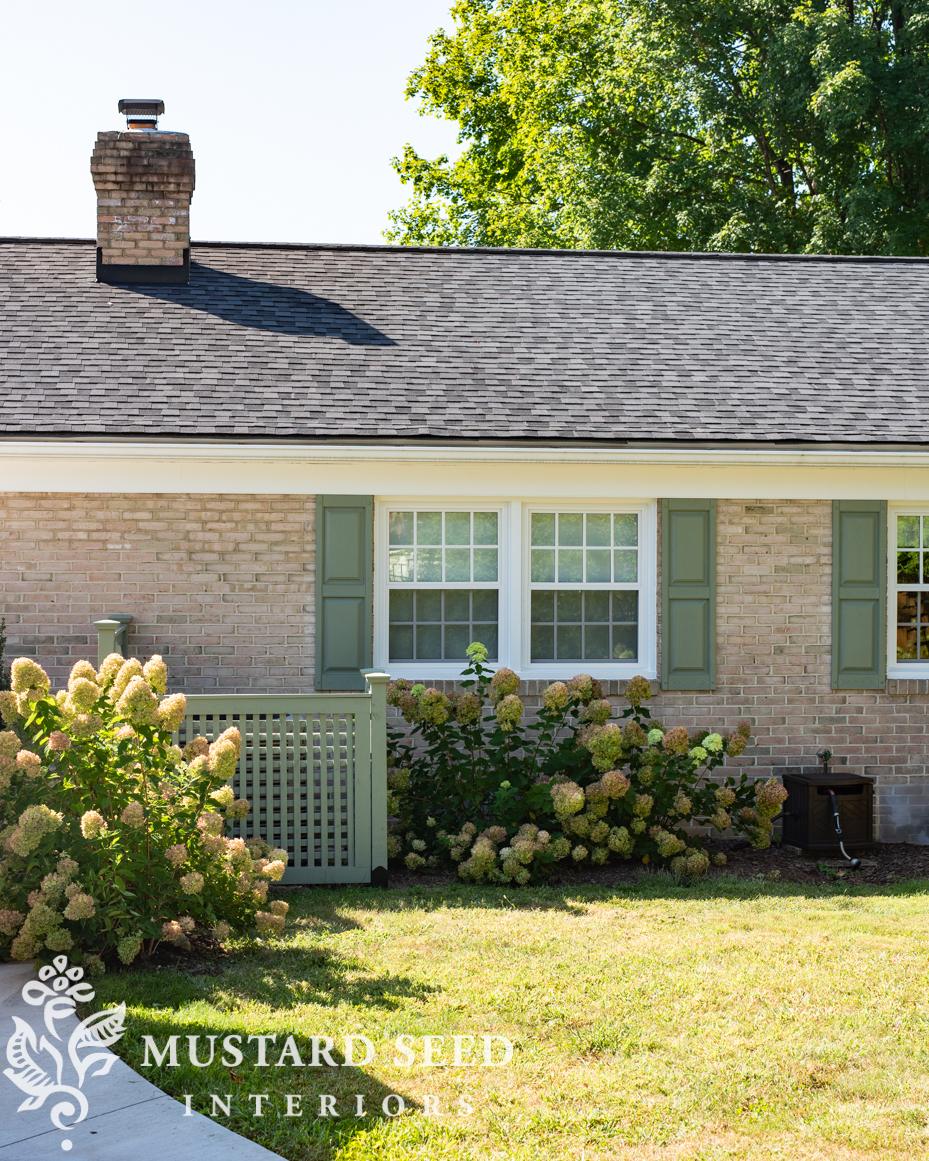
Pretty amazing, right?
You can find more details about other projects we’ve done along the back side of the house below…
Building a Custom A/C Surround
Cleaning Ivy Roots & Stains off Brick


18 Responses
Thanks for those photos of the difference with the shutters. I was thinking of removing mine, but bow I will definitely keep them!!!
Isn’t it funny how something relatively simple can make such a huge difference? The exterior looks great! I know you are pleased and proud.
Wow!
Jackie
What a gorgeous difference that makes!
Adds SOOO much! Looks great!
Vast improvement. I can see why you are happy to have it done. Since you have brick you might want to consider something I have called a hammer drill. It really makes drilling through brick and concrete a breeze.
Where did you get the drill bit and what kind is it? My husband asks do you need a hammer drill?
No, he didn’t use a hammer drill, but used a plug-in drill that has more power than one with a battery.
The shudders look great! It has been fun watching the progress you’re making inside and out. Can you share what masonry bit you used. I have a brick rancher as well and always dread drilling anything into the brick. Thank you.
Yes, I will get the details from Jeff.
Thank you!
WOW!!!!!! What a huge difference it makes. And yipppeeeee cartwheeling happy about it actually being an easy project instead of nothing but aggravation. Yay to that. Looks absolutely stunning.
LOVE shutters!!!! Adds so much homeyness.
I get it on putting projects off for fear of it not going well. I live on “Rose Lane”, I had a custom address sign made with roses trim…came out beautiful. It needed to be drilled into stucco. I put it off for 2 years!!! Afraid to drill. Couldn’t find someone willing to try….or I could trust. I’ve had a few issues with handymen. Finally, I went down and bought a new bit and tackled it myself. It WAS SO simple!!! Got it up straight and all!!! Oh!…I did say a prayer before I started.
Oh my gosh.. Those shutters are beautiful!!! What an amazing difference they make. I’ll have to do a walk around to see if shutters can be used on my house. Also,is that Sweet Autumn growing on that trellis??? Looks lovely on your house…. so invasive I dug mine out!!!
I may have missed the info, but did you prime the shutters before painting and if so, what method did you use (spray, brush,mini-roller)? Also, what type of paint? We need to buy a few new ones and need to match them up by painting the old ones that are faded.
Fantastic job on those windows and shutters! Such a vast positive change to the look of the house on ALL sides! WOW!
THX for sharing “how-to do”!
Beautiful!!
Can u tell us where u purchased the shutters that were easy to hang and the type of drill bit u used? They look wonderful. Shutters add so much to the home’s beauty. Thx.
Yep, we have a few more shutters to hang, so I’ll make a tutorial.