
When I typed out the title of this post, I realized I needed to make a distinction. “My favorite paint tools” was a bit too broad given that I do a few different types of painting! In this instance, I’m hot off the heels of priming the new trim in the hallway and the ceiling and walls in the kitchen and it seemed like a good time to share some of my favorite tools for getting a professional result.
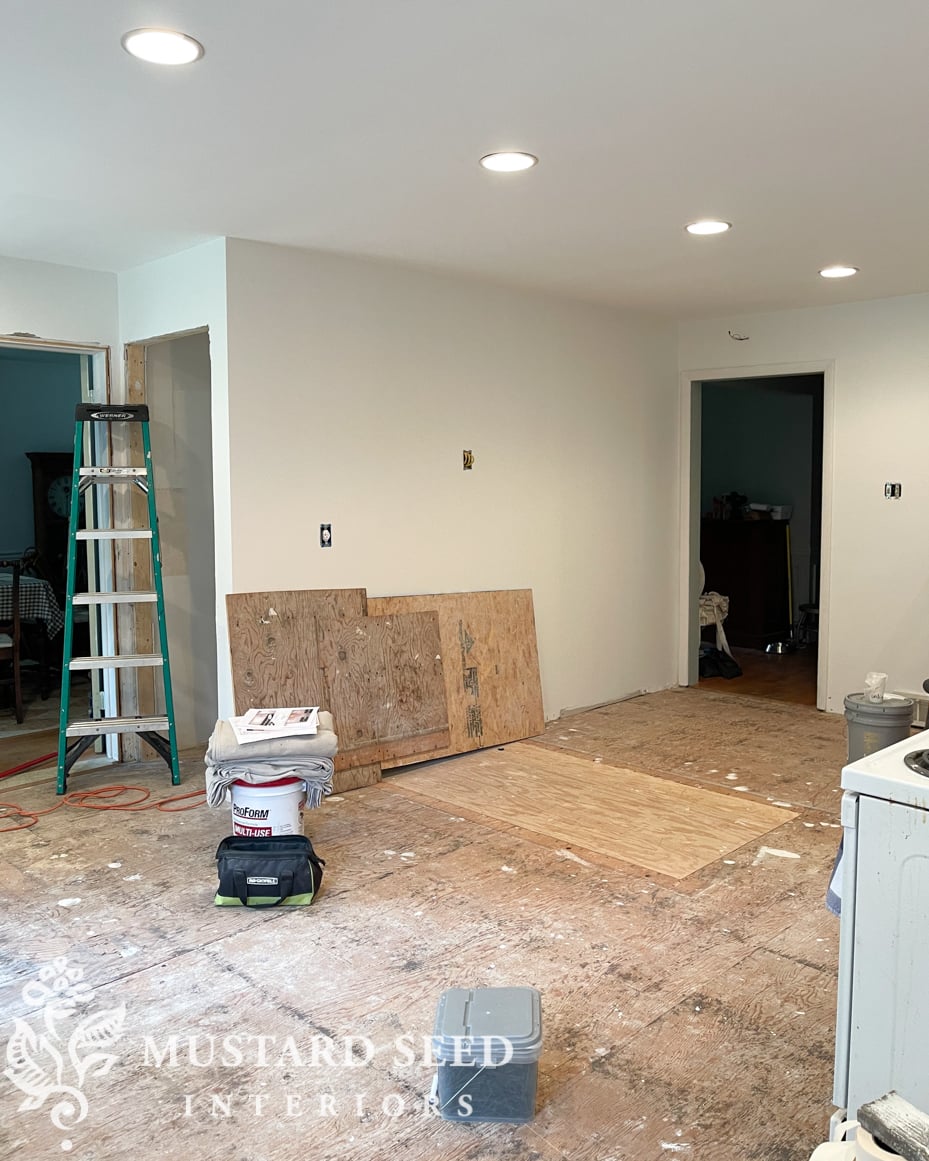
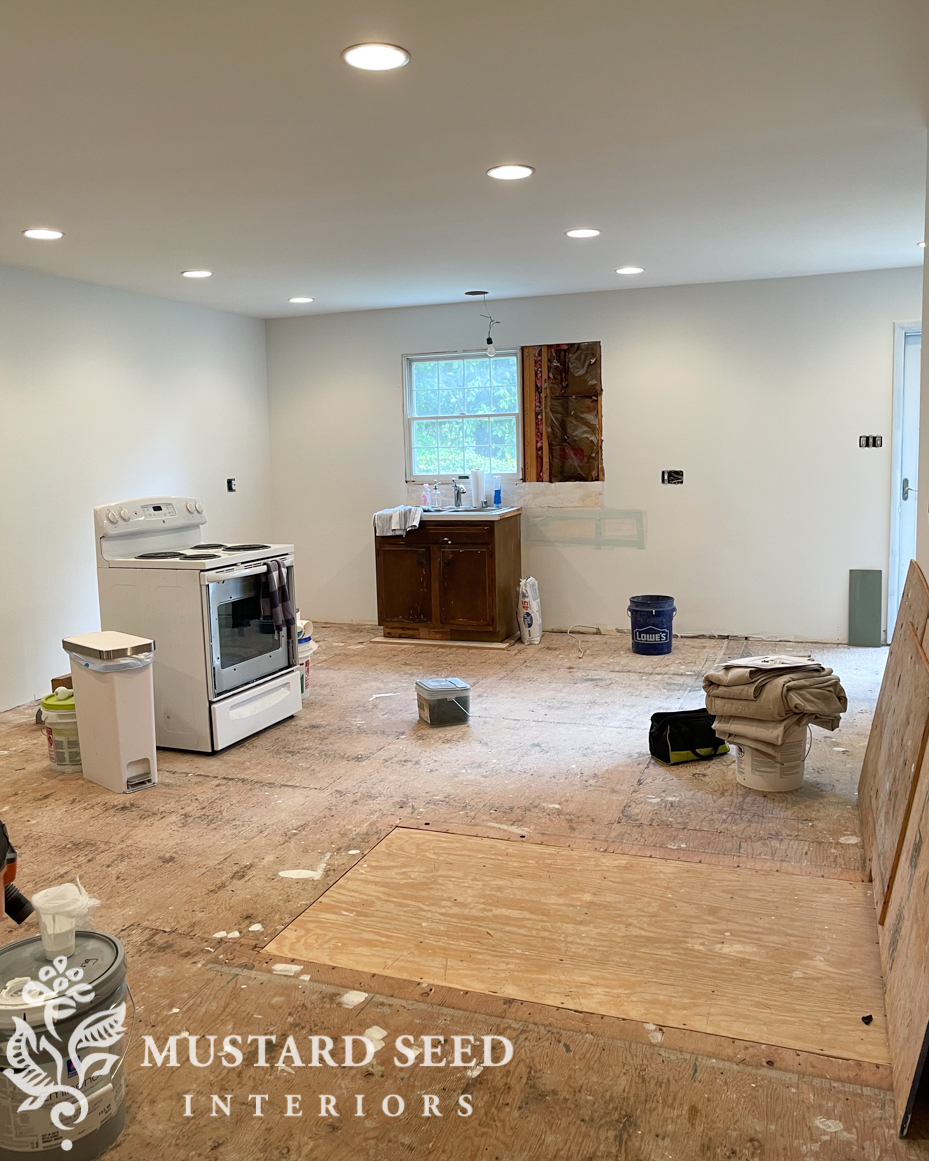
Speaking of the kitchen, it is really starting to come along. I primed and painted the ceiling on Wednesday and Thursday to prepare for the electricians to install the new recessed lights on Friday. Oh man, having a clean, white ceiling and lots of light looks amazing. With just two overhead light fixtures, this room was sooooo dark. Bringing in natural, task, and ambient lighting was a top priority. It’s possible that I’ll add some fixtures over the table or island in the future, but I’m not 100% sure where those will be placed in the space, yet, so I can make that decision later. For now, we have an all-over flood of light.

We also have a new staircase to the basement and the door should be installed this week so we don’t have to cover the opening with plywood to keep the cats out any longer. They were little stinkers and made it through my makeshift barricade the first night we had a staircase, so we had to screw a piece of plywood up to foil their curiosity and athleticism.
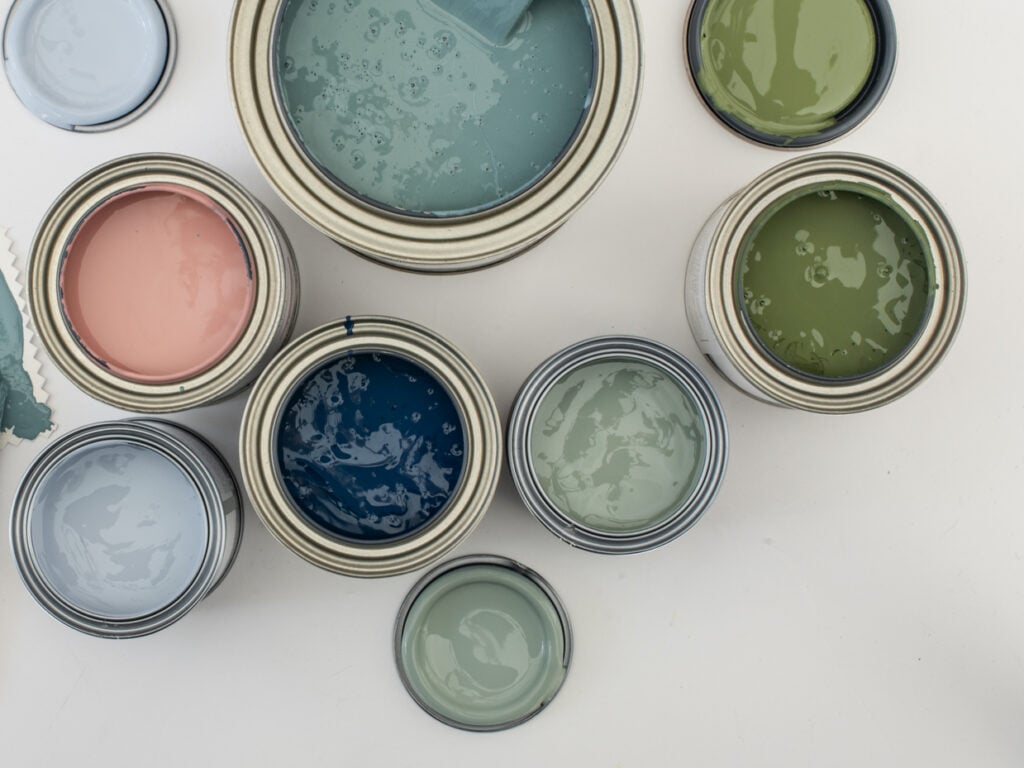
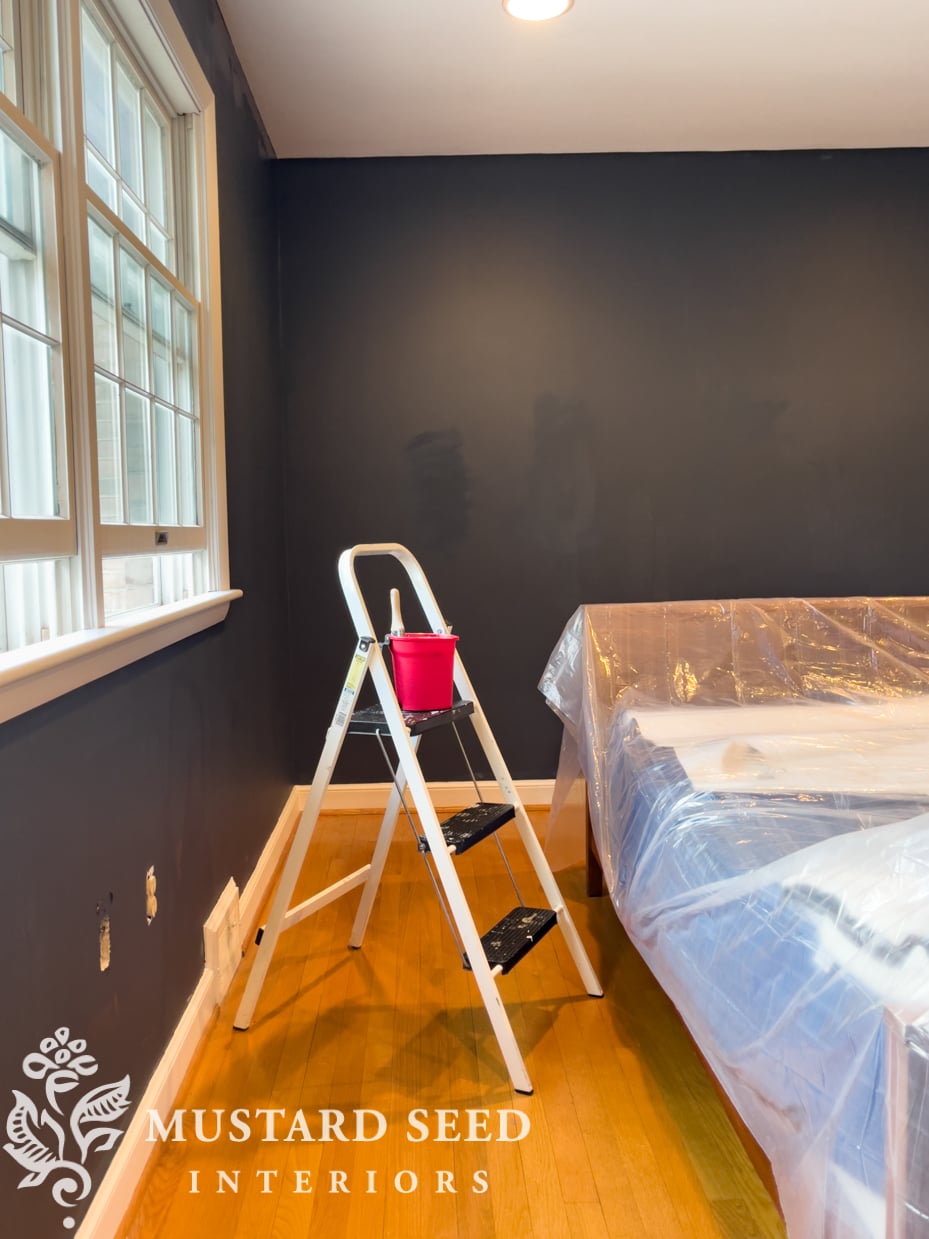
I painted the walls in Pure White by Sherwin Williams in Matte Emerald just to keep the walls fresh and neutral. With the strong green cabinets and warm oak floors, I am not sure what I want to do on the walls, yet. I am definitely leaning towards some hand-painted treatment for the large expanses of wall, but I don’t know if that will be a mural or perhaps a pattern to simulate wallpaper. This gives me a clean slate while I figure it out.
The windows (for the kitchen, dining room, and garage) arrive at the warehouse later this week, our floors are being milled today and should be delivered tomorrow, and the basement door will also arrive this week. It’s going to be so exciting to see the kitchen come back to life after all of the demolition.

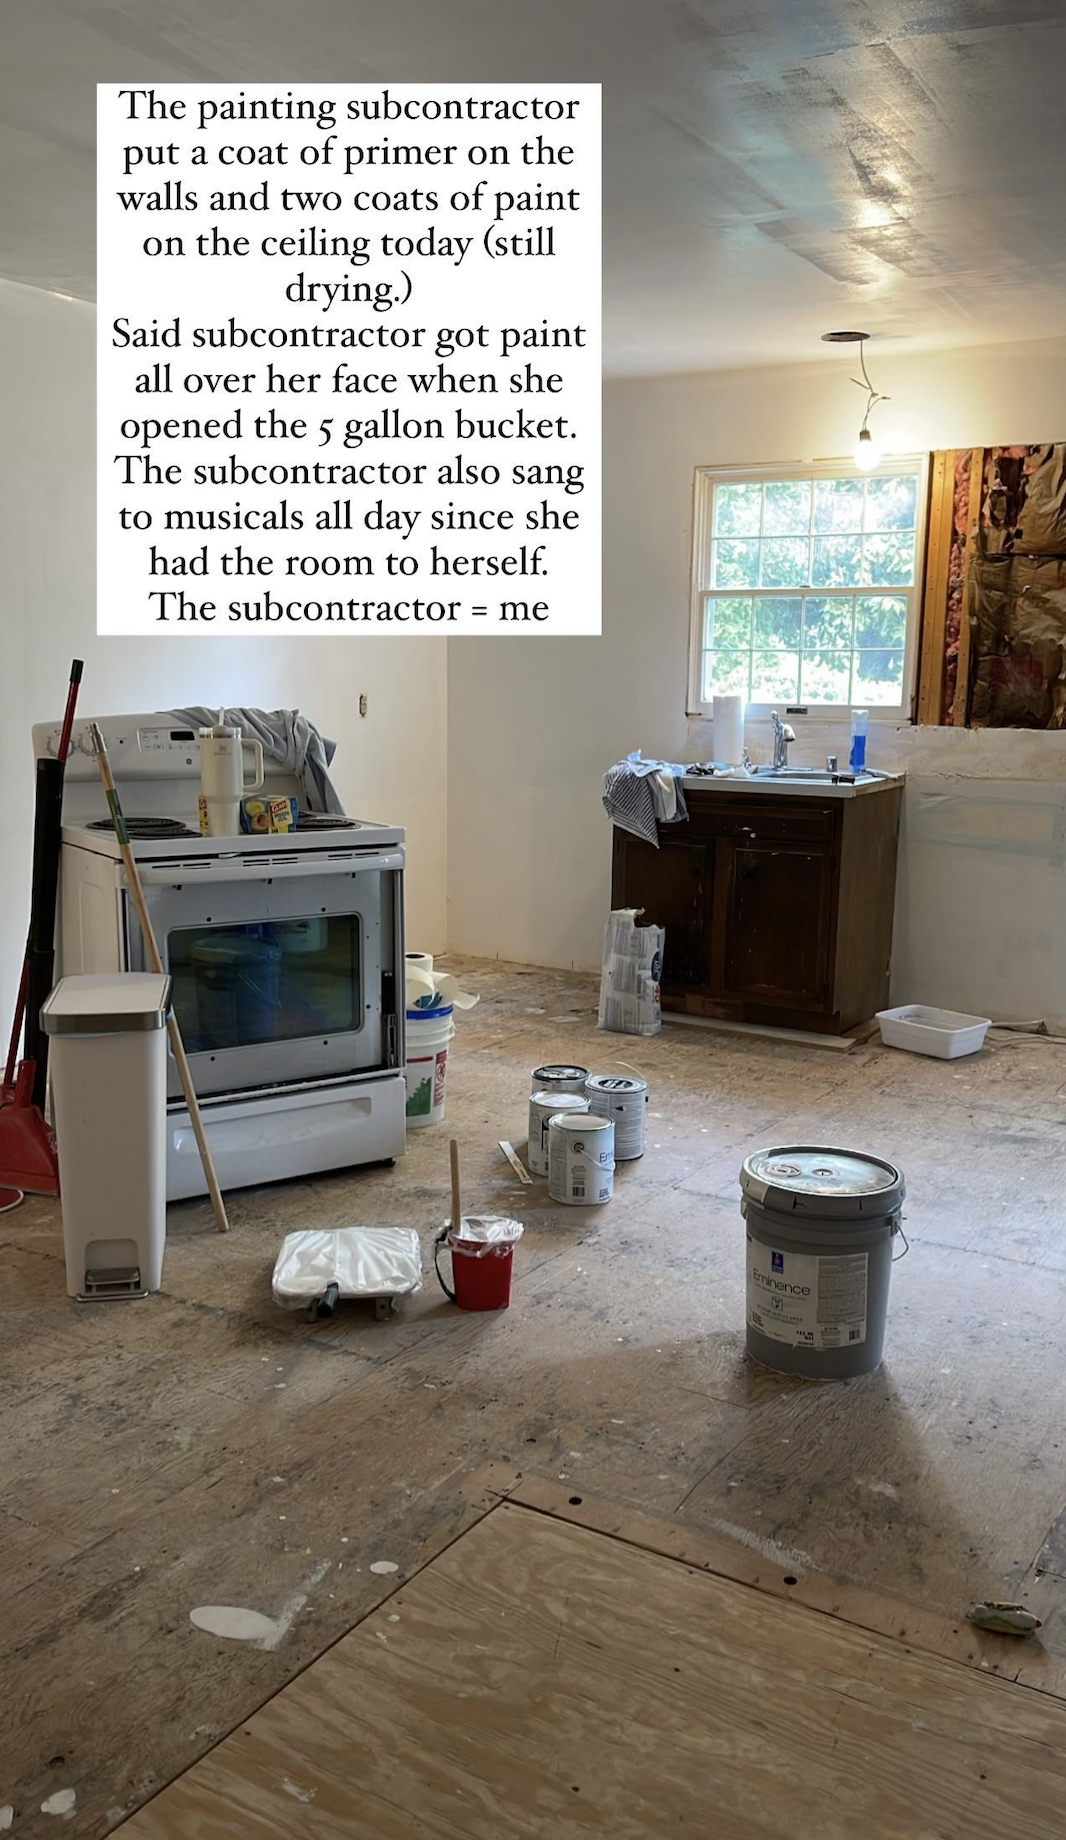
I do need to learn how to look a bit more like a professional when I open a 5-gallon bucket of paint, but we’ll get there.
So, after painting every surface in all four houses we’ve owned (some multiple times) and painting thousands of pieces of furniture, I feel like I’ve found my favorite tools. I can’t believe I haven’t shared them all in one post before, but here they are…
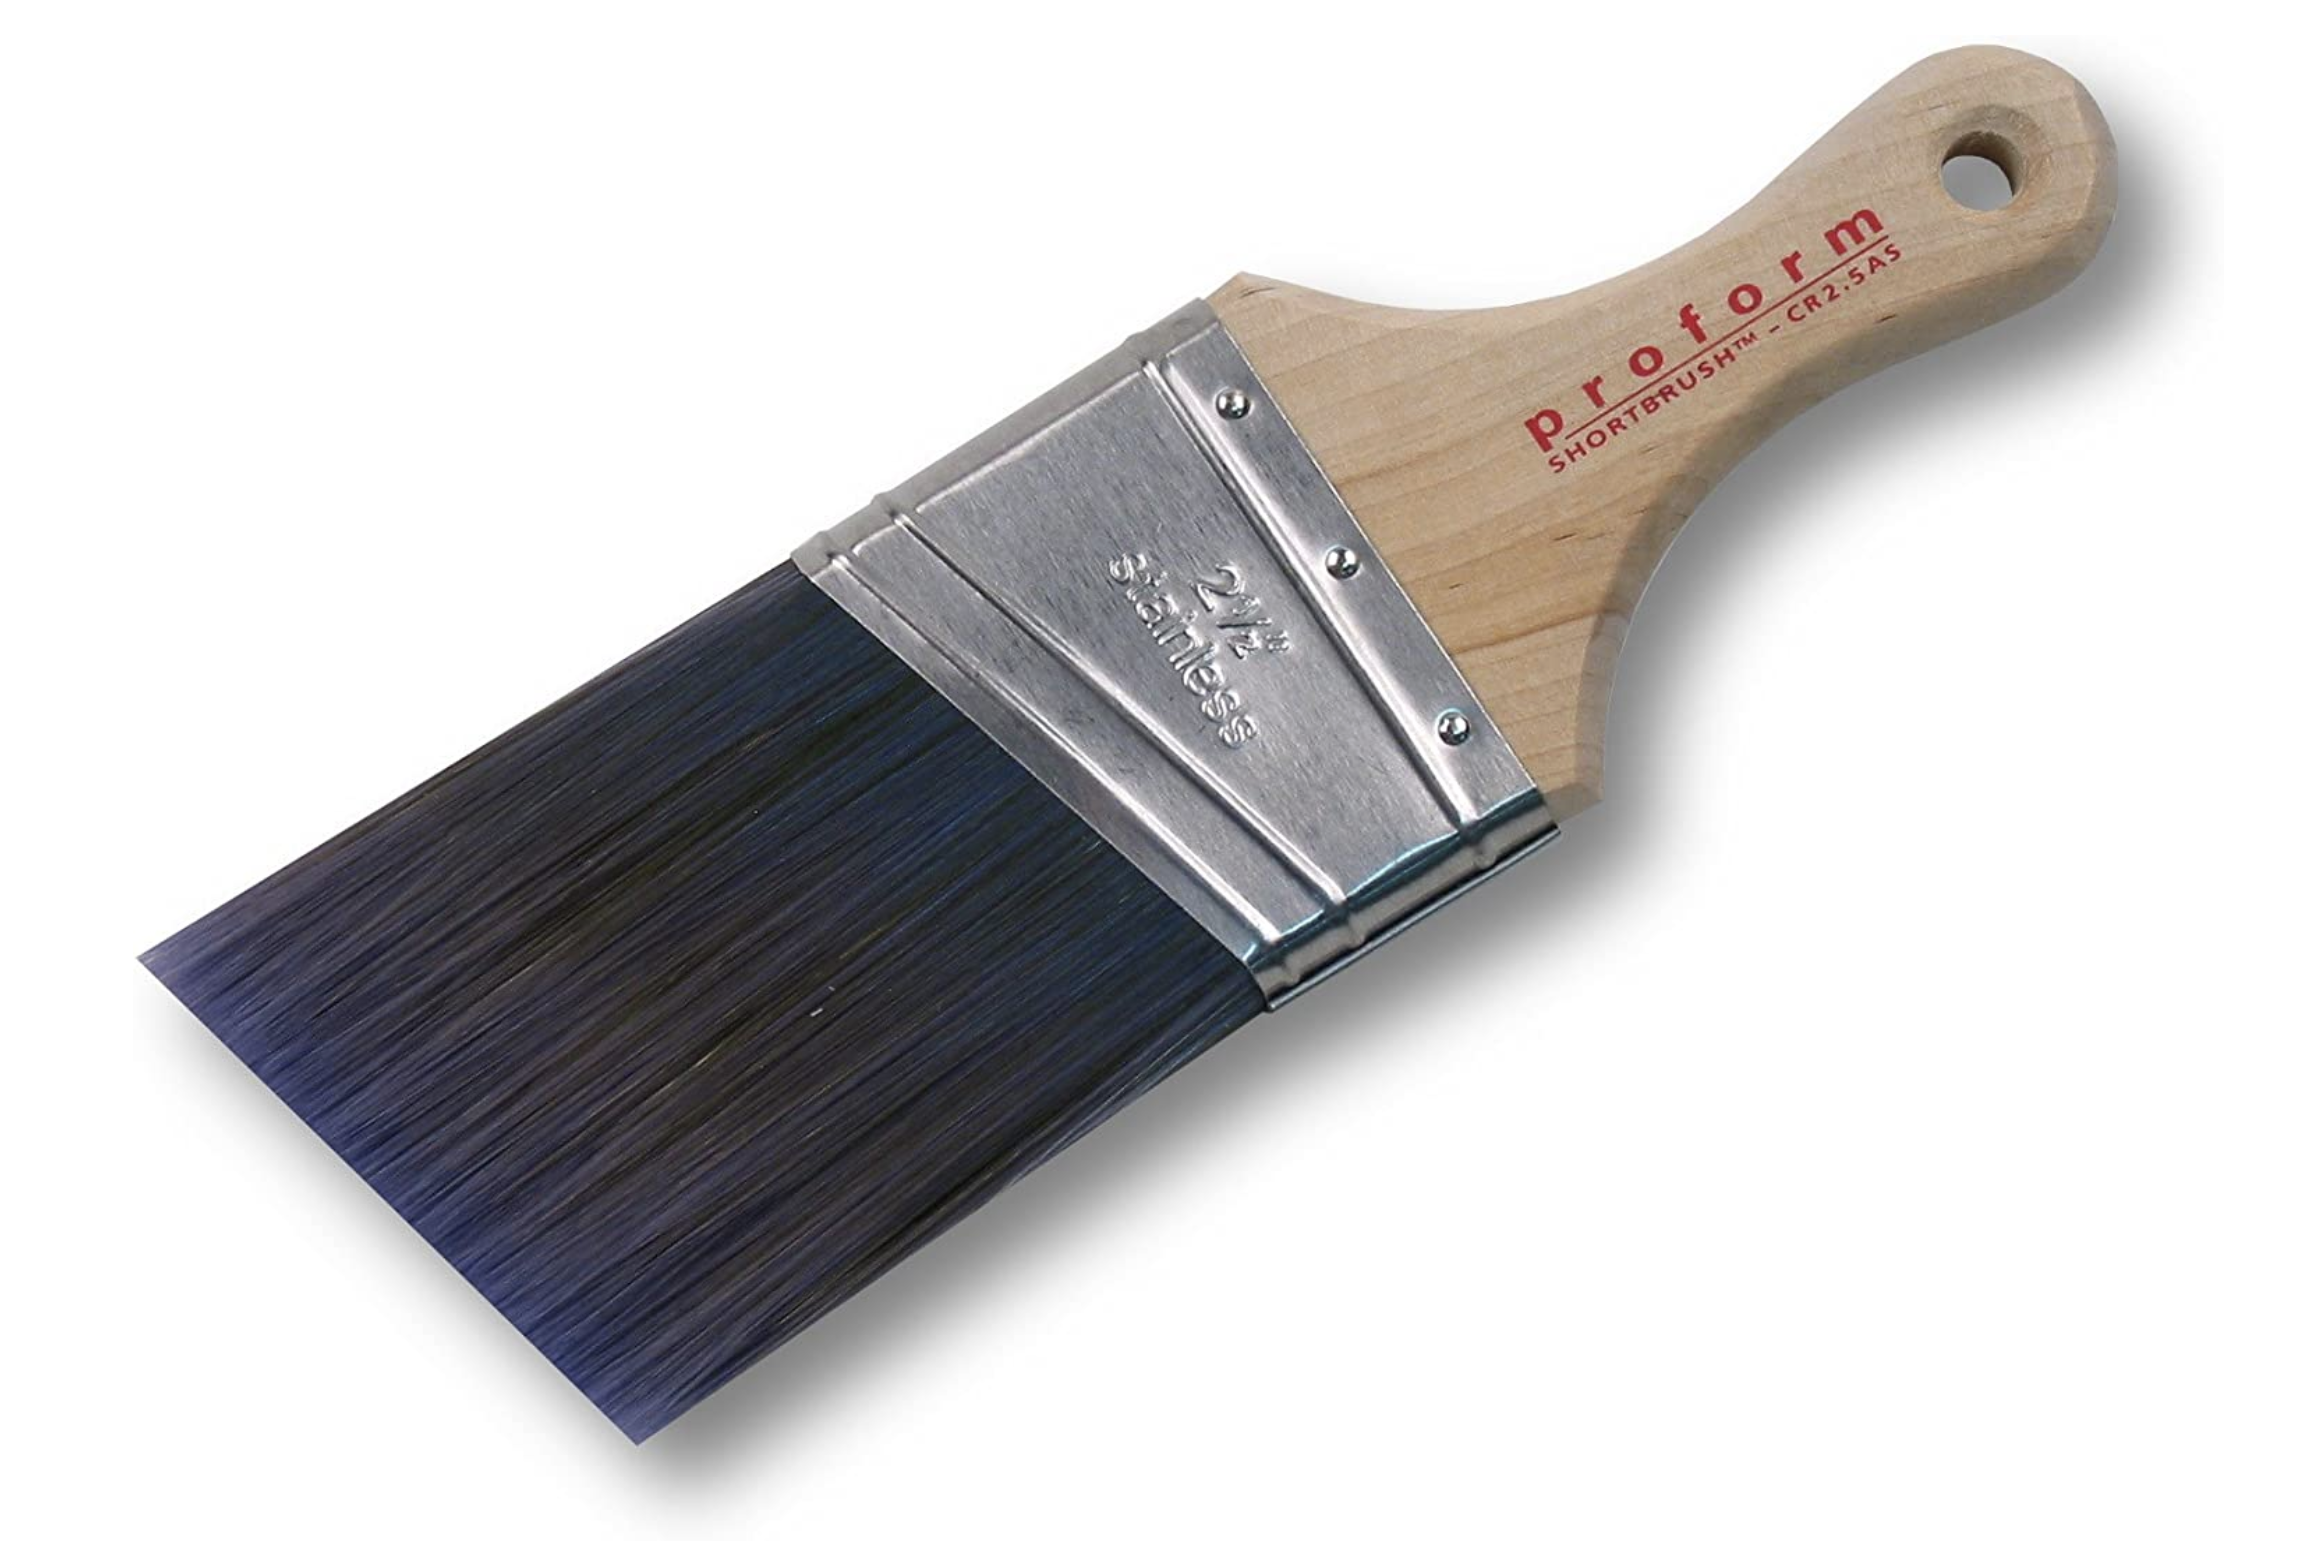
I have a lot of good brushes, but this has become my favorite for cutting in on walls and ceilings and for painting trim. The makes a nice, clean edge, washes, and wears well, and I like the stubby handle. You can get this same brush with a longer handle if you prefer the steadiness of a counterweight, but I like the way this fits in my hand.
For rollers, I’ve used everything from the cheapest of the cheap to name brand and I have really come to like for walls and ceilings. They are more expensive than your generic value packs, but they give you a smooth finish and you don’t end up with gobs of lint stuck in the paint along the way. I’ll also use 6″ or 4″ microfiber rollers for trim and doors.
I have also used several different roller frames and haven’t found a particular preference. Even more expensive ones can squeak, get clogged with paint, stick, etc. I just pick them up when I need them without being particular.
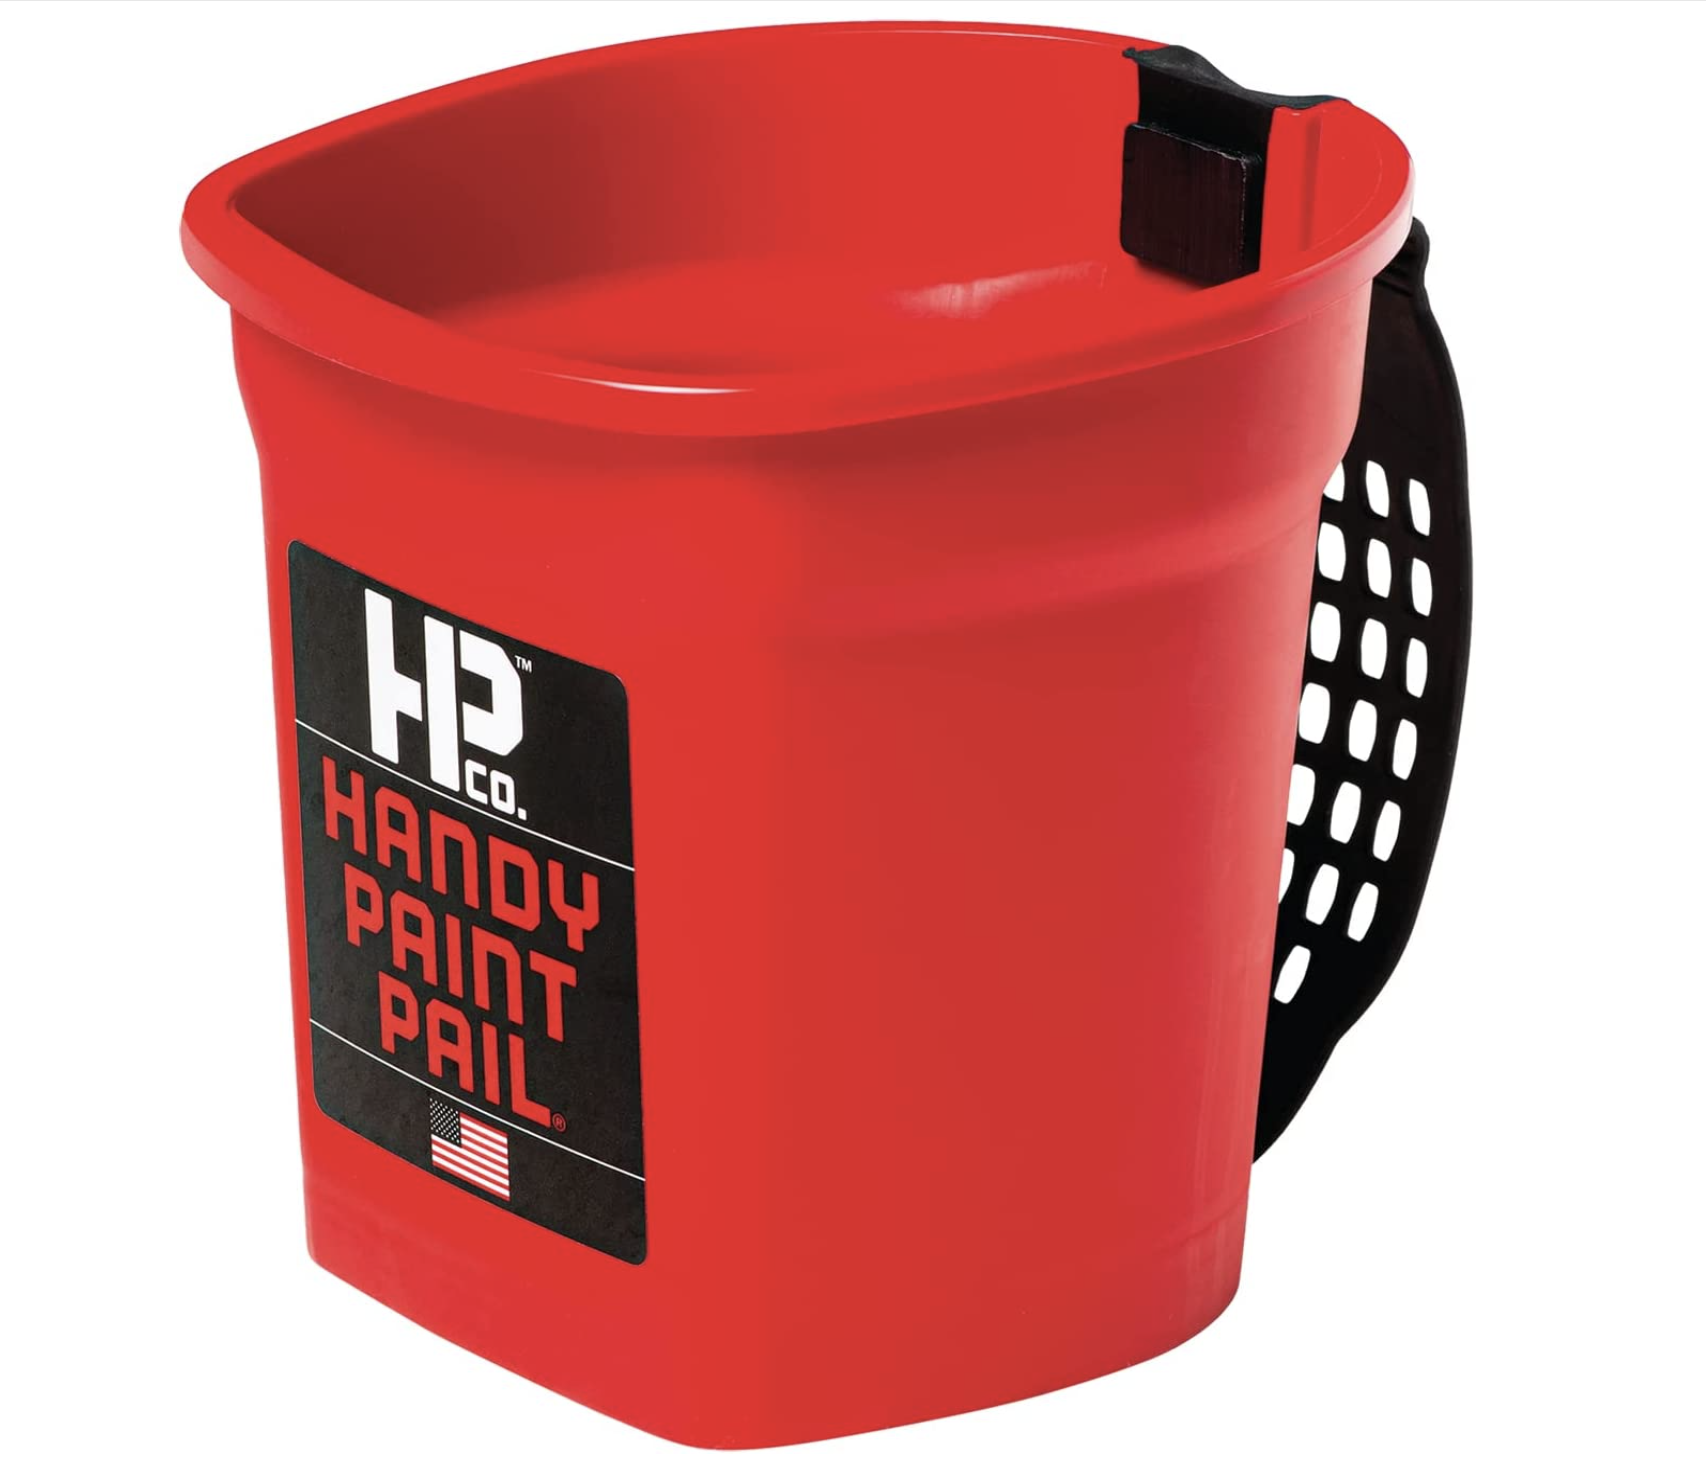
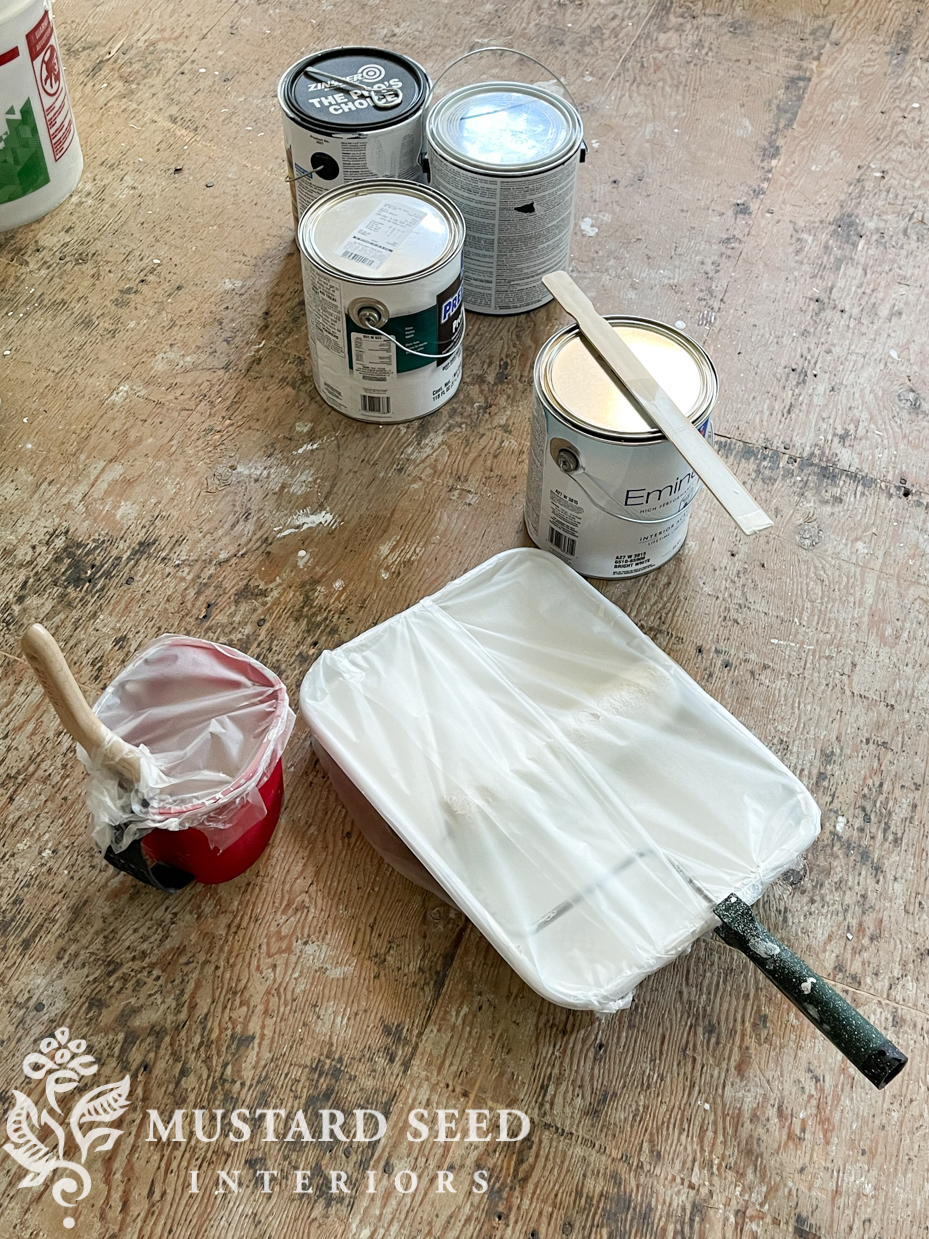
I bought a years ago to upgrade from my usual plastic cup. I’m not even sure how many years ago, but I have ended up with two and I use them a lot! They are perfect for holding the paint for cutting in and painting trim. They are comfortable to hold for long painting sessions and even had a magnet to stick your brush to the inside of the pail. I always use the as well, so I can just pitch them when I’m done and there’s minimal clean-up.
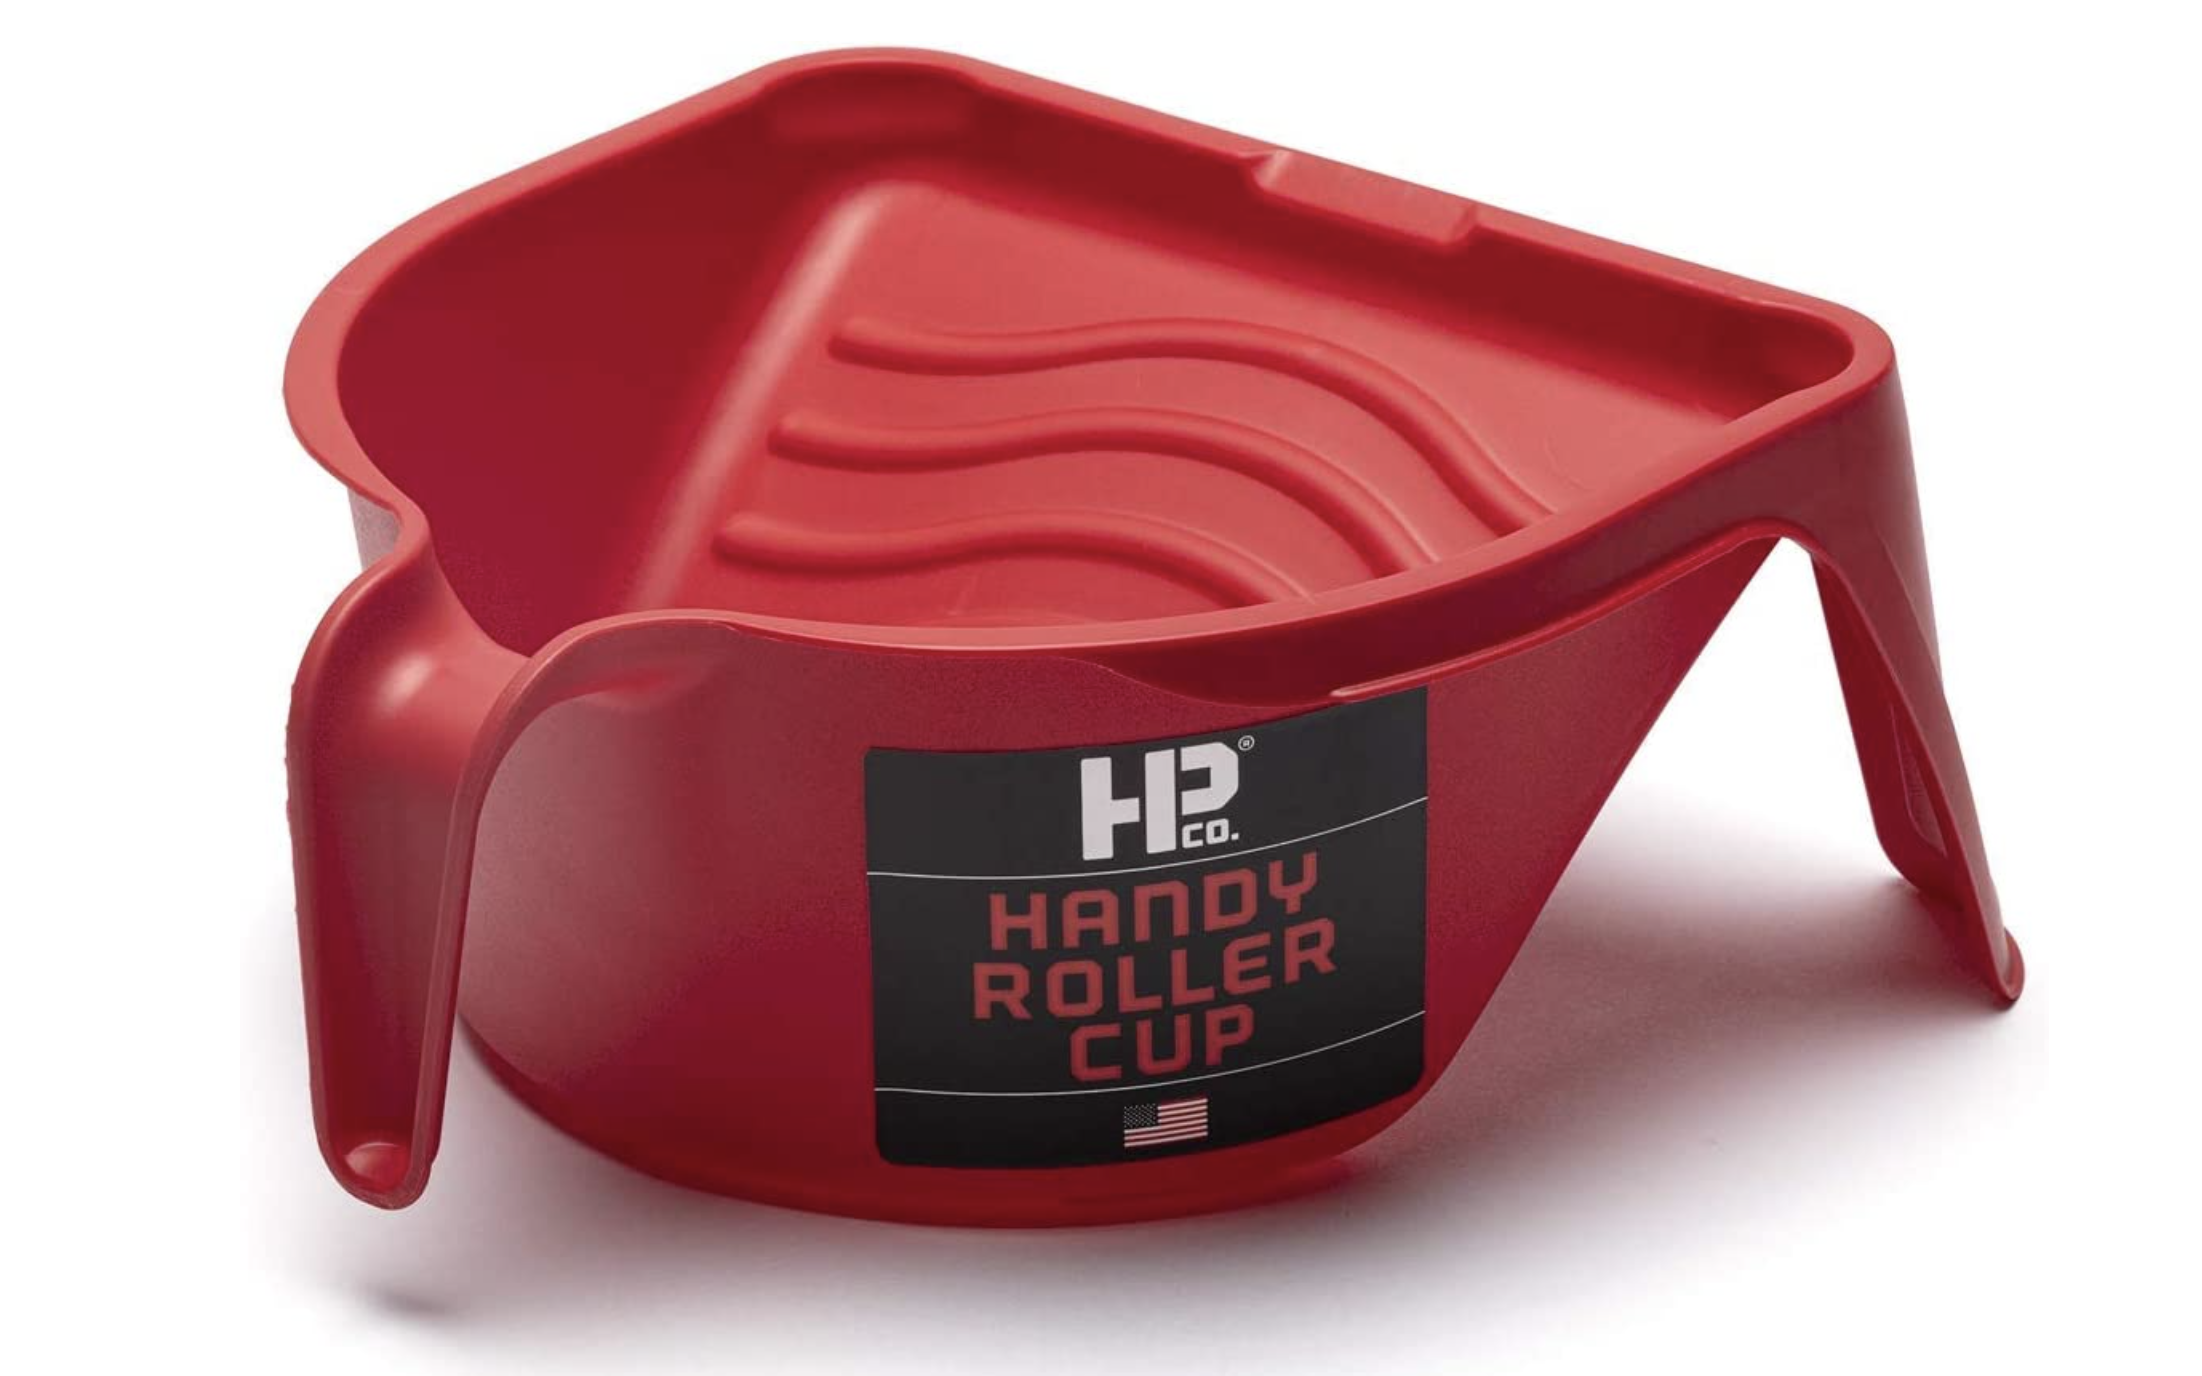
In addition, I love and use the & when I’m painting something with a 4″ or 6″ roller, like doors and cabinets. I do like the similar , but that only fits 4″ rollers, so it’s a bit limiting. I think the Handy Roller Cup is more stable and versatile.
food sealing wrap is absolutely the best for preserving paint between coats or during breaks. I’ll wrap up roller covers in , put them in a large zipper bag, and label it to use next time I need that color. They won’t last forever, but it’s a nice way to reuse rollers if you’re using the same color/primer in a few different rooms. I will wrap brushes in Press N’ Seal, too, but only in between coats. If the brush is going to sit overnight, I’ll just wash it. The brush can get crusty if it sits wrapped for too long. I like to take good care of my brushes, so it’s just best to wash them after each use.
I usually cut in by hand, but when I do need tape, I use Frog Tape. If you’ve been reading here for a long time, you might remember that Frog Tape was my very first blog sponsor. They were the first brand who responded with anything other than, What are you talking about? Who are you? when I reached out about trading a product for promotion. That was in the early days of home blogging and most corporate companies I reached out to didn’t understand the power of social media and grassroots promotion. Frog Tape got it and they kept me stocked with all the Frog Tape I needed. I’ve been using it for almost 15 years and I’m just now down to my last few rolls.
You can find all of my Frog Tape posts and projects HERE.

The last two tools I always keep on hand when painting are a 1″ putty knife and a razor/scraper. I use the scraper/putty knife for scraping walls smooth as well as patching holes and I use the razor for cleaning glass and cutting through dried paint that might have a window, door, or vent sticking. I’m not very partial to specific brands for these tools, but I like my putty knife to have a stiff blade for scraping and a comfortable handle. The razor has to be stable so the blade isn’t sliding into the handle while I’m scraping.
When you’re painting a room, trim, door, exterior, etc., all of the primer, paint, and materials you use really matter. I can’t stress enough how much better your paint job will look if you use high-quality primers and paints that are appropriate for the job and top-notch tools. Your coats will be smoother and you’ll need fewer of them and the finished result will look more polished and professional.
I hope some of my favorites will help you with your next painting project.
You can find more painting tutorials and tips HERE. You can also find an entire chapter on painting just about everything in your house in my book .


18 Responses
Ah yes, it is so wonderful to paint rooms yourself, especially when you know that you will do the most careful job! I too have favorite tools but am always eager to learn about others that I haven’t tried. I am thinking that the Handy Pail could be a good upgrade for me to consider down the road.
I do a lot of painting at home too so will be glad to try the tools you mentioned. Thanks for sharing!
Perfect timing, Marian! I’ll be painting my bedroom soon. I love the Handy Pail, especially the magnet. Do you use canvas to protect your floors? I haven’t splurged on those yet, but I am not a fan of plastic sheeting!
I like craft paper taped down on the floor better than drop cloths. Also if your brush is used with oil based or latex paint, you can wrap it in clear plastic wrap and stick it in the freezer overnight to resume painting the next morning after a quick thaw without having to clean the brush.
I am a painter by trade. You can get a decent sized canvas drop cloth for under 20 bucks. I buy them at my local Menards. You really only need one in front of the wall You are actively painting and can slide it over to the next area as you go. I use it doubled up so there’s no bleed through. I also use old bath towels under my paint trays to catch drips. Both are washable and infinitely re usable which is why I like them. I pop them in the wash between paint jobs so I’m not dragging dirt from one house to another. I now have a collection of drop cloths in different sizes. If you buy when you do a job it doesn’t add much to the overall cost and you can just keep washing and re using forever.
I use old bath towels and sheets, too! I also only put a dropcloth under the paint and the area where I’m working and just scoot it around with me.
DIL is also very good with crown molding.
“So, I hired myself and bought the dreamy hardware.” Now that is a slogan I can get behind! Everything looks great and a lot of progress is being made!
Haha, Marian, I was one of your customers years ago that got a free roll of Frog tape at your booth at Lucketts!!! I still use that brand, too!!
Yes, I got a roll of that tape as well at Lucketts. Oh the treasures from Lucketts!!!
❤️
I am semi retired painter and I also love the short handled paint brush (I think the brand I use is Purdy) but the one I prefer has a blue rubber handle that is flexible/slightly bends which is a deal breaker. The other bonus of the short handled brush is I find most paint brushes are too big for my hands (apparently they are designed for men’s hands which are typlically bigger than womens) which means I can hold onto the shorter brush more comfortably which gives me greater control.
I also recommend using a stand alone primer prior to your top coat instead of a combo paint (primer and top coat in the same paint can) which is suppose to cut down on the total number of coats of paint and is suppose to save time and money on a project, however, the final results suffer compared to a separate coat of primer (tinted to match your top coat if possible) followed by 1 or 2 top coats.
As I watch the dancing Reese’s Peanut Butter Cup sashay across my screen, I remember fondly when Frog Tape was your very first sponsor. We were all so very excited for you, M! What a wonderful journey ~ thanks for bringing us along with you. 💞
I have been on a quest for smooth walls… like a spray finish without spraying. I love the microfiber roller covers… it’s a game changer. Wooster is my favorite but I have found an off brand at Walmart that is comparable. I am strongly debating spraying vs microfiber on my paneling (also remodeling a 70’s ranch)
Our family room is paneling and I plan to use a trim roller for that to really smooth it out.
All good tips, Marian! I, too, remember the Frog Tape sponsorship.:)
Another thing that I do before painting, that helps with clean-up, is apply a thin coat of petroleum jelly all over the metal bits of the paint roller (cage, handle, etc.) as well as the plastic caps at each end; painter’s tape (Frog or otherwise) gets wrapped around the plastic handle. When I am done with that paint job, I can remove and toss the paint-splotched tape and easily clean the rest of the roller. I also coat the ferrule of the paint brush and tape the handle.
Kitchen looks so much more open and bright, already!
Do you still sell the round bar of soap for brushes? I love those, and I’m down to my last one!
We (mostly I) have always done our own painting. After pricing out having someone else paint, I hope to do our own for a long time! Can’t wait to see the cabinet hardware!