
Does this cabinet look familiar?
In case you don’t, let me refresh your memory.
Here is how the hutch looked when I found it on craigslist…

It had a lot going for it. A pretty and simple shape, interesting details and I liked the wire in the upper cabinet doors.
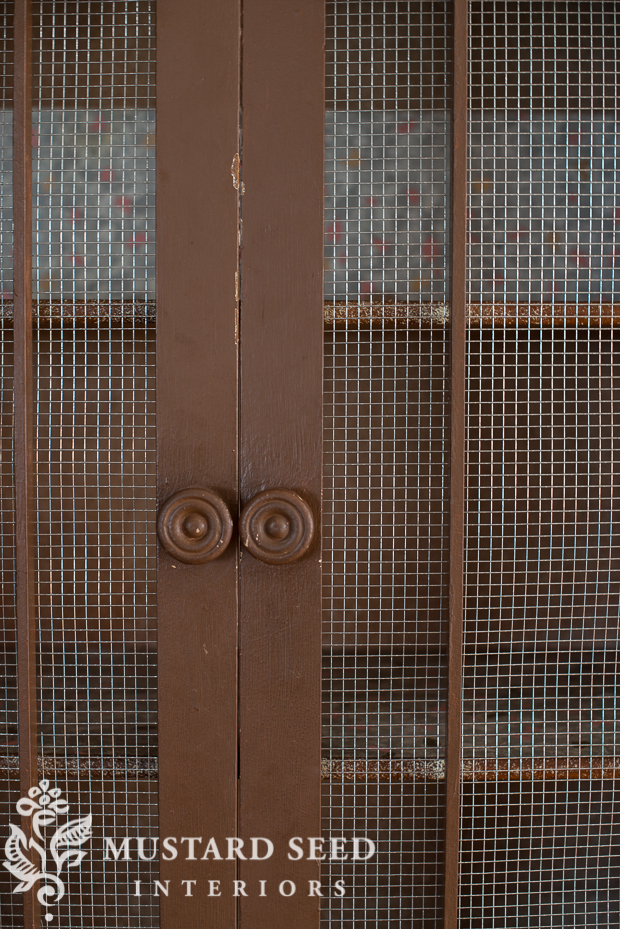
It was painted a most unfortunate shade of brown, though, and the interior was a mess.

The contact paper and a smattering of cream paint wasn’t working for me. As I was working on upholstery, Kriste asked what she should do with it. I suggested painting the outside first and then we’ll deal with the inside. It was just a delay tactic and we eventually had to deal with it.
It involved scoring the contact paper, ample amounts of Goo Gone, and scraping with a scraper and then a razor.
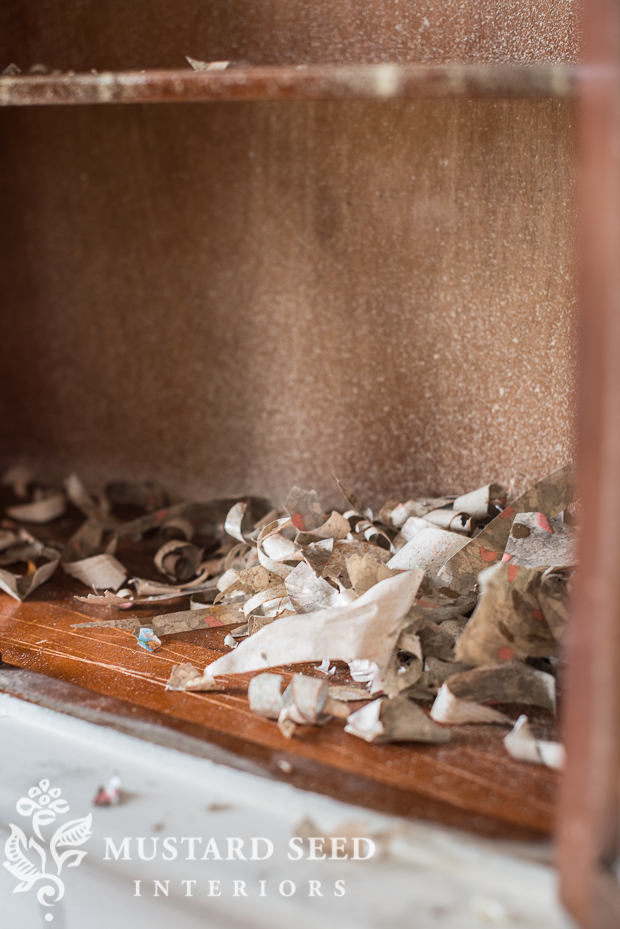
It was not a fun job.

I know it looks like I made Kriste do everything while I snapped pictures (and ate chocolates), but we worked on it together. I don’t like asking people to do things I’m not willing to do myself and I think not-fun work goes a lot faster when you can tag-team it (and listen to some good music while you work.)
Once all of the contact paper was removed, we cleaned the cabinet with a grease-cutting cleaner and allowed it to dry overnight. The next day, I sanded it, just to make sure all of the sticky residue and texture from the splattered paint was smooth and ready for paint.
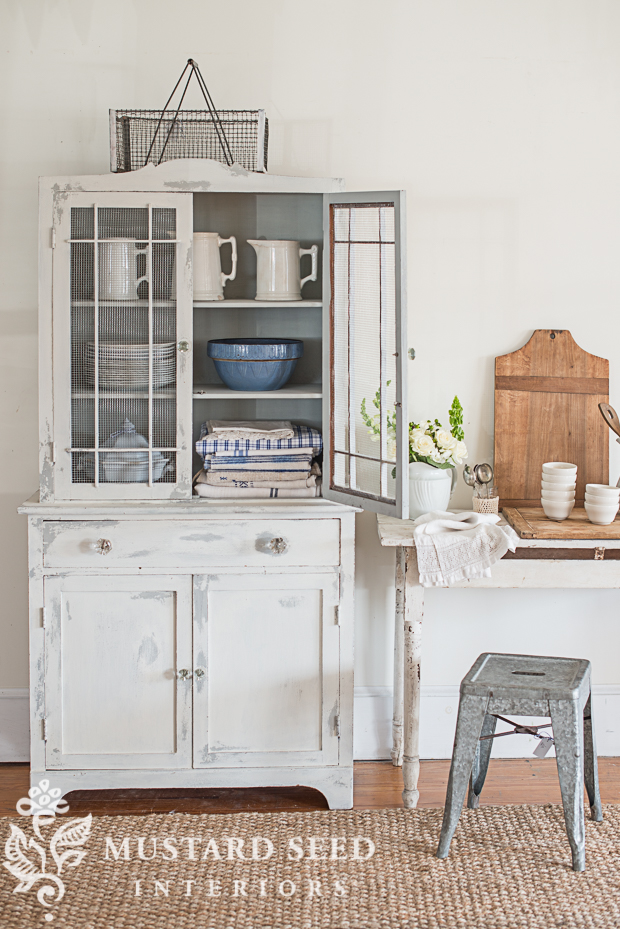
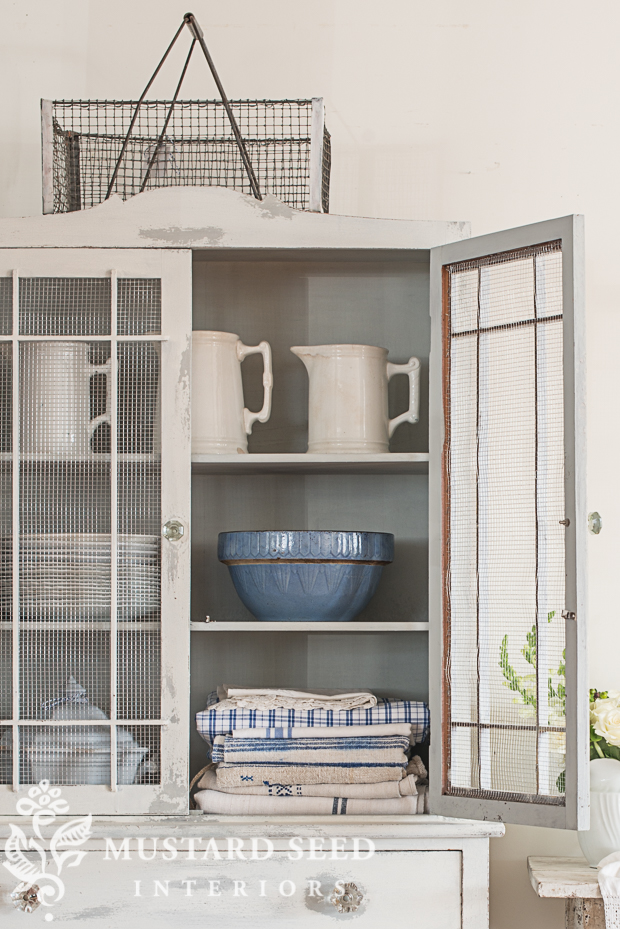
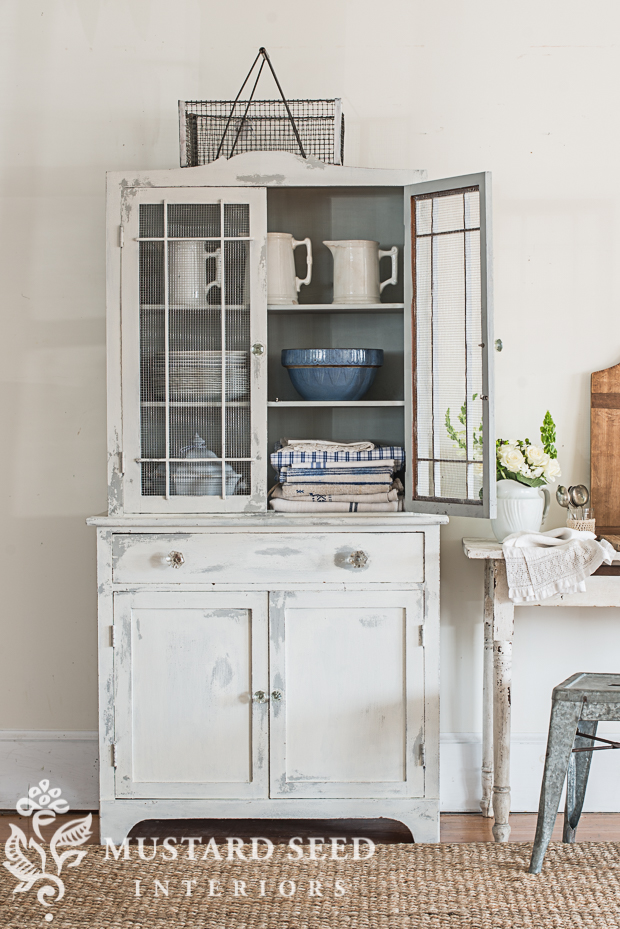
I painted the interior in two coats of MMS Milk Paint in Mora. The exterior is painted in a mix of Grain Sack and Trophy with Farmhouse White on top and some 100% Beeswax finish in between the layers to encourage some chipping and crackling. (You can find a tutorial on that technique HERE.) Bonding Agent was not mixed with the paint for this project.
I liked the shape of the old knobs, but they were crusted with multiple layers of paint, so I decided to replace them with glass. They fit with the farmhouse look of the cabinet, but add a bit of sparkle.

I really love the chipping and crazing we achieved on this piece. I don’t want an old piece like this to look freshly painted.

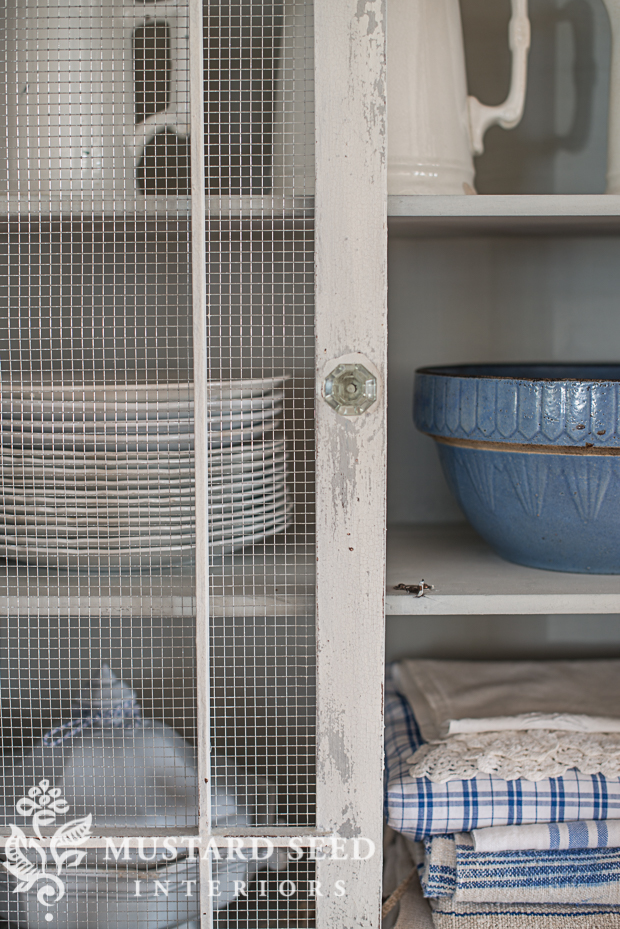
Oh, that crazing!! I don’t know why that thrills me, but it just does!

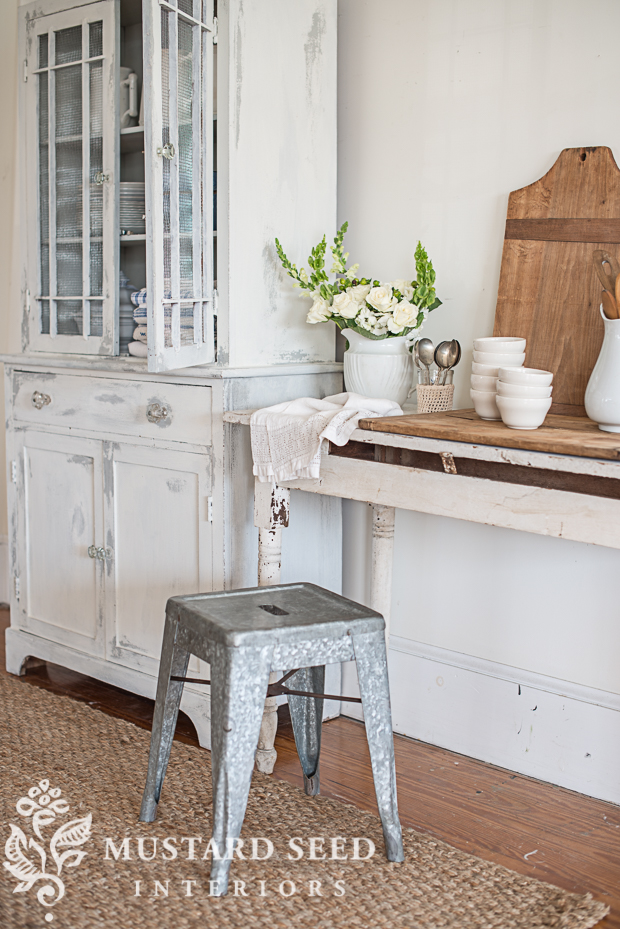
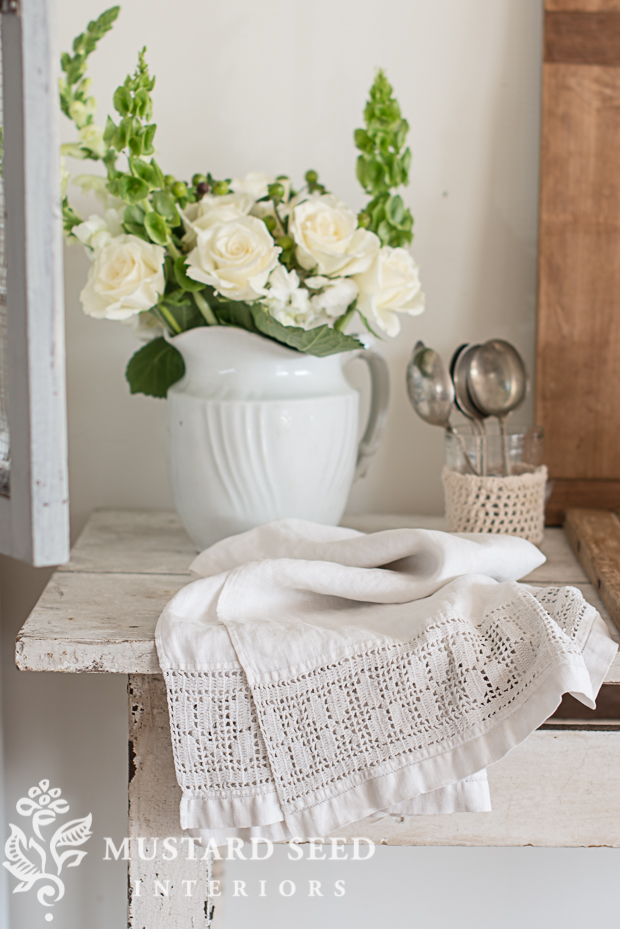
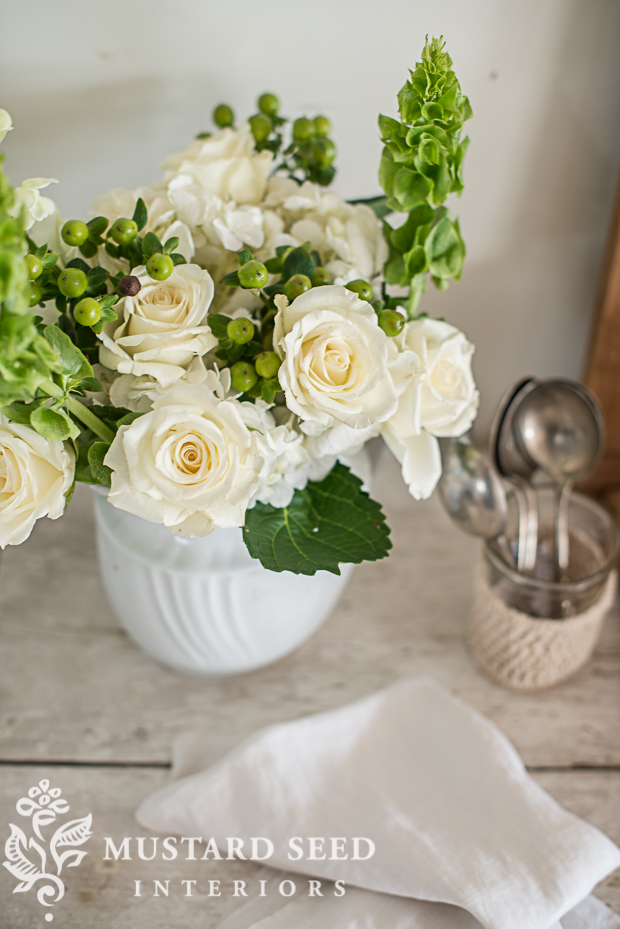
And this was a fun one to photograph. You just fill a hutch with some ironstone, pretty bowls and linens and you’re good to go!
Everything (almost) in the photo shoot will be for sale at the Lucketts Spring Market, May 20-22, 2016.


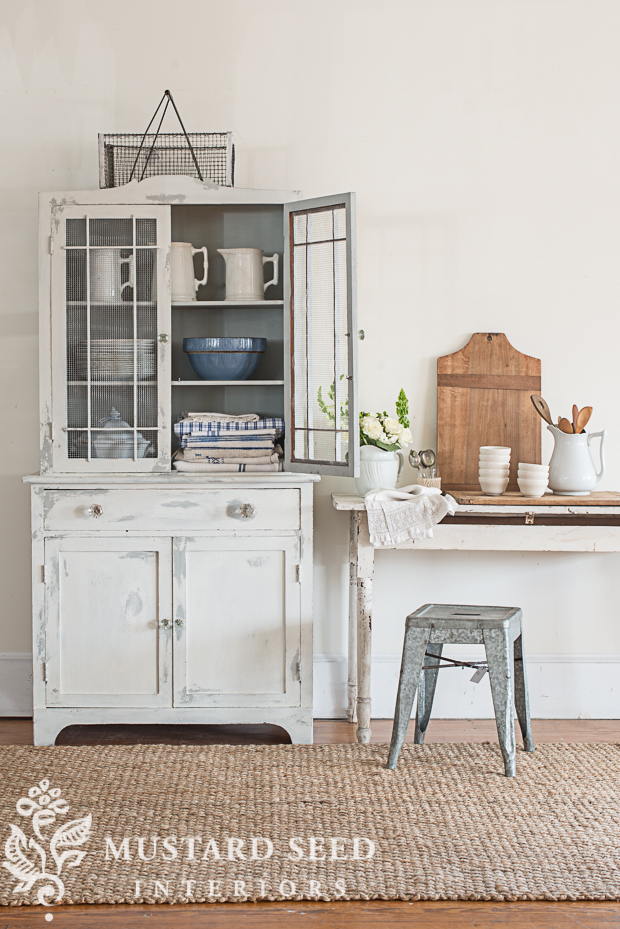
This piece definitely wears Farmhouse White better than it wore baby poop brown.
We were all thinking it and it just had to be said.

I worked on two more chairs and the chalkboard on Friday, so I am getting close to being finished with my stash and it is satisfying! I won’t have a pile of things I’m trying to ignore every time I walk to the sewing machines or supply closet.
I have two more chairs and two ottomans to slipcover and a few other odds and ends to finish and then I’ll be done. I’m planning to have four more solid workdays in the studio this week to get that stuff done and one shopping day to pick up more goodies.
It should be another exciting week…


39 Responses
Another favourite! You nailed this one, it’s beautiful. What I would love to know is how much milk paint did it take for you to paint this piece? When I don’t mix enough to cover a piece I always find it difficult to mix more and get the same colour or even when needing to mix more for the second coat. For me it never quite looks the same.
Thanks, Angela
I usually mix 6-8 tablespoons of milk paint for one coat on a piece like this.
I have been searching for a cabinet similar to that one for so long! Anything I have found that would work has been priced too high. Ugh. I love the shape and size, so adorable. And you both did a fantastic job with it. Love it!
You are livin’ the dream!
Love the hutch!!! Just incase you come across stuck on contact paper again… I used a blow dryer and a wide metal putty knife and push it under the contact paper while the heat from the blow dryer loosen the glue. Just had my cabinets painted including the inside and outside of the drawers. The blow dryer worked great. It was even fun!
I was going to leave the same comment. I had contact paper in some old drawers and tried several chemicals. In frustration I went online for suggestions, and it was the hairdryer that worked. It wasn’t super quick but the glue came off clean and no damage to the wood.
Wow – this turned out really great!
I have some questions. Did you strip the brown paint off or paint over it? If you painted over it and did not use a bonding agent, would it bother you if the brown was exposed or did you distress through the paint. Many pieces I find, are painted. Should I strip off the paint first or paint over it with the milk paint? Thank you.
No, I didn’t. I just painted right over it.
If you ever need to get paint off of knobs soak them in Simple Green. I cleaned my clawfoot tub feet by soaking them in a bucket of Simple Green and the paint just melts off.
that crazing! perfect!
So pretty! What a difference!
I love it. That gives me an idea about painting what I got a garage sale. Its like an entry table with bead board front and curved. Its done in lilac which I don’t like but I have been dealing with colors to paint it and I love your piece. That would be cool to paint it. I was so excited that I got it for 5.00. Its in awesome condition and very heavy and a shelf inside as well. I do love the colors you chose.
Another stunner!
You both did a fantastic job!
Beautiful!!
A hair dryer will loosen that contact paper with little effort. Just apply heat in sections and the paper will peel away with ease!
Beautiful! Could you use the hemp oil or your original clear wax in place of the beeswax for resistance?
Another way I use to remove contact paper easily is with a warm iron. Hold the iron against the paper and the adhesive will loosen so you can just pull it off. You have to experiment a bit for the ideal iron temp and how long to hold against the paper.
As a consignment shop owner I could SHOOT myself for letting a couple of wonderful primitive step-back cabinets slip through my fingers. I always wanted one, so I priced them quite high to try to avoid letting them go. Well, it took a while, but eventually they ALL sold at my asking price. The grid on the doors of your piece is interesting. It almost looks like it was added at some point – the way it’s attached to the front and not inserted into the door. This is more of a simple china cabinet than a step-back, but it turned out very nicely. I may have to grab one of these until another step-back comes along! Thanks for posting.
For those painted encrusted pieces of hardware you can easily remove all that paint by “cooking” them in an old crock pot. That’s what Nicole Curtis does on her TV show and she knows a thing or two about restoration. Then you have authentic hardware and best of all it doesn’t cost anything
I love your term “unfortunate shade of brown”! We bought an older cabin in Gatlinburg, as a vacation getaway, about 16 months ago. It was on every single door& the banisters & balusters going up the stairs across the balcony. It has taken me this long but finally finished painting them yesterday & yay no more unfortunate brown.
I agree with the sentiments above regarding Contact Paper. The blow dryer is miraculous, it softens the glue on even the oldest Contact Paper so it can easily be peeled off.
Love the crazing. Cabinet is beautiful!!!
Thank you, thank you to everyone who commented about the Contact Paper removal! I have been dreading starting on the cutest smaller armoire that has nasty, funky old sticky paper on all the drawers and shelves inside. I bought it to use for my family’s massive collection of sheet music and books….
A really great piece and you did wonders with it.
Love the end product girls, great job and well done !! Also love the comments about easy ways to remove contac paper. I have a bunch to remove soon so that will be helpful. Marion, have you tried duplicating this look on new lumber ? I soon will be redoing a lower cabinet similar to this one and will build a “hutch” type shelf unit on the top but don’t want the top to look new and pristine. Have you tried this before ? Wish I had access to some old lumber but don’t. I live out in the boonies and don’t get out much anyway.
Yes, I have and I have three freshly built pieces I’m working on this week that I’ll make look old and I’ll make tutorials as I work.
Also, eager to see your reply to the question asked, did you remove any of the brown paint or just paint over it ?
I just painted straight over it. 🙂
Cool !! You are the BOMB-Diggity 🙂
This is one piece that was begging for some makeup and jewelry! Looks great!
when you painted straight over the brown paint, did any of the old brown show through when the milk paint chipped. If so, did you do anything about that? Thank you.
No, the milk paint adhered to the brown paint and didn’t chip.
Another beautiful piece Marian! Love what you did with it and also love the little galvanized stool next to it. I’ve never seen anything like that (and believe me, I’ve been around awhile) Is that old? Or new made to look old? They are reproducing so much galvanized lately and I saw on a blog how to age it.
Wow looks great, that brown was just so lightsucking it is lovely now
I just love the cup cozies! Are they hard to find?
I really want to buy that white pitcher you keep featuring flowers in! Any chance?
I agree with all the above comments on how to remove contact paper with a hair blow-dryer. The kitchen cabinets in my newly purchased home had contact paper that goes back decades. At first I used the hit-and-miss method of pulling up an edge and peeling. Then someone suggested the blow dryer! (Swelling chorus of heavenly angels singing!) Now I have the gooey residue to deal with but again, a suggestion to just use my sander to remove. Then you won’t have all those score marks on the shelves.
Hello,
did this piece ever find a home? I’m highly interested.