

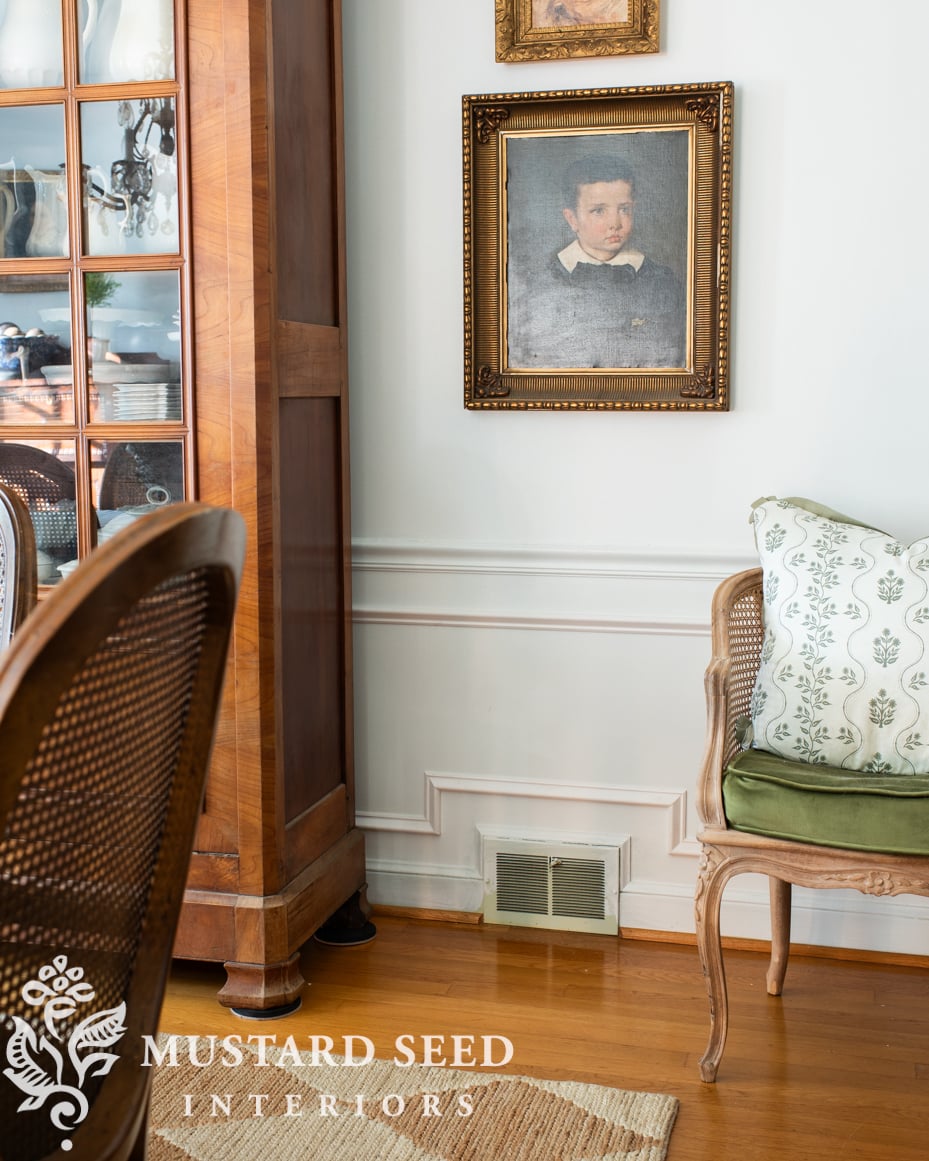
I feel like I keep returning to the same decorating bag of tricks with picture frame molding, but it is such an inexpensive and easy way to add architectural detail to a space that it’s hard to resist. A room can look stately, classic, and more interesting with just a couple hundred dollars invested in trim and a few hours of installation and caulking. I love it and am sure I will keep going back to it since I can’t imagine trim details like chair rail and picture frame molding will ever go out of style. If you’re interested in installing picture frame molding in your home, HERE is a tutorial showing how.
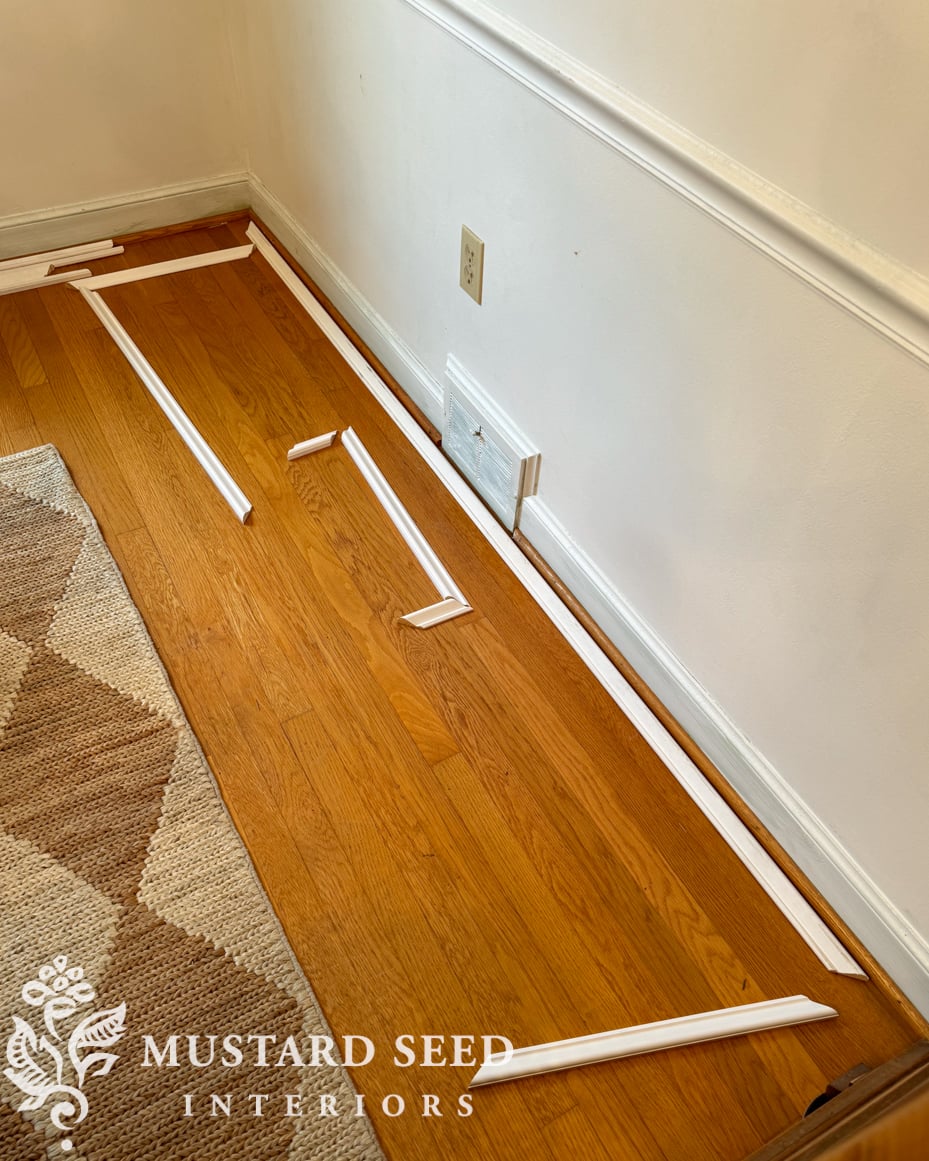
Instead of trying to get all of the trim done in the dining room in one long day, I decided to work on it in bite-sized pieces. I took measurements and drew out a plan and cut list one day, cut all of the trim pieces another day, and installed and caulked everything yet another day. I used to have an unreasonable urge to get as much done on a project in one day as possible, but I’ve learned the value of taking one step at a time and better balancing projects with everyday life and work.
I did end up with a few mistakes in my initial cuts, so I still had some cutting to do on the third day of the project, but I only had to visit the miter saw a few times. Working around the vents in the baseboards was definitely the trickiest part, but I took the same approach with the trim in the hallway, so I already had some experience with it. Even so, I still made the same cutting mistakes and had to redo them.
Of course, the kitties were an ever-present help. Whenever I am working on a larger project and have tools and dropcloths scattered all over the floor, she feels like the best thing to bring to the party is her favorite cat toys. She brings her crunchies into the room and wrestles with them around the plastic tarps, pieces of trim, and open trays of paint. It’s a huge help.

With Esmé’s contribution and a little help from Marshall and Jeff when nailing pieces that were a little too long for one person to manage, I was able to get the project done in a couple of hours.
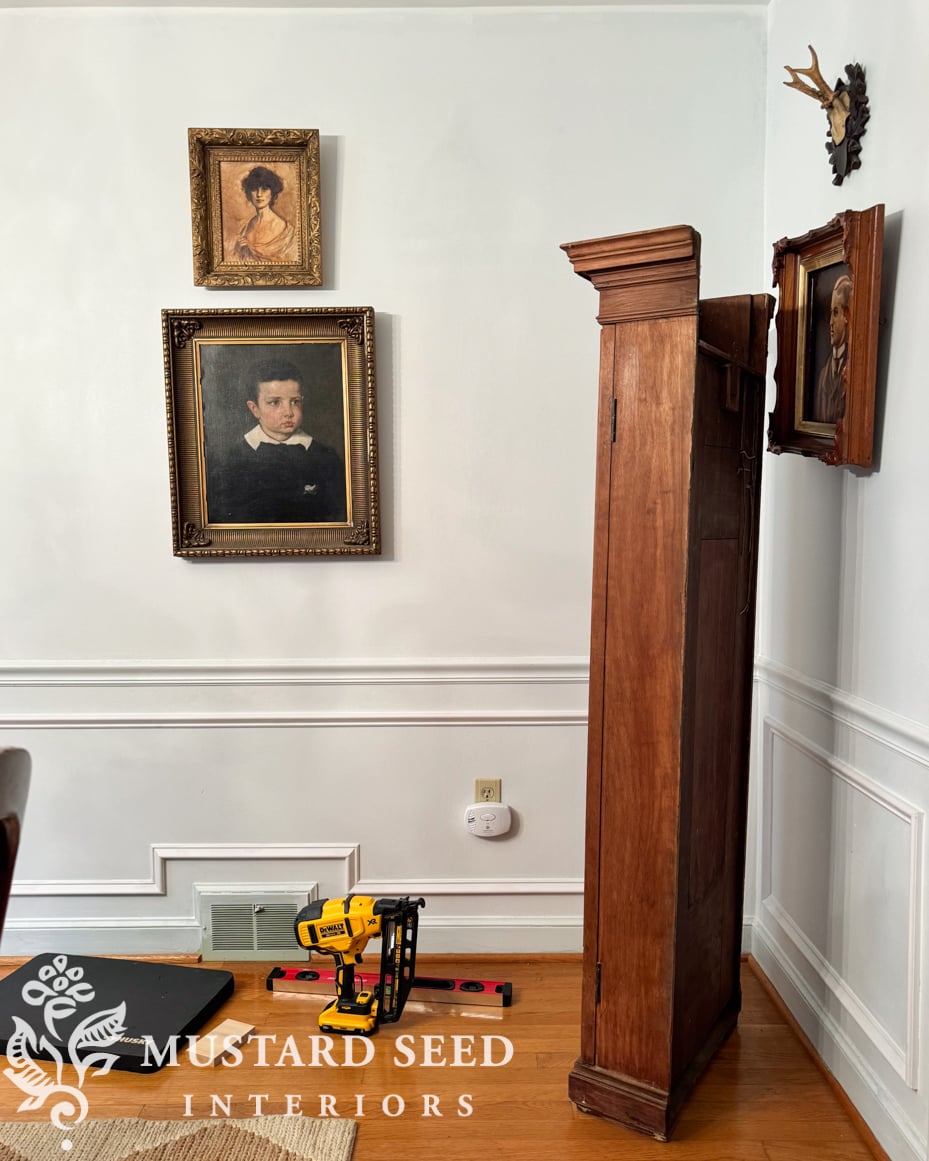
I must admit…with all of the picture frame molding I’ve installed in our last house and this one, I’ve gotten pretty good at it.

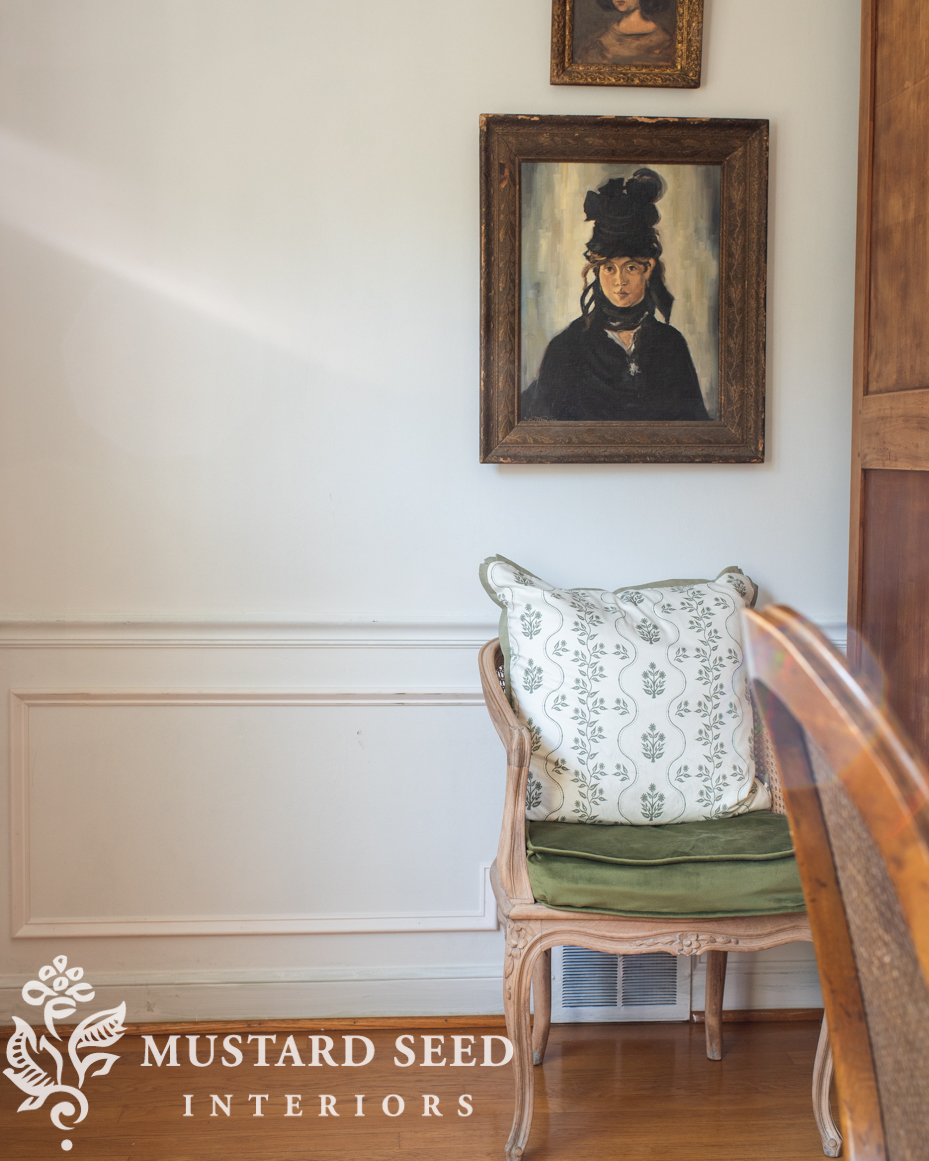
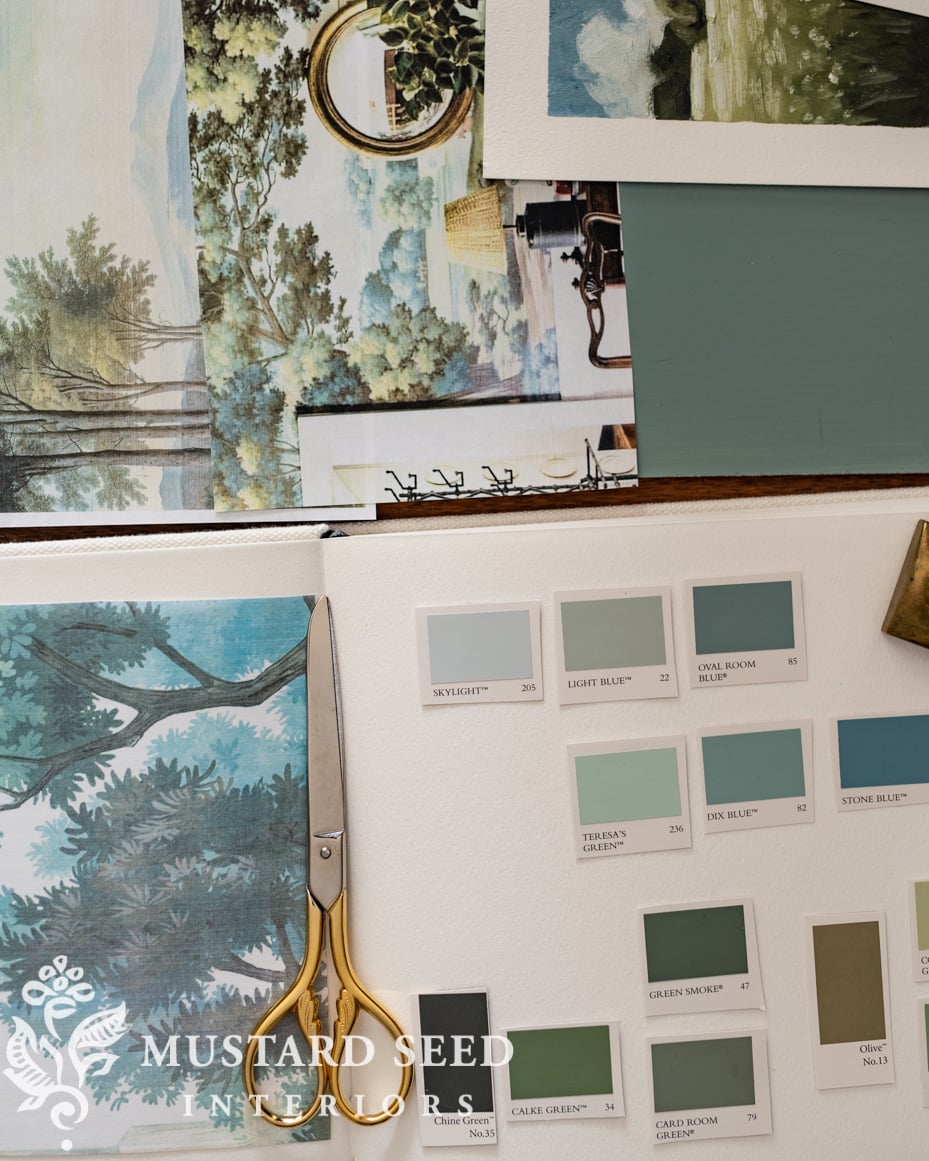
And, just as I knew it would, it adds so much visual interest to this room. I am a little tempted to paint the wainscoting white, but I’m going to move forward with my original plan of painting it Oval Room Blue. I think it’s a more interesting option and I feel like this house likes colored trim. I can’t explain why, but that’s what I see this house wearing best.

An important thing when planning out picture frame molding is scale. I spent a lot of time planning where the trim would line up around the window as well as how I would work around the baseboard vents. In the end, I used a 3″ space around all sides of each box of trim. I also lined up the box under the window with the window frame so there would be a continuous invisible line. To keep the spacing even, I used two 3″ blocks and a level. You can find details on how in THIS POST. In most houses, you will come across some wonky walls and trim that was previously installed, so every space won’t be perfect, but it will be close enough to look good.
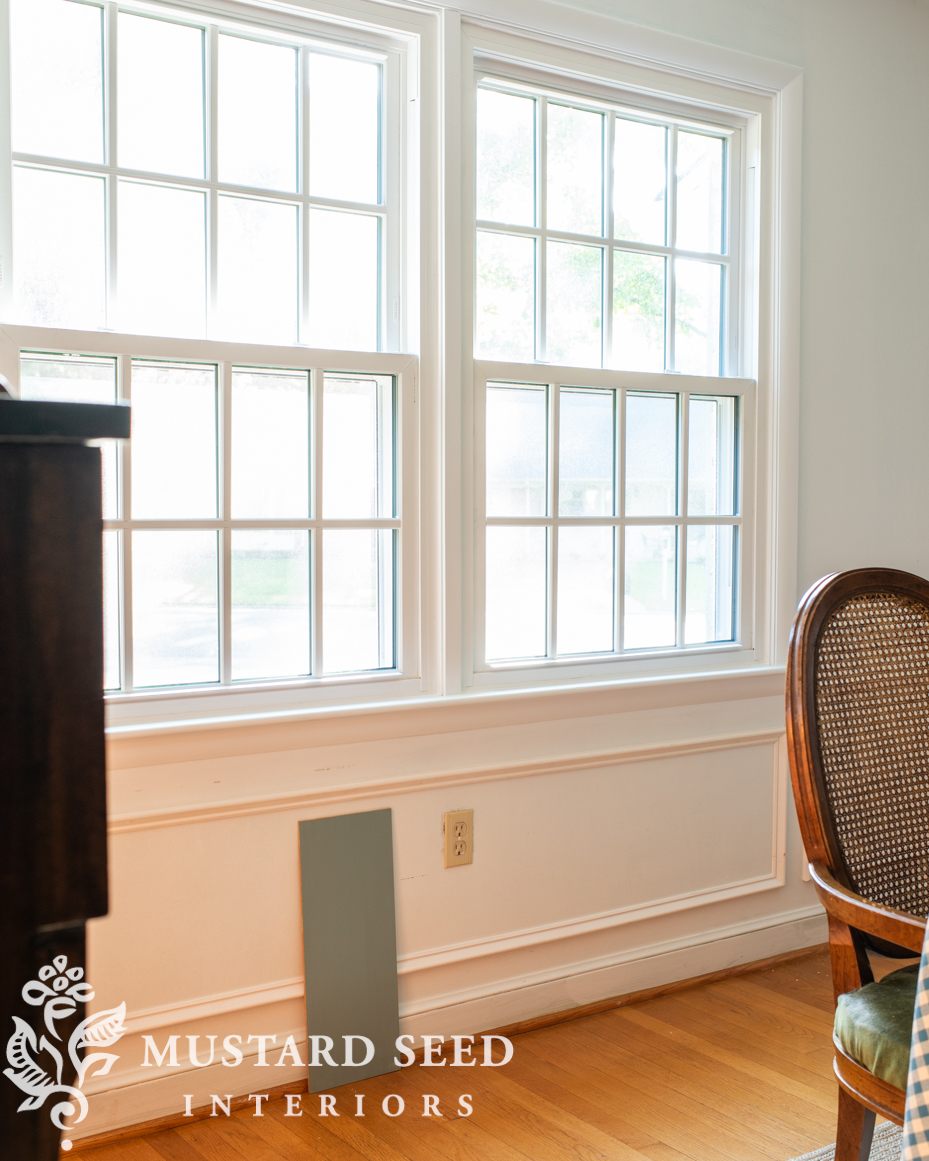
Since everything is already primed, paint is up next! I’ll put two coats on the wainscoting, trim, and doors, and then get to work on the mural. You can see more details on my plans for the mural HERE.


20 Responses
How do you decide how big (wide) to make the boxes ? I want to do the same but am unsure of the traditional or best practices for determine how many boxes should appear on long, uninterrupted stretches of wall.
I base it on the size of the wall as well as the logical furniture placement. For example, the longest wall in the room is behind the French cabinet. Since it’s likely a piece of furniture would always be on that wall, I only made two boxes to save myself the cutting. I could’ve even done one, but I thought two would be better. If the wall wasn’t likely to have a piece of furniture on it, I probably would’ve done three boxes.
It’s subjective and something you can play around with, but there isn’t a right or wrong answer. I do always make the boxes equal, though, whether the wall is divided into two, three, or more boxes.
I knew it would look great. I am excited to see the next part and the next part. Thanks for taking us with you. Good luck and happy painting.
Looking good!
It’s going to look beautiful just from your mood/design board. Very classic elements and color. I’ve been tempted to paint my trim the same color as my door (Dorian Gray) but haven’t gotten up the nerve. I tell myself, it’s just paint. I just love your confidence and ability to pull it off.
It looks gorgeous❤️❤️❤️❤️
Looks lovely. I do have a question for you about upkeep. Specifically, dust. I used to live in an apartment that had molding around all the wallboard, and it was a major dust-catcher, with spiders trying to set up housekeeping in all the corners. Does the increase in flat-ish surface area mean a lot more dusting? Or not an issue?
Yes, dust does land on the ledge of the trim, but I just go over it with the brush attachment on my vacuum once a month or so, just as I do the baseboards, and that keeps it under control.
I’m so impressed. In the photos from a distance even the primer looks great on the walls
This is SO exciting. I am excited to see your next step. I personally love your decision to go with the color. You are so incredibly talented!
Just curious – what is the texture of your walls? Could you do this with orange-peel textured walls?
My walls are plasterboard and pretty smooth (although the dining room walls have some texture from the wallpaper removal.) With an orange-peel texture, I think I would install a 1/8 plywood or MDF panel before installing the chair rail and molding, so you have a smooth surface under the trim. It wouldn’t be the worst thing to have an orange-peel texture, but it would take away from the look that is supposed to mimic wood wainscoting.
I cannot WAIT to see this room finished. Those colors are just beautiful together!
WoW ~ just beautiful! I use my Swiffer duster..:)
This turned out so beautiful. I love it
I have picture frame molding in my foyer and have always loved the classic and timeless look it gives a room and like you mentioned for a relatively small price. Yours look great and adds so much interest to your dining room.
You must be so excited, Marian, as your vision for your dining room comes closer to reality. Can hardly wait for the reveal of the oval room blue on the picture frame molding.
As you move to the mural painting phase, may your artistry bring you delight.
With admiration,
Diney on Mercer Island
Can you share if you caulk along the corners only or along the edges of the each trim piece length as well? My walls are plaster and when trying to install chair rail there is a definite wave in the wall. Have you found a certain brand works best for this kind of detail work?
I love picture moulding and just about any other type of mouldings on walls and ceilings. Your inspiration pictures for the mural are gorgeous. I like the softness of the trees and leaves. The paint and drapery velvet colors you have selected are beautiful. I love muted blues and greens. They are always so restful.
I think if you kept it white the mural you paint (yay can’t wait) will be the star. You may have too much saturation painting it the bluish green color – I’d reconsider keeping it plain and let the frame molding be the star supporting the real star – the mural. Just my honest opinion. There is such a thing as just too much color.
But I am not a fan of much color either, and you always make great decisions. But I would soooo keep it white.