
We are so, so close to finishing Megan’s office! Megan and her husband, JT, came to pick up the furniture from my studio over the weekend. Moving that wardrobe was quite a job and it was even a little nail-biting seeing if they could get it in the space, but they were able to and it will provide loads of closed-door storage.
They also picked up the rug, curtains, armchair, accessories, etc., so they could put them in the room. (Do you see the adorable antique trashcan that Carrie from Copper & Tin gifted to Megan?) Kriste and I drove down today to check out the space and work on a few things before the final reveal.

If you ever paint a chalkboard wall (or anything in chalkboard paint, for that matter), you should season the surface. This accomplishes a few things. First of all, it takes the edge off the black and gives that classic “smeary” chalkboard look.
It also prevents words/drawings from being “burned” into the surface. If you don’t season it before writing on it, that writing will always be faintly visible, even when erased, so this is an important step.
Just rub chalk over the entire surface…


…and wipe it off with a dry cloth. If you want the “smeary” look, it’s important that the cloth is dry or the chalkboard surface will look very black again.

See…now it looks like a chalkboard!

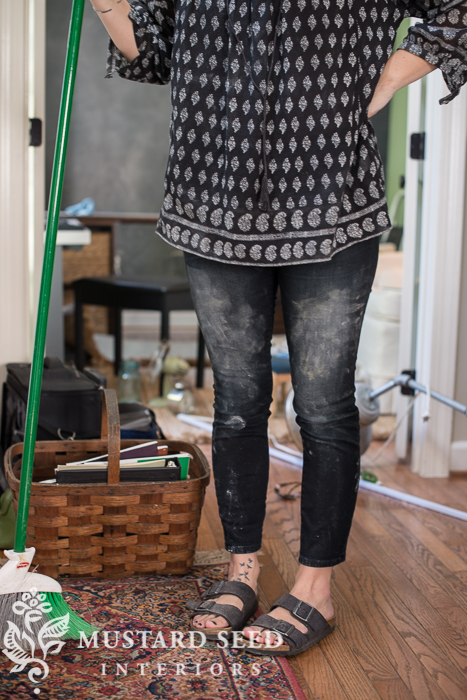
The job is just a little bit of a messy one, but it all brushes off!
We also finally got to install the light! It’s the perfect, unique farmhouse touch.

My dad mounted the fixture to a wood block…

…and threaded the cord through a recess…

(Those holes don’t have anything to do with the project. He just used a scrap piece of wood.)
The cord was threaded through a channel he cut out and then fed into a plastic cord cover. I then screwed the wood block into the wall, making sure two of the screws were in a stud.
We painted the board and cord cover in chalkboard paint and, once it’s seasoned, it’ll disappear.

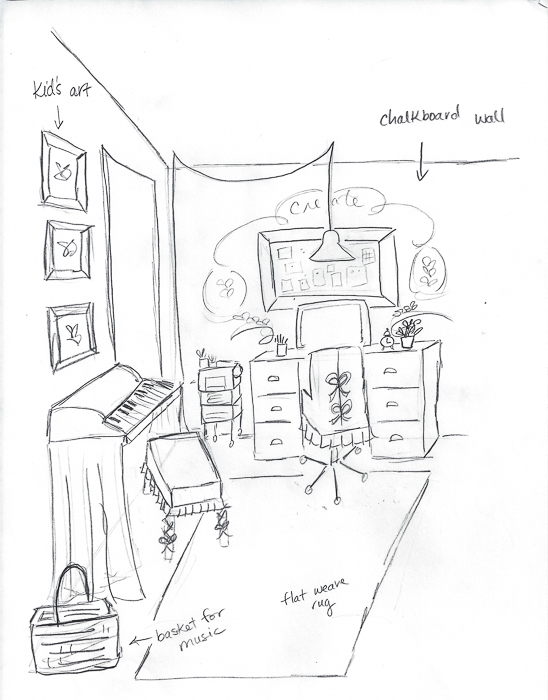
See how the room is coming together as I envisioned in my sketch?
We have a few more things to do and I plan on doing the final styling and shoot next week. Until then, here’s a preview…
Kriste painted a series of watercolors to hang in frames that Megan already had and I love how they turned out! They’re playful and sweet and the colors are perfect. She’s so talented.


And we hung the gallery wall today, too, but we’re waiting on a couple of special prints from one of Megan’s friends to arrive.

The full reveal soon!
![]()
If you have missed any part of this series, you can catch up here…
part 4 | wall colors & design elements
part 5 | the slipcovered desk chair reveal
part 6 | the Craig’s List wardrobe


19 Responses
Is this chalk paint as in Annie Sloan, or the produce called Chalk Paint at the hardware store?
I am so tempted to this in one of my rooms!
No, this is “Chalkboard paint”, not to be confused with Chalk-type paints. You can buy it at most hardware stores.
This is so fun! I am always amazed at how chalkboards really come to life when you season them. Thanks for posting all these stages. I love watching the process.
The Other Marian
So cute!! I love the pops of green. I think I’m in love with that green clock!
Can’t wait to see the rest of it.
A good way to clean a chalkboard so it’s not dusty is to use WD40. Spray it on, wipe it off and let it dry for 15 minutes. You get a great, clean looking finish and it wipes clean easily.
I LOVE the progress so far….but Kristies prints make it FABLOUS!!!!! Maybe she should make copies and sell them….I sure would put them in our home!
Ditto!
Ditto! Ditto! Love Kriste’s watercolors!
Looks wonderful…I just love how the chalk board paint looks. I have a fiber room with yarns and spinning wheel etc. One of my walls would look great with chalk board paint then I can draw all sorts of balls of yarn etc all over it. How fun!!!
Thanks !! And I love the furniture as well. The green is awesome!
It’s beautiful! Can’t wait to see the final reveal.
Oh Dear I can’t wait!! It is looking amazing and that light? Perfect touch to the chalk wall! Those water colors are really good as well. Kriste you are talented.
Lauren Baxter | Lovely Decor
xx
Beautiful! I love that shade of green. Can you tell me where the rug came from?
It was on sale from Pier One Imports.
I LOVE this! I so need a chalkboard wall too.
Everything looks wonderful, seeing all the different phases of this room have been great and helpful. Thanks
Thank you for posting how to treat chalk board paint. I have been exploring on Pinterest, chalk board paint on a door. I want to do this to a pocket door that is being installed in my kitchen as part of my remodel. I wasn’t aware of using chalk after painting the surface in order to cure it. I really appreciate knowing this step before my project has started. Megan is so lucky to have those beautiful watercolor’s of Kriste and that awesome industrial light suspended above her desk.
Marian, This is in reply to your corn dish recipe from yesterday. I made it and I have to say
it was delicious. My husband and I ate the whole thing……….but I did only use 2 ears of corn.
Definitely a keeper! Thank you.
Yes, right?! Jeff ate our leftovers and I was a little sad.
I’m in love with how the office is turning out! I love the chalkboard wall and the light! Can you tell me where you got the light? I can’t wait to see the finished product!