
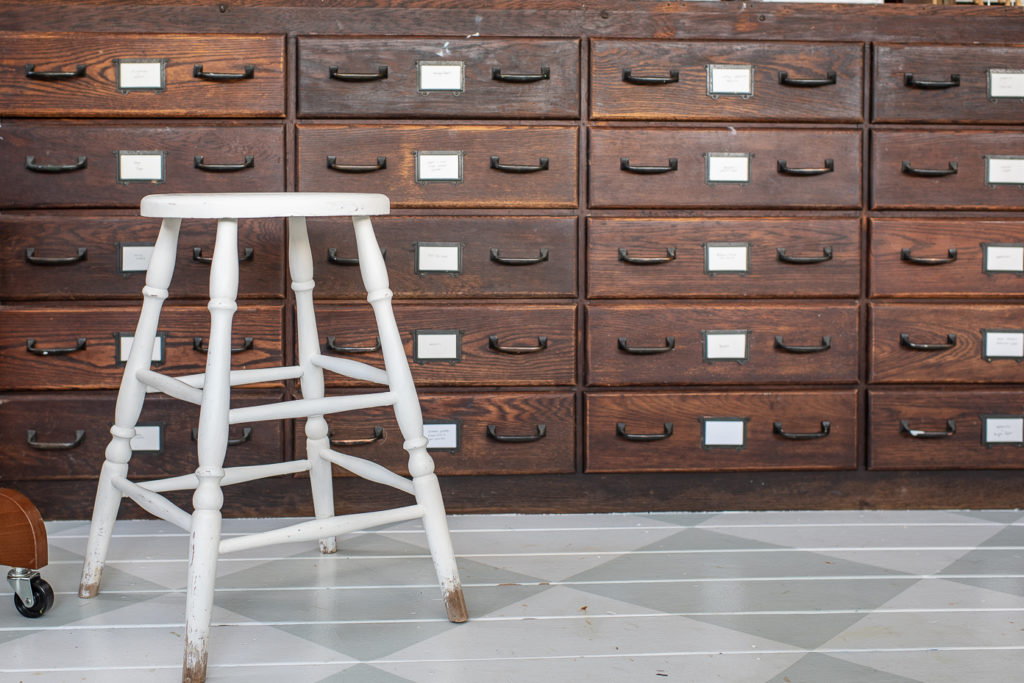
We had an uncommonly warm weekend, so I decided to finally work on painting this stool that’s been hanging out in my garage, waiting for some attention, for almost a year! I picked it up on one of my first antique outings when the stay-at-home orders were lifted. I had no idea what I was going to do with this stool, but I think it was $12 or $15, so it was hard to pass up. It’s sturdy, has a great shape, and pretty turned legs, and I almost always find a good use for an old stool. They are a great size and height to use as a small side table or a plant stand, so I have them all over the house!
I liked the shape but I did not like the beige paint color. It wasn’t the worst beige ever, but I wanted to change the color.

I liked the chippy white that was happening underneath and thought about trying to sand off all of the beige, but I decided against that about two minutes into sanding! This is why you like painting things like this stool, Marian. It’s an easy update, especially for something with a bunch of little crevices.

So, I sanded just enough to rough up the surface. (Even outside, always wear a mask when sanding!)

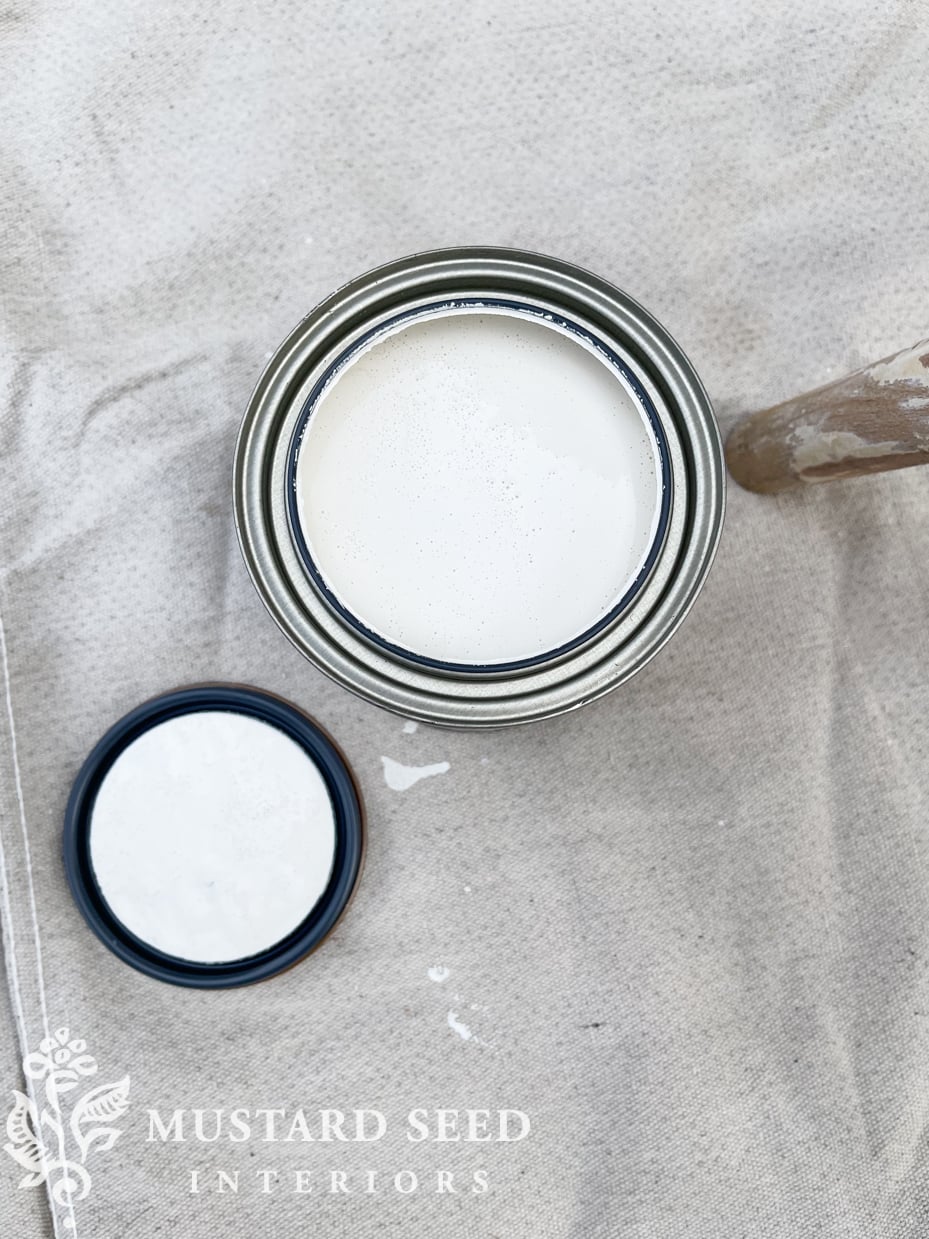
For this project, I decided to use Mango Paint. It’s owned by one of the sweetest and most creative women I know, Melanie of Mango Reclaimed. She sent me some paint when I was working on my new book (you can preorder that if you haven’t already) and wanted to write about several different paint options for various projects. Mango Paint is a chalk-type paint, so it has good adhesion and I thought it would be a nice option for painting this stool.

I used Sophia, a soft, creamy white.
To apply the paint, I brushed it on with a . A tip I’ve shared before is to start painting pieces like this stool upside-down, so it’s easier to reach all of the undersides and insides of the cross pieces and legs. It really does give you a better finish and helps you catch drips easier, too.

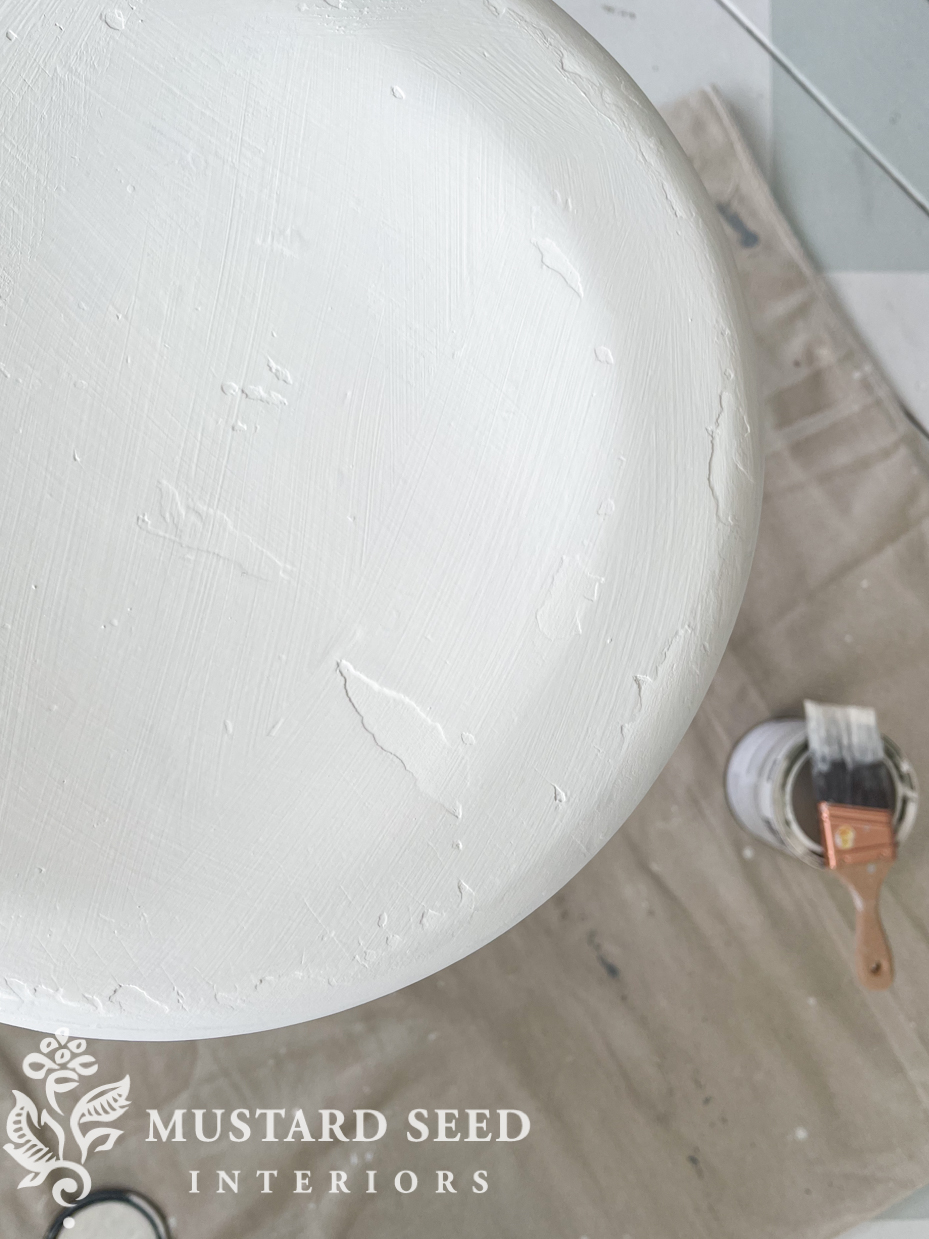
The first coat, as is almost always the case with white, looks a little streaky.

I decided to paint gently around the feet to retain some of the exposed original cream paint and raw wood legs. When I am painting an old piece of furniture like this stool, I don’t want to smother it and make it look brand new. I want to let it be old and even highlight some of the quirky, unique marks it’s earned over the years.
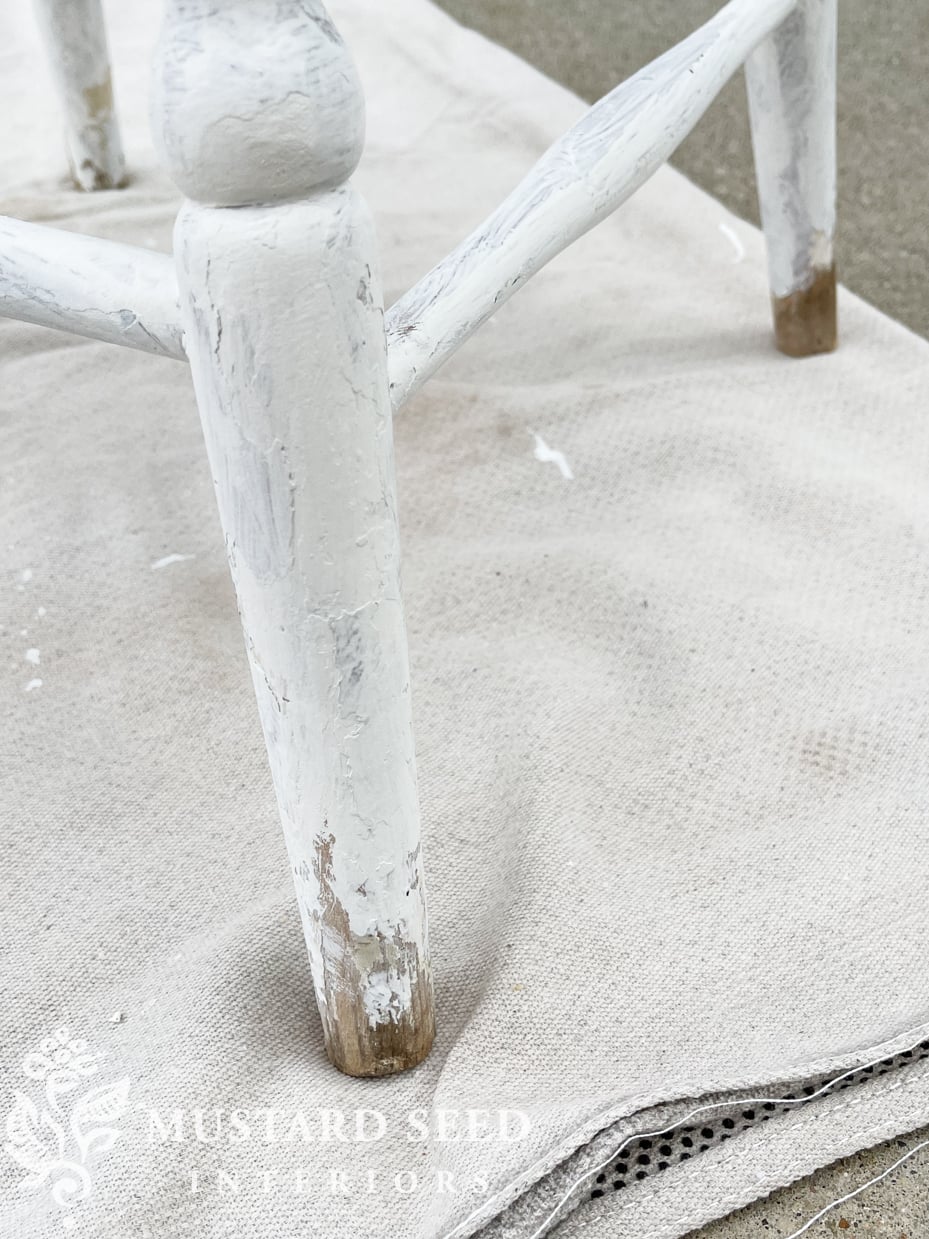
It was looking much better after the second coat, but I ended up doing a third quick touch-up coat just to hit the most visible areas.

I love the texture of the old paint that showed through. Some people might want to sand that smooth, and I might do that on some pieces, but I liked the texture on this piece. I did sand out my brush strokes, though!
I did decide to distress the piece lightly with 150 grit sandpaper to bring out some of that texture and to make the transition on the legs from the new paint to the old look a bit more organic. (HERE is a post on tips & techniques for distressing a piece of furniture so it looks natural.)

I wiped off the dust with a and finished it with .
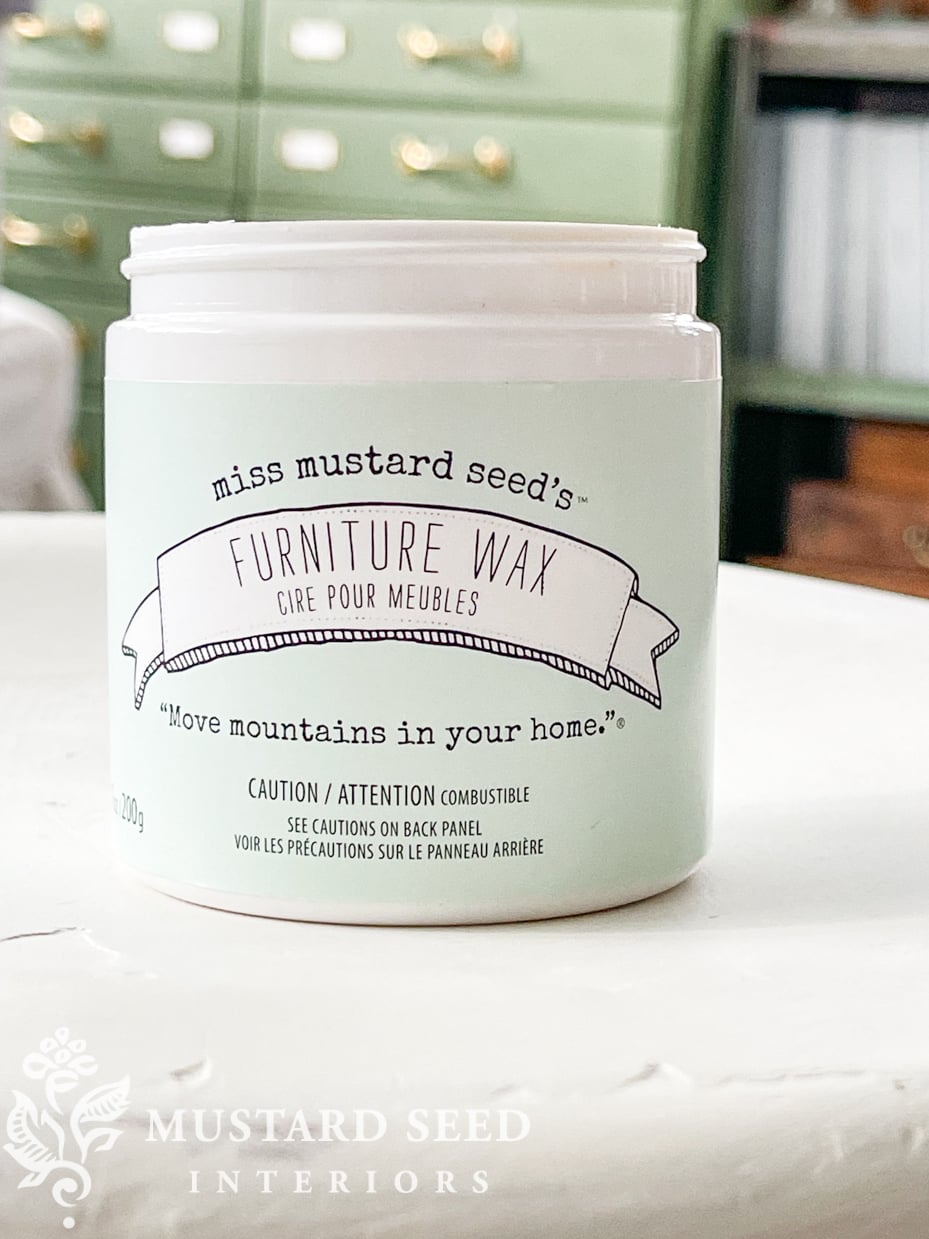
I picked wax because it would be easy to apply in all of the little nooks and crannies of the spindles, it wouldn’t yellow the finish, and it would provide durability while keeping the finish “soft.” Again, I like to let old pieces look old and wax really does that.
Because this piece has a lot of curves and crevices, I used a to apply the wax, brushing it on in circles and working it into the detail. The key with waxing is just to use a little bit. Similar to lotion you apply on your hands, the wax will be absorbed into the surface and any excess wax will sit on top and be sticky. So, easy does it with the wax! (You can find several waxing tutorials HERE. If you’d like to watch the progression of the stool makeover, I shared it on my Instagram Stories HERE.)

I didn’t get a picture of it, but I buffed out the wax with a microfiber cloth to make the finish nice and smooth.
And here is how the stool turned out after painting, distressing, and finishing it..

I have been pulling the stool from my drafting table over to use as a little side table when painting at my easel, so I thought that would be a good place to use my freshly painted stool.

This stool is a perfect place to set my palette while I’m painting…
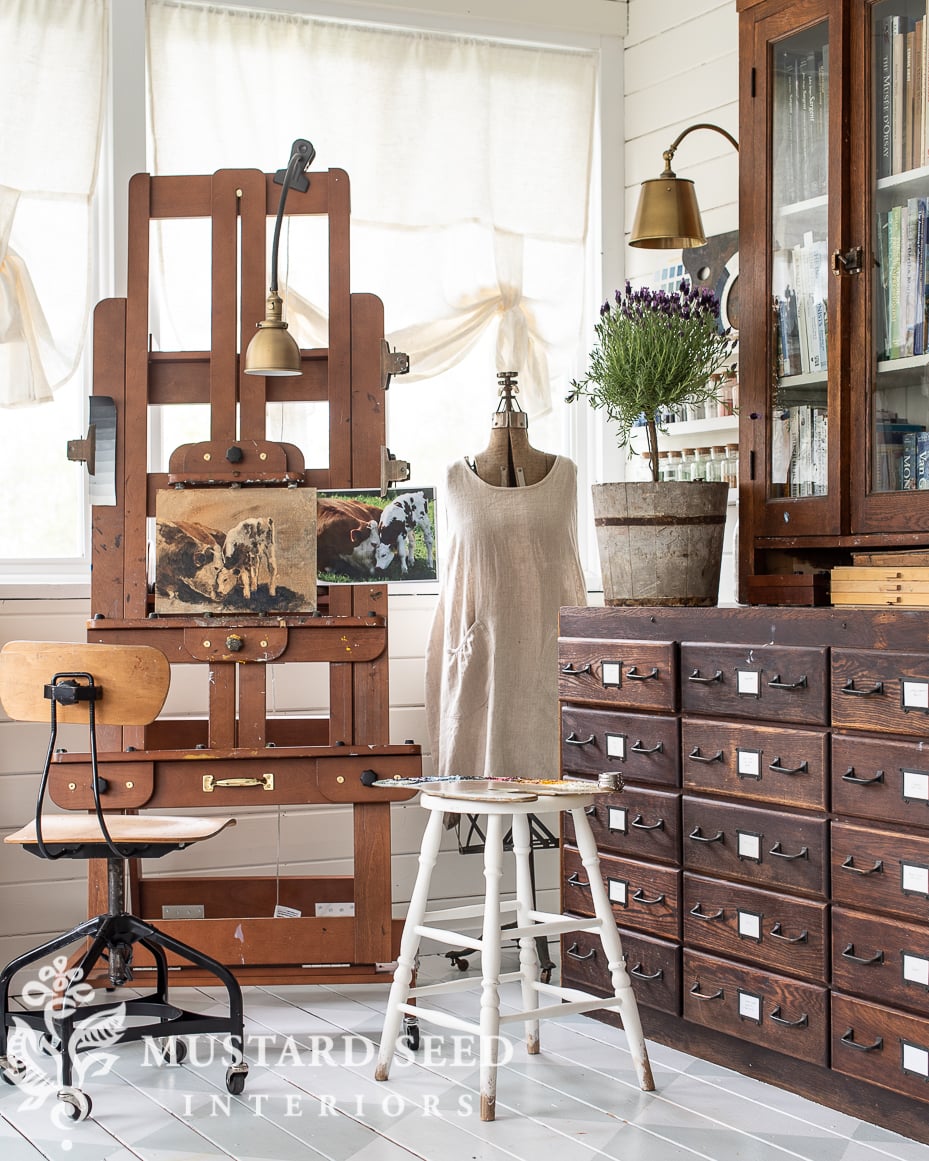
But I can also use it as a little side table in other parts of the studio (or the house for that matter.) It’s light and easy to just pick up and move around.
I am secretly excited to see how it looks in a few years when it gets spots of paint all over it. I was admiring the patina that is starting to build up on my easel just the other day. I find something very lovely about it.

And I am so happy I painted carefully around the bottom of the legs to retain the charm of the natural wear.
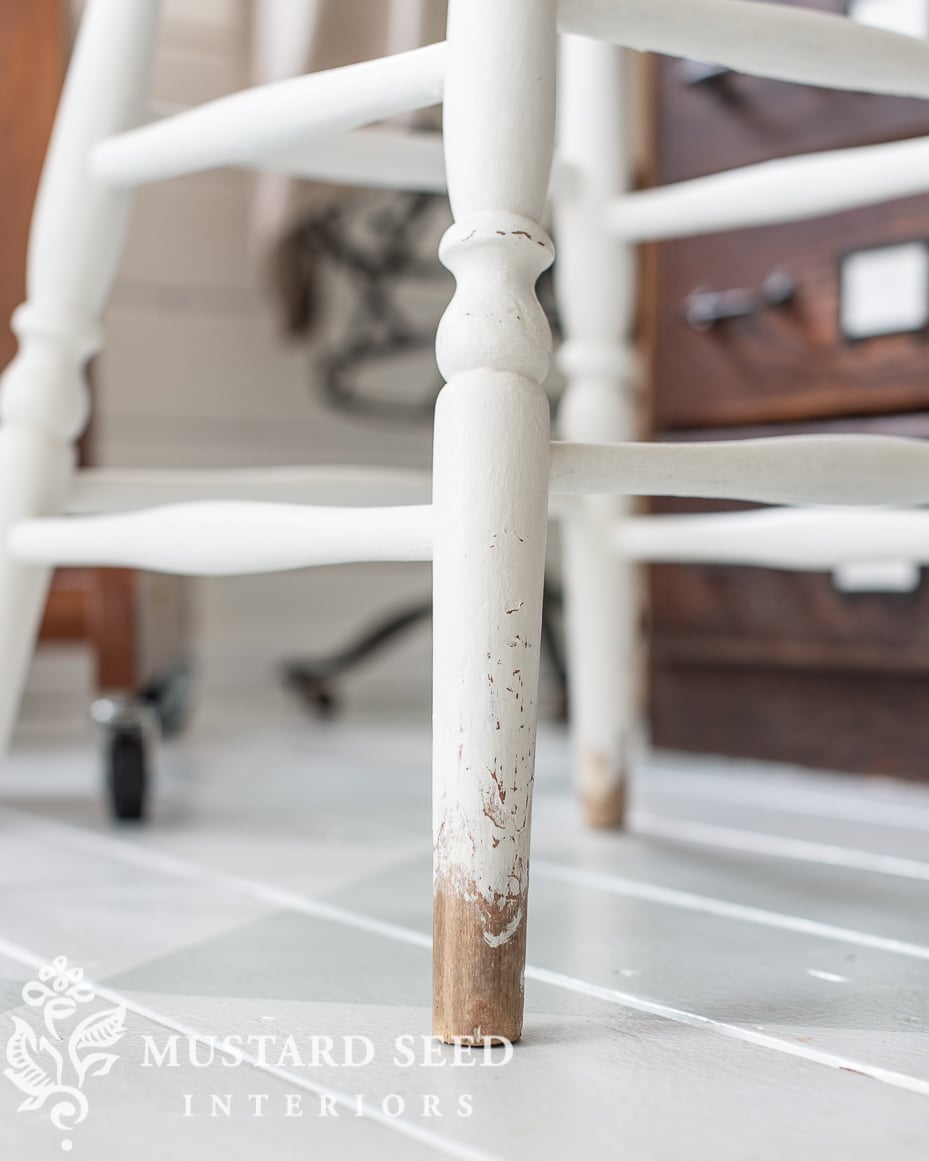
It really does blend the best of a fresh coat of paint with the beauty of a chippy, worn finish.
If you’d in the mood to see some more furniture makeovers, you can find a whole bunch (almost 12 years worth) HERE.


21 Responses
I think I have the taller brother and sister wooden stools of yours, except the legs aren’t turned. I bought mine at a yard sale in a small town in Minnesota that I was passing through. They are old and sturdy. They also had that same enamel beigey paint color on them. I also chose to sand them, but under-painted in in a matte black paint, before painting them a creamy-white, then sanded some areas slightly to let some of the black paint show through. I’ve used these to make a make-shift desk (straddling a wood board desktop on them), as a make-shift lamp table (put a large/1/2″ thick, 24″ diameter circle of glass on top of one of them, and as plant stands as well. They’ve kind of made the rounds in all rooms and corners of my house. When I don’t need them (for awhile) they get stored in the garage.
So pretty. I love the patina of paint pallets as well
I wish I had just a smidgen of your talent ?
I think I would probably have walked right by that stool in it’s original state without even noticing it. Now it’s lovely and I’m wondering were I can get one. You never cease to amaze me with your fine work and your ability to see beauty where others might not.
Marion…a few years ago I bought a bottle of your hemp oil at Junk Bonanza where I also was so happy to meet you in person! Now that bottle is nearly empty and I have several projects needing it’s nourishment. Where can I find it?
Probably the easiest thing is to order it from Etsy… https://bit.ly/3h3qVKv
Thanks! Another bottle on it’s way. Such a great product for vintage wood furniture!
I appreciate so very much how you share the process of your work with comments on why you choose to do certain things (like leave the bottom of the stool’s legs unpainted). I am terrified to take on new projects because I don’t know what I’m doing. But your posts help me feel somewhat braver. I LOVE what you do. Thank you for your diligence in sharing your creative gifts.
Do you have recommendations for removing fingerprints from wood, finished dining room chairs? I know you may have the perfect products to recommend.
Hmmm…I’m trying to imagine what the finish might be and why it’s showing fingerprints. I would try a barely damp microfiber cloth first before I move on to products. After that a vinegar/hemp oil mix would be good to try. It’s great for cleaning wood. Here’s the recipe… https://missmustardseed.com/oil-vinegar-not-just-for-salads/
Thank you. I’ll give it a try. Orange oil polished it but once it soaked into the wood, you could still see signs of war and fingerprints.
Love it! You can always use an extra stool. I really enjoyed this. It’s been awhile since I’ve seen you work on a piece of furniture. I was painting something white today also so I went over and ordered your furniture wax. Thanks!
Just wonder why wouldn’t you use your MMS paint, love it..
I certainly could’ve! I just decided to try this paint, a brand designed by a friend of mine, to test it out and support her. I absolutely love milk paint, but I’m a paint enthusiast, so I still like to experiment with different mediums.
I love these small furniture pieces, they are so versatile to use all around the house. The stool looks gorgeous with a new coat of white paint. I’d never heard of Mango Paint before but I’m definitely going to be checking it out now!
I love the stool! And my first thoughts, when you showed where you were using it, were how great it was gonna look with the smears of paint on it. I love what you do, and how you share it!
Reading about this adorable little stool and how you refinished it made my day.
I know you’ve rebranded yourself into an amazing new direction, whoever my first introduction to you was when I just beginning to refinishing furniture myself. I looked forward to your daily emails on your latest find and refinish, or tutorial, and learned just about everything I know from you. Thank you for the smile on my face. 🙂
It looks so cute! The reason I’m such a fan of milk paint is to me it gives an authentic old finish, even on newer pieces, and of course the chippy, or not, factor. The reason I’m not a fan of chalk paint is because it leaves a grainy finish and obvious brushstroke. Yes, it can be buffed with torn paper bags but I’ve never really had a chalk paint finish that competed with milk paint. And again, to me, chalk paint doesn’t give an authentic old finish like old paint that’s really old, or milk paint with it’s subtle texture and barely visible brush strokes, it just looks like new paint has been applied. Would love your honest opinion. Did your brush strokes even out after sanding? Would you use this chalk paint again on a larger, “more important” piece? I hate to put you on the spot, knowing this woman is your friend, but would really like to know….. your opinions really matter to me. I love your painting tutorials and really learned a lot over the years, even though I’d been painting since the 70’s when milk paint came in small milk cartons!! with the instructions for mixing it on the cartons. Yes, I’m that old.
I think it’s such a preference thing, but I do prefer milk paint in general over chalk-type paints. I like it is thin and self-leveling and leaves a nice, smooth finish. That being said, there are benefits to using a grippier paint with better coverage for certain projects!
Since last year I have found four of these stools on trash day, and now reside in my basement! One was a perfectly painted black and is in my foyer holding a Snake plant. Not sure if I will sell the rest at a garage sale or make use of one more. I’ve seen them even used as a bedroom night stand, which is creative too. Thanks for sharing the painting aspect should I decide to go this route with the one.