
I’ve shared a lot of tips about distressing furniture through the years, but I decided I would tackle the subject again. I took pictures of the process as I worked on the Marzipan dresser I revealed yesterday for that very reason.
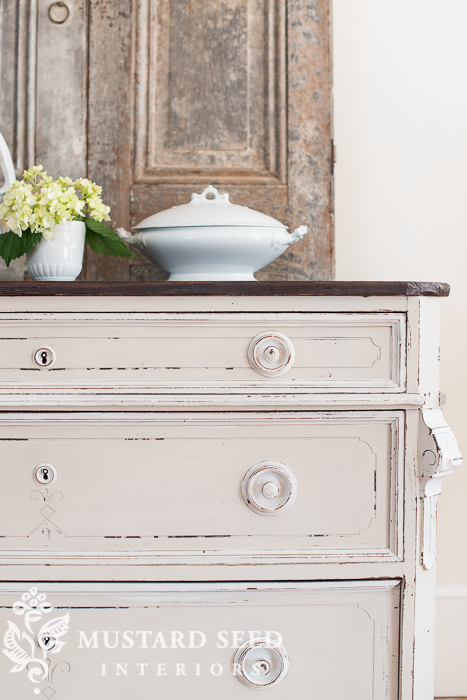
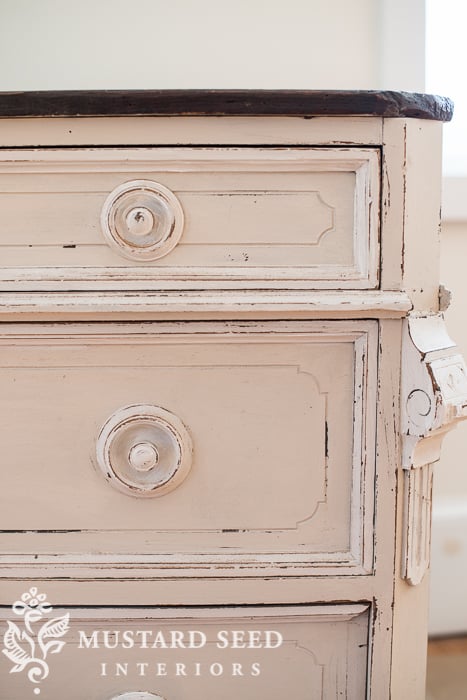
So, here’s how the dresser looked once it was painted. It has two coats of MMSMP Marzipan with some Ironstone (white) painted on the trim, handles and carved details. Because I’m going to distress, I wasn’t too concerned with the white paint being perfect or completely opaque. It actually looks a little sloppy at this stage. Distressing serves a few purposes, then. It hides the imperfections in the painting, but it also brings out the details of the piece and adds a sense of age to the fresh coat of paint.
I’m going to start with the basics…what is distressing? It’s more than just roughing up a piece. It’s about removing paint from the “high points” of a piece of furniture in a way that looks authentic. Nothing gives away a “freshly distressed” piece more than an orbital sander mark right in the middle of a drawer front…where wear doesn’t happen naturally and it doesn’t happen in swirly circles.
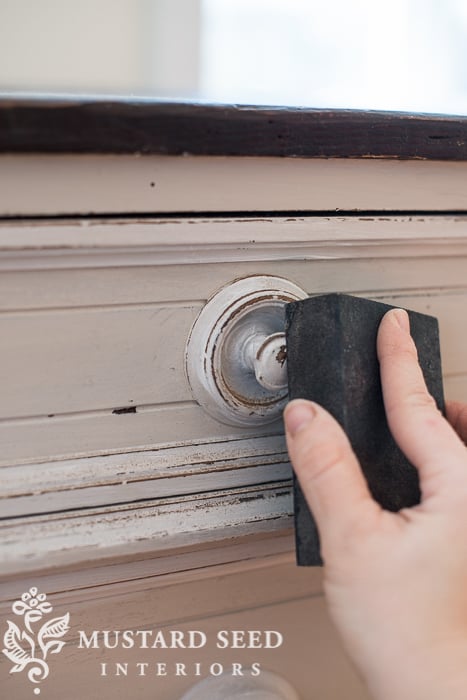
I’ll use an orbital sander for distressing sometimes, but I usually prefer to distress by hand, so it looks more authentic. I start with a medium grit sand paper, in this case 100 grit to remove paint from the edges.
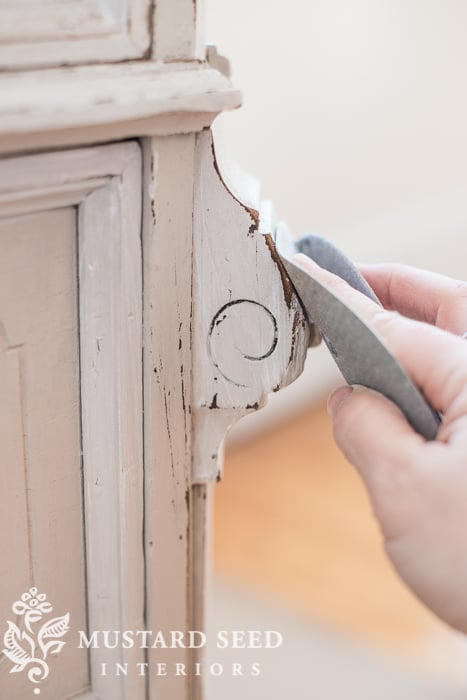
I run the paper in “flicking strokes” across the edges to pull the paint off. I’ll work around the edges of the drawers, drawer openings, and all of the corners and edges on the body of the dresser. Think about how a piece gets bumped and worn as it goes through everyday life…people opening and closing the drawers, brushing past. I’ll also distressed around the handles and keyholes of this piece. They’re wood, painted and raised, so they would definitely get worn with use as well.

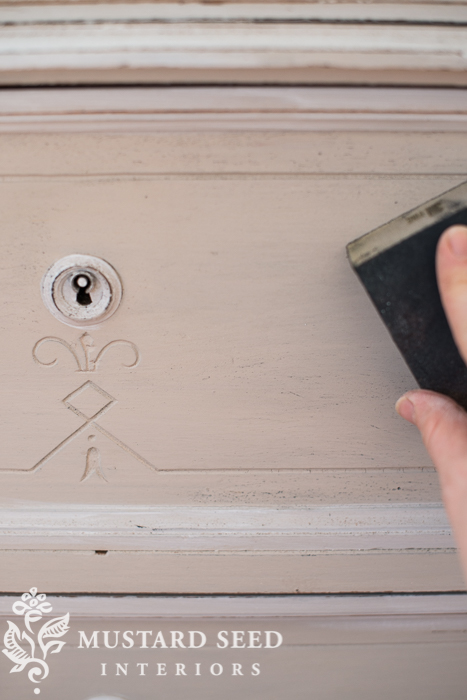
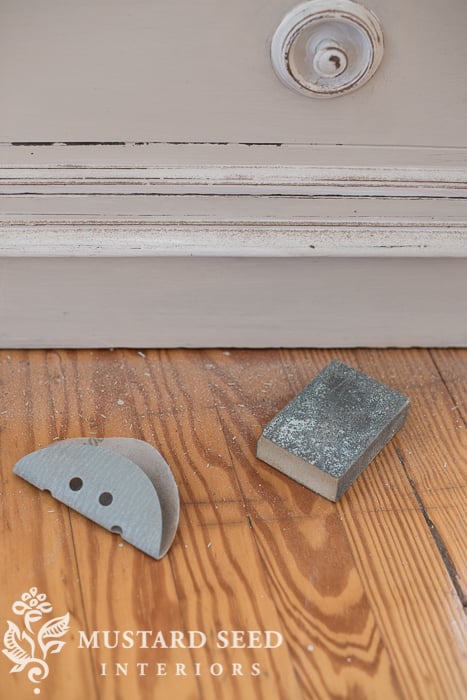
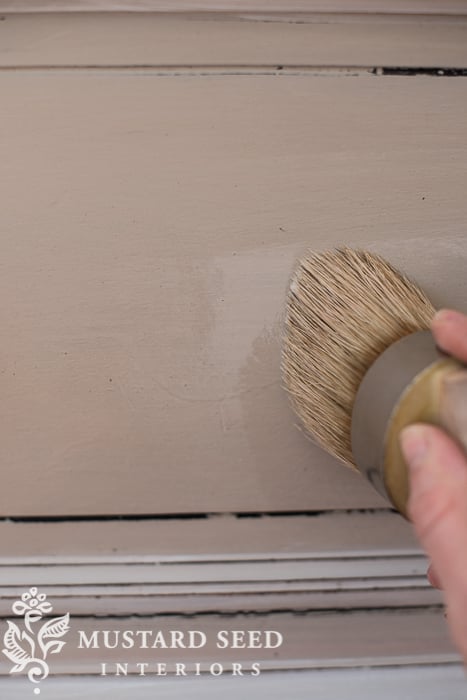
I followed the 100 grit sanding paper with medium and fine sanding sponges.
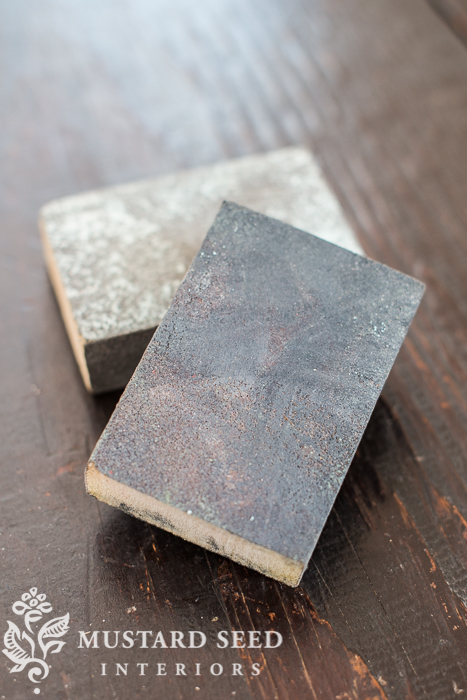
These soften the “scratchiness” of the marks left by the 100 grit paper. They’re great for getting the “rubbed off” look.
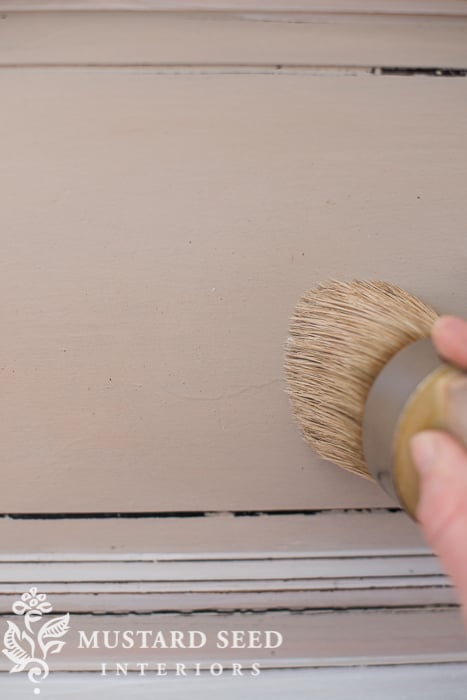
…and I’ll rub over the entire piece to smooth the finish and knock down the “newness” of the paint. I often get the most surprising, subtle texture and distressing just by gently rubbing a fine sanding sponge over the entire piece.
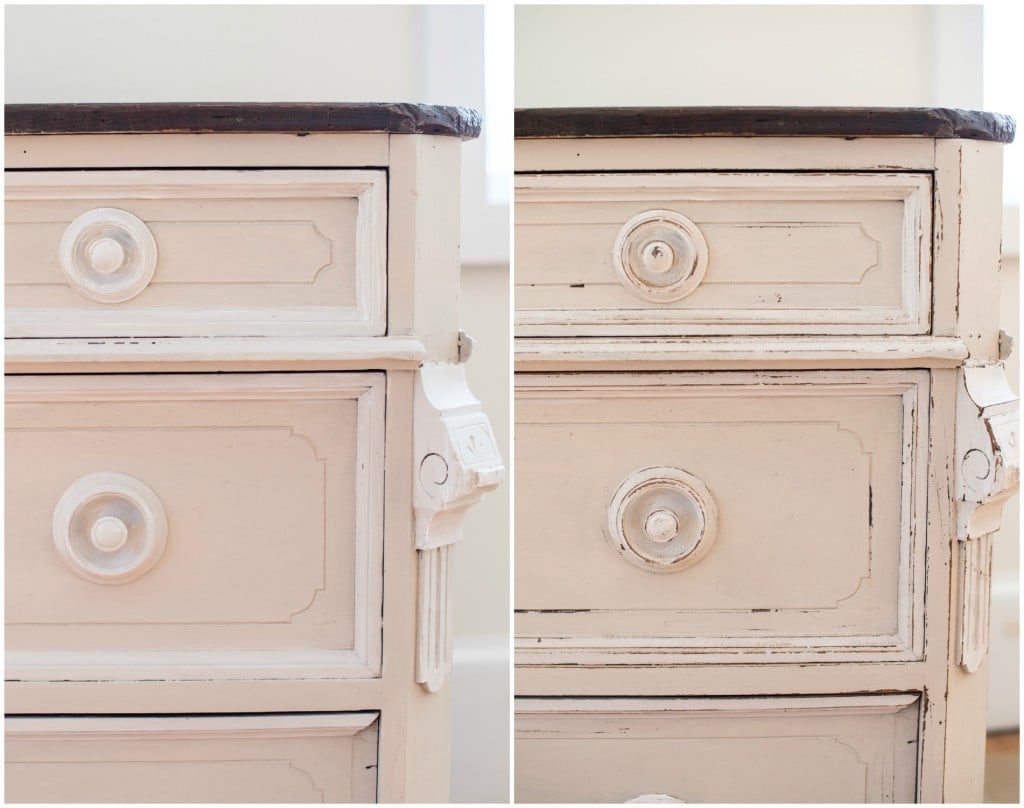
While distressing, I always take a step back every few minutes to take in the overall effect. It’s not entirely random, but shouldn’t look too thought out. When I’m happy with the look, I vacuum up the dust, so it’s ready for a topcoat.
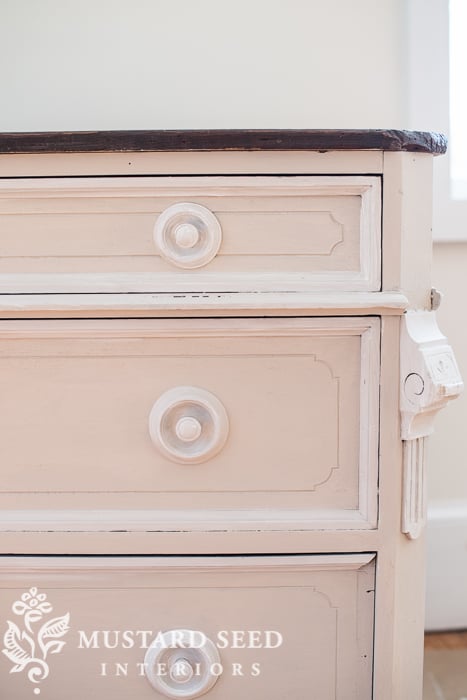
You can see how much the distressing brings the piece to life…
I decided to apply Furniture Wax as a finish. While I’m giving out tips, I’ll share this one. When you’re applying wax with a brush, just start with a tiny bit. It shouldn’t be globbed on. Just grab a little bit with the tips of your brush.

Massage the wax into the paint in a circular motion, allowing it to absorb into the finish like a lotion.
Once applied, it shouldn’t feel sticky or tacky. You shouldn’t see any wax sitting on top of the paint. Use the brush to buff the wax in the process. Another key to working with wax is to work in small sections, so the wax stays workable.
…and here’s the result…

…deliciously distressed.


26 Responses
Beautiful! Thank you for sharing this post.
This was very helpful, and refreshing.
Love your work!!
This piece is stunning! Thank you for sharing tips/tricks. I am only just now jumping on the chalk paint train and I am getting ready to start my first big project. I am emailing this to myself for reference. ❤
Great tips. Is it always a good idea to wax with a brush? Can waxing with an old shirt achieve the same look?
Yes, it’s absolutely beautiful. I love this color. One question tho. I’m probably wrong but I thought one of the reasons for using milk paint is that it chipped naturally. I know you can use that product (can’t remember what it is) to prevent chipping, but I guess I’m surprised that you distress a piece when you use milk paint. What am I missing??
Yes, milk paint used on an existing finish without the bonding agent will sometimes chip off, but it’s usually loose until lightly rubbed, sanded or scraped off, revealing the “chippiness.” I also distress the edges of pieces lightly to compliment the chipping, making it look more authentic and a little less random. I hope that makes sense!
Thank you very much for this clear tutorial which addresses both how to and why. One always reads ‘then I distressed and waxed the piece….” but the why and the before and after explanations are missing.
Beautiful work thanks for sharing!
I’m loving this colour! It’s gorgeous. I’m excited for them to be released. I think this is my favourite so far.
– Maria
So interesting to hear you walk through the process. I love to hear your approach and see a step-by-step for different pieces. The final result is spectacular!
Great tips and tutorial!!
Thank you for sharing with us, love all you do!
This is comical almost, I wrote a post today about distressing, of course not nearly as eloquently written as this. I mention that in a pinch if you don’t have sandpaper you can pull out your Mani/pedi set and use your nail file! I however prefer buying sandpaper over nail files, but maybe someone will find it useful. The Marzipan is beautiful!
Thanks so much, Marian, for this tutorial. I am just recently thinking that I will try painting a small piece and distressing it to see how I like doing it and whether I am any good at it. So I will definitely archive your post to refer to. I know you used your MMS paints on the piece you showed us, but what do I look for when I’m purchasing the wax? A specific brand or type of wax?
Thanks again! I love your posts!
I used the Furniture Wax sold with my line of milk paints, but you can use any soft wax you prefer.
Ah! Now I see that MMSP Marzipan is a very light beige! In the first post, it almost looked as light as MSSP Linen. Maybe it was my monitor, but it did seem confusing. 🙂
This new color works deliciously with the dark wood. So pretty!
I love the new colors Marion, and that dresser looks gorgeous!
I have a question about finishing a black painted piece of furniture. I used wax once and it was impossible to buff the wax off so I ended up sanding it all down and starting over and covering with a poly. What top coat from your line do you prefer for your typewriter black paint and is there a secret to keeping the wax from looking foggy?
TIA!
Oh my! I have followed you from the beginning and this hit so many questions I had about wax. It’s not easy to per-fect! I’ve been using it for years and glob it on. Thank you for your detailed play by play on this piece. Miss this side of MMS!
I use the same method to distress furniture, but I never would have thought to use a similar color to highlight it! Can’t wait to try that out. Thanks for the great post!
Can’t wait to use the Marzipan! Your color combo on this piece matched my wedding cake 22 years ago! The baker thought I was crazy, but admitted it was beautiful, once finished!
Thanks for sharing this I have distressed several pieces of furniture, it’s such a satisfying thing to do and its great to get advice from a professional!
Did you use a bonding agent on this piece??
I am about to embark on my first distressing project. I still don’t understand the purpose of the wax. I don’t want to make it look darker (like with the Tricycle colored dressed tutorial). What do you suggest? Can you explain the purpose and different types of waxes?
Your furniture looks beautiful. Do you have to use the wax
I don’t understand how to use the wax could you explain please