

After having the lumber on our garage floor to season for a few months, we are finally building the DIY custom A/C surround. I am joking about letting the wood season. I bought the material without consulting my building partners, and we were not all on the same page regarding starting this project in the fall. That meant we were stepping over it and tripping on it for a few months because I put the cart before the horse. Now, the supplies are off the garage floor and we are making the plans (sketched on a now crumpled piece of paper) come to life. You might be wondering about the A/C screen we already have…
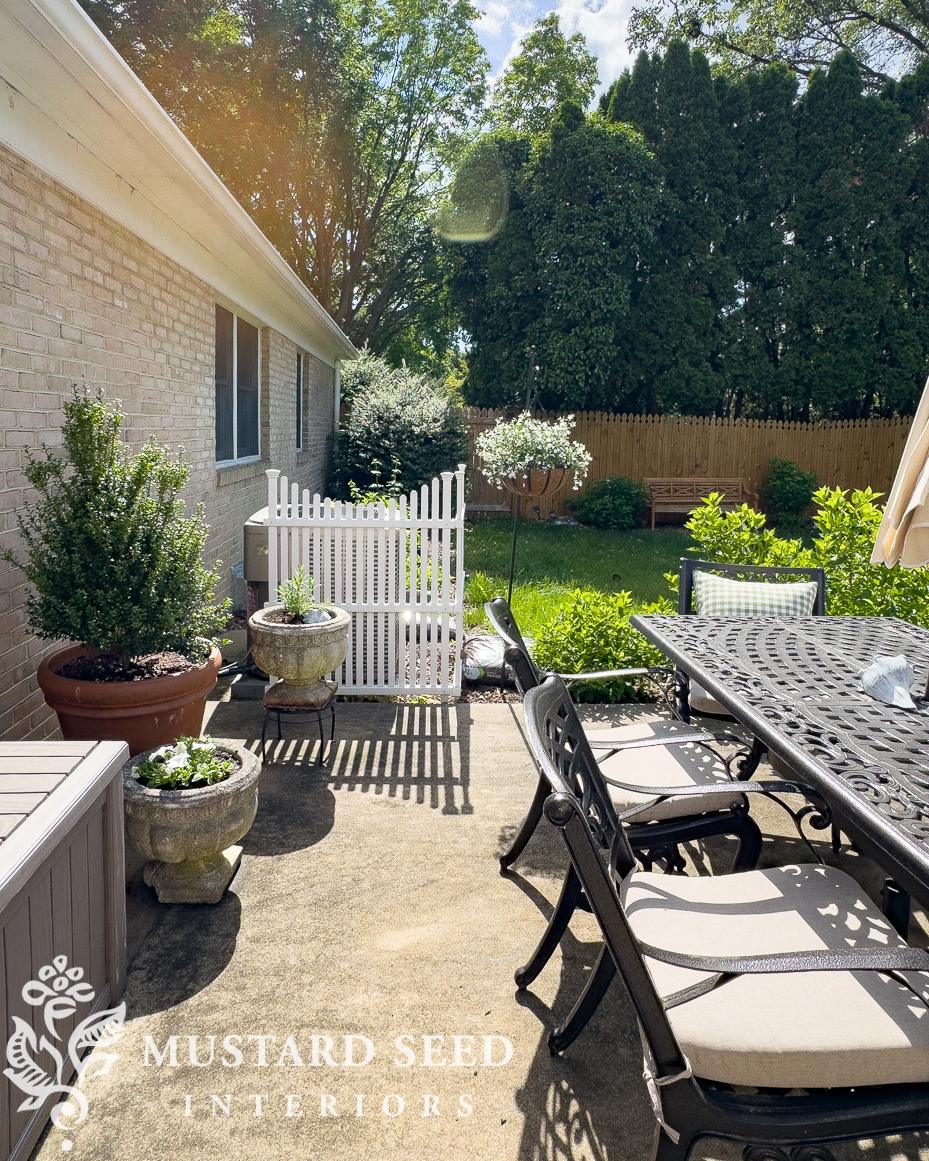
I bought it when we opened the pool a couple of years ago, and it does a pretty good job of hiding the A/C unit. THIS is the one we have.
Here’s the thing: when you look at it from the patio, it’s pretty well hidden. When you look at it from the lawn, it looks like a toddler “hiding” under the bed with his legs still hanging out. Or it’s the A/C unit that forgot to put on pants. Do you see what I’m seeing?
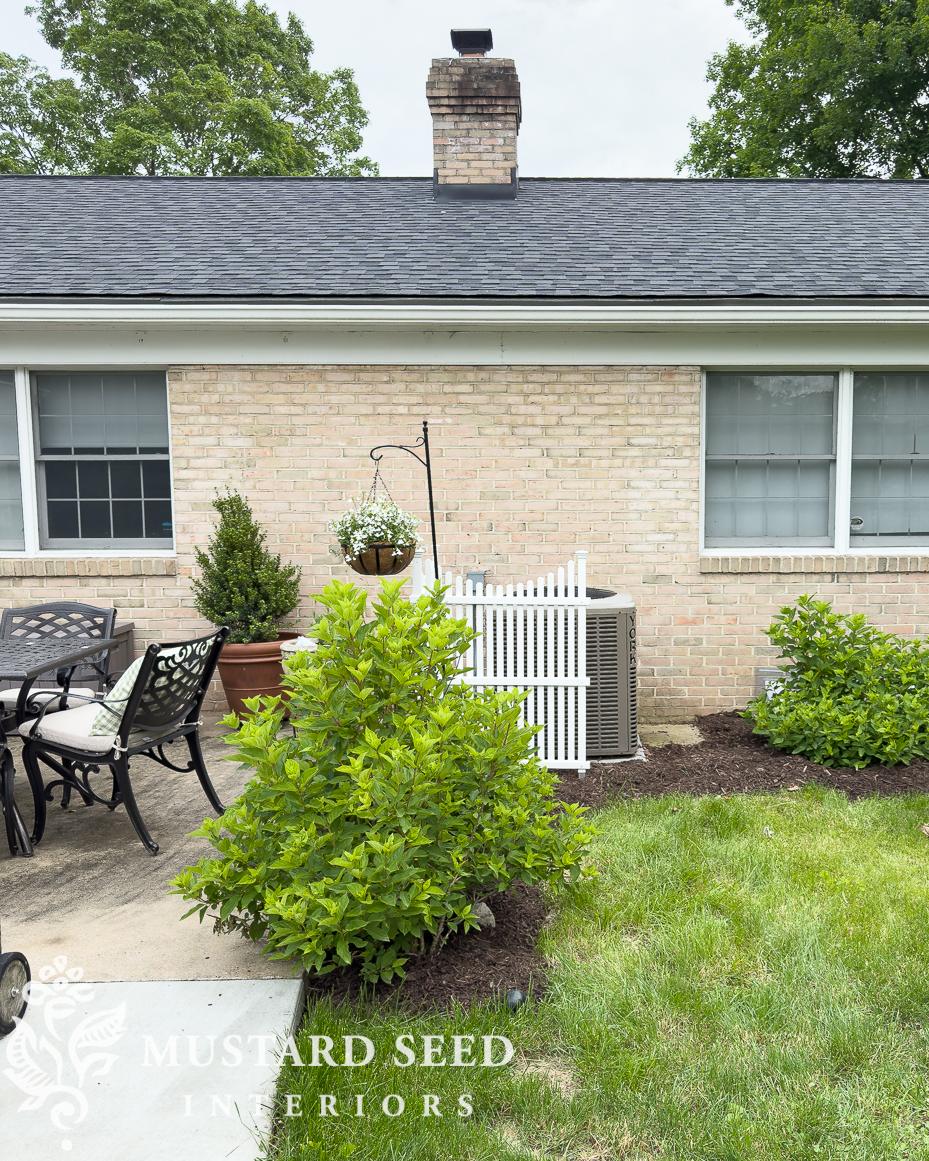
Since it is smack in the middle of the back of the house, I’d like to try to screen it a little bit better, and that would involve a DIY project and building a custom A/C screen. So, I looked around for some inspiration, and I liked this one the best. It’s simple, classic, and looks like a doable build with the tools we already own. (I found this photo on Pinterest, and it doesn’t link to an original source.)

Our pad isn’t large enough to attach the screen to the concrete, so ours will just sit on the ground.
The one thing I didn’t purchase was the lattice. I looked at several different styles of lattice, from vinyl to wood, and different opening sizes. I didn’t really love any of them. The one I liked the most had terrible reviews and fell apart when you tried to cut it to a specific size. So, I waited, hoping a solution would present itself. A few days ago, one did…
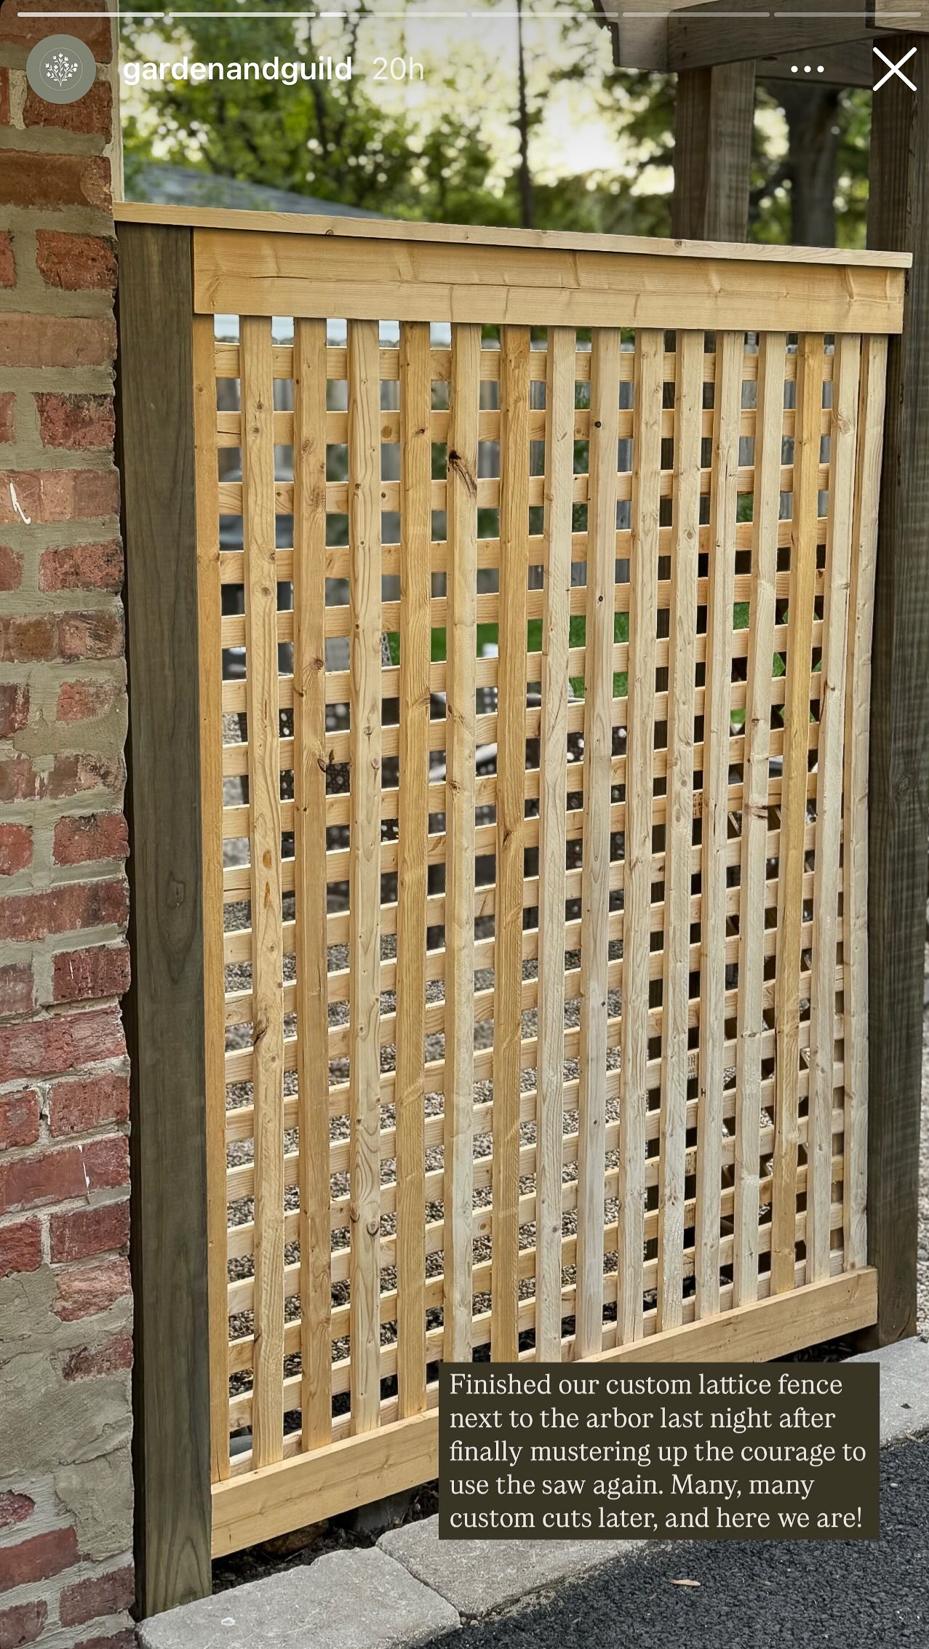
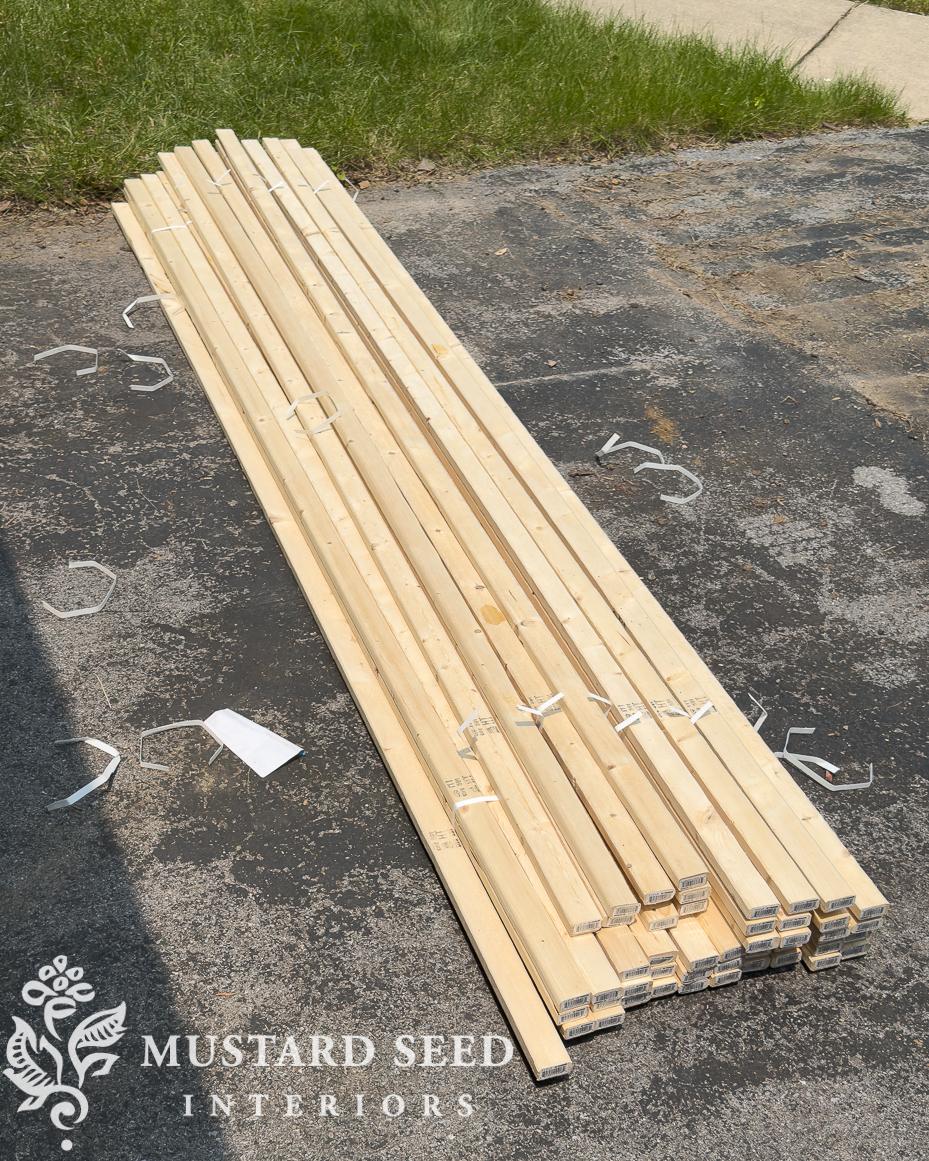
An Instagram account I follow, @gardenandguild, posted about a custom lattice fence they built, and it was perfect. Just what I wanted. It was similar to the wood lattice I liked with the bad reviews. I asked if they built the lattice portion of the fence themselves, and yes, they did. They built it out of 1 x 2s. I knew it would be a lot more work, but it was the look I wanted, and I moved forward with ordering 100 furring strips (1 x 2s for interior and exterior projects). I didn’t have a concept for how much space 100 furring strips would take up in my minivan, so I decided to have them delivered.
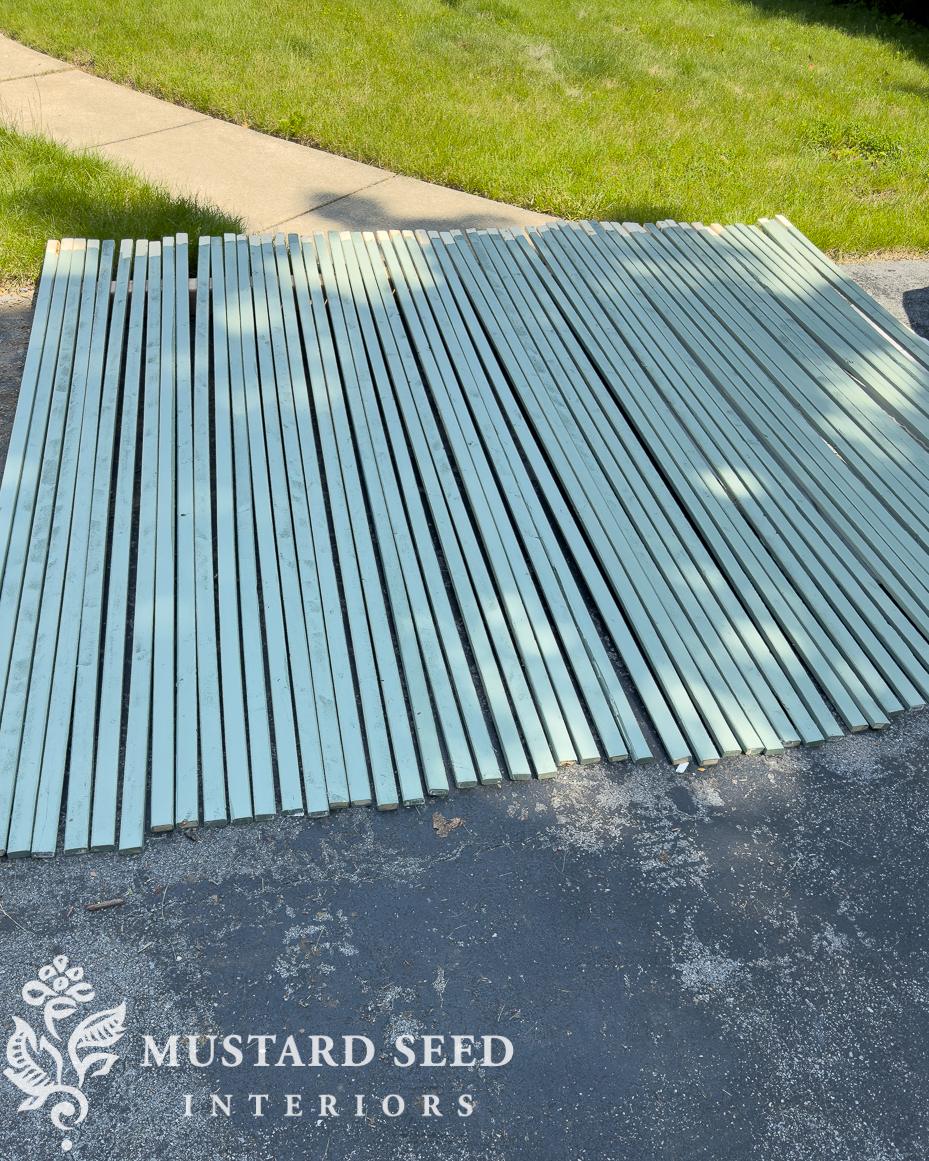
This is only about half the pile, but 100 furring strips did not take up as much space as I imagined. It was going to be quite the task to prime and paint each one, though!
Thankfully, Jeff was my Knight in paint clothes and work gloves and helped me get the priming and painting done.

Sebastian supervised when he wasn’t napping.

By Wednesday morning, we had all of the pieces primed, painted, and ready to be assembled. Jeff is busy doing actual work, so my dad is coming over to help. I’ll share the details of how we put it all together once it’s done. While I do have a plan and a general idea of how this DIY custom A/C screen will be built, I’m still a little fuzzy on the details. My plan is to dryfit everything and then we’ll start inserting screws and nails.
Painting the pieces ahead of time was a lot of work, but it will produce a better result in the end. Once assembled, there will be places that will be difficult to reach with a brush or roller, and I want it to look good from all angles. With all sides of all of the pieces painted, the wood will be better protected, and I’ll only have to do a little touch-up paint here and there.

You might be thinking 100 furring strips is a lot, and you’d be right! You also might be wondering where I got that number. I did some math and worked out that I would need about 85 pieces to make the A/C screen I designed. I am actually hoping I have extra pieces to make a trellis and another obelisk.
So, the building starts today and I’ll give an update soon…


10 Responses
Yes…the sample is pretty/pleasing but remember you do need good airflow or it will affect the air conditioner. It cannot be tightly contained….it will work a lot harder and t will burn out. Maybe you could make a gate that opens for high use days to get the air flow better…??? Replacing air conditioners is not a cheap project.
Yes, the airflow is good. Not only are there plenty of holes in the custom lattice, but it will be mostly open on one side. I also gave the unit about 16″ of space between it and the screen.
Once again, you are amazing. Thanks for sharing your idea and plans. You are always so generous with these.
Have you ever thought about moving the a/c to another side of the house? We did this at our last house which made the patio more enjoyable for relaxation and comfort. I think it costs around $500; it was definitely worth it.
Yes! We would love to move it, and if ever we need to replace the A/C, we will have it relocated if possible. When and if that happens, we can relocate the screen as well.
I love it!! It will hold up so much better than the premade diagonal ones. And it doesn’t look like every other one!!
I love the way your brain works. This will be beautiful! At least this cover will have pants on, lol (that was too funny)!
I’m so glad you’re taking us along on this journey. I’ve been trying to do little updates to our home to make some of the eyesores go away, and this is my next project. I can’t wait to see the finished look!
I may have missed it, but could you please provide the color and brand of the paint that you used. Thank you.
It is Card Room Green by Farrow and Ball. I buy mine here -https://dreamywhitesatelier.com/collections/green/products/card-room-green