

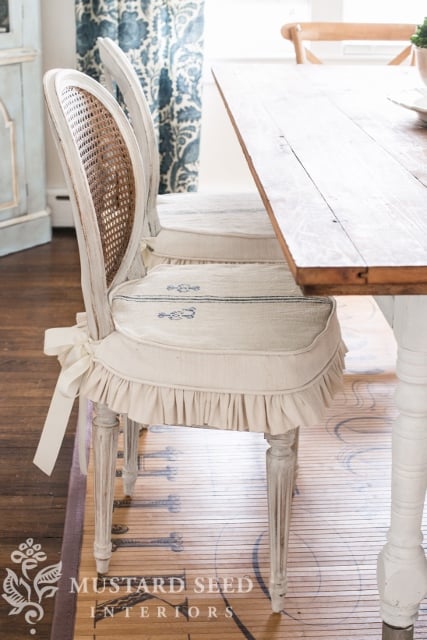
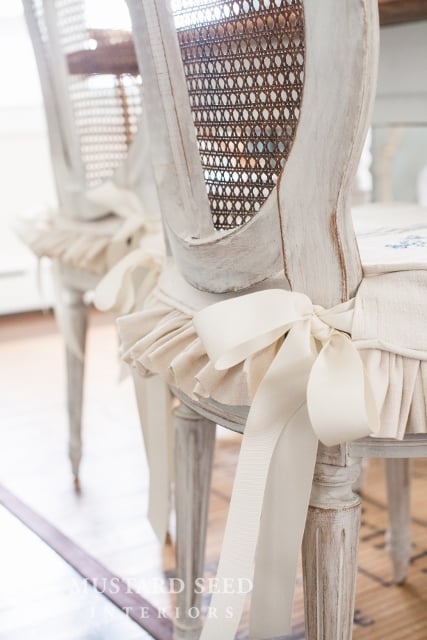
I wrote a tutorial on making dining room chair slipcovers years (and several dining sets) ago when I was a contributor to Cottages & Bungalows magazine. It’s so neat to see how far I’ve come in my sewing, photography, writing, styling. I’ve really grown a lot. Anyway, since I’ve improved in a few departments, I thought it was time to make a new tutorial as I worked on my last dining room chair slipcover. The one I made for the tutorial looks like this…
But you can also adapt this tutorial for a chair like this…

The idea is the same. Just create an extra slit for each arm and double the amount of ties. You can also adjust the kind of skirt you have on the slipcover. I like the ruffles, but you can do knife pleats, box pleats, no pleats…whatever floats your boat.
I always use the pin fitting method when I made slipcovers. Basically, the piece of furniture is my dress form and I pin the cover on inside out, section by section until it’s finished. So, all of the pinning and sewing happens as the slipcover is inside out. (If you’re brand new to slipcovers, check out my slipcover tips, which I need to update, and the six part video slipcover series, which I also need to re-shoot now that my husband has a nice video camera.)
Anyway, to start, cut the pieces you need for the slipcover. It’s nice to have them all ready, including the seat, edge of the seat, back of seat, skirt, piping and fabric to cover piping and ribbons. I started with the seat, since it’s out of an antique piece of fabric and has a stripe that needs to be lined up. (You can check out how to make piping HERE.)

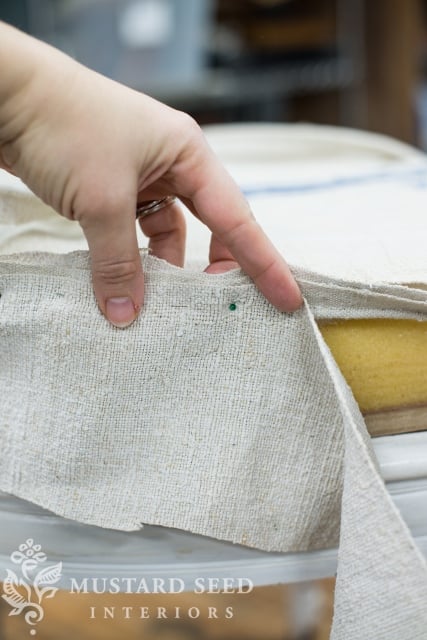
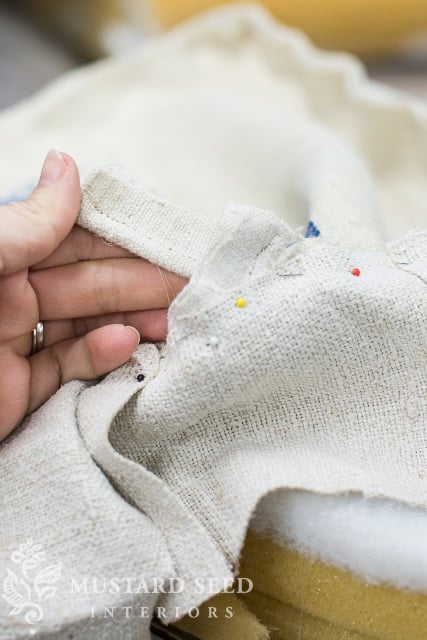
Position it on the seat upside down (remember we’re working inside out.) Then pinch the piping along the perimeter of the seat…

…and sandwich it in the fabric that makes the sides of the seat. Pin it all together. Sometimes I start from the front middle of the seat and work my way out. Other times I work from one side and work to the other.
Especially when you get into more complicated slipcovers, it’s easy to get things turned around and your piping ends up facing inside. Just remember that all raw edges should always face the same way. I’ll occasionally turn things over to make sure it’s looking good.
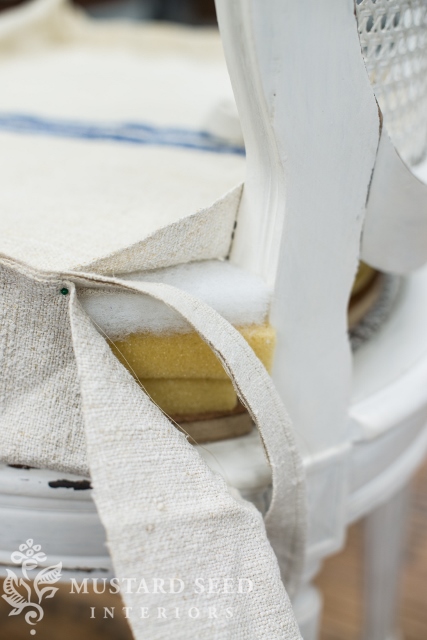
Once you get to the end, where you have to stop because of the back of the seat, fold over the end and trim it, so there isn’t an exposed raw edge.

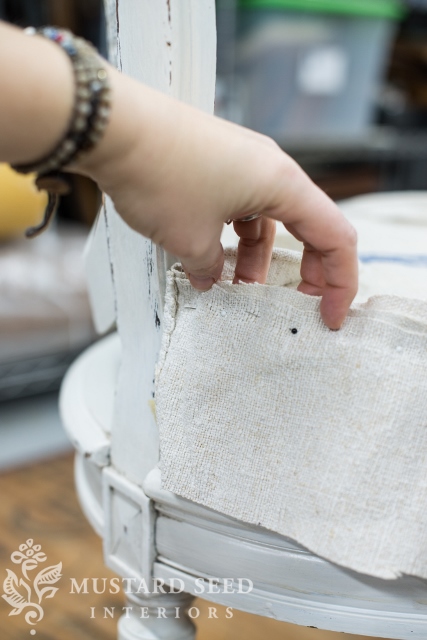
Now, the piping is hanging out and needs to continue around the back and meet up with a new piece of fabric to cover the space between the back pieces. So, I pin it around the back, making sure it’s tight against the frame.

Add a piece of fabric to cover the back in the same manner

Where the piping edges meet, I just cross them and allow the ends to disappear into the seam.
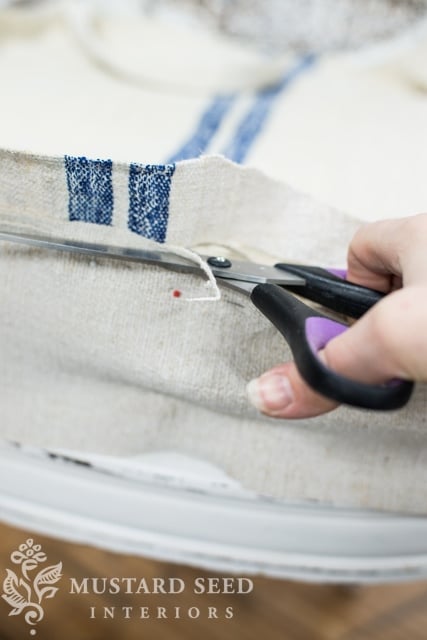
Trim the excess fabric to tidy things up a bit…
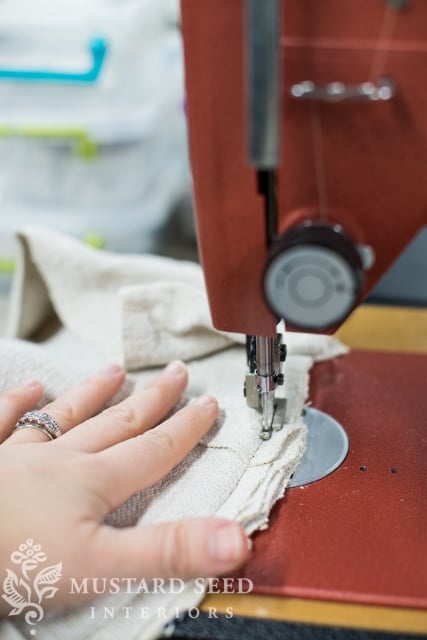
Sew along the pin lines and remove the pins.
Test the slipcover on your chair to make sure the fit is good.

There’s a shot of how the back looks…

The ties will pull those two flaps of fabric together around the back, so don’t worry if things don’t look tight right now.
Next, add the piping that runs where the edge of the seat meets the skirt. For the ends, I wrap the piping around the back and pin it in place.
Then, pin the piping around the edge of the seat. Again, make sure the raw edges are facing the same way.
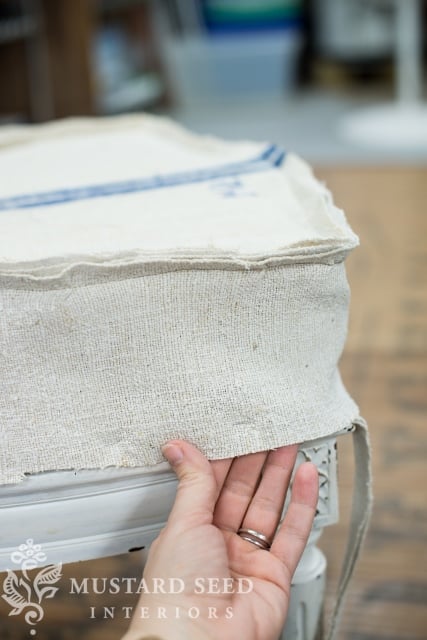
Sew the piping in place.

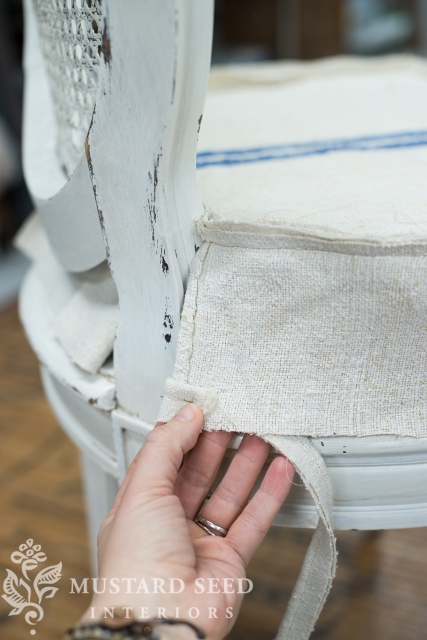
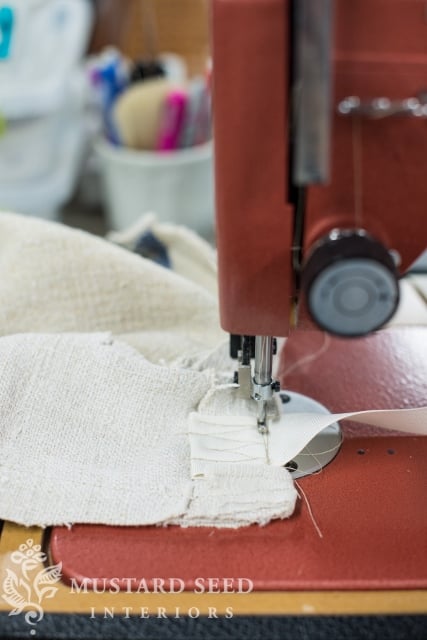
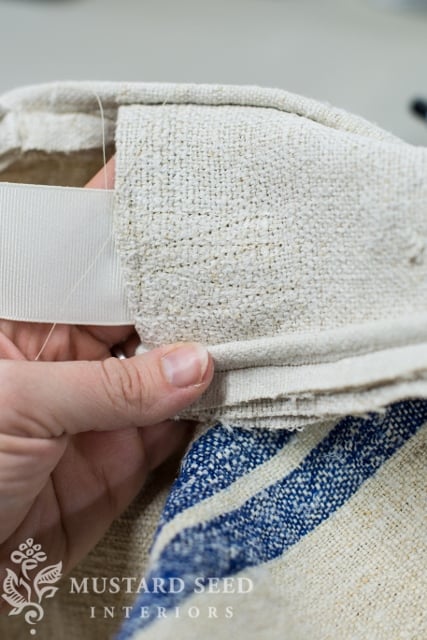
I like to add the ribbons before the skirt, so I don’t have to work around the bulk of the ruffles. I used grosgrain ribbons cut to about 20″ long. Tuck the ribbon into one of the hems made where the slipcover meets the chair back.

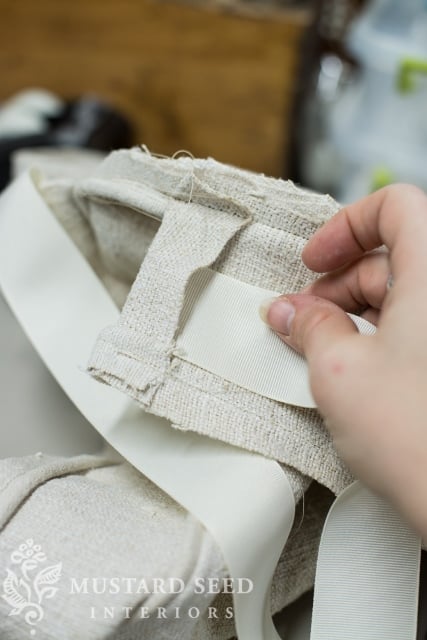
Fold it over…

Sew the ribbon into place on the underside of the fabric. The hemp fabric I’m working with is very forgiving, so I just sew in zig-zags.
Repeat with the other ties. To make sure they hold the slipcover on tight, position them towards the bottom edge.
Perfectionists are going to freak out now. If they weren’t already. This fabric really doesn’t fray, so I just cut 3″ strips to make the skirt. To start the skirt, I roll the fabric under to hide the raw edge…

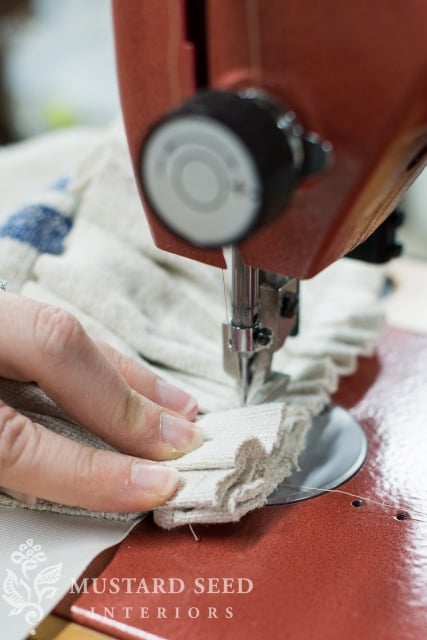
…and then I just scrunch it to make the ruffle.
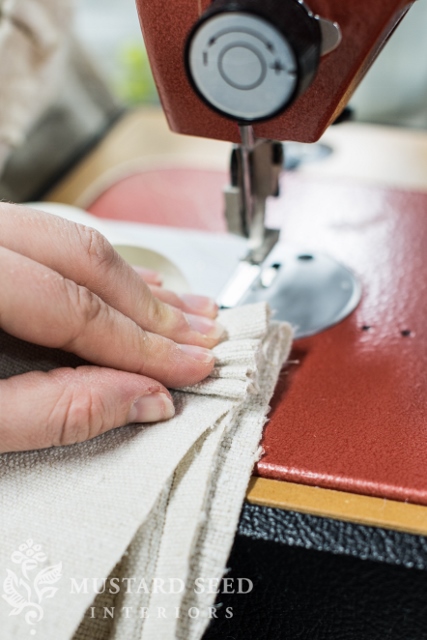
Scrunch and sew. Very technical and I’m sure it’s the totally “wrong” way to do it, but it works for me.

Finish sewing the skirt, trim all of the threads, turn it right-side-out and put it on the chair. This is the point where I usually feel that swell of DIY pride. I made THAT out of a piece of fabric with some well positioned stitches.

It’s a pretty amazing feeling.
…and you can get that feeling, too!
I’m sure there are hundreds of ways to make a slipcover or to adjust things. I’m a self-taught “sew-er”, so I have just figured out what works for me. I’m not precise. I’m not picky. I’m not super detail oriented. And I still have a lot to learn. I just work towards the end result. How can I make a pretty slipcover in the simplest way? So, find what works best for you and start knocking out those projects!


32 Responses
Do I need a special needle size or special stitch to sew through grain sacks? I bought some to play with, but because of the cost I’m scared to jump into a project head first!
I use a heavy duty needle and have plenty on hand. Grain Sacks are thick and rough and it’s important to have a sharp needle when sewing them.
This paragraph is truly a nice one it assists new the web visitors, who are wishing in favor of blogging.
Dear MMS, What kind of sewing machine do you have? If you’ve told us, I don’t remember reading about it. Sorry. I think you did mention one time that it sews through grain sacks like butter. If you get a chance, please let us know what you are using. I’m always interested in feedback about sewing machines. Hugs, Anne Boykin
I have two. One is a $150 Kenmore that’s very basic for my light-duty sewing. The other is a Sail Rite, which is a beefy upholstery machine. I’m still getting used to that one, though, so I haven’t written a review on it.
I love the visual picture by picture tutorials best! That is how I learn and video seems to lose me (squirrel!) Thank you so much for sharing 🙂
I love the UP reference. Yeah, I’m the same way with videos. I like to skim picture tutorials and just pick out what I need.
Thx for the great tutorial! Do you leave the hem of the ruffle raw or hemmed? Thanks.
With this fabric, I can leave the edge of the skirt raw. This fabric is tightly woven, so it doesn’t fray. With a fabric that frays or doesn’t look good with a raw edge, I would hem the skirt before sewing it on.
Good morning! It would be awesome to see a textile button on your page. That way we all could go and see where you purchase your fabric, machines, burlap,etc. A clearinghouse for all things sewing. I hope you will do that for dinosaurs like me. I can never find old posts. You are rockin it Marian! Have a great day. I slipcovered some barrel chairs using tarps and I was thrilled with the results thanks to you. Now I’m ready for some nicer quality fabric.
Yeah, I’ve been thinking I should make a resource page or something like that. You can find all of my sewing posts here… https://missmustardseed.com/category/sewing/ and upholstery posts here… https://missmustardseed.com/category/upholstery/
Thank you for the tutorial since I was one of the many who asked for it. However, you lost me starting with the bottom pipping. I just don’t see how you go from that pipping to attaching the skirt to it :(.
xoxox from NYC
Sorry I lost you! Tutorials can be tough in that way, because I know what I mean, but I might miss a crucial piece of information! Look at the pictures where I’m scrunching and sewing on the skirt. The edge I’m sewing it to is the bottom piping I sewed on. That acts as my guide for the skirt. I sew it on with the raw edges lined up and right sides of the fabric together. I hope that helps clear it up a bit more!
Thanks Marian! This tutorial is so clearly explained.
Love that DIY feelin’ too!
I see that the strip of fabric for the ruffle is 3″ wide, but how long is the strip, so you have enough fabric to fit all the way around the seat, plus enough to ruffle?? Thanks.
Love these covers and I plan to make them for my aging ladder back chairs. I’m a self taught diy-er and I love the look of piping… after everything I’ve made over the years it’s only today that I realized to change out the FOOT on my sewing machine to make that an easier task!! OMGoodness…. feelin a silly about now. lol 🙂 Thanks for the lesson!!
I just love your blog. I’ve never commented before but tune in each day 😉
Anyway, I love your sewing and technical terms! My kind of girl. I was thinking that a serger would make a nice roll hem on the skirt for those who might feel the need for a hem. I just love the serger for things like that!
Merry Christmas!
Sue
Marian you are SO helpful ! Thank you so much for all the time you take to create these tutorials. I’m sure it is a lot of work and I just wanted to let you know what an encouragement you are to me, and to many others as well. Thank you!
Thanks for another well done tutorial!! I do like the picture version as I can study them closely. Okay this may be a silly question but in the first pic where you have the fabric laid out on the chair it looks like those are your initials “MP”embroidered into the fabric. But in the finished product it shows what looks like “FM”. I’m assuming it was supposed to be “FM” but because of the fancy writing the F looks like a P?!?!?! haha!
You were seeing the “FM” inside out! I know, it does look like an “MP” when reversed. 🙂
how do you see that stitch line of the piping onto which you sew the ruffle? It looks like the ruffle material totally covers that line—so how do you do this? nice tutorial! I need to not be afraid of the zipper foot!!!
I line up the raw edge of the piping and the skirt and let the zipper foot ride along the piping. It makes a bump, so I can feel it and make sure it’s tight against the skirt. I’ve done this a lot, though, so I have a nice feel for it. You can always pin the ruffle, as I used to do.
Beautifully done tutorial but now Im sure my sewing machine envy showing.
I have a heavier duty machine but there is NO WAY it would zip thru all those pleat layers. Especially since I usually have the fabric doubled for the skirt to start with. I just might get all crazy and try your unfinished edge, single layer technique. You are literally cutting edge” heh heh.
You also have me rethinking about how I do cushions. I measure a ton and trace it before cutting out pieces I but never pin it on inside out like we do the frame of the chair. T shaped cushions never quite turn out as well as I’d like. Thanks for the inspiration!
Great tutorial Marian! It’s fun to see how you sew since you are (also) untrained. I’m the same way with my sewing!! I make it up as I go along to get the look I want!
Marian you are a wonder!! Thank you for the tutorial and the end result is beautiful. I’ve never done a chair slipcover and I’m anxious to try. And who cares if some people are persnickety they can do their chairs however they want :-). I’m all for doing what works. Did your prewash your fabric before you started sewing? I don’t think I read about that.
I didn’t wash this specific fabric, because it was vintage and has already been washed. I always make slipcovers with prewashed fabric, though, so it doesn’t shrink after the slipcover is made…I’ve made that mistake before!
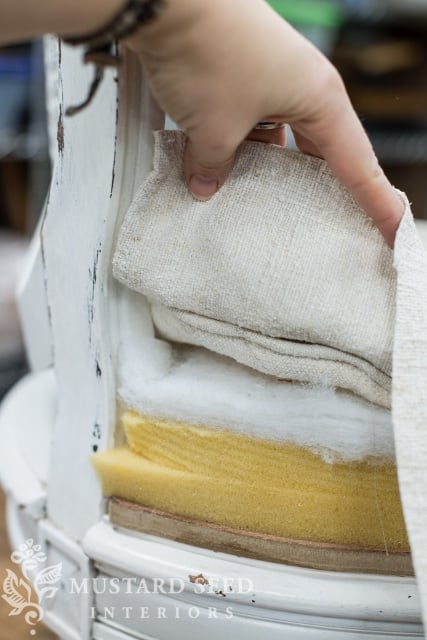
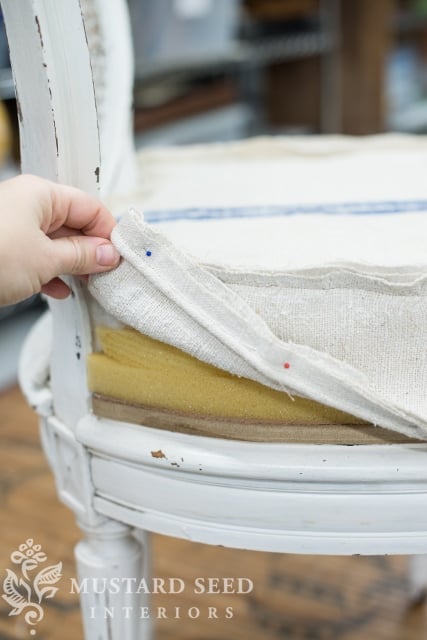
I noticed that below your slipcover you have a layer of batting followed by 2 layers of foam. Below the foam it looks like there is a layer of wood or cardboard. Can you tell me what you used? I’m guessing these slipcovers take a great deal of patience. I’m totally seeing a dining room chair makeover in my future, but 8 chairs seems a bit overwhelming. I give you tons of credit for finishing your project.
You can check out how I made the cushion here… https://missmustardseed.com/2013/12/fixing-broken-cane-seat/. Yeah, I had to do 6 chairs and that was overwhelming. I cut all of the pieces and made all of the piping one night, so I was ready to go and then I tackled the chairs a bit at a time until I was done. They don’t have to all be done in one day. 🙂
My question is were did you get the fabric from, I have to large chairs I need to recover and would love some like you have?
SCARED TO DEATH. Don’t know if I did the right thing, but bought 6 matching chairs today on Craigslist that look similar to your armless ones. Legs seem spindley now that I have them home. AND the cane is broken on two. I need advice before I FREAK. Do I have someone check for weak joints first and then proceed? They were stored in a barn in Northern California and seem a little dry…. BUT THEY ARE SO CUTE.
Excelente tutorial, lo necesito para hacer unos cojines para mis sillas, agradecida
Love this page! I am building my first home and you have given me a lot of good ideas. I am interested in where you purchased your chairs? Thank you again for your awesome tutorials and beautiful decorating.