
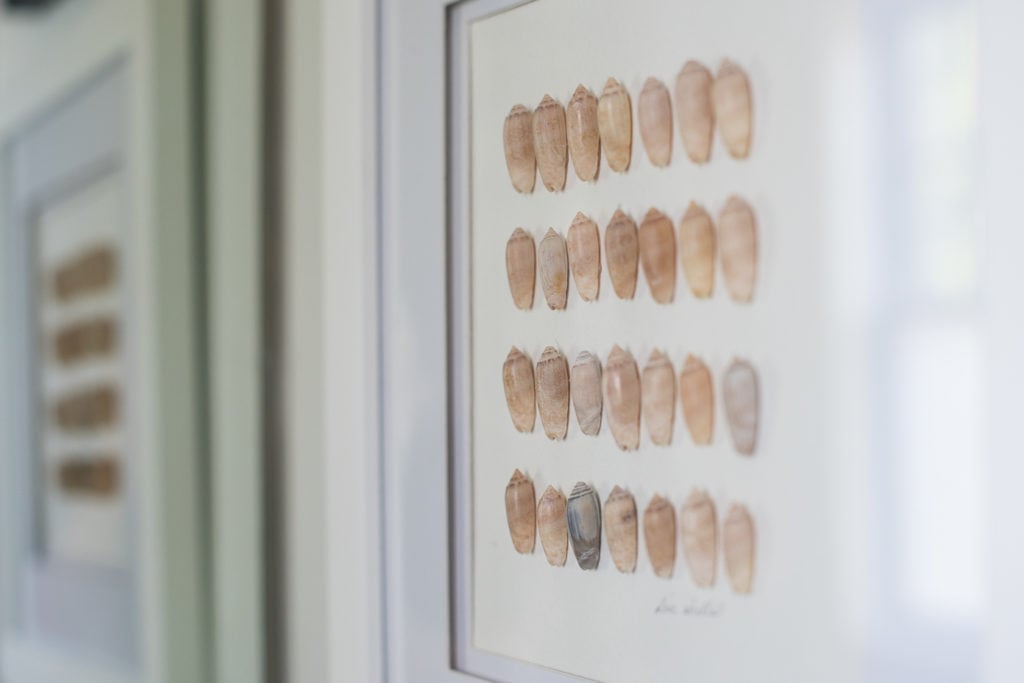
I decided to do a loose beach theme for the boy’s bathroom because it’s a classic decorating choice. Also, both of my boys love the beach and have fond memories of family trips to my uncle’s Myrtle Beach condo. My oldest son would live in the surf while we were there. I also have a ton of shells that have been collected by me, the boys, my mom, and my Oma. I have always loved beach-combing and I just keep bringing them home! So, I have two large bins of shells and I had always planned to do something with them.
I’ve thought about making some custom art with some of them and this room makeover was a good excuse to finally do it. I considered getting some shadow boxes to frame larger shells, but I decided to purchase that had a double mat and a little bit of space between the mounting surface and the glass. This would allow me to mount some small shells, but still have it be the same depth as the rest of the art I was hanging in the space.

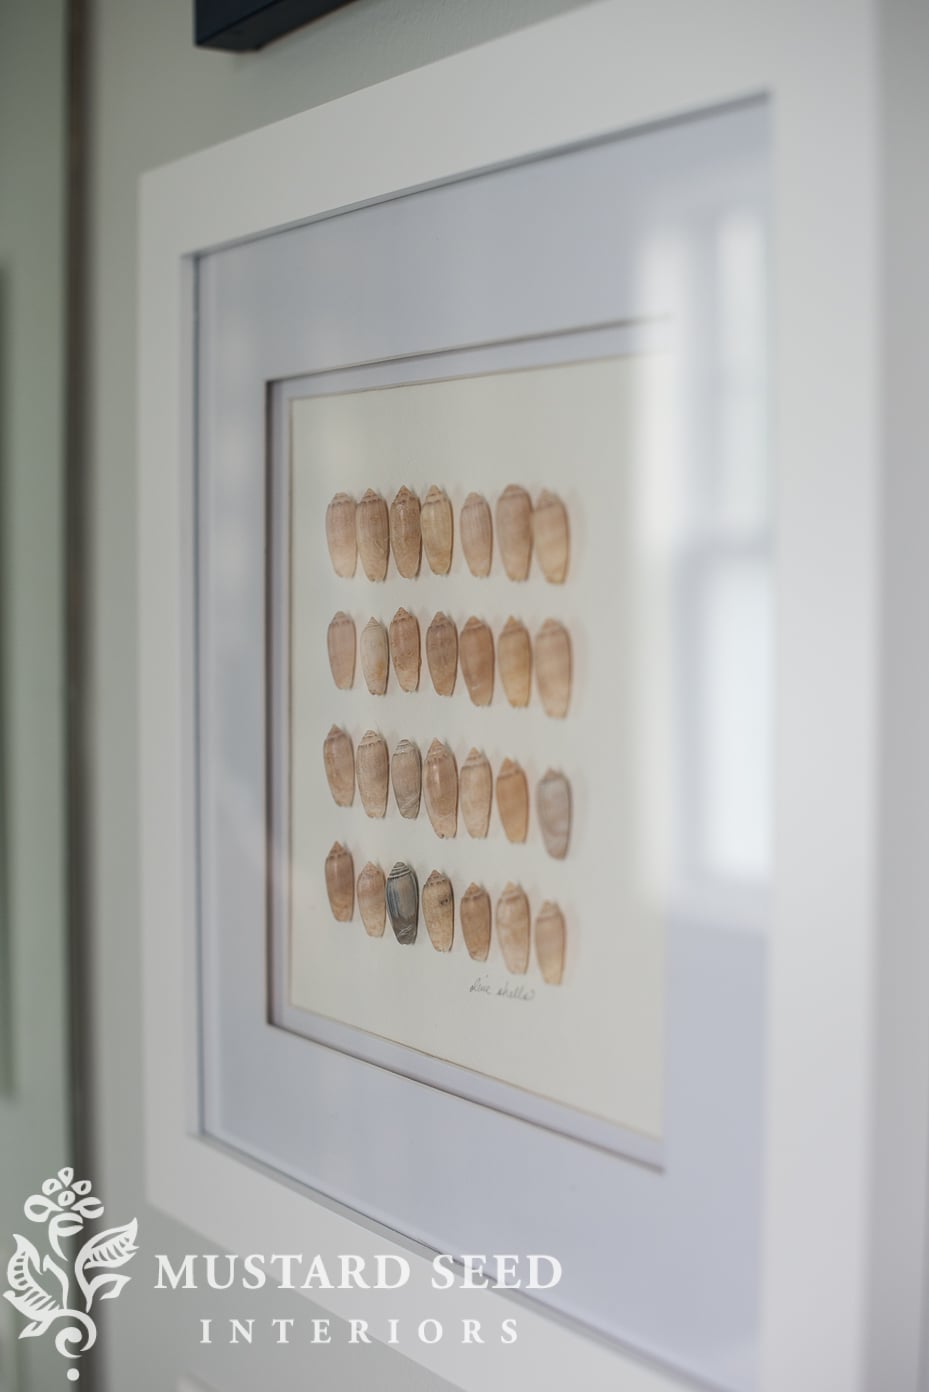
I used mini sand dollars for one and olive shells for the other. The olive shells are particularly meaningful because they were my Oma’s favorite shell. She was always pleased as punch when she found one. It’s pretty much impossible for me to see an olive shell and not think of her.

So, to start, I combed through the shells to pick ones that were the right size to fit under the glass. If you don’t have a shell collection, you can buy a . This would be a cool project with any small item you have a lot of, though…buttons, coins, etc.

Here’s a closer look at . It’s the space created between the two mats that makes it work as a very shallow shadow box.
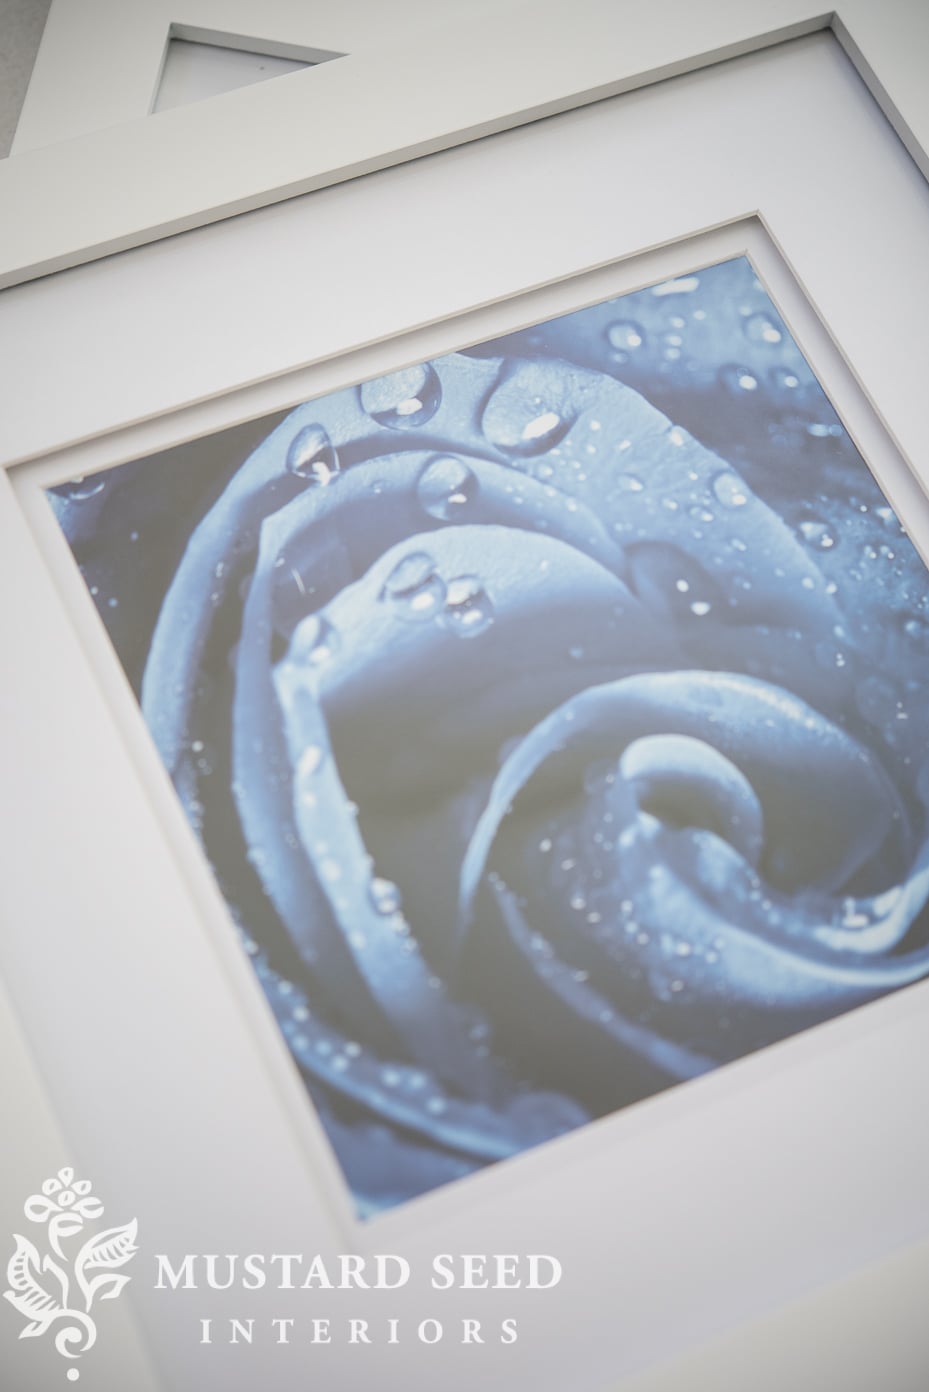
I used as the backing because I already had it on hand and I liked the color and texture of it. I selected the shells I wanted to use, arranged them in rows, and tested the glass to make sure they weren’t too big.

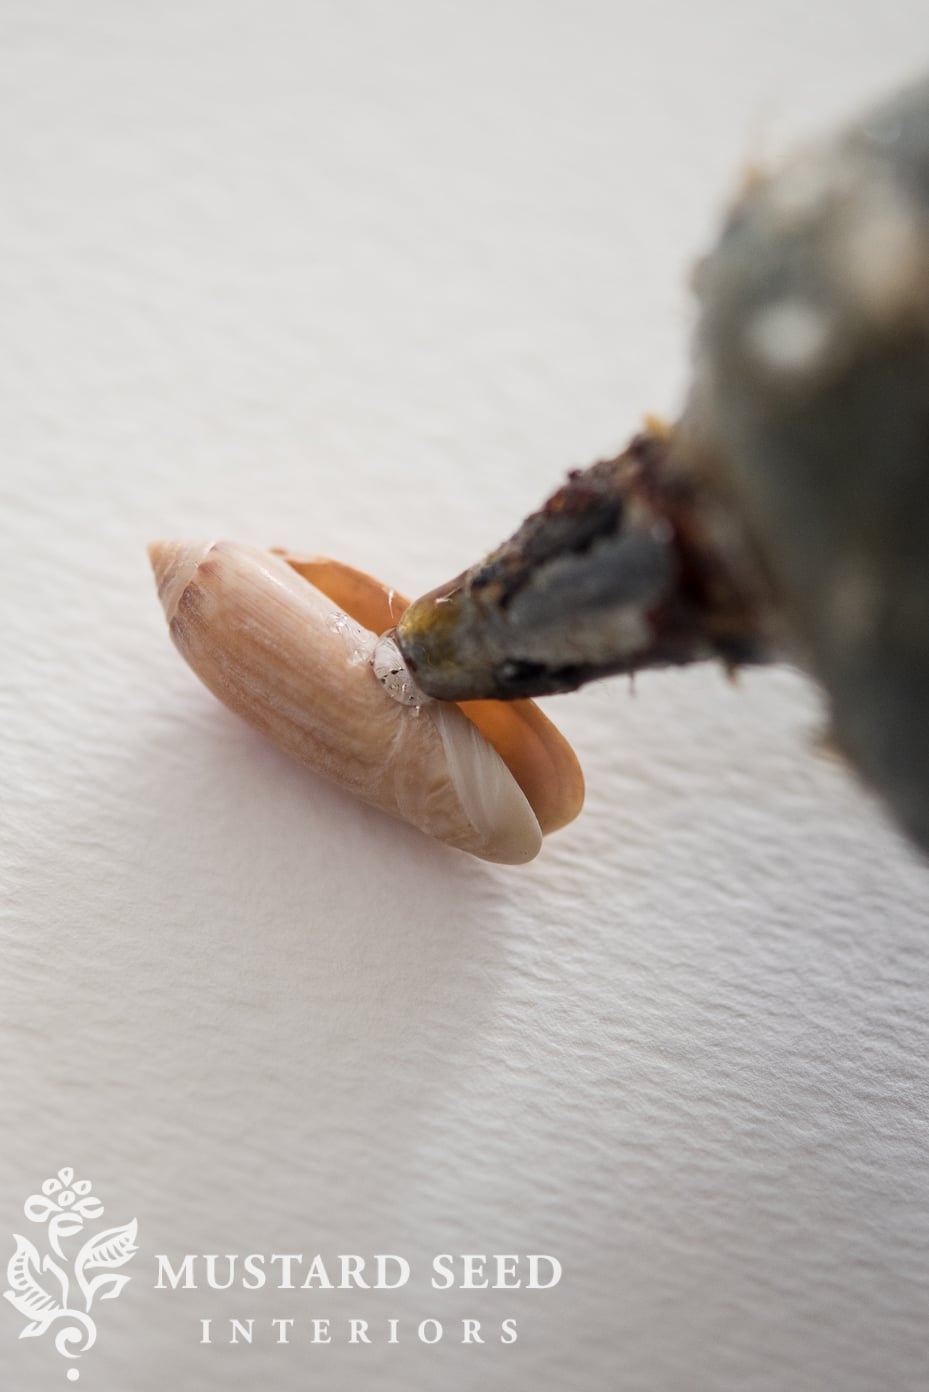
Once I was happy with the shells and the arrangement, I used a to glue each one in place.

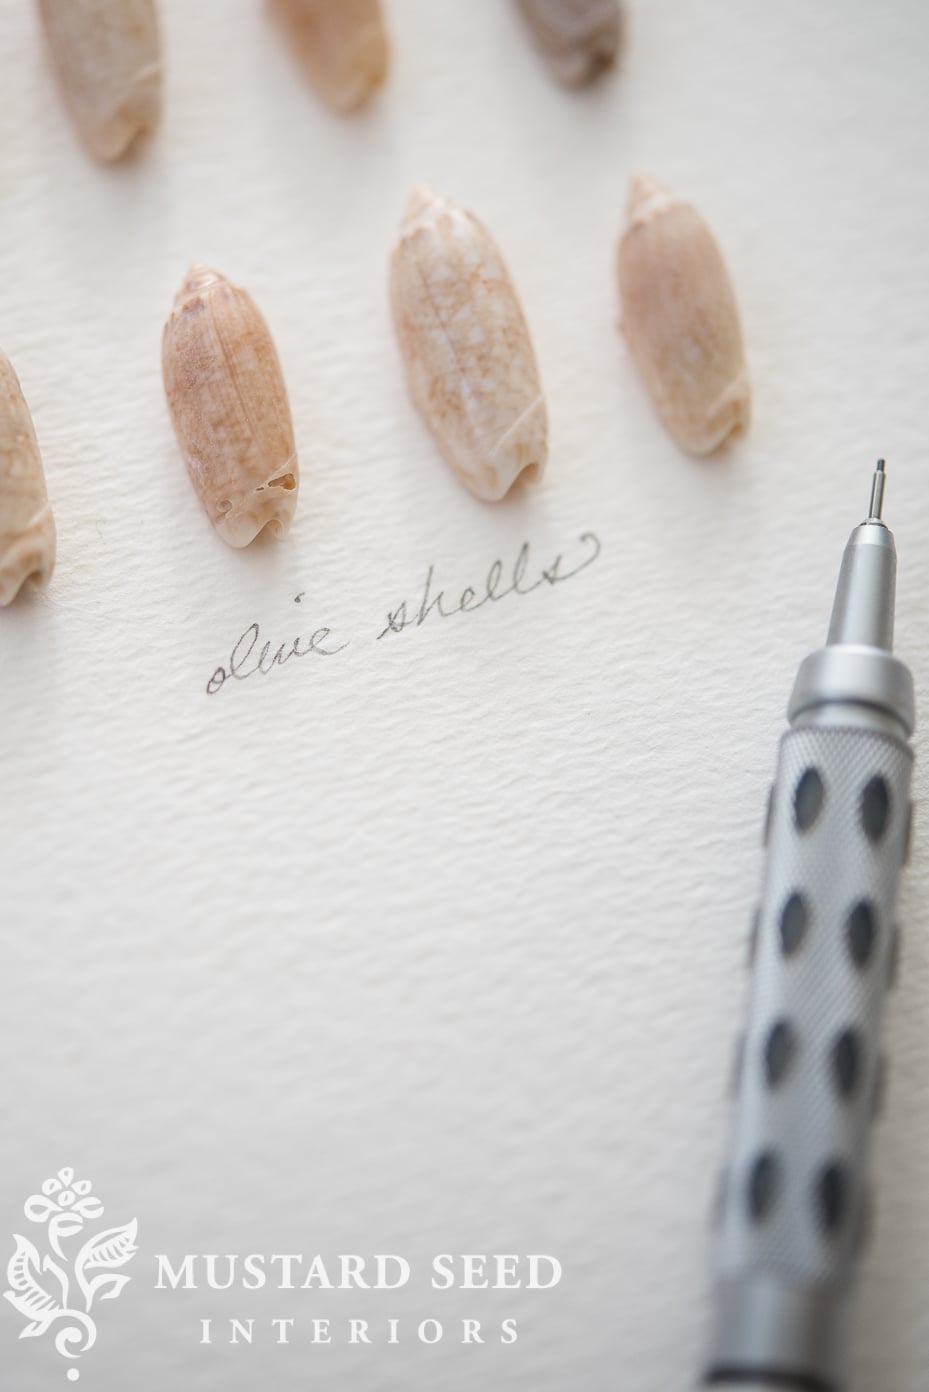
As a last-minute decision, I decided to write the name of the shells in pencil at the bottom right corner. If I knew where I had collected all of them (or if they had all been from one beach), I would’ve written the beach location. It’s just a little touch that makes it clear this is a custom piece of art.
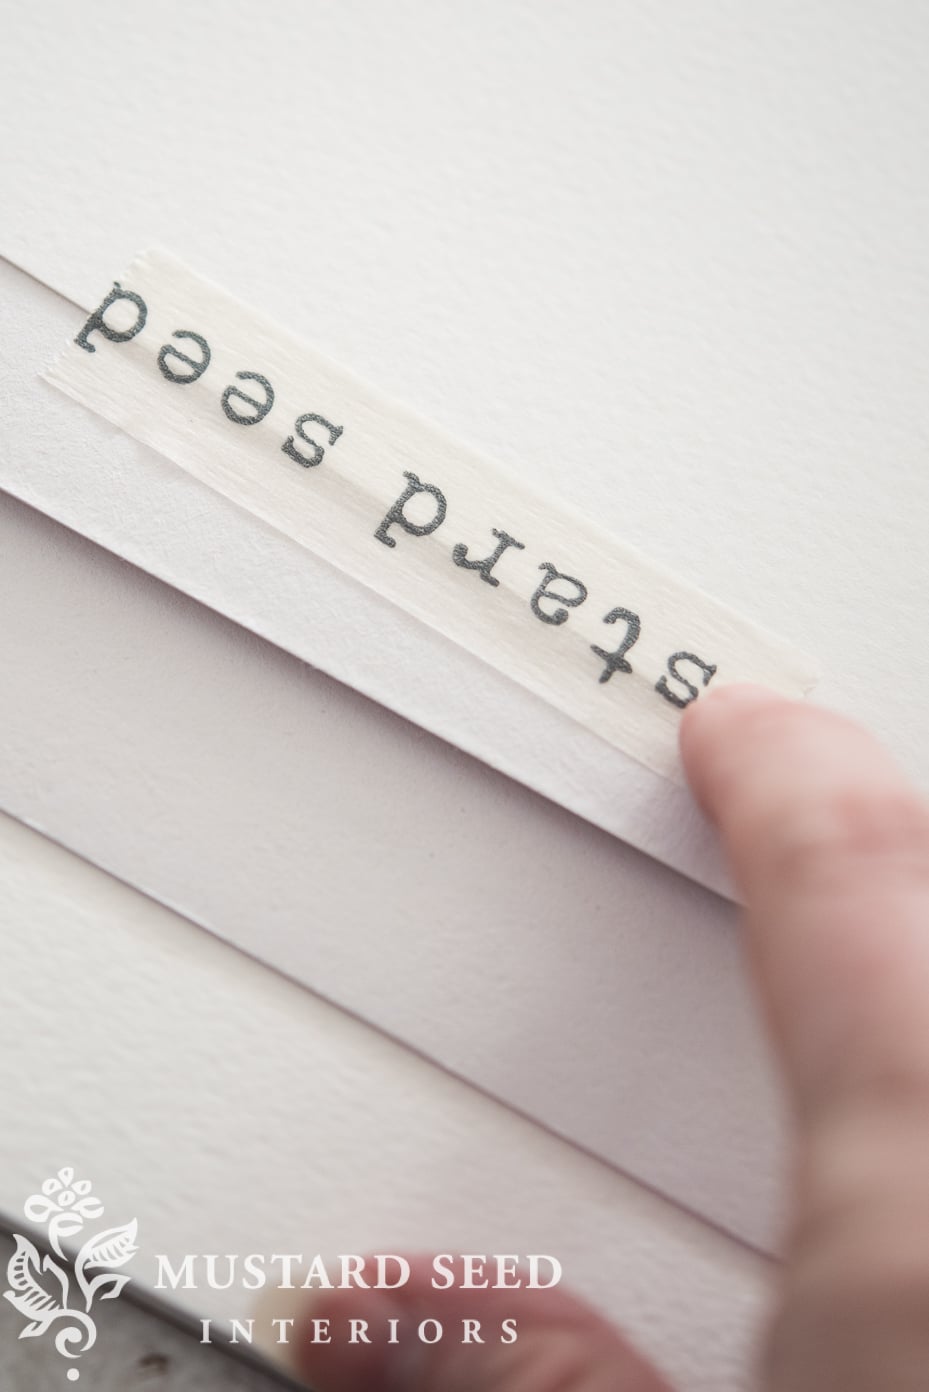
I made sure the rows of shells were lined up in the mat window and then taped the watercolor paper in place.
I put the frame back together and then hung them in the bathroom. It was a simple project that turned out great!
As I was laying out the shells, I thought about a line from one of Mary Oliver’s poems… “One tulip is like the next, but not altogether.” At first glance, these shells look the same, but they are each unique. They are stunningly different when you really look. To drive that point home, I intentionally selected one olive shell that was gray instead of a pale beige like the rest.
For someone just looking at the art, they might think I ran out of beige shells or they might not even notice. But for me, it’s a little wink to Mary Oliver’s poem.
In case you missed it, you can see the full boys’ bathroom makeover HERE.









17 Responses
Thanks for this tutorial Marian! The project turned out beautifully and now I know what I can do with some of shells and shark teeth we collect each year at Topsail Beach, NC. It is our family’s happy place!
Sort of an “Oma”ge to Oma ,-)
Lovely. What a brilliant way to declutter that old shoebox of shells that almost every single one of my organizing clients is storing!
I like how the mirror reflects the art, creating the effect of a wider gallery wall. Thanks for the frame link—I’ve been looking for one for this very purpose!
Again, a great idea!!!! I love that pencil too, source? You know us we like everything you do and have!!!
Have you found any dipping pens in Paris? Envy here!hh
That is such a loverly idea. It remind me of the time I took my daughter shelling in Florida. She was a wee 5 or 6 years old. As we were planning the trip, I told her she could take home seashells and tucked a few grocery bags into my pocket as we boarded the boat. When we approached the island, it was seashells as far as the eye could see.
Eyes wide sh asked how many she could take with her.
“As many as you wish, my darling.”
Big mistake.
If she could have taken the entire beach home, she would have, LOL.
I hope it brings great memories for the boys, too!
Great idea! Yes, please source the pencil!
What a great way to display a collection. And the colors and textures are beautiful. But Marian, please buy yourself a new glue gun! You need a new one!!
Ha! But, I’ve been through so much with this one. 🙂 Actually, it’s not that old.
How beautifully understated! I love the way you framed the shells, including the creative way you repurposed a double-matted picture frame as a shallow shadow box. It’s just the right depth for the olive shells (so that’s what they’re called).. I moved to a beach community last week, so I especially appreciate having your inspiration for post-beach-combing projects.
Lettered olive is the state shell of South Carolina, I give them to my preschoolers every year at the end of school. I love your display of them.
At one time I had a beachie theme in a bathroom. I used a conch shell as a
door stop. Worked well. Never have seen a olive shell before as I have always
lived near water. M.
We live on the east coast of Florida and the lettered olive shells are ones we find often as we walk the beach.
Thank you for this fun tutorial, Marian. I always learn from you. I especially love the one gray shell. As I understand it, the Amish always make an intentional “mistake” in their handwork—one quilt piece upside down, etc—because only God creates perfection. I love this.
Great idea and one i need to do, thanks.
I love this idea! So simple, but such a big impact! Thank you for sharing!
i love this, thank you for sharing. I’ve been planning to do some more shell art for our bedroom and the frames will work well for the shallow shells I’m using. I love that you penciled in some details, Oma’s Olive Shells…so sweet.