

Warning, this is not a pretty post, but this is the reality of buying a 50+-year-old home that was mostly in original condition. While none of the rooms in this house were ugly (I think the previous owners had wonderful taste), there comes a time when the fads of the day are dated, and the wear and tear on a home warrant a redo. In the case of the boys’ bathroom, it’s just time. But, as I’ve shared before, the renovation money initially allocated for updating the two bathrooms went towards a roof (you can read about the new roof HERE), which was in worse shape than the home inspection showed. It was a smart choice, but a roof isn’t quite as fun as a new bathroom. I try to appreciate it every time I walk or drive by the house and when we have heavy rain.
Fully renovating this bathroom is on the to-do list, but we have several projects that are a higher priority, so it won’t likely happen for a year or two. Not only is this the boys’ bathroom, but it’s the bathroom our guests use. There was originally a 1/2 bath off the foyer in the original floorplans (I had a hunch about that and the original owner’s daughter confirmed it) and we are planning to add one in, but until then, I’d like to get this space spruced up and looking as cute as I can make it with the current fixtures and tile.
So, last winter, I got started. Jeff and I speak on the phone for a few minutes every morning to review our days and what we have planned. When we spoke that particular day, I told him I was planning on taking it a little slower and doing some computer work. Well, that went out the window when I pulled a corner of wallpaper off and I could see it would come off easily in sheets. Alright, let’s do this. What was going to be an easy day turned into a long, full, messy workday.
So, let me walk you through the bathroom before I show what I accomplished…
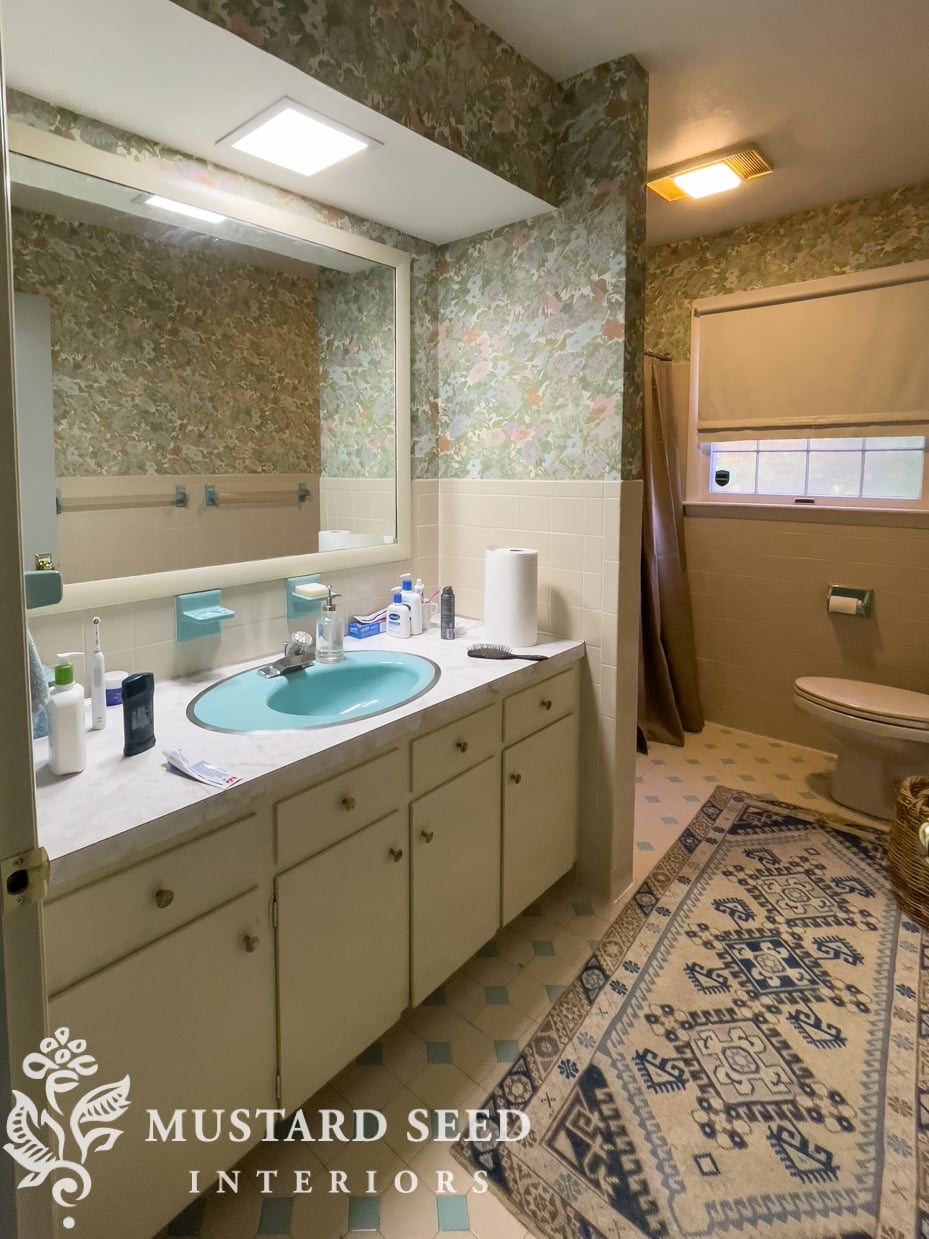
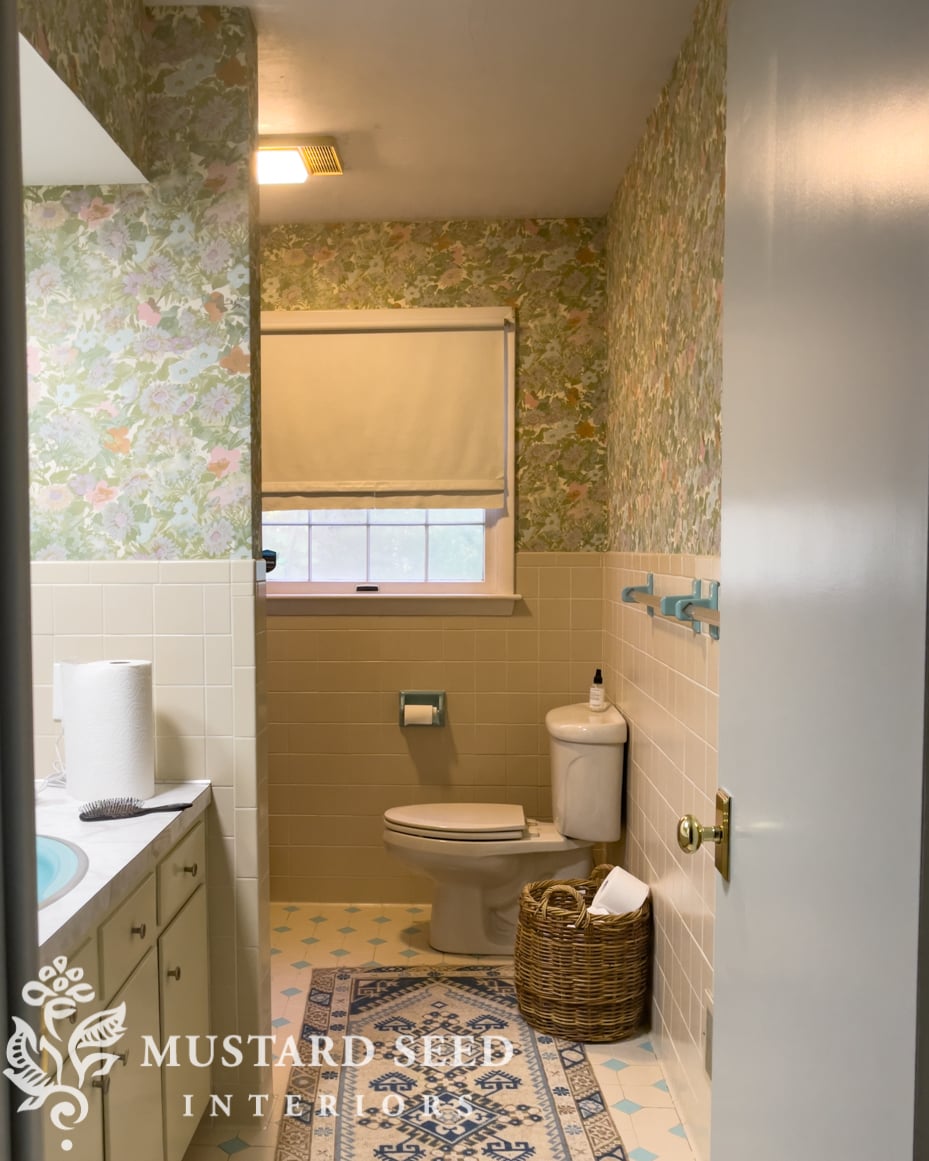
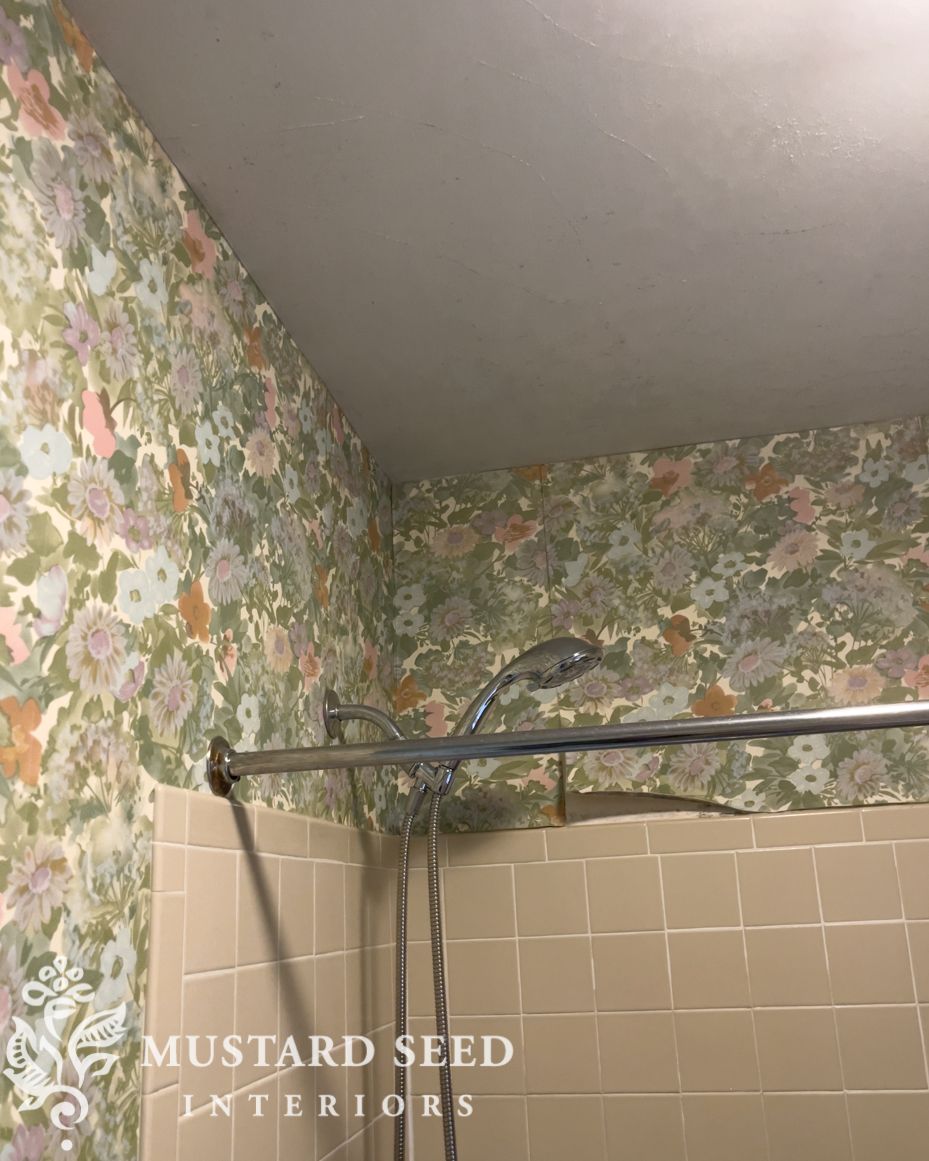
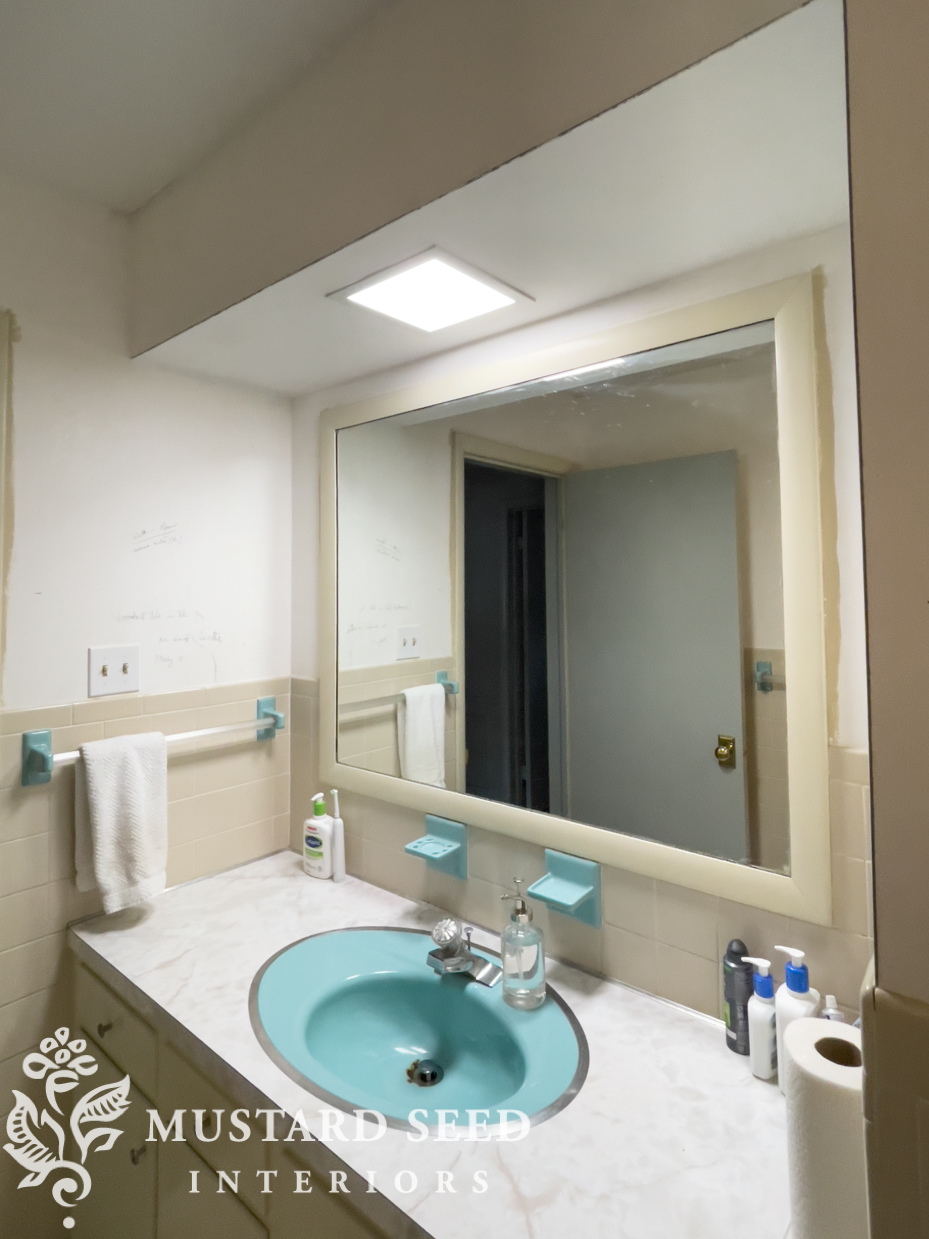
You can see this bathroom was charming but it is showing its age. Some of the floor tiles are cracked, the wallpaper is peeling in a few places, the paint on the ceiling is cracked and flaking, and the beige and blue palette looks a bit dated. For the make-do makeover, I’m going to go for a retro-chic look, but when we can completely renovate, we’ll add a deeper tub, classic marble tile, a taller vanity, and better lighting.
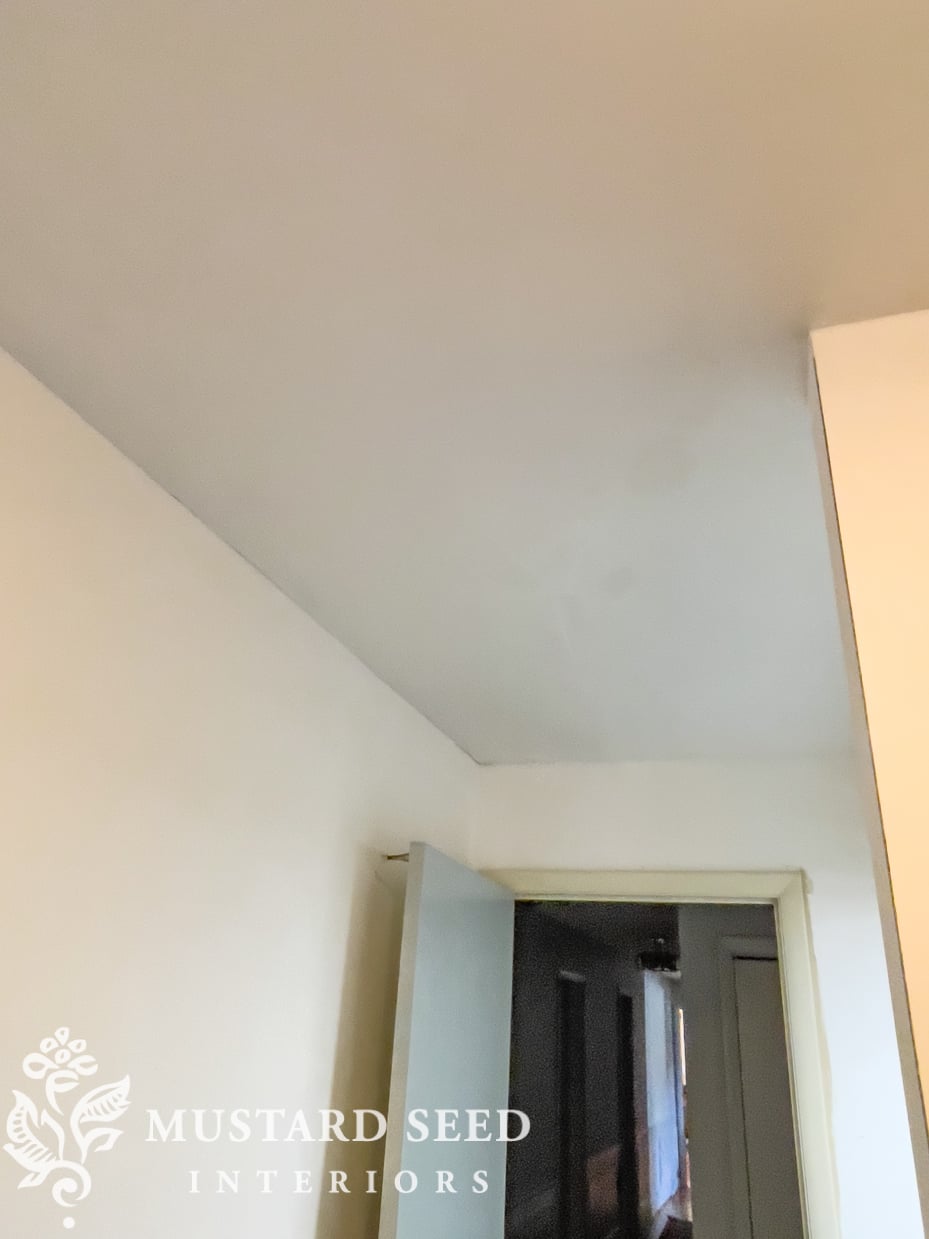
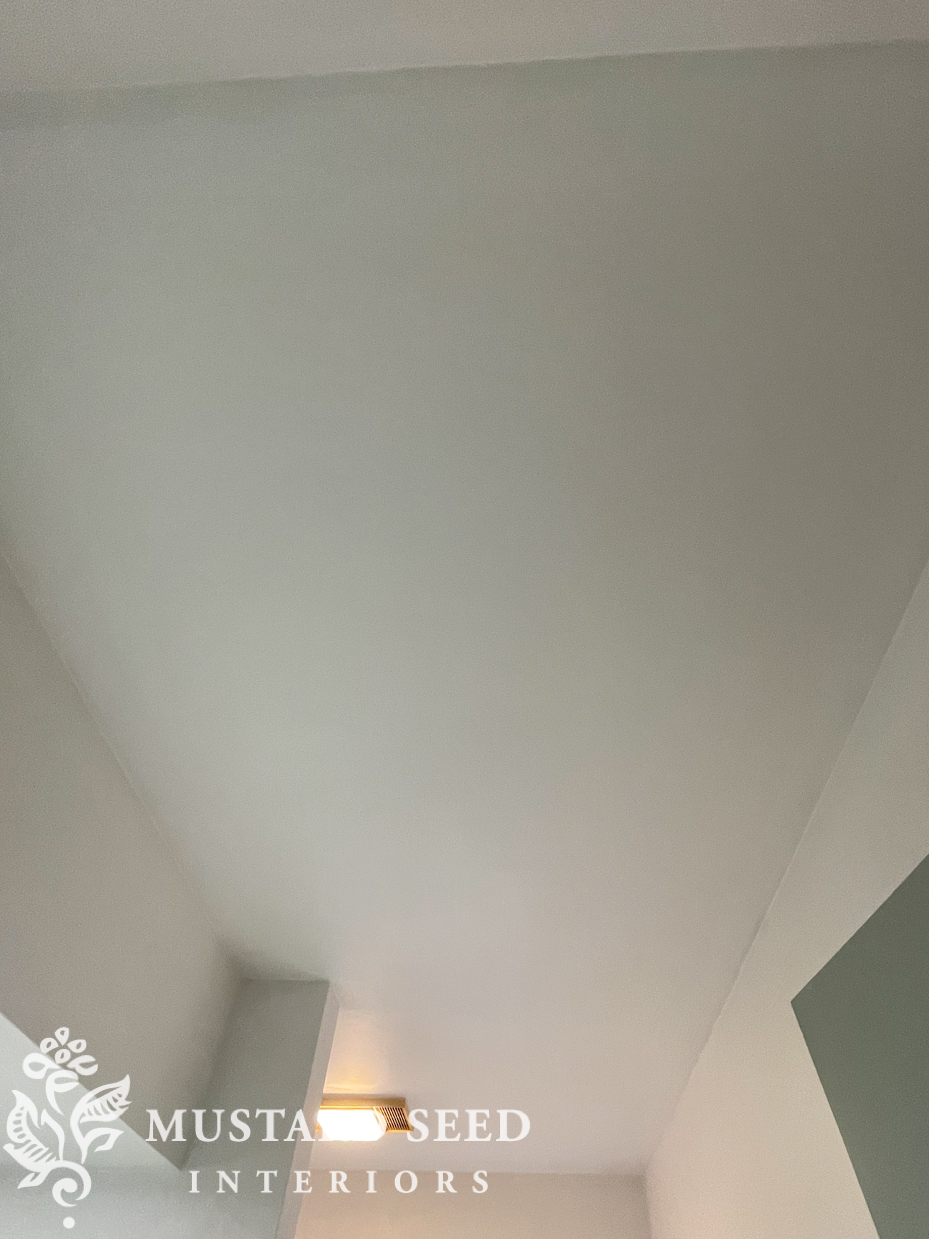
The ceiling is definitely the worst part and something I’d wanted to address since we first moved in. It’s the kind of project, though, that I knew would be messy and annoying and I just kept putting it off.
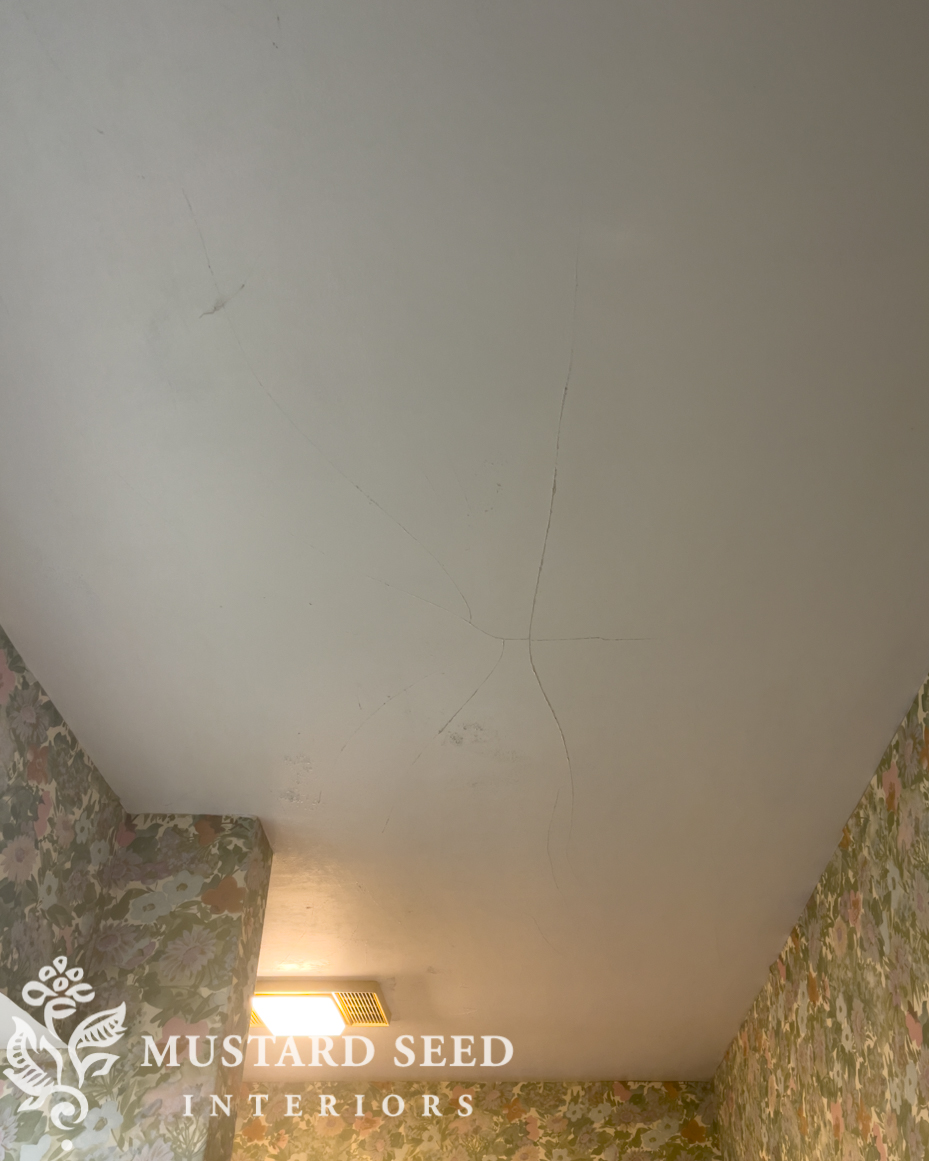
Thankfully, the cracking on the ceiling isn’t structural and the plaster is solid. The paint is just cracking from age and moisture, which isn’t uncommon with plaster ceilings. I don’t know the last time it was repainted, but it’s safe to guess it’s been a long time.
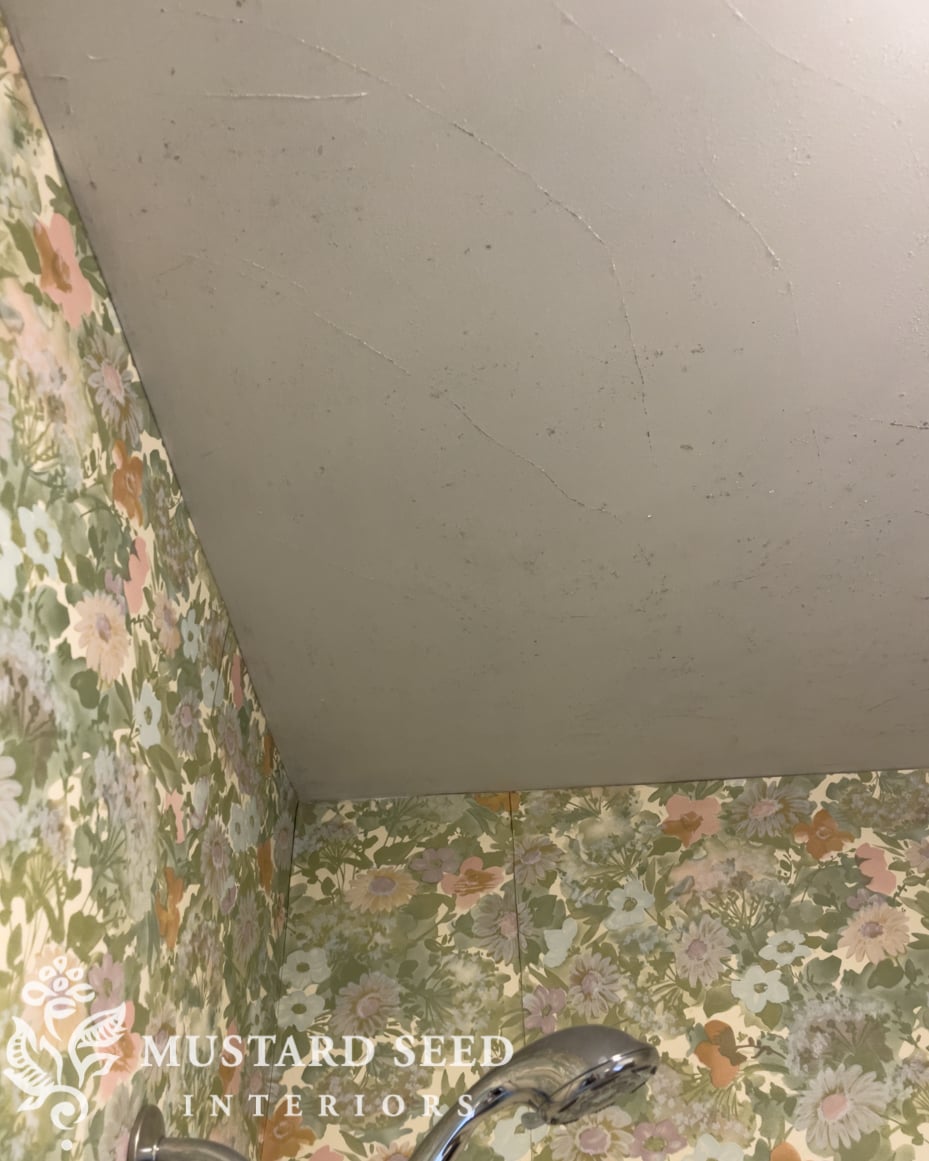
I have to say that the paper on the walls in here is really lovely. It has a watercolor look about it and, based on how thick it is, it’s evident that the paper is high quality. It also was the design element that tied together the beige tile and blue fixtures. I was sort of sad to remove it, but it was peeling over the shower and I wasn’t going to be able to save it.
I peeled off the paper, washed the glue off the walls, and sanded the ceilings. We had the entire house tested for lead before we put a contract on it and there was no lead paint in the home, so sanding the cracked paint to prep the surface for primer was the best way to smooth it out. I still sealed off the room, covered the vanity & toilet with plastic, ran a fan to vent the dust out the window, and wore a respirator mask. I used an orbital sander with 180-grit paper and ran it lightly over the ceiling where the paint was cracked and chipped. I didn’t need to sand the paint off or get every inch, but just enough to get the surface smooth. I then cleaned everything up

It already looked so much better just after sanding the ceiling, removing the wallpaper, and cleaning the walls. Since it was a small space, it didn’t take that long, but it was messy and a tough project on the arms. I’m glad it’s behind me!

On another day, I primed the ceiling and walls with Clean Start primer, which is a quality oil-based primer. I went that route because I was painting over old oil-based paint as well as walls that could have remnants of wallpaper glue on them. I then followed up with a coat of acrylic primer and two coats of ceiling paint on the ceiling.
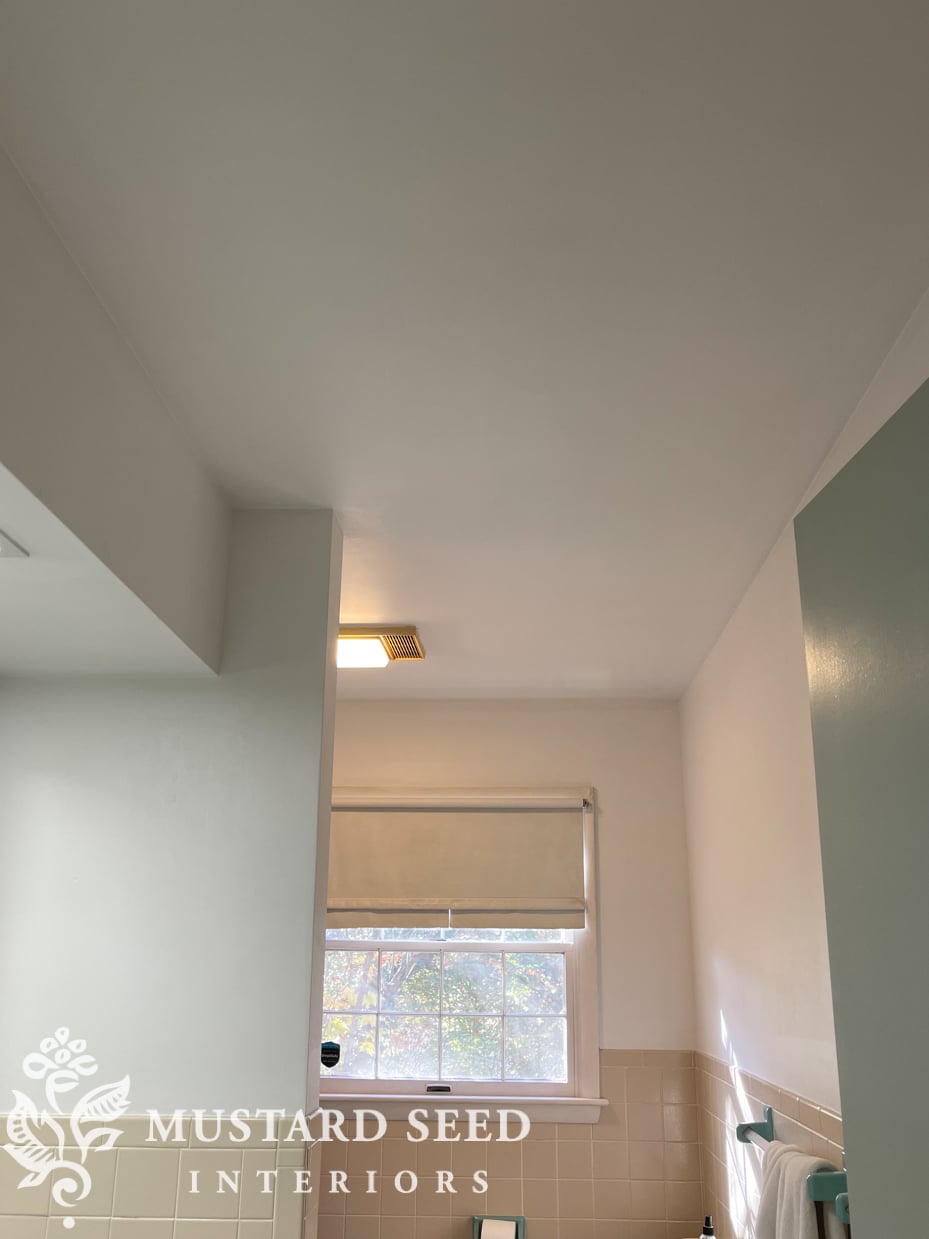
The ceiling was such a dramatic improvement, but then the 50-year-old ceiling fan gave up the ghost and we had to have it replaced. We initially tried to tackle that project ourselves, but fans are no longer made in that size and style, so it was going to be much more involved than we planned. We had our contractor replace it to make sure it was properly vented and the ceiling was professionally patched. This meant I needed to prime and paint the ceiling again, so I’ve been working on that this week.
I will tell you that this ceiling has been one of the more challenging paint jobs I’ve ever tackled and I have painted a lot! A high-end flat ceiling paint, which is what I’ve always used for all of our rooms including kitchens and baths, just isn’t cutting it in this bathroom. Anywhere moisture collects in beads, like over the shower, it’s leaving watermarks. I spoke to my contractor about it as well as the knowledgeable folks at my local Sherwin Williams and they both suggested priming it again and then painting it with Duration paint in a satin finish. I had some Kilz3 primer on hand, so I used that to prime the ceiling and whatever combination of paint and primer that was already up there did not agree with that decision. It started bubbling up in some places, much to my dismay. I scraped off the places where it was bubbling before it dried so I would at least have a smooth surface. Once the primer dried, I tried Sherwin Williams Extreme Bonding Primer and that did well.
I share all of this minutia about painting my bathroom ceiling as an encouragement to you. I have worked with paint extensively for over 20 years. I’ve worked with almost every medium and have painted almost everything – walls, ceilings, floors, appliances, tiles, metal, wood, plastic, furniture, fabric, siding, concrete, paneling, brick, and stone. I’ve painted surfaces with multiple issues from orange peeling to watermarks, chipping to residue. I’ve even consulted for paint companies on product development and, of course, designed and owned a paint line. I am very confident when it comes to paint and this ceiling still managed to leave me scratching my head and asking for advice. I just need to keep trying the next thing I know how to do and any resulting peeling, bubbling, or staining is not necessarily my fault or a failure of the product. There are just so many variables when you’re painting an old surface that you have to be flexible and persistent.
I picked up some more bonding primer and satin paint and hopefully that will do the trick. Since this ceiling has been so problematic (the ceiling in the other bathroom is totally fine), we’ll likely have it removed and replaced when we renovate the bathroom so we can have a fresh start for the future.
Once the ceiling is done (fingers are crossed that my challenges are behind me), I have ordered a retro-inspired peel-and-stick wallpaper along with some other fun elements to embrace the beige and blue and retro vibe and make this bathroom cute until we can do a gut job. I also ordered some new light-filtering shades, so the room isn’t blacked out when the shades are drawn for privacy. I’ll share more soon…


13 Responses
Oh, I can’t wait for more! How exciting! And thank you for sharing the troubles with the ceiling. I feel like every time I start a new project, something happens that makes it harder than it should be. It’s comforting to know it happens to all of us at one point or another.
Oh man I can relate to the bathroom ceiling and fan drama. We just went through this in our house and it’s only 10 years old. Why did they have to change the size and shape of the fans? It’s such a hassle now to change them out. We went with a much stronger fan this time to try to prevent some of the water marks from moisture. And bathroom ceiling paint don’t get me started it all leaves water marks. I squeegee my walls and ceiling above my shower as much as I can reach. I put a telescoping wand with a microfiber towel in my bathroom just to wipe it down a bit after the shower to try and help. It’s a never ending battle.
How frustrating to have to prime, paint and do it all over again! I think tearing out and replacing the ceiling when you remodel will be the right thing to do.
We have been in our home 34 years, and back in the 1990’s I had those same ceramic toothbrush and soap holder in our home, and it really dated the bathroom so much, so to improve the look a little until a gut job, we took them out. We were lucky to have extra tiles on hand, and were able to cover the holes with them. If you have extra tiles (most homeowners leave the extras for future repairs sometimes) it’s not hard to do, just tile mastic for the wall and some grout, and it made such a difference in the bathroom!! Thankfully, we redid the bathroom in 2013. Good luck with the ceiling!
Yes, of course you will make the bathroom “you” but in the meantime you can have a lot of fun with those blue fixtures. I thought problems like your ceiling issues can only happen to me!!!
I bet with the wallpaper down the space looks a lot roomier and lighter. Can’t wait to see your “retro/redo”.
Oh….and yes sanding over your head is NOT fun.
You amaze me with all you accomplish. Did you have the house tested for asbestos? I did wonder about lead, you answered that question. Can’t wait to see how you decorate this bathroom.
Wow 🤩 you HAVE been busy!! At least you’ll know it was done right. Can’t wait to see more.
Nevertheless, she persisted. (NOT a political statement, just admiring your gumption)
Thank you for sharing Marian, it looks great!
It’s so nice to read about restoring homes that are around the age of my house. There are unique issues and while I’m sorry that you have had so many challenges, it is an encouragement to know that it isn’t just me who these things happen to. 🙂
I want to repeat what I’ve said before–I appreciate how kind and respectful you are about the previous owner’s decor choices. Sadly, your attitude isn’t the norm.
It already looks so much better with the dated wallpaper gone. Just to let you know there are salvage companies who will buy vintage sinks/toilets/tubs so you may want to keep that in mind before you go tossing them in a dumpster. My friend had a man buy her gold colored 70’s sink/toilet when she renovated her bathroom. I can’t wait to see the progress!
Wow, this gives me stress just reading about it! It is interesting though how many people have problems with bathroom ceilings. Mine right now is having the paint crackle over the drywall tape where they seamed pieces, so I’m going to have to get up there and sand, fix, and paint soon too! Thankfully ours is latex over drywall, but I’m not sure what the procedure is for me with that drywall tape situation. I too will be asking the “pros” what to do.
I love that you are getting some fun peel-and-stick wallpaper for the short term! My daughter has been using this stuff (in her own designs) all over her house to great success.
Watered down PVA glue (basically plain white school glue) applied over all the problem areas fixed my horrible ceiling that I had tried every kind of primer and paint on. I was fixing it annually and nothing worked until I found the glue solution.
Works a charm.