I finished upholstering one of the pink French chairs today. Woohoo! I even put a zipper on the cushion cover, so it’s legit. With over twelve years of sewing under my belt, this is the first zipper I have ever done! I don’t know why I’ve been so scared of zippers…ZIPPERS, people. Really?! I was determined to not be spooked by something as humble as a zipper. I dissected the old cover and figured it out and the zipper works like a champ. It’s the little victories. Anyway, let’s get to stripping the chair.
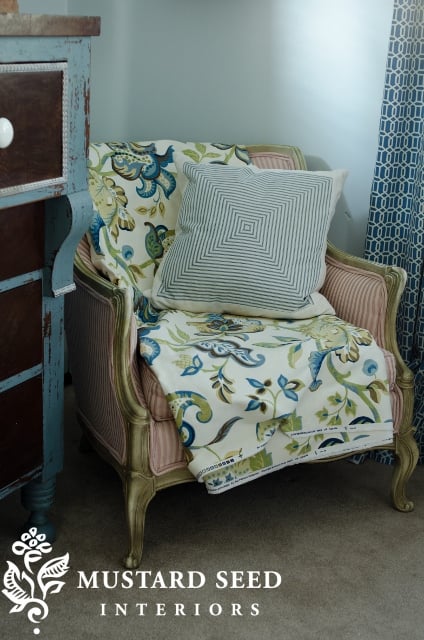
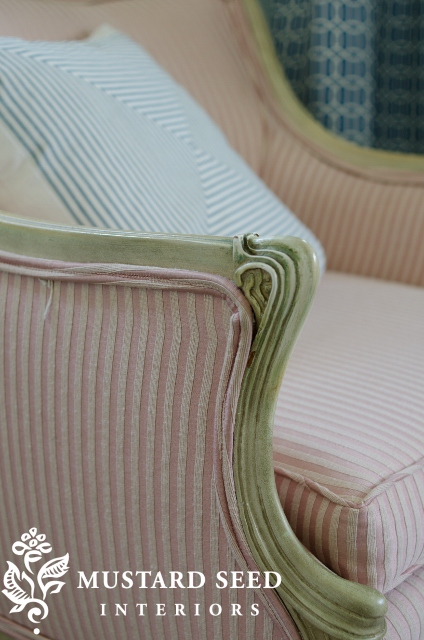
The upholstery was in perfect condition , but it was pink. Nothing against pink, but it didn’t work in my house.
When shopping last week, I found this amazing fabric at Hobby Lobby…
It has all of the colors in my family room, so I bought eight yards for these chairs and some pillows.
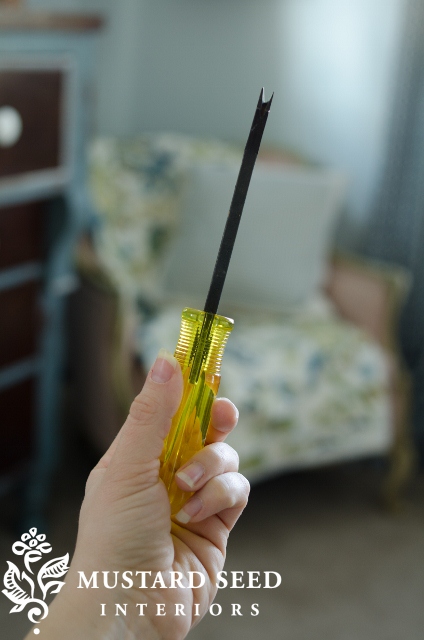
When I strip upholstery, I use…
…this staple puller…
…and an old one I found at an antique mall. As you can tell, they are shaped a bit differently, so I use whichever one works best with the staples/tacks in the piece. These tools make life a lot easier and they’re not expensive. I think the new one was about $15 and the used one was $5. If you don’t have one, though, that’s okay. (Professional upholsters, cover your ears…or eyes.) I used a screwdriver to pry staples out of dozens of chairs.
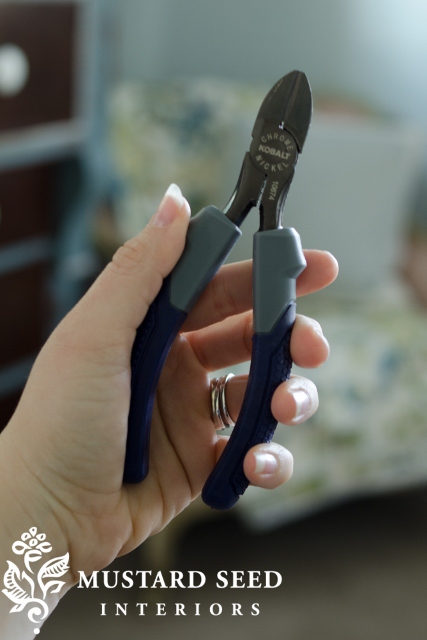
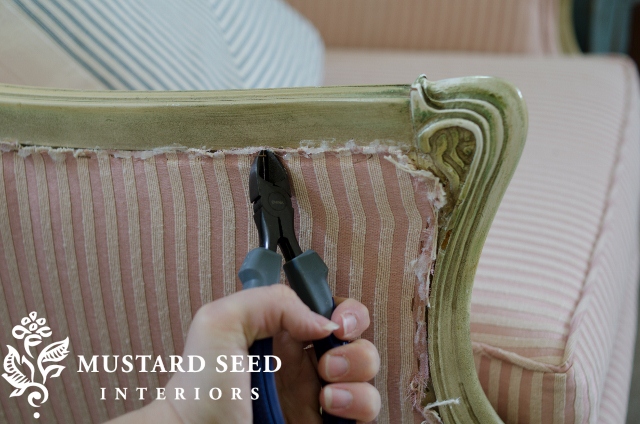
I also use a pair of wire cutters to rock out rogue staples and tacks.
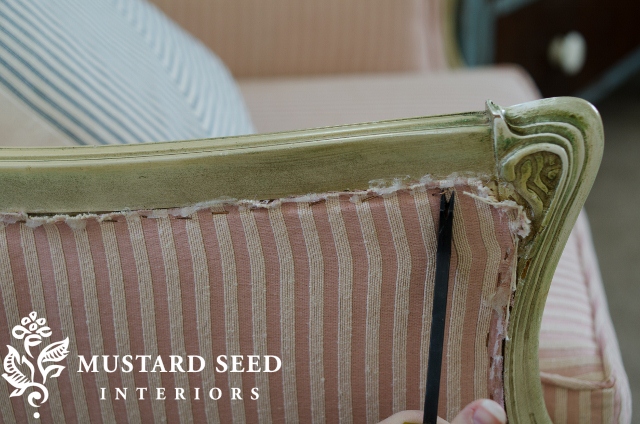
I start with pulling off the double welting or trim. In my experience, it’s mostly glued on, but it can be stapled on as well (or both, which makes removing it a barrel of laughs.)
The wire cutters (or pliers) are used to get things started on removing the trim.
…and then I can usually muscle it off with my bare hands. Show the trim who’s boss.
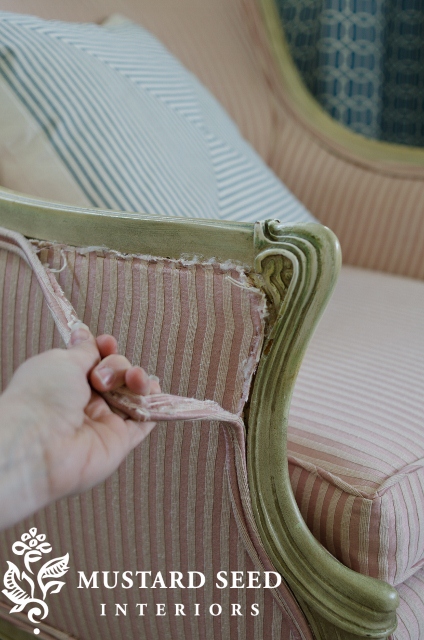
You will then stare down the endless line of staples that need to be removed one by one. There’s no easy way around this one and it is the true pain-in-the-rear of stripping upholstery. (Make sure to wear eye protection when removing staples!)
Once enough staples are removed, though, some fabrics are thick enough that you can pull on them and they will take the staples right along with them. You want to keep the pieces of fabric intact, though, so you can use them as templates, so be gentle.
I’d like to point out that the back of this chair was cardboard. You really never know what you’re going to find when you take a chair apart…foam, grass, horse hair, rice bags, wadded up newspaper. These chairs were very well done, so I was able to reuse the cardboard, foam and even the piping and zippers.
In the past, I’ve always just removed the fabric and kept everything else in place. I wasn’t sure if I could piece things together properly if I removed too much, but I’ve become a bit more confident. I could see that I needed to remove the cardboard in order to get to the frame.
The back of the chair came off in one panel (of three pieces of fabric sewn together.) I removed all of the staples from the seat and back of the seat, but it was attached to the webbing under the seat and to the back of the frame.
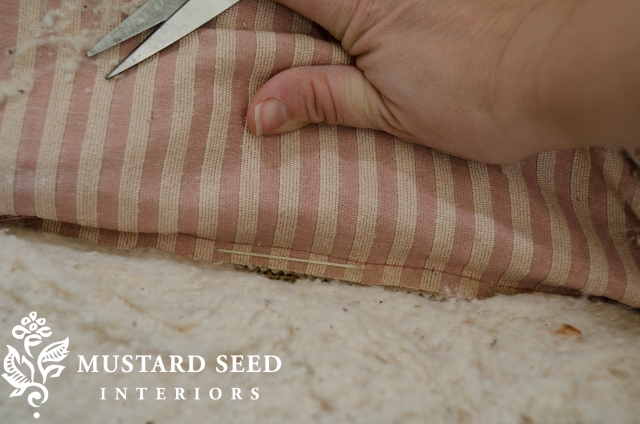
I snipped the stitching that held the seat down…
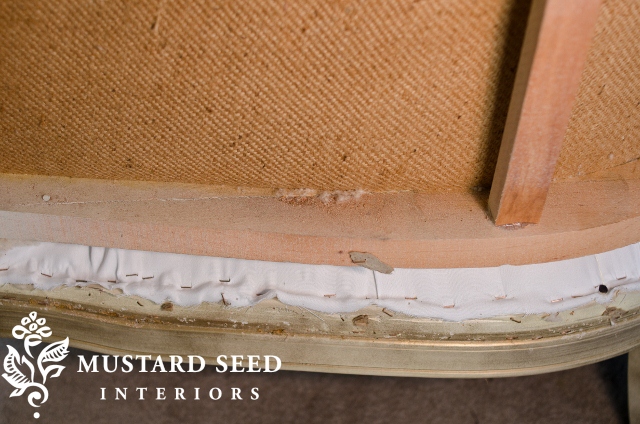
…and then removed all of the staples that held the decking (the fabric under the seat cushion) and the back of the seat in place. The picture below shows the back of the chair that was once covered by cardboard. If I didn’t remove the cardboard, I wouldn’t have been able to remove these staples properly and affix the new fabric panels to it. This might sound like a no-brainer, but I used to stuff a stapler in the recesses of the chair and hope to staple the fabric into some wood. This way is much better!
So, I removed all of those staples holding that white fabric down.
Once the chair is stripped, I needed to take apart the fabric panels, so I could use the individual pieces as templates.
The chair is now naked…well, maybe just in some undies and it’s time to make some new digs. Stay tuned…









What type of fabric is best to use when reupholstering dining chairs?
Hi: I have this chair as well and almost put it in my yard sale this past weekend but just could not. I have had it for over 10 years and really like it and it’s comfortable too! After seeing your redo, I am so glad I did not let it go! My fabric is a velour patterned, not attractive greenish color and it needs to go. Do you have the video up of the process or is that coming soon and if so, do you know approximately when? I do not have the money to have it professionally done and would like to try this myself. (Nervous)
Thank you!
Linda