
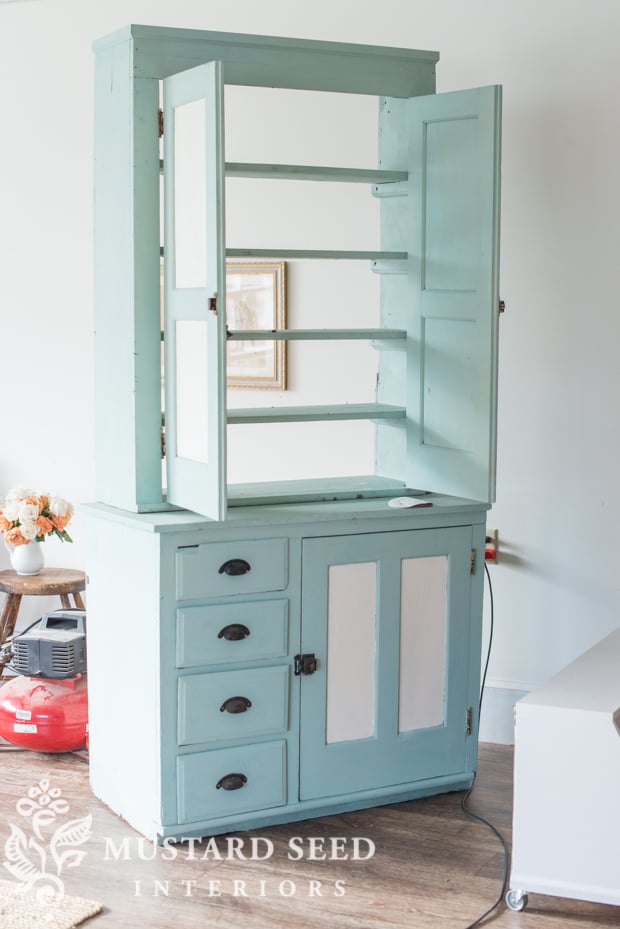
I have learned to trust my gut when I see a piece that is underpriced, underestimated and, perhaps, overlooked by others. Such was the case with this step-back cupboard.
It had, shall we say… issues?
It was originally a built-in, so it was missing a back, top and trim, it lost its bottom somewhere along the way and it was filthy. I didn’t even realize until I got it home that even the top was on upside-down. I was initially puzzled as to why someone would put contact paper on the bottom of shelves. Duh!
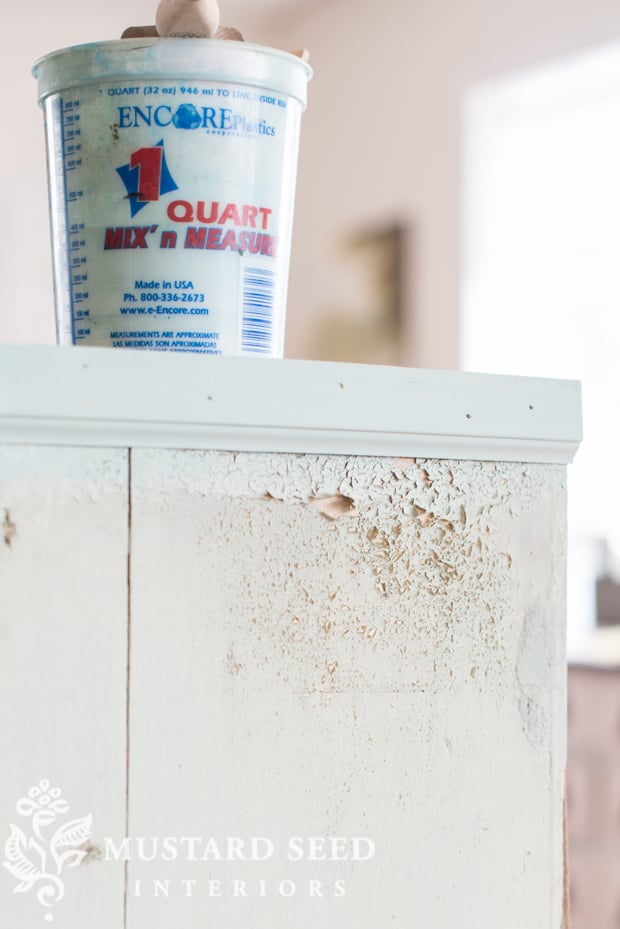
Here’s how the top piece looked (with the new back resting against it)…

…and the bottom…

Once the cleaning and repairs were completed, I fixed the drawers. I couldn’t even fit them in their recesses, much less pull them back out again. You can read how I fixed them HERE.
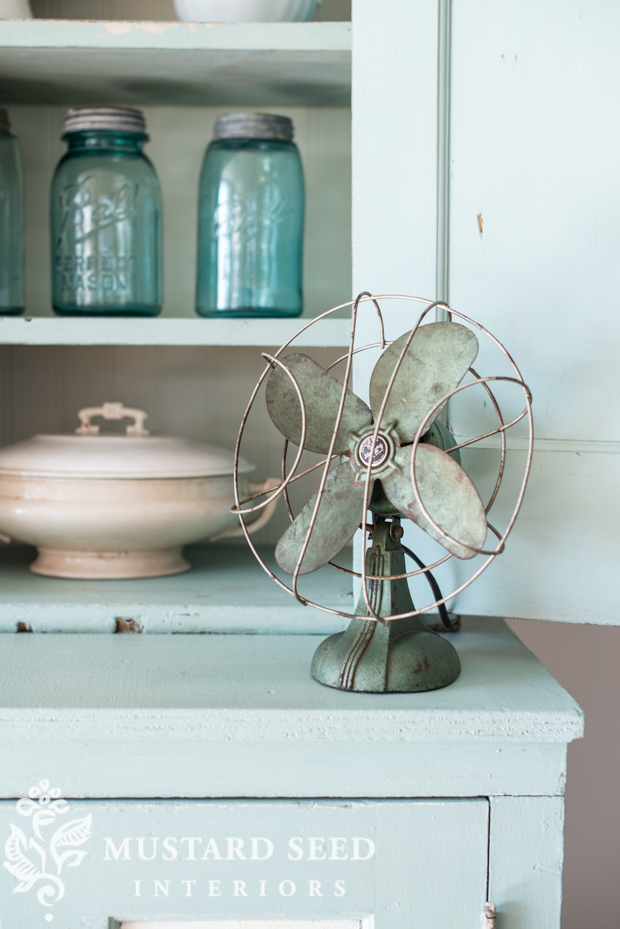
I liked the color of the bottom cabinet, so wanted to create a close match, but perhaps a smidgen bluer. I mixed two parts Layla’s Mint to one part Eulalie’s Sky, both from the MMS Milk Paint line. That mix ended up being too green, but it was going to need two coats, anyway, to cover the spray paint marks, red paint splatters, etc.
For the second coat, I reversed the ratio and mixed one part Layla’s Mint to two parts Eulalie’s Sky, which I liked much better. The first coat of paint did chip in a few places, so I painted the second coat carefully over them. In cases like these, I just dab on the paint…
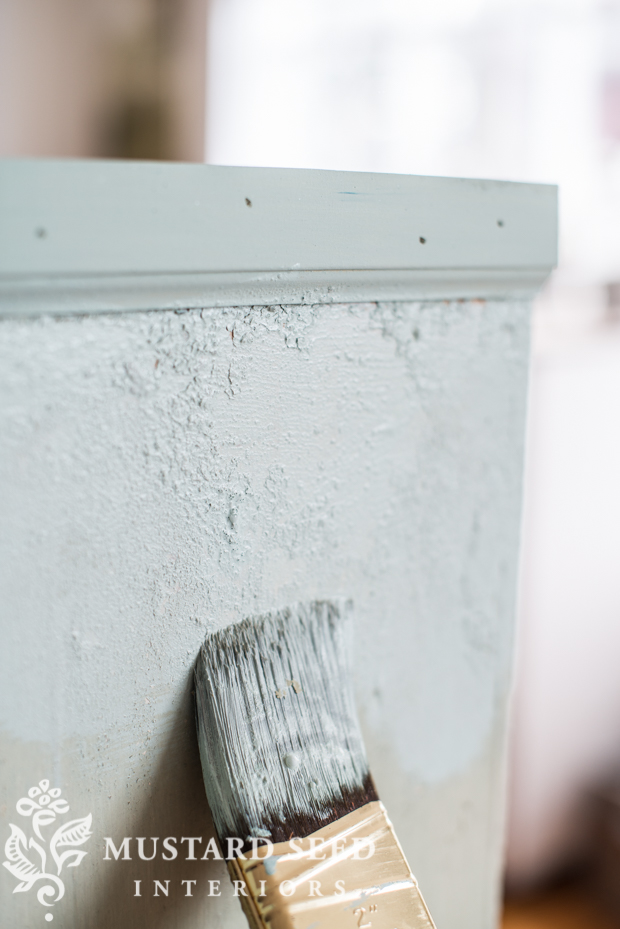
It’s going to continue to chip, so it’s okay if it’s a little messy-looking at this stage. And, I must admit, I sort of like the crusty look for this piece!
You can see the difference in the colors below…
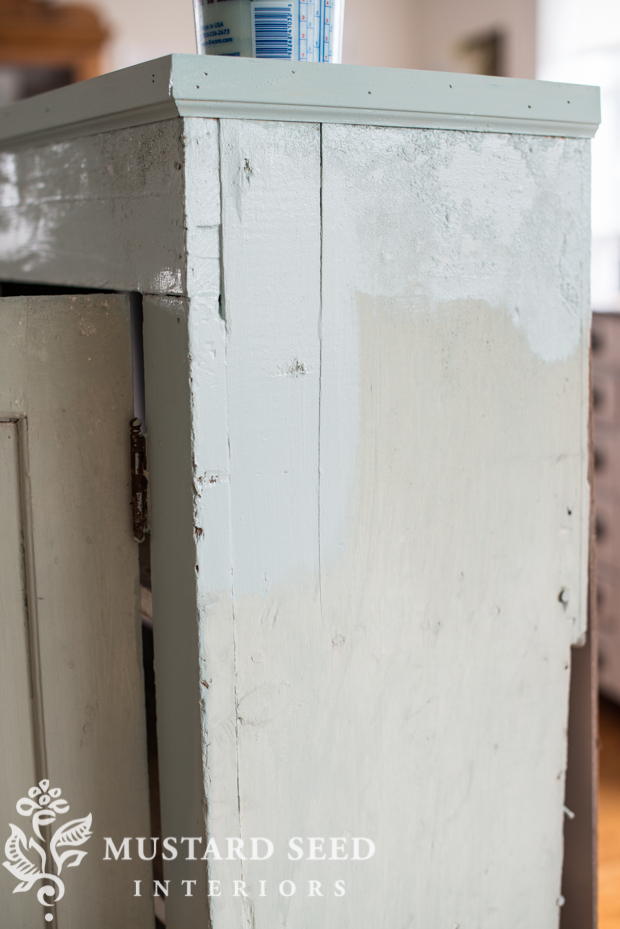
I’ll tell you, this thing was a beast to paint! I had to paint just about every surface inside and out. (Oh, and by the way, I waited to install the back until after the piece was painted. It was so much easier reaching all of the shelves from the back side and it was easier to paint the back when it wasn’t attached.)
Once it was all painted out, I attached the top to the base with a couple of screws. It does need to be removable, so it can be transported more easily, but I wanted to add the screws for a little stability. They are inserted just inside the doors, so you can see them, but they aren’t very noticeable and it makes the piece much safer.

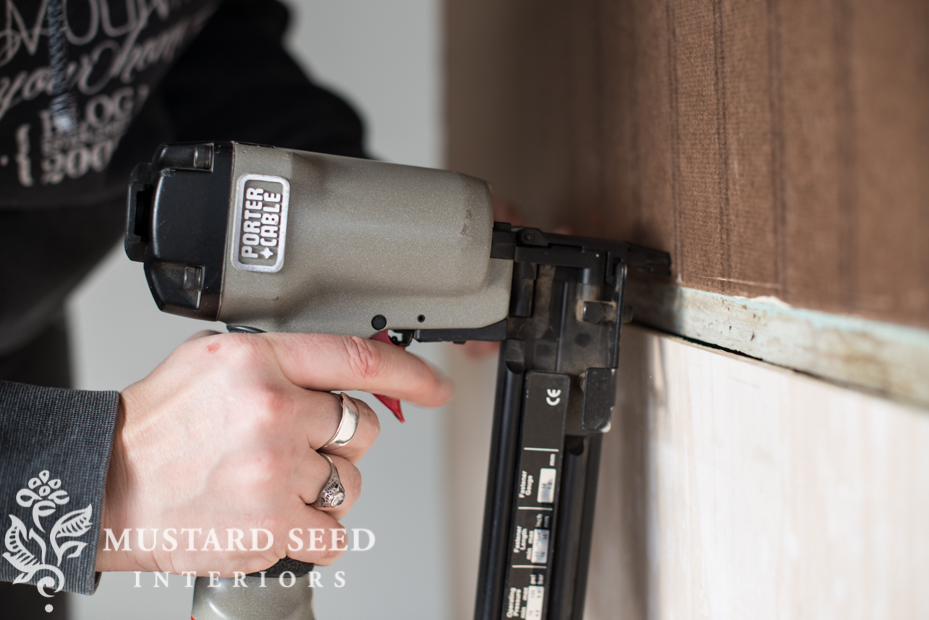
And I nailed the bead board back in place with a brad nailer. I would’ve loved to have bead board planks instead of an MDF sheet, but I was concerned with how top-heavy the piece would be, which is also a safety issue. So, I opted for the lighter-weight MDF.
The bead board backing and the cabinet insets are painted in Linen.
I was hoping for some chipping and I did get some. Yay! I love that it doesn’t look like a freshly painted piece, but it looks clean and useable.
I encouraged the chipping by distressing the entire piece with 100 grit sand paper. I do the distressing by hand, so it’s subtle and looks natural. And, to make it feel nice, to seal the chipping, and to protect the paint, I finished it with a coat of Matte Tough Coat.
I’ll share the full reveal tomorrow, but here is a preview…


14 Responses
What a transformation!
Were you a bit concerned with lead? Should you paint a piece first then seal with tough coat if you think that there could be lead? I thought sealing it first with your tough coat, then painting was the order? Can you clarify? Thank you!
The piece I was painting didn’t have chipping or flaking paint, so I wasn’t concerned with that, since I knew I was painting over it and then sealing it.
Looks just lovely. I think my favorite shot is of your hand using the nail gun 😉 Can you guess why?
Oh, it’s such a perfect shot. Well done!
I can’t believe it’s the same cupboard!!
Wow! Now that is a transformation! I just come to look (every day) but don’t decorate in this style at all, but I am amazed at your resourcefulness always! One question: How do you deal with the smell of old things? We have had an old steamer trunk (over 100 years old for sure) for over 35 years now and we have tried EVERYTHING when we first got her! Coffee, kitty litter, sanding it, painting it, shellacking it, lining it with fabric, vinegar rinses, sunshine – you name it – we’ve tried it. I cannot imagine living in a home filled with more than one old piece if only this one is so obvious. Over the years, just when I think it has finally stopped fighting us —every once in a while, when I am sitting on the sofa, relaxing with my blogs and a cuppa, I’ll get that “wiff” of the olden days again! I think it’s just to let me know who’s boss around here…
Try putting a pie pan full of un cooked rice in it. It takes several months, but works! You can also put charcoal brochettes, the kind you use in an outdoor grill in for several months. Both of these work for us, we are antique dealers, so we deal with this often.
I have an odor under my guest bathroom sink and have tried leaving baking soda in there but it still has the smell. I am going to try your rice idea. Thank you so much for that information!
Eulalie’s Sky is what I painted my farm cabinet with that is the focal point of my kitchen/dining room! It’s so amazing what it does to these old pieces!
OMG I just love how this peace is looking now! Just beautiful. These old cupboards are just so great for many different uses!
Wowed! I love the crusty bits too. It turned out great. I was wondering what you were going to do with the one drawer that has a chunk missing. Sometimes I will fill in a piece with wood putty. But I like that you let it be. And I love the colors. So light and pretty. Just in time for Spring.
Cabinet is beautiful. Quick question. What did you clean it with before you painted?
Absolutely wonderful piece now. Just love it. What a difference a good cleaning and paint will do for a piece!