
You can find the first part of this series about making handmade watercolors HERE. That post shares about the pigments I purchased. In the second post, I shared the handmade watercolor binder recipe I’m testing out. You can find that post (along with a printable recipe and video HERE.) I received so many comments and messages from people who were eager to see the binder actually mixed with the pigment to make handmade watercolors and that is going to happen in this post and video!
Let me lead off by saying this is my first time making handmade watercolors. I’m very experienced when it comes to working with paints and pigments, but actually mixing the paints is new to me. I am so excited to finally be doing it though. It was actually on my to-do list for 2021, because it’s something I’ve been curious about and interested in trying for a long time. So, I’m going to take you with me on this journey.
I have been collecting tools, pigments, and ingredients for making my own watercolors for a while from an antique ironstone mortar and pestle to a glass palette and muller. I finally pulled everything out one day and dove in.
If you haven’t already, I would suggest reading the post about making a handmade watercolor binder HERE first. In that post, I share all about the tools and ingredients I am using and give some suggested alternatives. It will answer a lot of questions you might have if you just hop into this post.
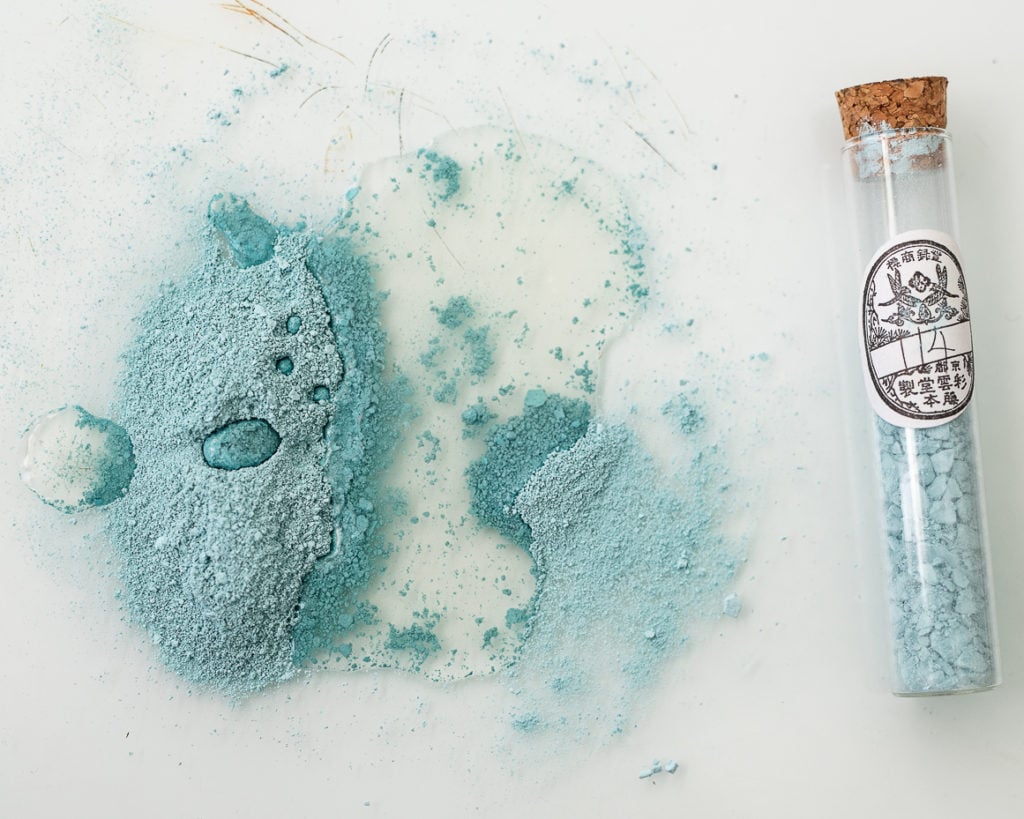
The first step to actually making the handmade watercolor paint is preparing the pigments. The pigments I purchased are already ground, but they still benefit from a few turns in the mortar and pestle to make them super fine. This eliminates having gritty or chunky paint.

I dumped the finely ground figments onto my glass palette and added an equal part of the handmade watercolor binder. I measured out 1 tsp of each to just make a small test batch. When you’re just learning, it’s best to start small so you can get a feel for the ingredients, the paints, and how a good finished product looks, feels and behaves.

Can I just say that a part of what draws me to handmade paints is the beauty of the process? It’s certainly easier to just buy a tube of paint, but there is something about working with the raw materials and having the pleasure of bringing them together yourself that is satisfying.

I decided to mix up five colors, so I had a small palette to work and play with. I would also have a small sampling of working with different colors of pigments, lights, and darks, warms, and cools. I know enough about paint making, specifically from mixing milk paint and developing colors, to know that different pigments behave differently in binders. Some will need more and others less. Again, it just takes practice and developing a feel for what a good handmade watercolor paint feels like.


Bring the binder and pigment together and mix it with a palette knife. To make a cooking analogy, mixing with the palette knife is sort of like mixing with a spoon just to get things combined and make sure the dry ingredients are mixed into the wet. Then, mulling is like the mixer. The friction between the glass palette and the muller makes an emulsion. It suspends the particles of pigment completely in the binder.

Again, it’s a beautiful, satisfying process.

In addition to the pale aqua and dark blue, I also mixed a light green, mustard yellow, and reddish-orange (sort of like burnt sienna.)

Here is a video showing the entire mixing process, since it’s easier to watch this process than to read about it…
And here are my finished paints…

The dark blue was the thickest and made the least amount of paint. In hindsight, I would’ve added more binder to it. The burnt sienna color ended up being the thinnest and making the most. I was able to fill a little escargot pot and a plastic half pan. It was nice to see how the different thicknesses would behave. Would the burnt sienna be too thin? Or the dark blue too thick?
You know that handmade watercolor paint is mixed right when it flows nicely onto a brush and paper and when it doesn’t rub off of the paper when dried. The dark blue color rubbed off, so it needed more binder. The other four were pretty good.
So, now that the handmade watercolor paints were mixed and in their pots, I needed to play with them and test them out. The good news is that they all worked like watercolors! We’re off to a solid start.

I used a beautiful drawing tool called an Iris by Makers Cabinet to draw circles in my new and create a page for each color.

I tested each pigment and make notes about the pigment used as well as the binder recipe and date.

You can see me testing out each handmade watercolor in the video.
In the next video and post in this series, I’ll show how I explored this palette by making color wheels and I’ll also share how the paints look when they are totally dry and what I learned from this first excursion into the world of handmade watercolor paints.

Here are the materials and tools used for this project…

Here are some paint palette and paint pan options…
And here are some new and vintage mortar & pestles…
Here is the printable recipe if you don’t want to hop back to the watercolor binder post to print it up.

Handmade Watercolor Binder
Equipment
- pipette
- measuring spoons/cups
- mortar & pestle
- glass palette
- scraper
- palette knife
- whisk
- jar with lid
- muller
- paint pans
- small strainer
- mask for when working with powdered pigments
Ingredients
- artist pigments
- 1 cup hot distilled water
- 1/2 cup gum arabic powder
- 1/5 cup mixed honey and glycerin in equal parts to make 1/5 cup total
- 2 drops clove essential oil
- 2 drops ox gall
Instructions
- Mix together – 1 cup hot distilled water, ½ cup gum Arabic powder, 1/5 cup honey and/or glycerin (I mixed equal parts of box), two drops clove essential oil, two drops ox gall (optional)
- In a separate bowl, mix 1 Tbsp. honey with 9 Tbsp. of the above mixture (1:9)
- Mix watercolor base with pigment starting at a 1:1 ratio. Adjust as needed depending on the color. Mix with a palette knife and then mull. The pigment is bound when color won’t rub off of a painted swatch. Store mixed paint in paint tubes or let dry into cakes or pans. Store watercolor base mixture in the refrigerator for about a week.


6 Responses
Really enjoyed this post. Looked closely at the Iris, what a beautiful tool. All of the tools from that company are unique. It would be nice of Santa would consider it.
Yep, those are great tools for Santa to bring!
You lost me early in the process, but it’s really great to be able to
watch what you do! Very interesting. I’m one of those people who
would go to Hobby Lobby and get a tube of “blue”… LOL!
So enjoyed your video and post. The colors are beautiful! Could you give a little background on the purpose of the clove essential oil? I may have missed this.
Hi Marian-
I found this post very interesting when I read it the other day. Then, Amazon Prime suggested a show called Fake or Fortune about fine art paintings, and the third episode (Van Meegeren) visited a shop in London that has traditional powders for paints, and of course I thought of you immediately. It was fascinating and is definitely worth watching. They had lapis lazuli in two shades, and arsenic (!!!). I think you’d really enjoy the whole show, but definitely watch that episode.
Interesting process. Although I have no time or inclination to make my own paints would you please share where you purchased that gorgeous, fat watercolor book you are using to record your mixtures? Thank you.