
In yesterday’s post, I shared how I prepped this piece of furniture to get it ready for painting. If you missed that post, you can find it HERE.
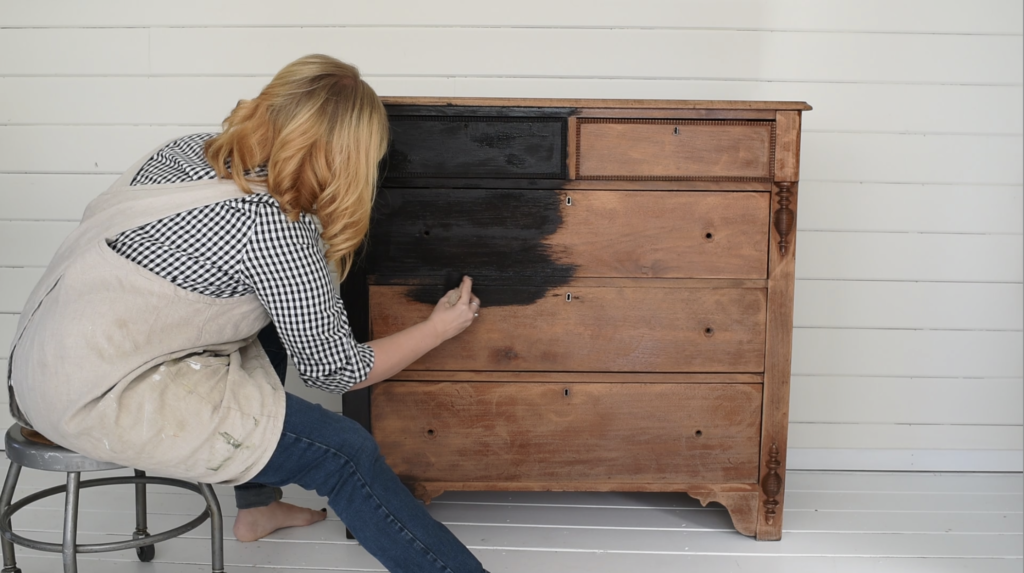
So, this is what the dresser looked like after the hardware was removed and it was sanded to give the surface “tooth” (something for the paint to grip)…

As I was debating what color this piece should “wear”, I decided to go with MMS Milk Paint Typewriter. First of all, it’s been a long time since I’ve painted anything black. It’s one of our most popular colors, so thought it would be nice to showcase it in a makeover series.
I love the way black looks over dark and medium woods, too. When a piece like that is distressed and finished, it is gorgeous and I envisioned that look working with the classic lines on this dresser.
Another reason I wanted to use it for a tutorial series is that this is the color we receive most customer inquiries about. Working with black can be tricky, especially when it comes to the finishing. Black can show textures and imperfections more than the other colors, but a little extra care can yield a beautiful end result.
Lastly, Typewriter is one of colors of the month for October, so it seemed like a good time to mix up a batch.
For this Typewriter dresser makeover
I mixed up six tablespoons of milk paint. That’s 6T of powder and 6T of water. I ended up adding a little bit more water when the paint felt too thick coming off of the brush. (If you’re completely new to milk paint, you can find a detailed tutorial on mixing HERE.)
That amount of paint was enough to do one full coat and a second thin coat. I was also able to paint both coats in succession since the dry time is so fast.
Because I sanded the piece with 120 grit sandpaper prior to painting, I was not concerned about chipping or flaking, so I did not add the Bonding Agent to the paint. I just used straight milk paint powder & water.
Here’s a video showing how I applied the paint…

This is much more dramatic with the darker colors and is true of any type of flat/matte black paint. But just wait. Don’t panic. The finish will bring out the richness of the color and will pull it all together.
But first, I want to bring out more of the details of the piece and some of that pretty wood tone, so distressing is next…
You can find part three on distressing HERE.


13 Responses
Looking yummy already! Perfect for Halloween season and elegant at the same time. Waiting for the reveal!
I am LOVING this! Can’t wait to see the end result…will need to put this on my to do list for sure!
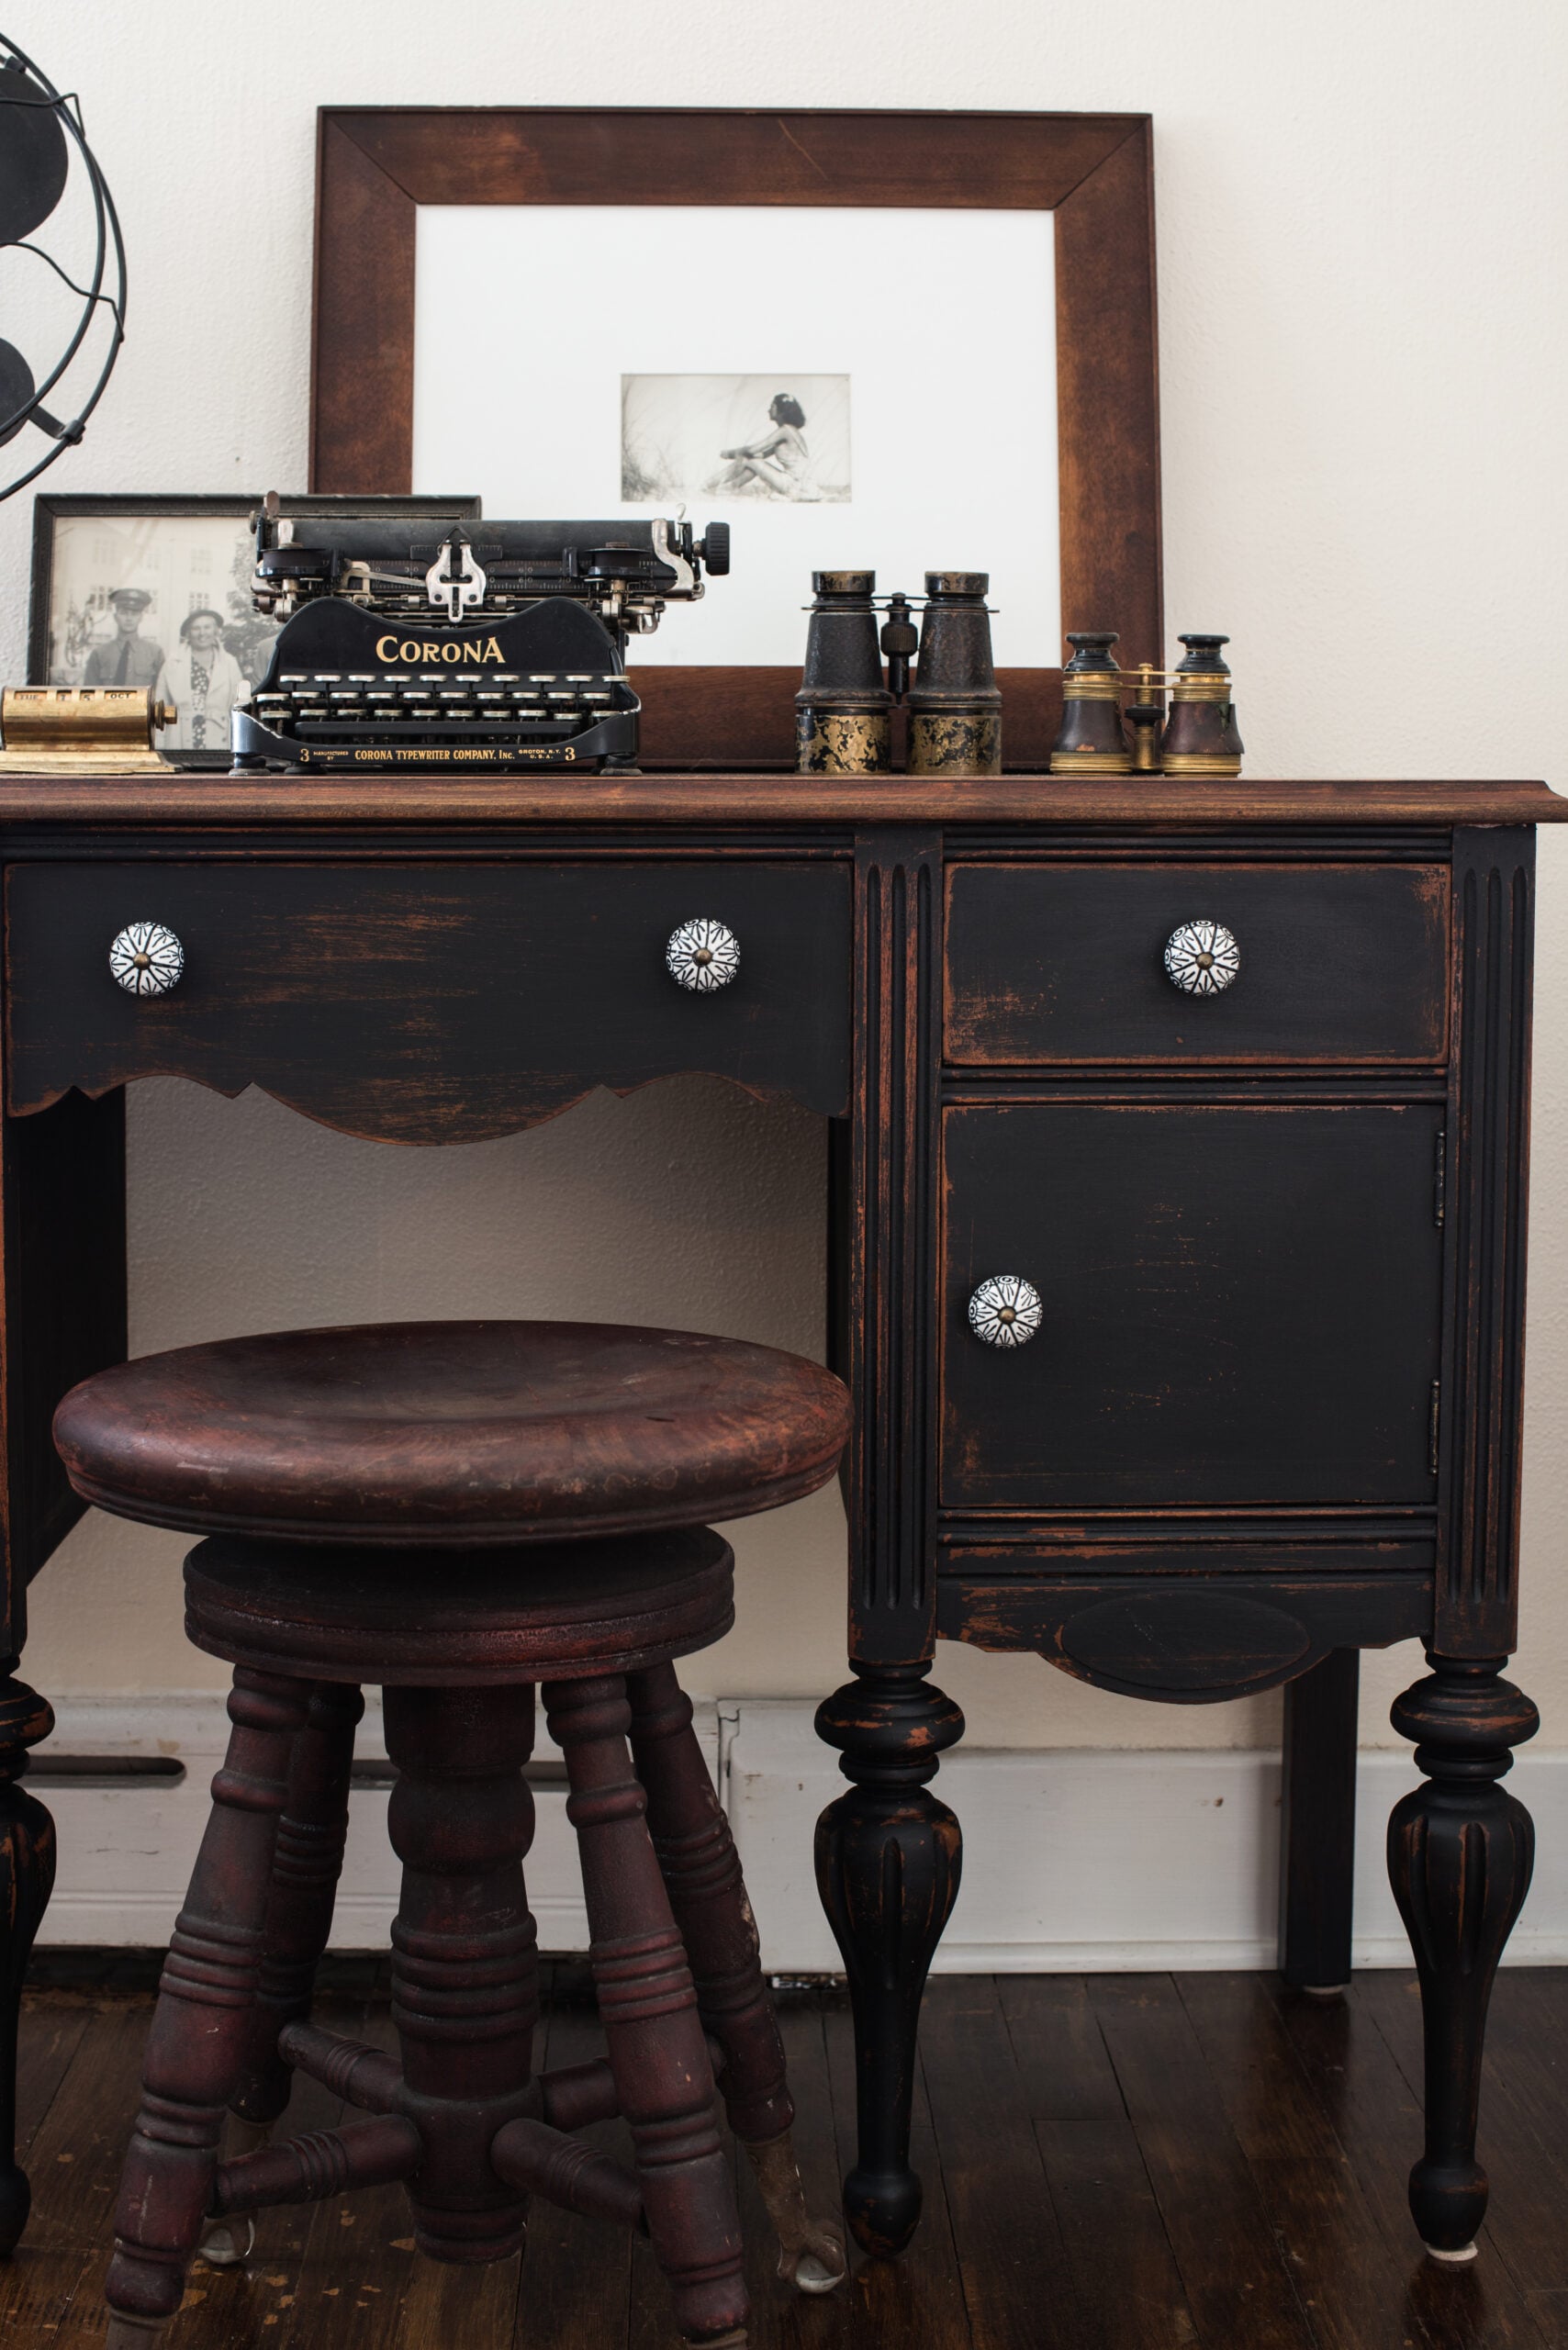
I painted my dresser in Typewriter about 3 years ago. After dithering about painting the piece for years, mostly over what colour, I finally bit the bullet. The piece dates from about the 30s and the finish had been deteriorating for a long time.
I didn’t do any distressing although I thought about it for a bit since the dresser has some nice detail on the top drawer and legs but I finally decided to leave it as is. After waxing the piece it took on a beautiful velvety black look that I absolutely love.
I swapped out the old fashioned vintage handles for ones that look like mercury glass, put a soft pewter coloured escutcheon plate behind them and I couldn’t be happier.
It sounds beautiful!
Hi Marian,
Love, love, love your web site and beautiful home. Question……I too do painting and have been admiring your apron/smock that you wear as in today’s post. Would just love to know where you got it or if it was made for you. I desperately want one. It’s the perfect answer to (saving my clothing) use while painting.
Thank you so much!
Deb
It really is the perfect apron. I love the fit of it and how it doesn’t hang off my neck or tie tightly around my waist. I purchased it from Me & Mrs. Jones in Memphis. She does not sell online, but if you contact her through her website or social media, she will coordinate a sale.
Hi,
Can you explain the difference between your milk paint and chalk paint? Love “typewriter”! So pretty. Thank you!
I actually wrote a post all about the differences some time ago. Here is the link… https://missmustardseed.com/milk-paint-vs-chalk-type-paints-again/
beautiful so far, can’t wait to see the finish piece
This comes at the PERFECT time for me! I just scored a beautiful antique dresser at a thrift store. I picked it up this morning, actually! It is already kind of a distressed black, but the finish is so very far from perfect. This is just what I needed! I will be doing this!
Thanks so much for the apron info!!
I’m loving this series on Typewriter. I have a small cabinet and a bag of MMS Typewriter milk paint and watching this is perfect timing! My question is after you painted I don’t see that you’re doing an all over light sanding on the piece. I was under the impression that was recommended. Do you not do that at all or not with the dark colors? Thank you
I sort of do that while I’m distressing the piece, but it’s not a required step. I also did a wet sanding when applying the Hemp Oil, which you can see in the video tutorial.