
In part one of this series, we talked about what milk paint is. Now, we’re going to get into mixing, which I think is the most intimidating part for most people.
First of all, we’re not use to mixing paint, right? It usually comes in a bottle or can and it’s already a liquid. Just dip in your brush and go. I must admit that the convenience of that is nice.
The reason milk paint doesn’t come that way, is that it is perishable once it’s mixed, so it’s sold in powdered form.
I think some people are nervous about mixing the paint because it is an unknown. And most of us are a little apprehensive when we stray from what we’re used to. There’s also an assumption that this needs to be exact or everything will be ruined.
So, let me first put you at ease.
If you can stir, you can mix milk paint. It’s very forgiving and very hard to mess up.
Before we get into the step-by-step of mixing, let me give you an analogy that I often use in workshops.
Think of milk paint like peanut butter.
Remember the peanut butter most of us grew up with? The processed, artificial-ingredient-laden peanut butter that would have a perfectly smooth and level top no matter how much the jar was shaken? The peanut butter that would make stiff peaks on a knife and perfect waves on a piece of bread? That is like modern paints that have all kinds of things added to it in order to make them smooth and creamy, so they fall off a paint stirrer in a perfect ribbon.
You then decide to kick all artificial ingredients from your diet and you switch to all-natural peanut butter. You open the jar and frown. It looks clumpy. There is an oil slick on top and it needs to be stirred and worked to make it creamier. That is like milk paint. It doesn’t have all of those additives that modern paints have, so it looks different.
Neither paint is wrong or bad, they are just different. If you expect them to be different, you’re less likely to freak out when milk paint is, well, different.

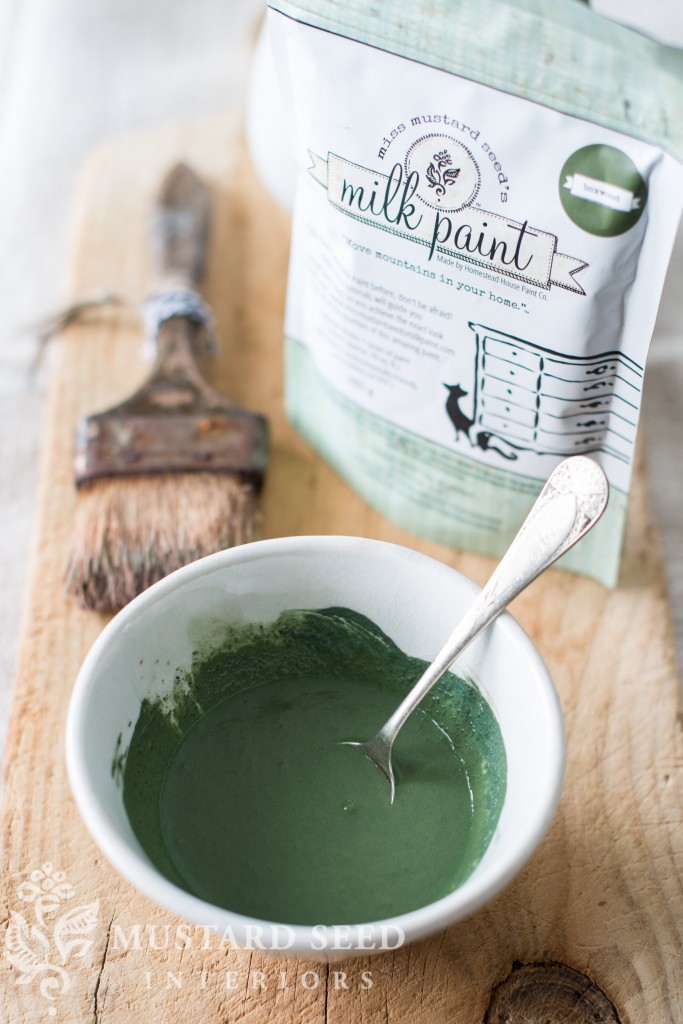
There are many different ways to mix milk paint, depending on your preferences, but I’m going to share how I mix 90% of the time.
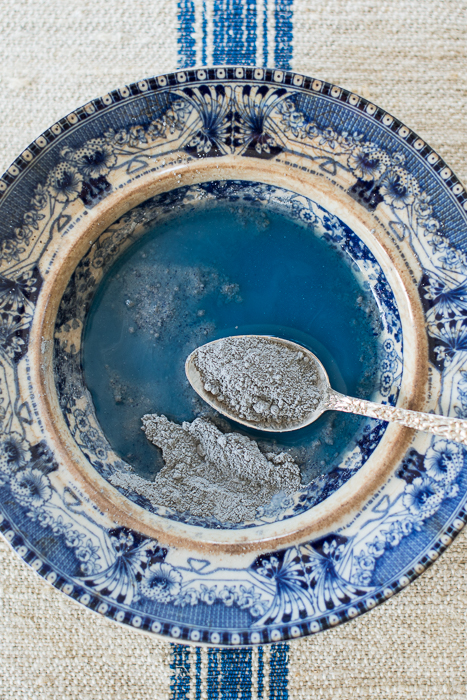
- Pour desired amount of milk paint into cup, jar or container. If you’re painting a small piece of furniture or an accessory, I would suggest 1/4 cup. If you’re painting a dresser, about 1 cup.
- Add equal part water. If you put 1/4 cup powder in your cup, add 1/4 cup water.
- Stir with a wooden stir stick, spoon, fork or whisk. (I buy my wooden stirrers from the wood craft section at Hobby Lobby. They are called “wood paddles.” HERE are similar ones I found on Amazon.)
- If you’re mixing a large batch or a challenging color (see below), then use a blender, immersion blender or MMS Milk Paint Mixer (a milk frother).
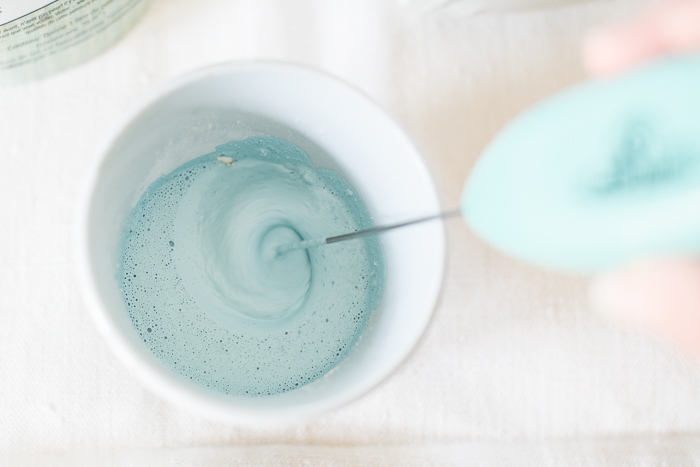
- Add more water, if necessary. For some colors, equal parts is enough and for others, it will be too thick. The consistency should be thinner than most paints you’re used to. It will feel watery more than creamy and it will come off your stir stick in a string instead of a ribbon.
- Allow the paint to sit for about 15 minutes. This gives clumps of powder a chance to absorb the water.
- Stir again. It should feel a little creamier. There might be a few lumps or some grit clinging to the sides of the cup. This is totally normal, so don’t stress about a few small lumps.
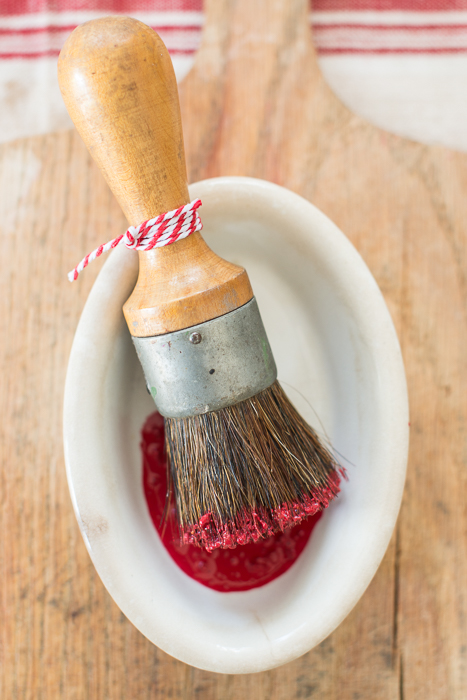
- Brush the paint onto the surface you wish to paint. This is the best way to tell if your mix is right. If your brush is dragging or there are a lot of lumps, the mix is too thick and needs more water and more stirring. If the paint is runny or dripping, it’s too thin and you need to add a bit more powder and stir again.
For those who want a quick visual, I made this short & sweet video on mixing…
If you want a video tutorial with more detail, here’s one we made over a year ago when Kriste was just learning how to use milk paint.
Here are a few more tips…
- The thickness of the paint really is a preference thing. If I’m painting raw wood, I’ll mix it thinner, because it will soak into the grain of the wood. If I’m painting something with an existing finish or paint, I’ll mix it a little thicker, since it will be sitting on top of the surface. It should always flow nicely off the brush, though.
- Different colors mix differently. I have found that the lighter colors usually need less water. Tricycle (red) is the most challenging color to mix, since the red pigments resist the water. This is a perfect color to use an electric mixer on or to shake in a lidded jar. It will come together, if you mix it by hand, but if that’s the first color you ever mix, just know that most colors mix easier!
- The pigments in some of the colors separate, especially the ones with yellow and blue pigment, like Boxwood. This can be problematic if you’re painting a larger piece and don’t stir a little as you go. The paint will look more yellow or more blue towards the end, resulting in a splotchy, uneven look. This won’t happen if you give the paint a little stir, even just with your brush, every ten minutes or so.
- The kind of water you use can make a difference. I use ordinary tap water, but if you have well water or really hard water, you may want to consider using bottled for mixing your milk paint.
- You may find that the paint thickens as you use it. That is because the brush is drawing more water out of your cup or container, so you may need to add a little more water and give it another stir.
- Once mixed, the paint can be stored for about a week. Just cover it with plastic wrap or a lid and keep it at room temperature. When you’re ready to use it again, mix it and add some more water to bring it to the right consistency.
- You can mix two or more colors to make custom colors! I like to mix up small batches, writing down the “recipe” until I find the color I want.

If you have any questions about mixing MMS Milk Paint, please leave them in the comments section below. You can find a local or online retailer HERE.
Next time, we’ll talk about prepping different surfaces (raw wood, different paint finishes, poly, wax, etc.).
![]()
And, I thought this would be a good time to show off our new color chart! Kriste and I made it by mixing each color and putting a “blob” of the paint on a white surface. My assistant, Heidi, put these “blobs” in a graphic. I love that it shows the actual color and each blob has a little personality. And, you can definitely see how much I love my blues, greens and grays!

Five all-natural ingredients. 25 gorgeous colors.


25 Responses
Beautiful, simple! I just love every color 🙂
Hey! Do I see a new white in your line? Farmhouse White – I don’t remember seeing that color before.
Yes! That is a brand new white coming out in January 2016.
Great post. Love the new color chart!!!
You stated it’s one part to one part. I purchased Boxwood and the directions say 1 part paint to 1.5 part water however this makes the paint run off my pieces like…well like water!
Would you post the color chart on your website at an obvious place so when I need to see the colors I will know exactly where to go. I won’t likely remember the date or title of this post.
Thanks,
Chris
gosh, I LOVE all the colors! the color chart is AWESOME! Thanks girls!
Thanks for a basics series! I didn’t know that for raw wood you want it thinner and for painted pieces you want the paint thicker! Thx for the tip!
Good day! I’m sure you’re already planning on covering this in the series, or perhaps have the info out there already, but if you could tell us your recommendations on washing brushes after using milk paint, hemp oil, and tough coat I would be so very grateful. Thank you!
AH THAT VIDEO! You had to dig that up out of the archives!
P.S. You got a pretty great hand model there. 😉
I love your collection of blue shades.
I’d like to try your paint but I’m worried it will all just flake off as I usually paint pieces that already have another finish, and I’m not into much distressing since my kids already distress it for me! Could you do a post about mixing colors with the bonding agent?
I am trying to find a color as close to the old jadeite colors as possible. Is your luckett’s green one that would work?
Does this do well over a chalk paint base? The piece I want to do is already painted with it.
I have not tried your milk paint but did use milk paint years ago. I mixed the same way I add liquid to any powder. Add a little water to the powder then stir; add a little more and stir, until you have added all the water you planned to add. If you dump all the water in a once, you are more likely to get lumps.
Your paint is great as I have used it on several pieces. I’m wanting one of those handy electric mixers.
I’m wondering about color consistency….Will adding different amounts of water affect the color, making it appear lighter or darker? Like if I were to mix a batch & discover I needed more paint half way through the project, would it be difficult to achieve the exact same color?
Thanks for the tutorial! I’m interested to give milk paint a try.
Great info and series! Thanks for sharing all of this 🙂 Can’t wait to own some MMS Milk Paint one day.
Lauren Baxter | Lovely Decor
xx
How can I mix the powder and keep it powder for future use? I paint alot of furniture and would like to pre mix the powder and add the colouring as I need it. And how long can the powder last?
I continue to have specks that rub to white colorless dots. I can’t seem to get rid of the grit. This is my forth try and third color. I use room temp city tap water and mix with a immersion hand held blender, then after the 15 minute wait I mix again with a brush.
I had ordered 3 colors from you. I am new painting with milk paint. I am refinishing a couple of kitchen chairs and want to mix the 3 colors together. What would be the consistency? Also I loved your handwritten thank you note. Thank you.
I wanna read the packet instructions but don’t like the font size. It would be nice if you had the text from the back of the package somewhere on your site so I can print it out in a 18 pt font and refer to it in a jiffy…
Wow, This is really amazing. Love your all color collection. I will try it for sure. Thanks for the sharing this with all of us.
Hi There,
I am reacquainting myself with MMS Milk Paint. What is the best type of brush to use with this paint. Thanks so much! I am headed to my local retailer tomorrow to get some paint!
I like using a 2″ synthetic angled sash brush, but you can really use whatever you have on hand!
Can this paint be used to whitewash a brick fireplace? I’ve thought about using the German Schmear method, but wondered if this would work. Thanks!