

It all started when I was shopping on a couple of months ago, deciding which artificial garlands I wanted to purchase to add to my Christmas decor this year. Since they often sell out of their most popular items before we even hit the Christmas-decorating season, I wanted to shop early and take my time making intentional purchases. As I was perusing the site, I came across this wreath made with some of their products and I had to stop and admire it. I loved the combination of textures, the blue berries of the juniper sprigs, and the use of pinecones, dried limes, and a simple velvet ribbon. I would love to make something similar for my kitchen.
As a side note, I found a lovely and inexpensive velvet ribbon that comes in a couple of widths and over 30 colors . It’s under $10 for 25 yards.
So, I collected some of the elements to make my own version of this wreath. I purchased some juniper branches (they are very realistic), , and the .
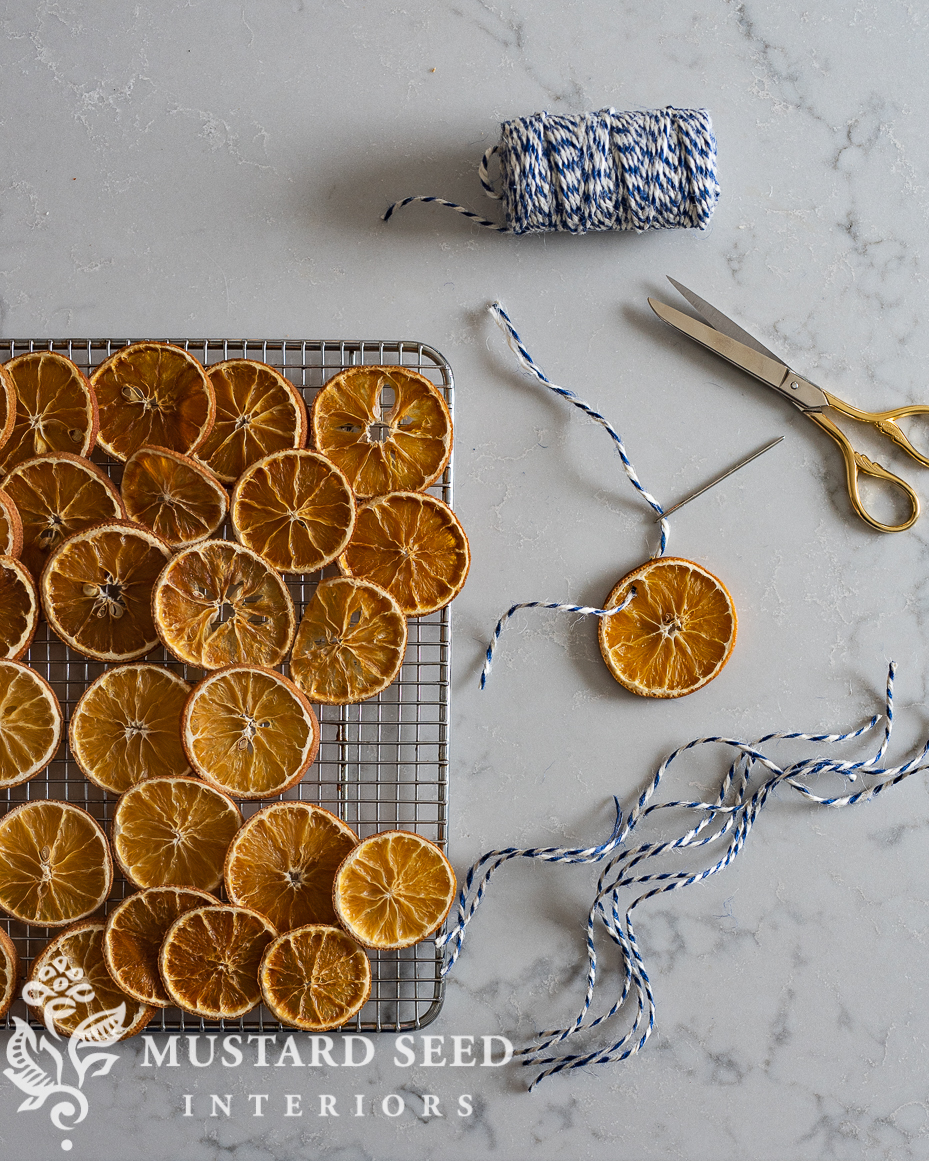
I also bought about a dozen dried limes at the Lucketts Fall Market. While I did buy some dried limes, I wanted to try my hand at drying whole limes. It would certainly be a more economical option. Drying orange slices was an easy project (you can read about drying & decorating with oranges HERE), so this should be a doable cost-saving DIY.
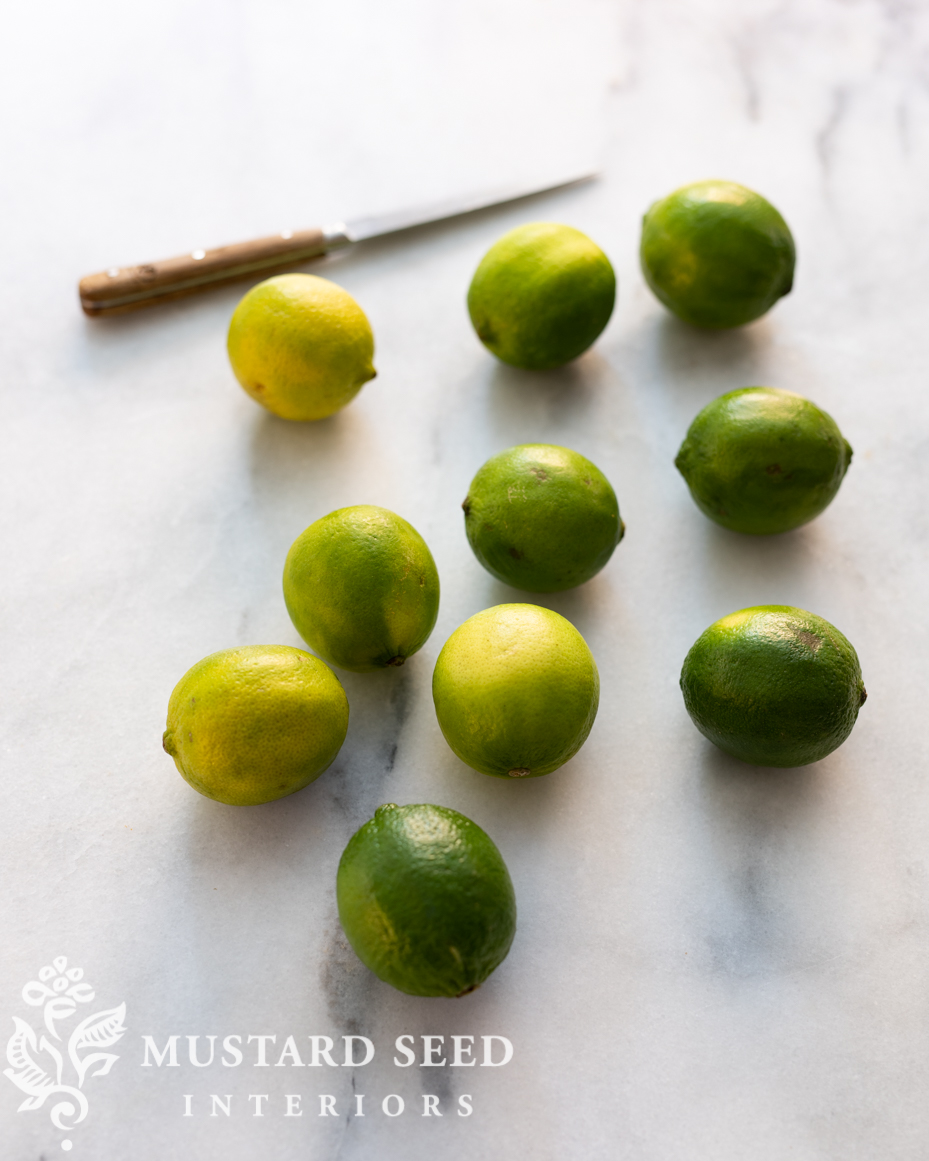
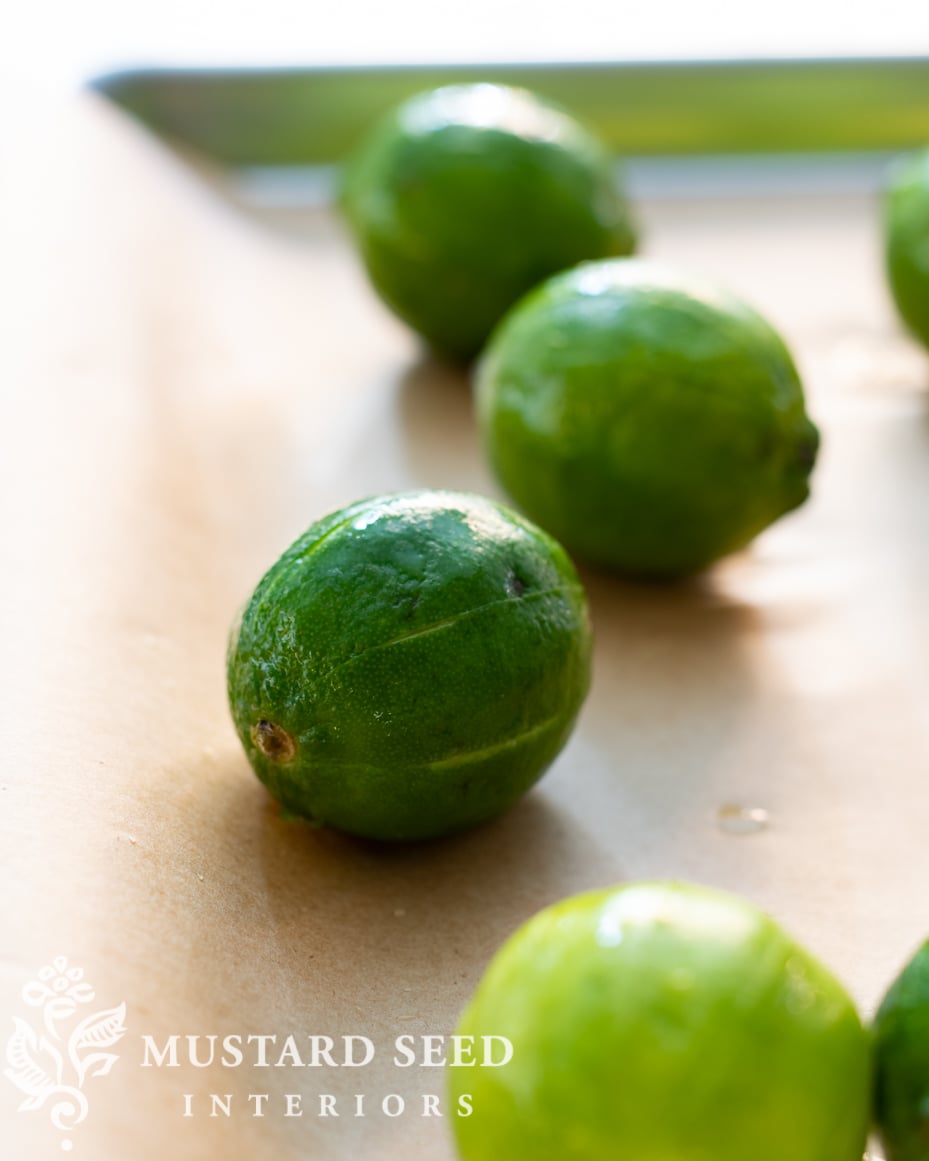
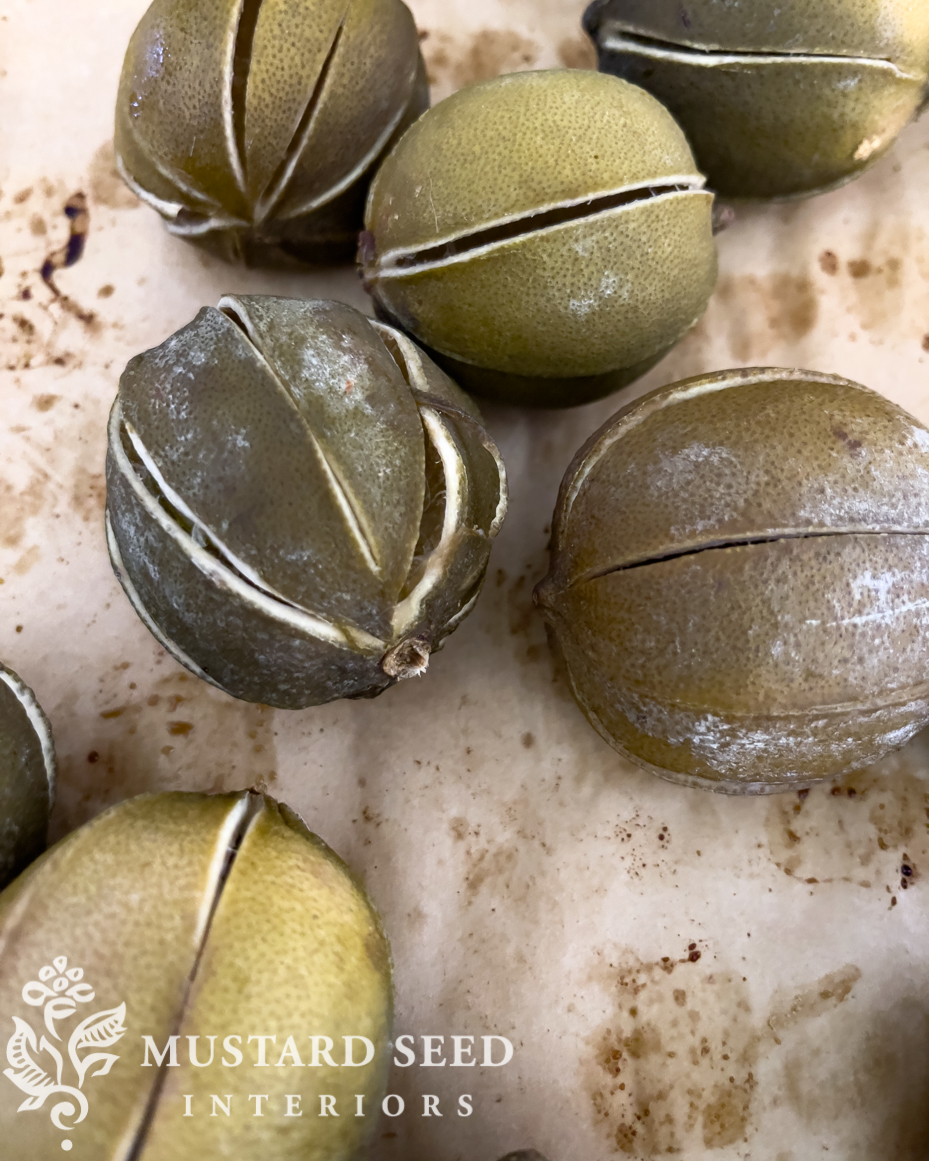
I bought a couple of bags at the grocery store and gave drying whole limes a go. I hadn’t found any tutorials on drying whole limes online, so I followed the same principles I used when drying the orange slices and used the ones I had purchased as a model. I washed the limes and removed the stickers. I then made slits in the rind with a knife in order to allow it to shrink and for the interior of the fruit to dry.
This was my test batch, so I played with different techniques and designs to see what worked best.
My oven goes as low as 100º, but I know that most ovens start at 170º, so I decided to set the temperature there. (You can read a review of my Ilve range HERE.) I put the cut limes on a cookie sheet and parchment paper and set an alarm to check on them every couple of hours.

Since drying orange slices can take a few hours, I expected drying whole limes would be an all-day project and might even go into multiple days. I rotated the limes and the cookie sheet to try to help the limes dry evenly. At the end of the first day, it was clear from their weight and appearance that the limes still had way too much moisture in them. I turned the oven off overnight and just let the limes hang out until I turned the heat back on the next morning. I was more hopeful on day two, but the limes continued to darken and weren’t drying out as much as they needed to. In addition, the moisture coming from the limes was creating condensation on the oven walls and eventually leaking out onto the floor as I opened and closed the door. It was just a small puddle, similar to a melted ice cube, but it was enough that I had to keep an eye on it and wipe it up now and then as I rotated the limes.
After three days, I gave up, The limes looked terrible and they still were dry. These were even starting to mold from the moisture that would sit on their skins in between their time in the oven.
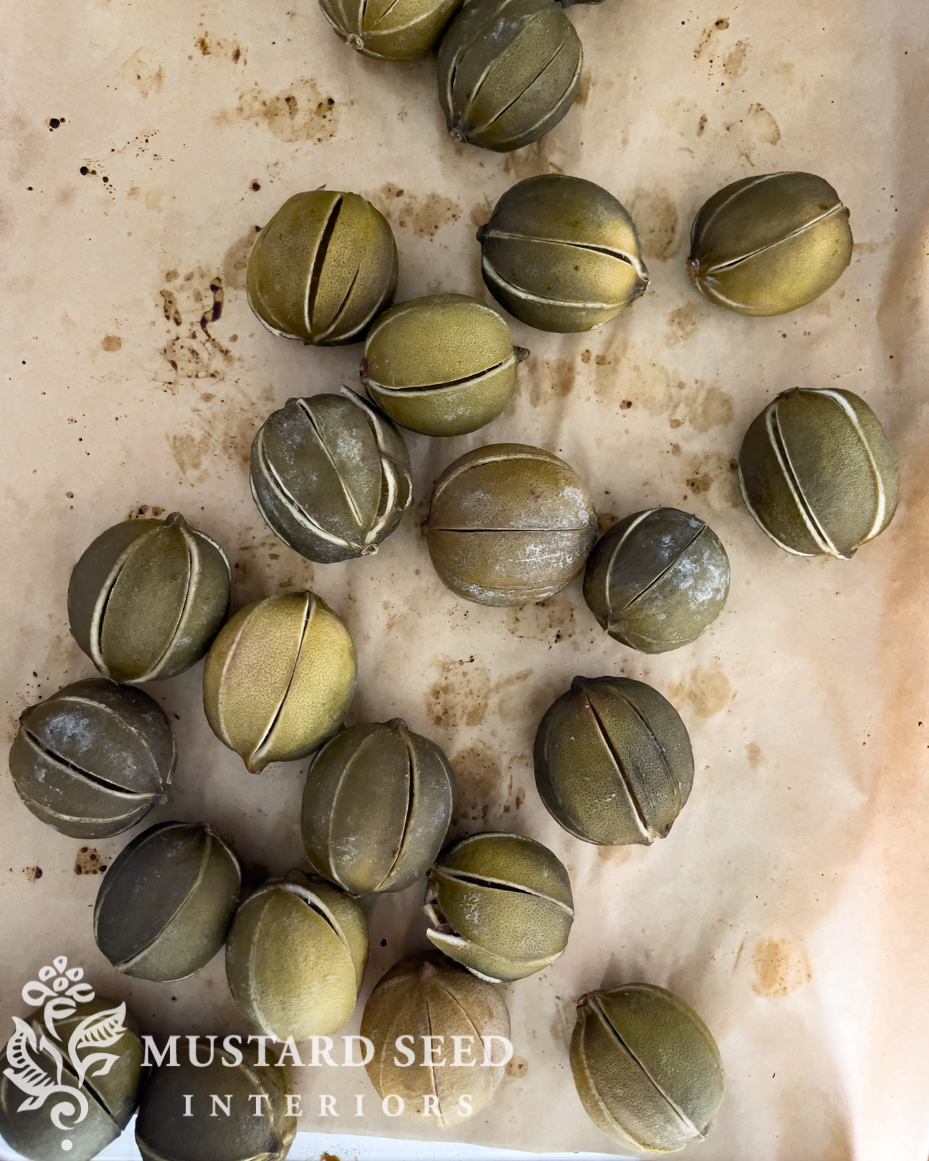
They ended up in the trash and I had a good laugh at my atrocious limes.
Here is where I think this science experiment went off the rails… When I examine the dried limes I purchased, which are beautiful and not dark and moldy specimens, The skins are much thicker. My grocery store limes had thin skins and they were heavy with water, making them juicy and tasty. I don’t want juicy, tasty limes. I want ones with lots of rinds and those that are light for their size because they are dried out. I did a bit of research and there are certain varieties of limes that have thicker skins than others, but I wasn’t able to find any distinct varieties at my local grocery stores. I haven’t done an exhaustive search, but I’m not too hopeful.
I also think the purchased dried limes were likely dehydrated instead of baked since they aren’t as discolored as my DIY dried limes. I actually looked into buying a dehydrator and I just don’t know if it would be worth buying, and storing, and if one would even fit whole limes. I even considered things like salt-curing the limes, smoking them, or figuring out a way to get more of the juice out before baking them. I think the pulp is what helps the rinds hold their shape as they dry and I have no knowledge of salt-curing or smoking anything. While I love making things myself in most cases, this just might be one of those times when it’s just better to go the store-bought route.
Because, I can tell you one thing, these DIY dried limes weren’t going to add anything good to my Christmas decor this year…


20 Responses
Looks like afloral will be our go to for those beautiful limes. Thanks for doing the investigating work for us.
I give an A+ for the effort and perseverance, and preventing a run on limes. I can understand the desire to replicate that wonderful combination in the wreath. Appreciate your diligence.
Marian, thank you for “keeping it real” and showing us a DIY project that was not a great success! LOL! This looks like something I would have tried but I’m glad I let you try it instead!
Marian, I was so excited to try the limes. They are such a beautiful, natural element for wreaths and other decor. I hopped on the orange slice wagon you shared previously and love them for all sorts of decorating. Thank you for your inquisitive mind and willingness to experiment. You’ve saved many a lime from its untimely demise. Chuckle chortle.
Sometimes the DIY pans out and sometimes it’s just best to purchase. Thanks for sharing the projects that don’t turn out amazing…keeping it real! 🙂
Wow, thanks for doing this experiment so that the rest of us don’t have to! Too bad they didn’t work out, but I would guess that the commercial ones have been freeze dried or dried using some sort of dessicant like silica gel over a long period of time.
Marian, I noticed that the oranges were in slices; it might be more successful if you sliced the limes as well. Just a thought. Thank you for your wonderful blog.
Will you share with us some of the garlands etc that you have purchased from a floral? It’s so difficult to buy online because so many greens don’t look at all realistic.
On the Oct. 31post you might check because Marian shared examples of various pieces of greenery.
Thank you, Marian, for generously sharing your experiment with us. I’m very sorry that it didn’t turn out as you envisioned, but kudos for the effort. You certainly helped many of us to avoid similar moments in the kitchen. Just keep being so creative; you truly inspire us all!
When I saw the post where you said you were going to try to dry limes, I jumped the gun- I was in Costco and bought a whole big bag for about $5 and started my attempt- just like you did. Mine did dry, without mold, but they are way too dark. The Afloral ones are such a pretty shade of green, mine are more like charcoal. Oh well! Thanks for the research you did about the skin thickness.
You can spray paint fresh flowers, why not limes? I have used Design Master floral paint to even out existing flower color or even change the color.
I am pretty sure it would work on dried fruit as well. Start of with a light spray, dry and then paint again, drying between coats.
As many above have mentioned-thank you for doing the legwork and saving us from the experiment ! And I also appreciate your willingness to share a project that didn’t amazingly well! That wreath from Aflora is truly beautiful and conveys a sweet, calm warmth that celebrates the Christmas season. And I AM going to click through the links that you shared!
Sometimes you win and sometimes you don’t. Thanks for sharing the reality!
I love your tenacity~ You do INSPIRE!
This reminded me of Pomanders that we made as children using oranges and cloves. Maybe cloves would help with preservation during the drying process…?
I remember seeing all the beautiful live greenery wreaths with real dried fruit adorning the doors of homes, taverns and shops in Colonial Williamsburg during Christmas over the years. When we were there two years ago and walked down Duke of Gloucester Street, most all the wreaths had artificial fruit on them and no live greenery either. Not sure if this is being done as a cost cutting effort or for some other reason but it was very disappointing! Sorry your lime drying experiment wasn’t successful.
Thank you so much for experimenting with the limes! I live in lime (citrus & olive) country, I plan to delve deeper into dried limes, maybe the growers have tips?
I did that with cotton bolls and found you have to be a lumberjack to cut the trunk of the bush, my son used a cordless saw. hehehe. Love the oranges tutorial too. Happy Holidays 😉
Thank you for sharing this experiment. I too was considering drying limes in the oven. After reading a few ‘how to’ methods I came across your article. You’ve saved me hours of angst, trying to achieve the unachievable. Thank you. 🙏
What an interesting experiment & I appreciate your diligence. Right now, I’m living in the Netherlands and the price of lime is the same as three lemons. Limes are significantly more expensive here. So I tried using lemons instead of limes and honestly, it didn’t really work out. The peel was very cracked and blackened in spots, almost like it was burnt. I’ll have to give it another try with limes next year! Happy Holiday season 🙂