
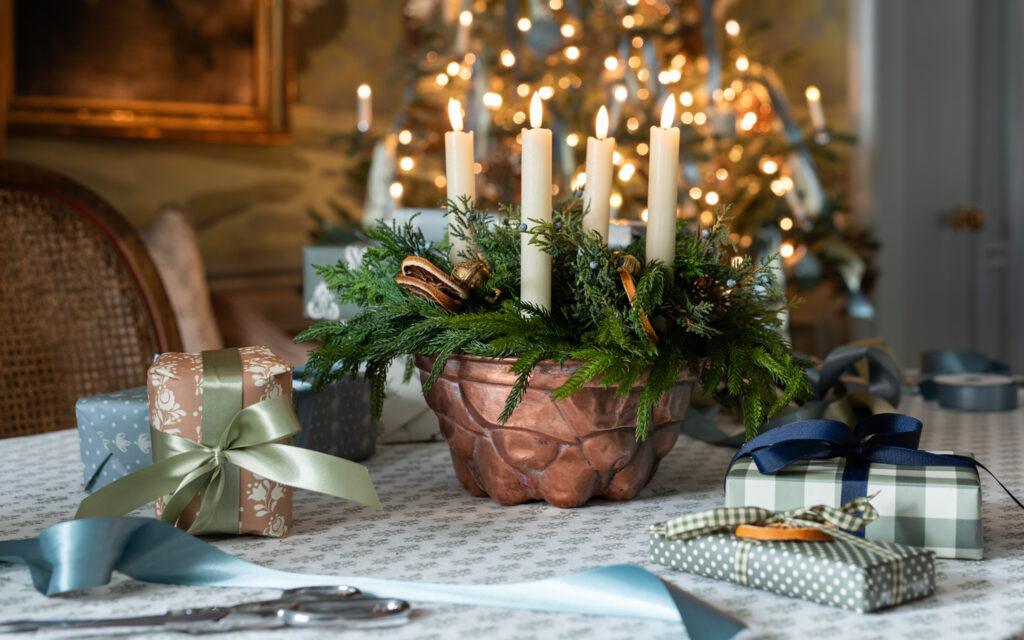
I was working on decorating for Christmas – draping garland on the tree, putting fresh batteries into the LED tree candles, topping cabinets with greenery – and I got sidetracked, as I often do. My collection of copper bundt pans hanging from the potrack in my kitchen caught my eye. Oh yeah, I’ve always wanted to make a Christmas centerpiece out of one of those. That thought sent me on the rabbit trail of making this copper mold candle centerpiece…

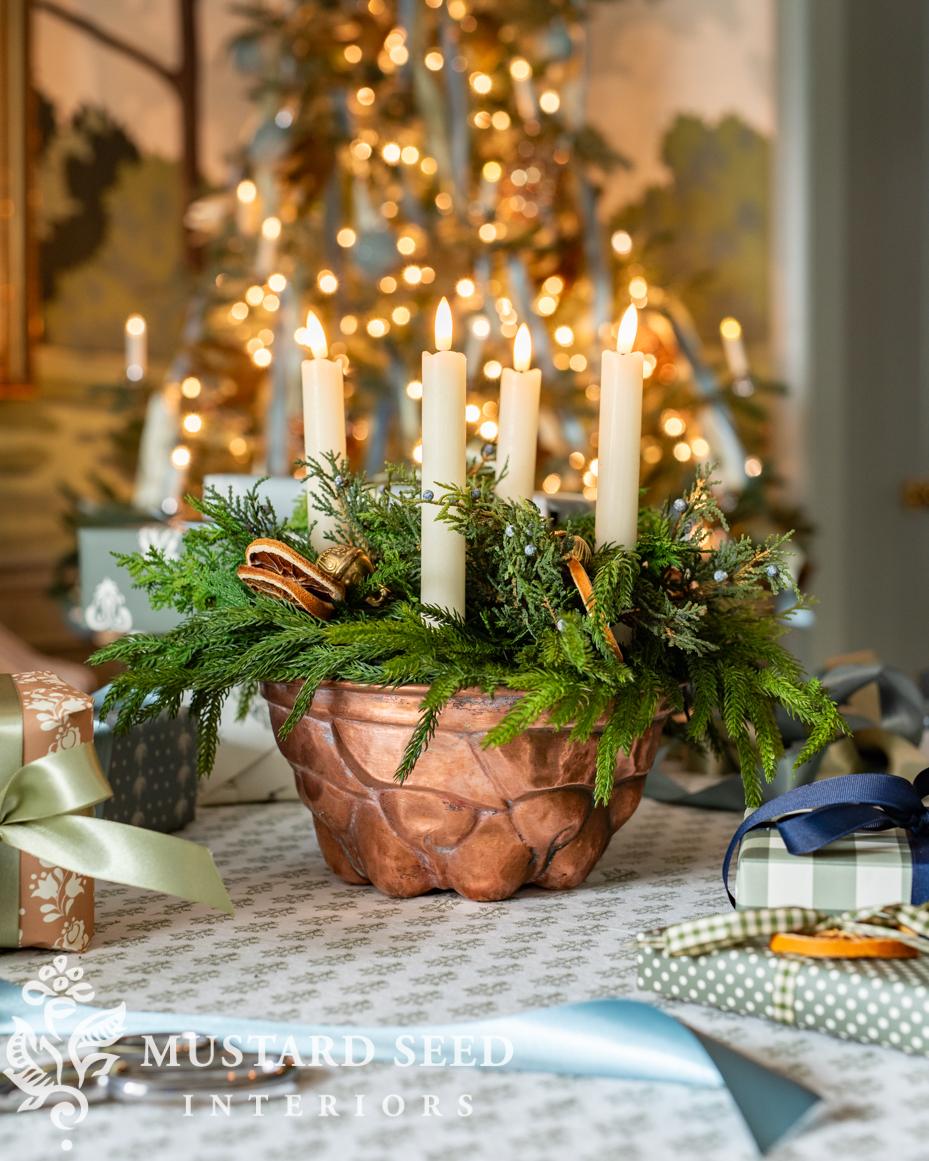
antique copper bundt pan | Norfolk pine | LED real wax candles | Miss Mustard Seed wrapping paper | brass sleigh bells | faux juniper
I looked for the best candidate and decided on an antique copper mold I bought in Italy a few years ago. (It measures 9″ at the widest point, the rim.) If you don’t have one on hand, you can find vintage and antique real copper molds on Etsy HERE or likely at a local antique mall. I pulled a few real wax LED candles out of my candle stash and stared at them for a while, wondering how I could get artificial candles to stand upright in a copper mold.
If I were using real candles, I would melt the wax on the bottom of the candle and stick them in place (as I did with my previous ring mold advent wreath project). Since the bottom of these LED candles is plastic and houses the on/off button, that wasn’t going to work. (These LED candles come with a remote & timer options, so I don’t have to access the on/off button when in use.) After staring at the components and thinking about what I had on hand that might work, I decided to make a cardboard insert.
I cut a piece off a box, traced the size and shape of the mold onto the cardboard, and then cut it out about 1/2″ smaller around the entire circumference…
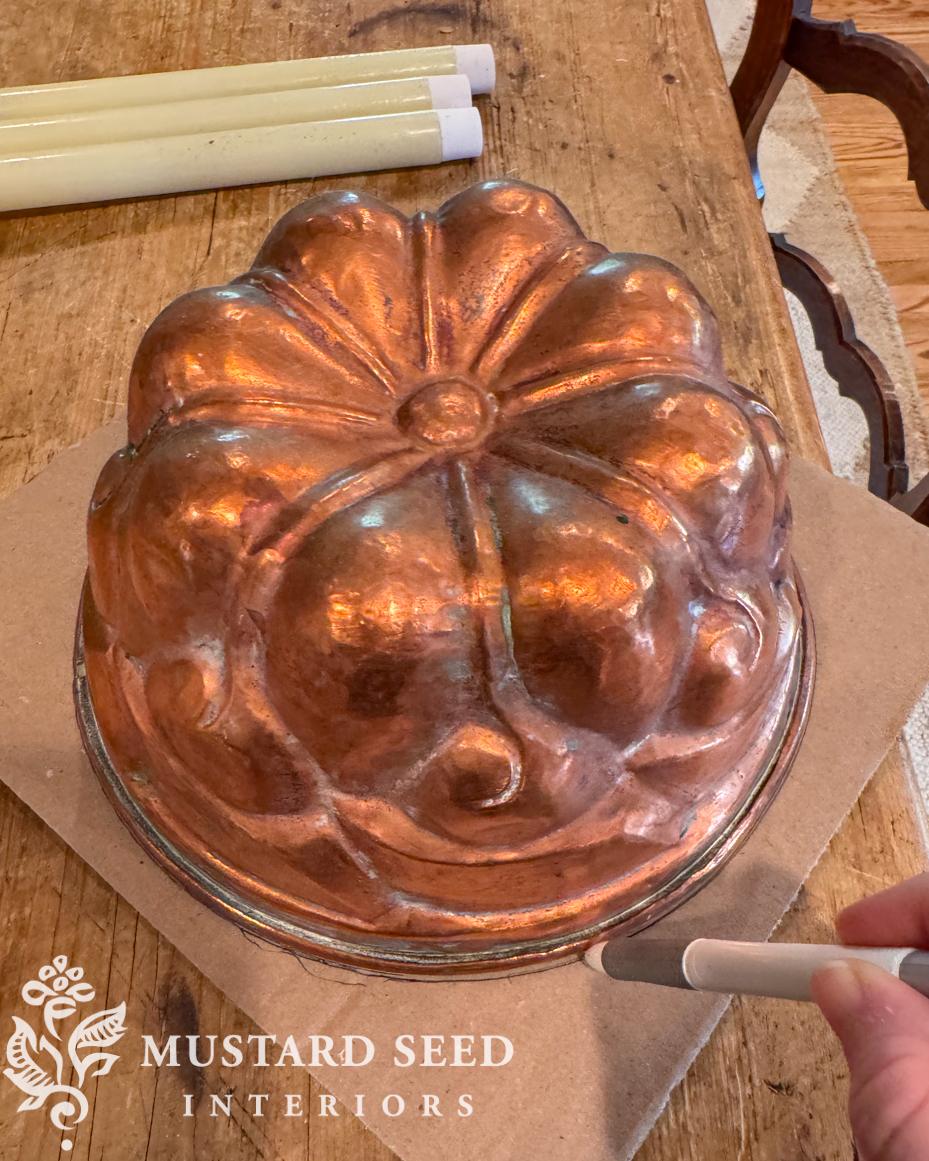
antique copper bundt pan | LED real wax candles
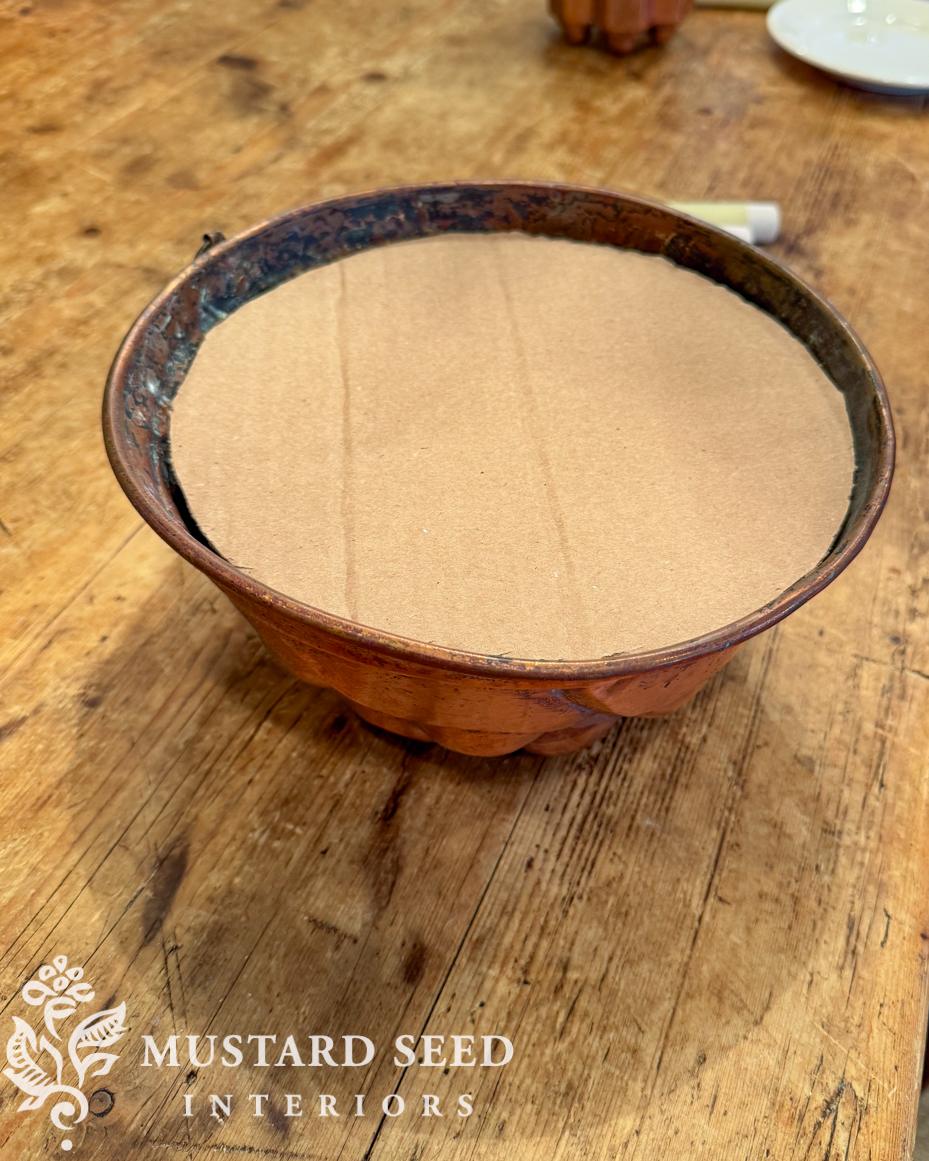
I cut it smaller so it would sit inside the mold and not on top.
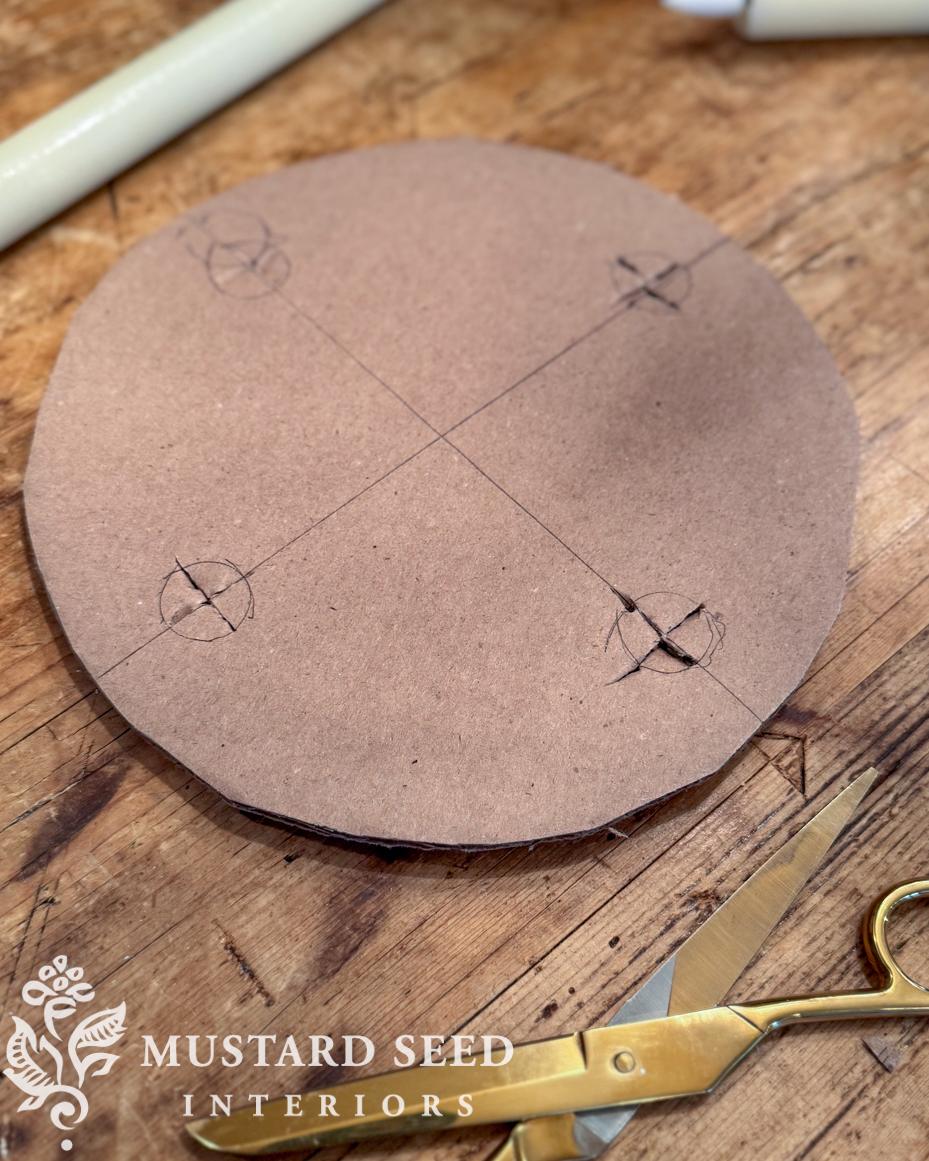
I used a clear ruler to find the center of the cardboard circle and drew a horizontal line and a vertical line, so I had an idea where the holes for the candles should go. I was not precise at all, and that’s okay. My new motto when making things is, “I’m not sending anyone to space in this, so it’s okay if it’s not perfect.”
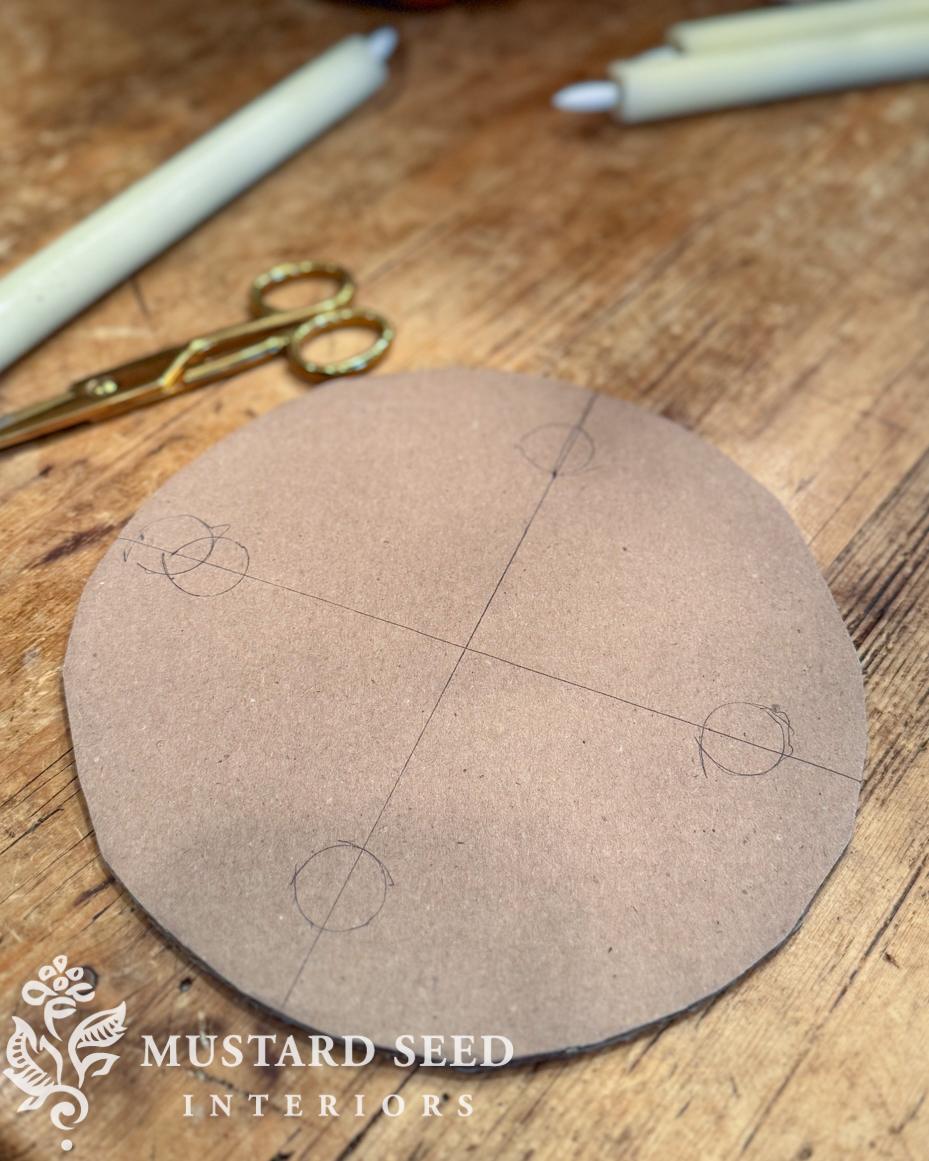
I traced the bottom of one candle at the end of each line, about an inch in from the edge. Again, I just eyeballed it. I cut x-shaped slits in the marked areas so I could slip the candles inside, and they would still fit tightly.
I left the flaps to provide some additional support to the candles…
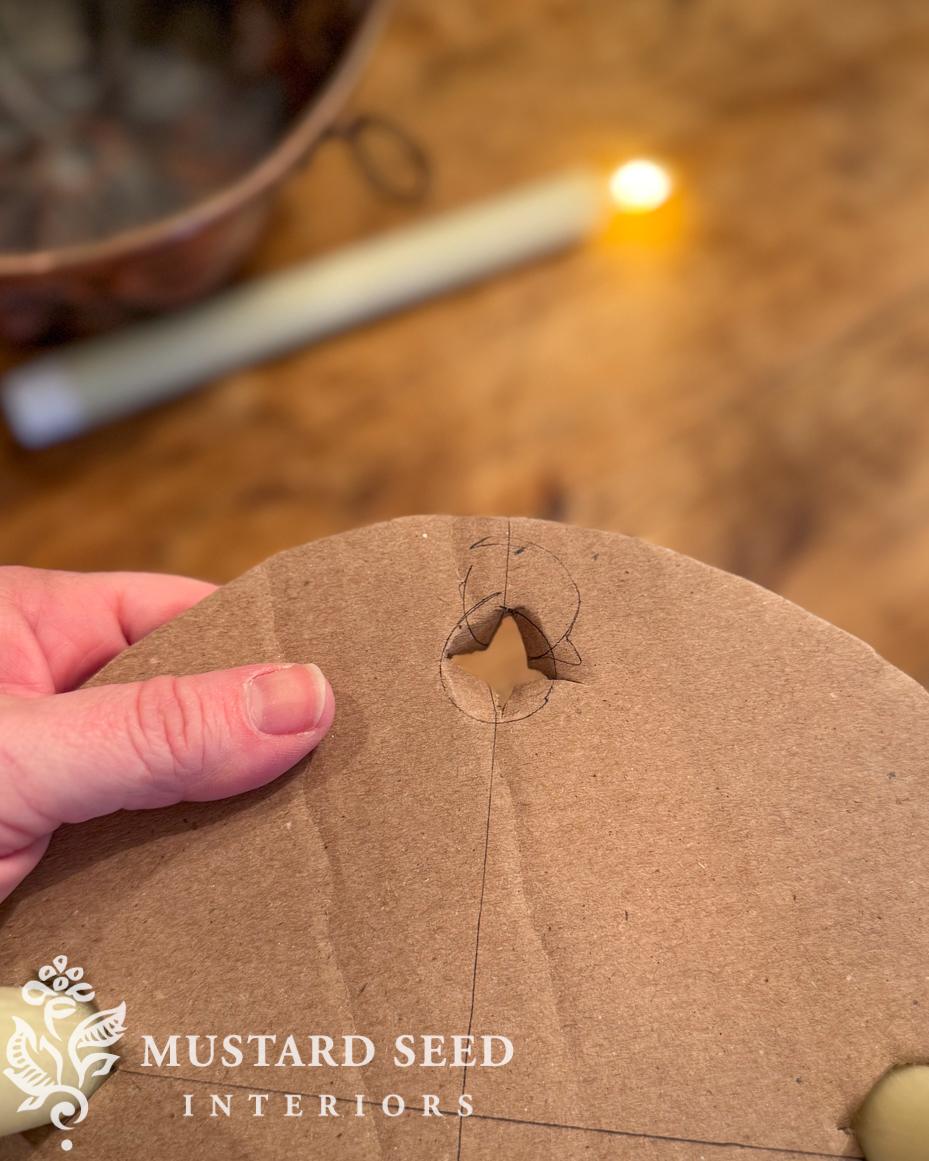
And, wouldn’t you know, it worked great. While you can stick wax taper candles in place, making a cardboard support like this would add extra insurance against them becoming dislodged and falling over.
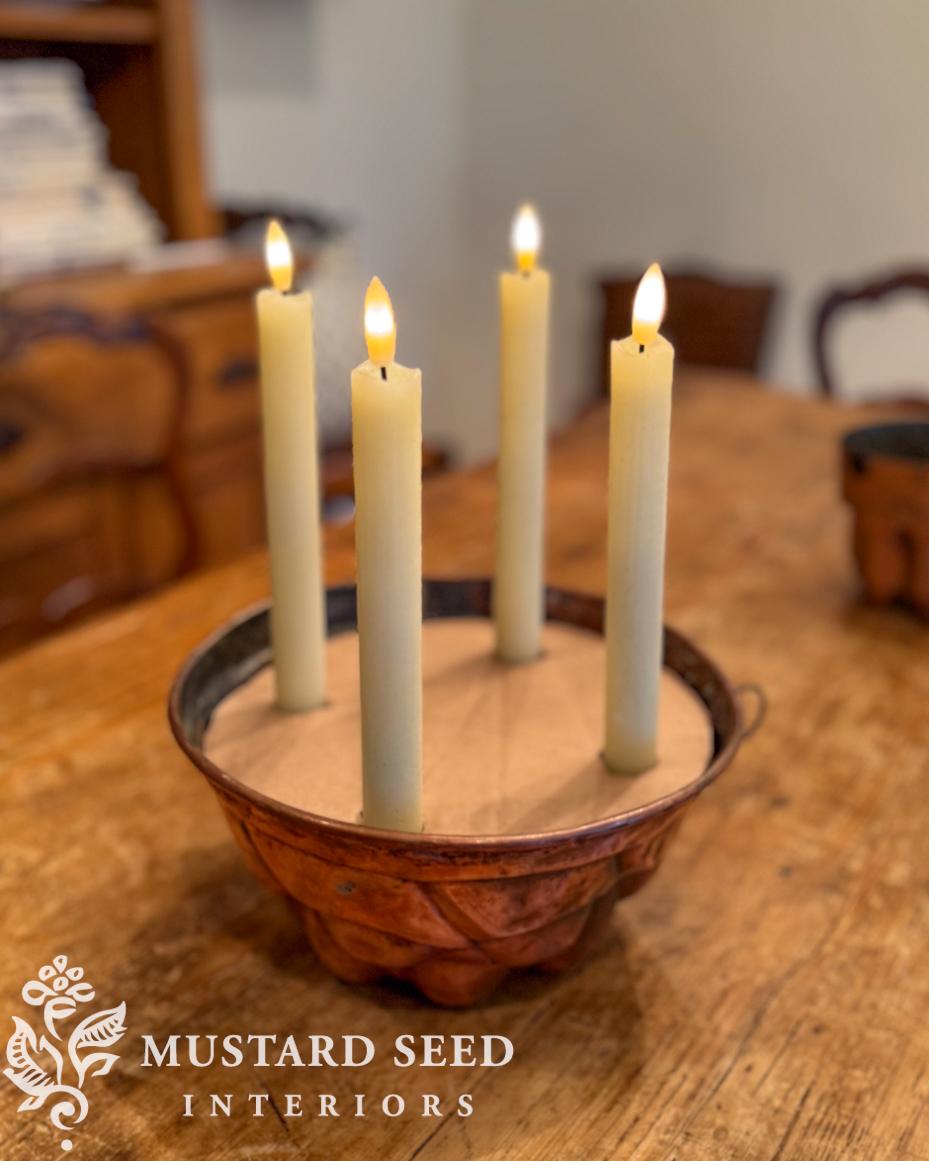
antique copper bundt pan | LED real wax candles
With the biggest problem solved, I tucked artificial evergreen sprigs around the candle in a “wreath” shape. I usually dissect store-bought greenery, so I can mix and match sprigs, making something that looks and feels custom. As the base, I used parts of a dismantled Norfolk Pine garland, and then added a few of THESE cedar sprigs, and pieces I clipped off of THIS bunch of faux juniper.
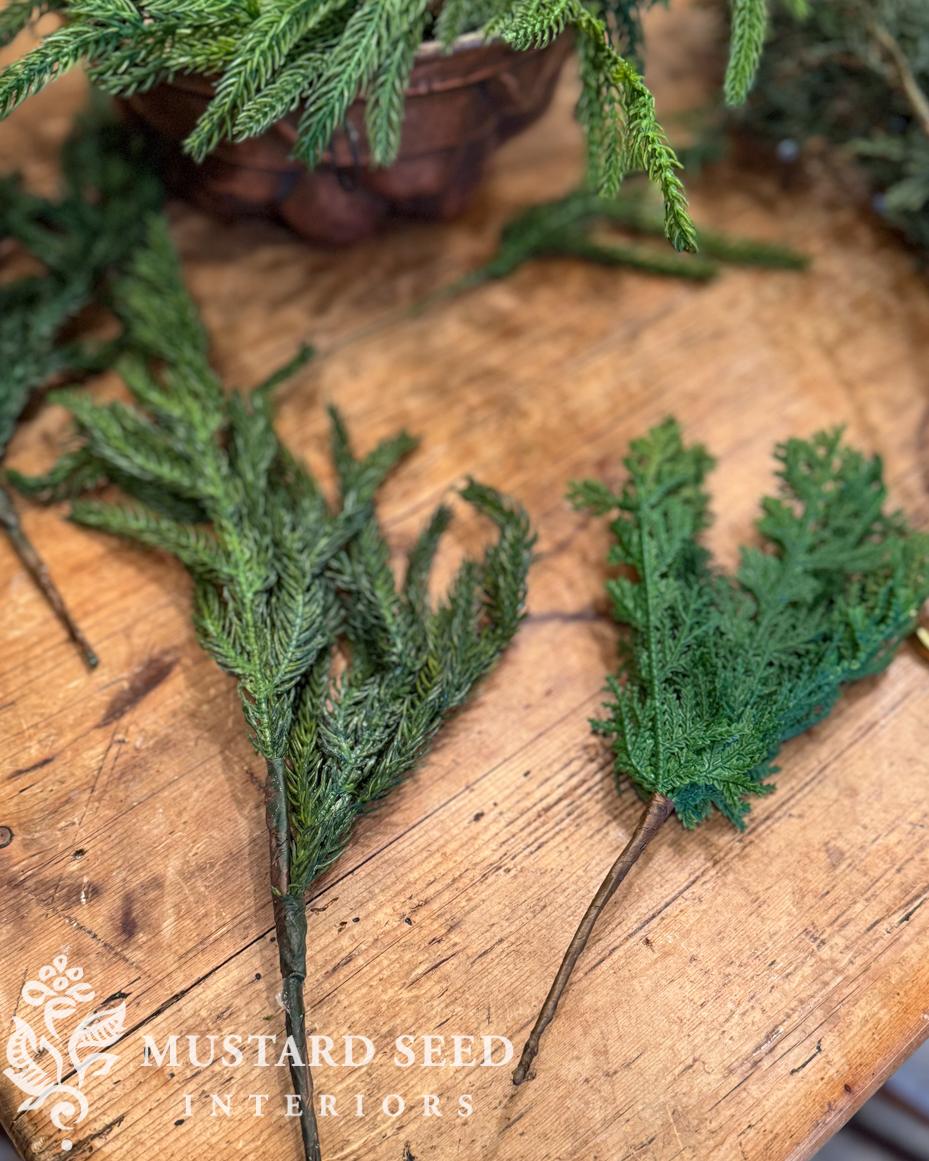
Norfolk pine | cedar picks | faux juniper
I just tucked the greenery in place, but you could tie pieces together with florist wire or even hot-glue them to the cardboard ring if you want to make it more permanent.
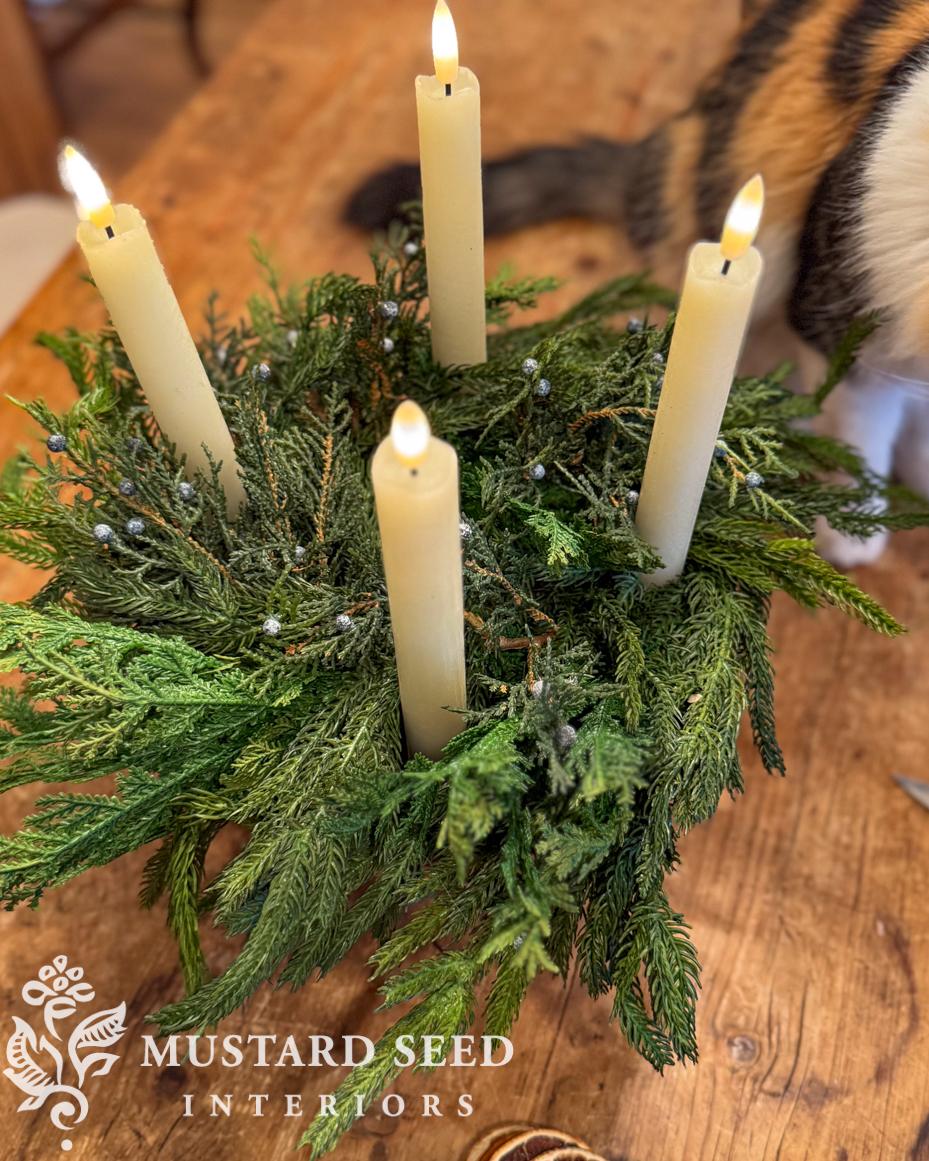
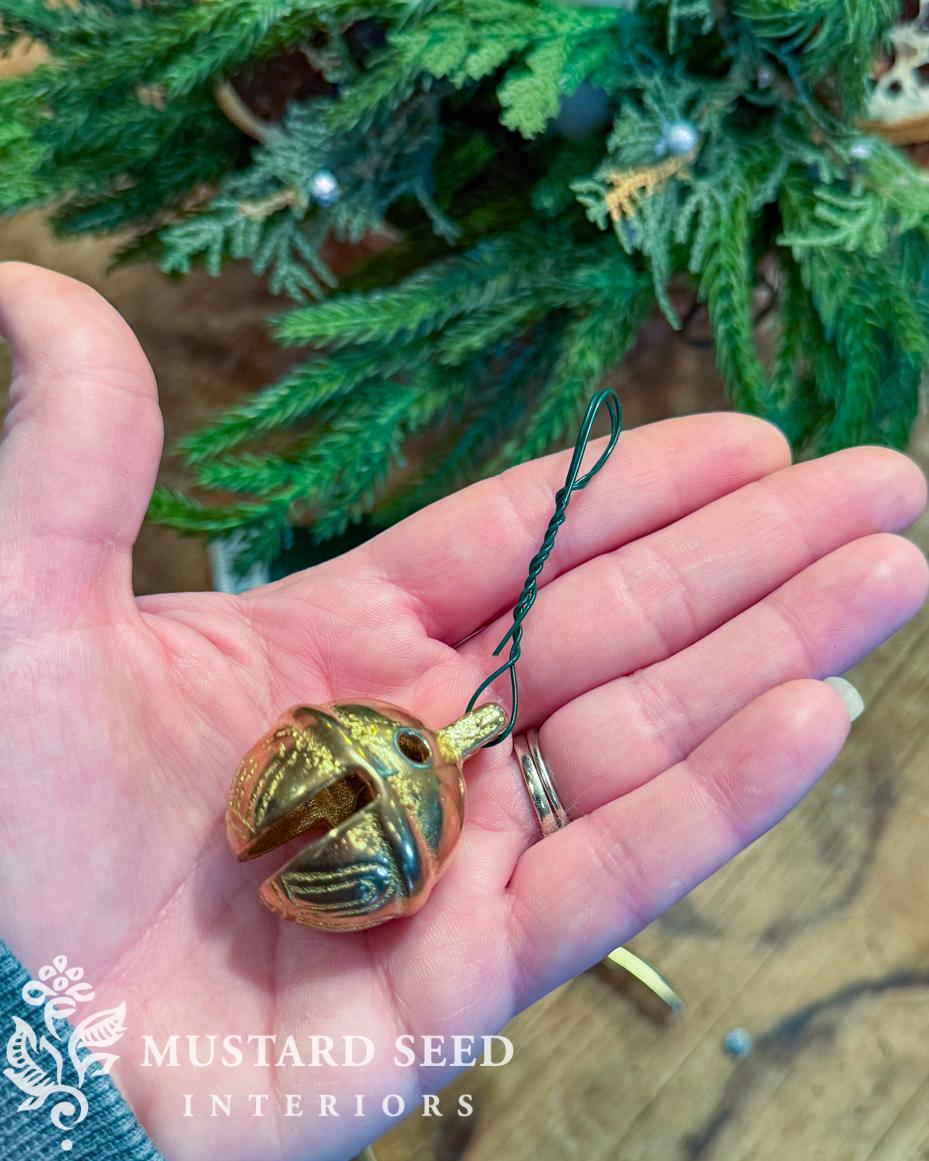
Norfolk pine | cedar picks | faux juniper | brass sleigh bells | dried orange slices
I added some dried orange slices and brass sleigh bells, both of which I tied in with florist wire.
It took me about half an hour to make this copper mold candle centerpiece, and most of that time was spent trying to figure out how I was going to make it! I love how it turned out.
Of course, you don’t have to use a copper mold or a mold at all. Use any bowl-shaped sort of thing that you love and works with your aesthetic. It would be cute in a terracotta pot, a yellowware bowl, an ironstone soup tureen, or a small basket… There are so many possibilities! You can also clip fresh greens from your yard or from an obliging neighbor to save money on faux sprigs.
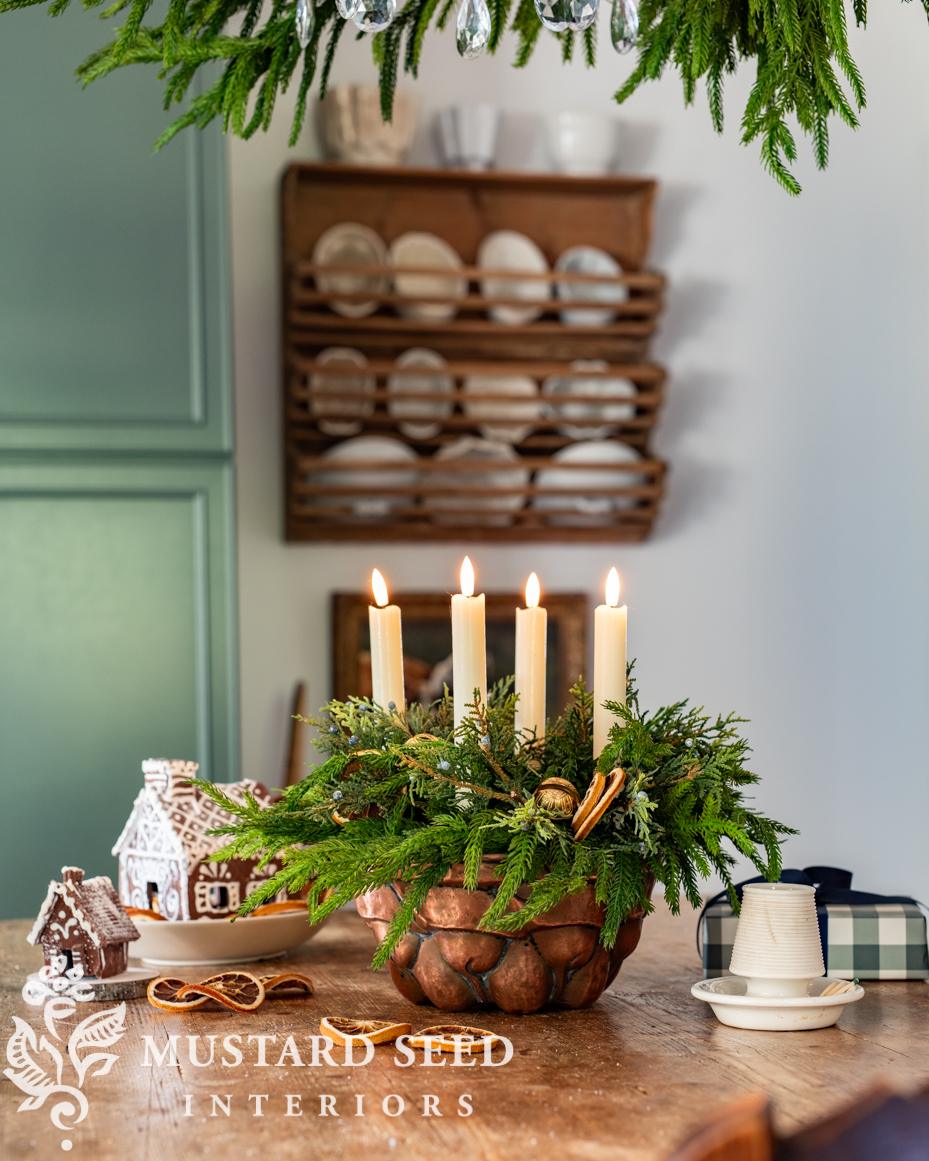
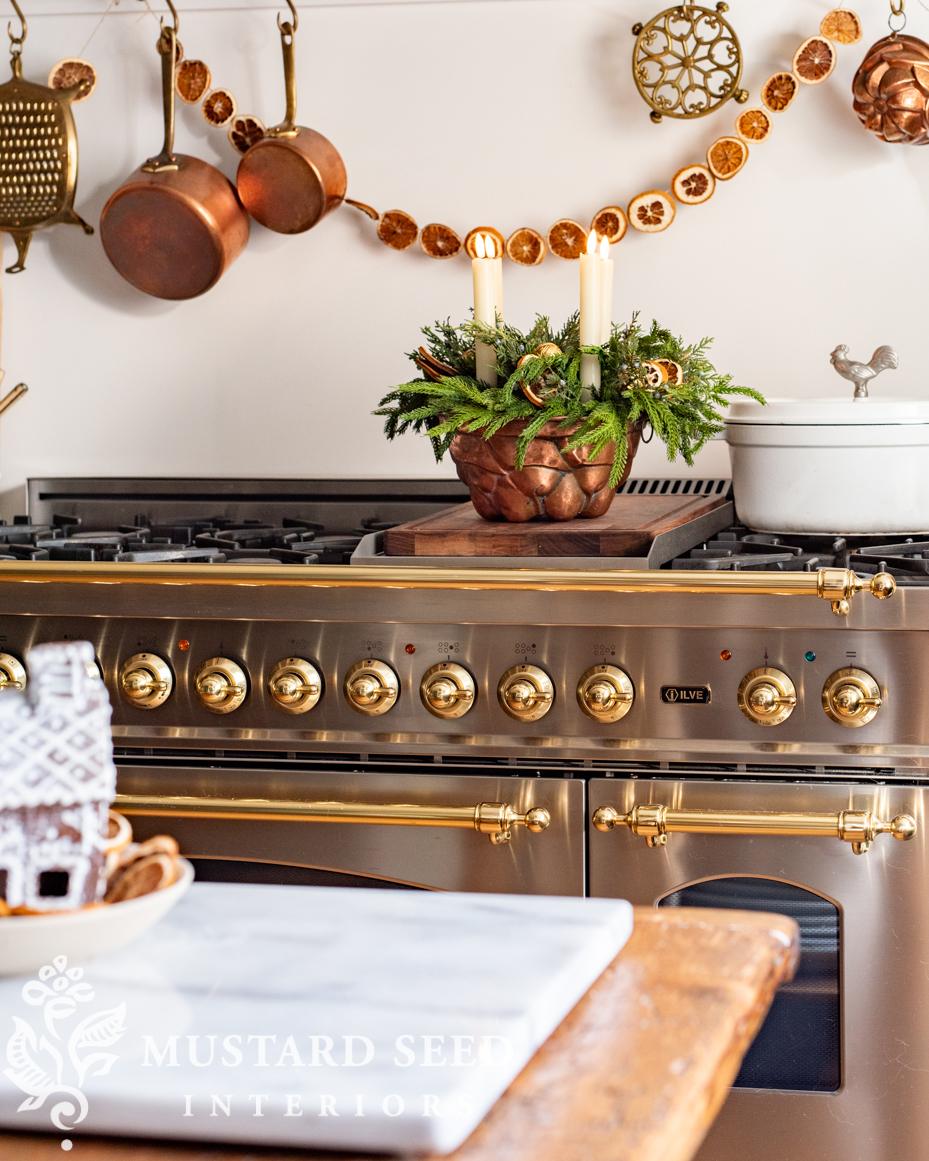
I love it so much that I’m having a hard time deciding where to put it. It looks pretty fetching everywhere. (It won’t stay on the stove, but it was cute there.)
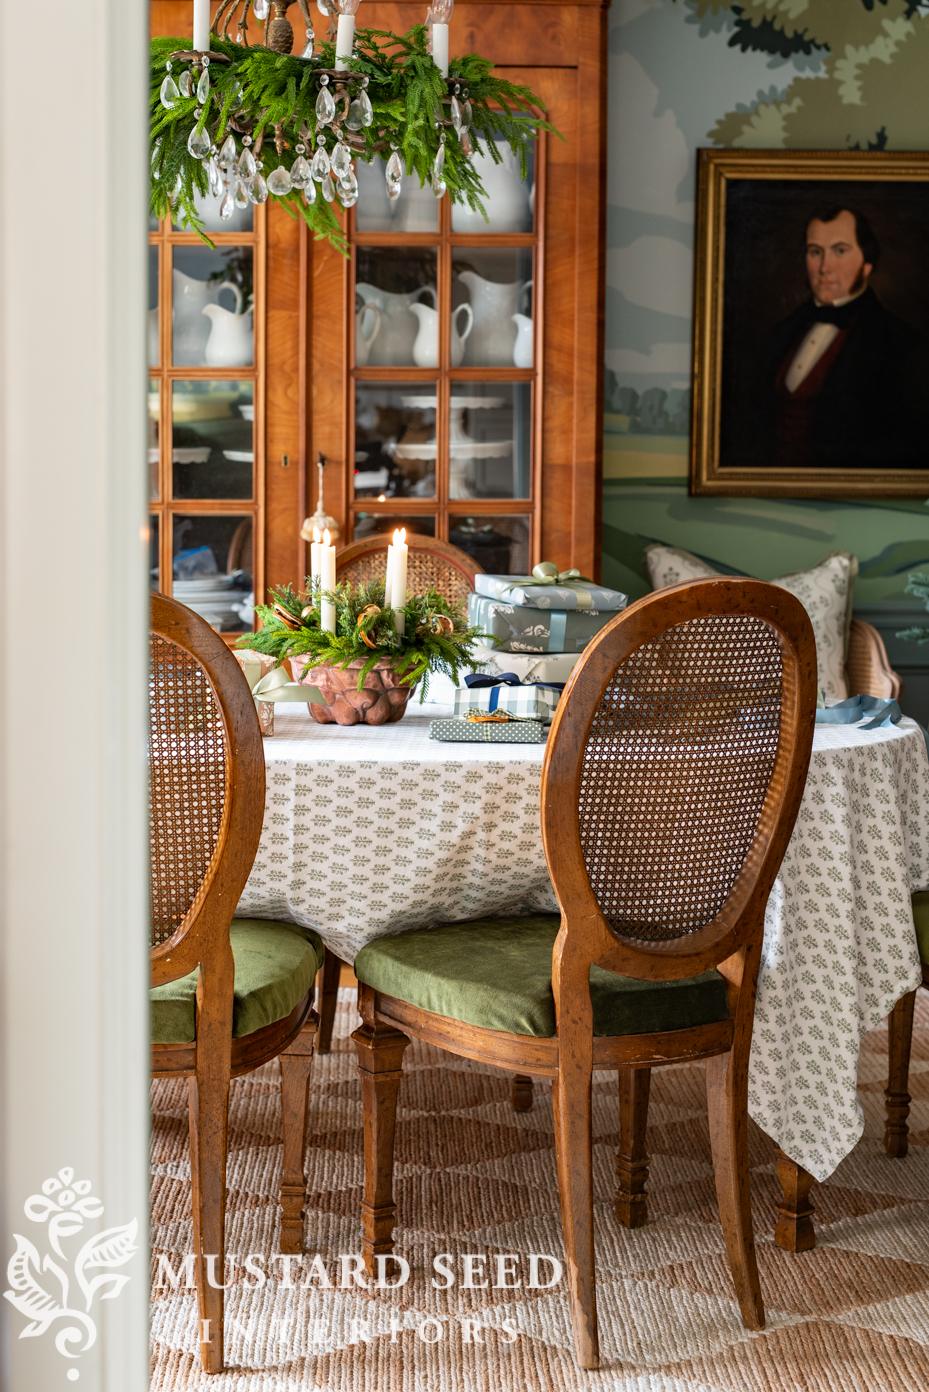
Isn’t that a fun little project? I have a few more Christmas projects I’m planning to share over the next couple of weeks.
Here are a few other winter/Christmas candle projects from my blog archives…
Creative Christmas Candle Trick













30 Responses
That is really pretty. My only question is, since you said that the on/off button for the candles is on the bottom, how do you turn them on and off? Or do you just leave them on?
Yes, I was wondering the same thing! I created a beautiful silver tray of all our battery-powered glass Christmas trees … they look beautiful on the tray, but it takes me FOREVER to carefully pick up each to turn off the tree, then place it carefully back on the tray, making sure not to dislodge the crystal-looking snowflakes that are scattered just so on the tray! LOL!
Yes, these have a remote and timer.
They have a remote. 🙂 I should’ve said that.
Such a lovely centerpiece! I’m so happy to see this since I have a collection of antique copper kitchen implements hanging in my kitchen too, and I’d love to give this a try. Thank you so much for sharing this idea, and Merry Christmas to you and your family.
I’ll bet they have a timer included. It wouldn’t make much sense otherwise.
Yes, they do have a timer and remote.
Most of these candles have built in timers, so they turn on and off at the same times every day, or remotes to turn them on and off.
Looks brilliant Marian!! Such a fun and doable project! Will be saving this for sure! Thank you!
As my cats are suicide cats, burning their flat faces’ whiskers off, I have electric throughout my house. I use the ones with a timer. 4, 5 or 6 hours and switch off. It is always nice to come home after a day and find my house softly lit by candles. Hope yours can be bought on a timer too. My Christmas tree lights and big stump candles have a remote control to turn them on and off. They exist, Marian.
Yes, mine work on a timer and remote, too. And yes, it’s so much safer for homes with cats!
Love it!
Now I’m inspired to do something like this with my blue willow soup tureen (that’s never been used for soup in the 10-15 years I’ve owned it). I might try flower foam instead. If I had any. I’m more likely to find a piece of cardboard…
Yes, that’s why I used the cardboard! It’s what I had. I bet it would look stunning in a willow soup tureen. You have to share pictures if you make it.
Beautiful centerpiece using your copper mold. I like your clever method of holding the candles in place!
Beautiful!!
I did something similar last year, but I found a big block of floral foam about 2 inches thick and it worked great! Marion, you knocked it “outta tha park” with this beautiful arrangement…LOVE it!!
Yes, I was considering floral foam, but I didn’t have any on hand.
Your advent candle centerpiece is awesome. I love how it turned out.
Thank you!
In love with this festive copper centerpiece! I’m on the lookout for a mold that size…thank you for sharing your projects.
Happy hunting!
What size is your “Bundt pan?”l love all of your ideas!!
Oh, that’s a good question. It’s 9″ at the widest point.
So classy in a “quiet” sort of way! Love it!!!
Thank you!
Your center piece is beautiful. Very creative!
I love this. It’s really different and just lovely!
Cardboard. Genuis Marian!! Thank you.
Love this, and your creativity making the cardboard holder! Thanks for sharing your idea!