
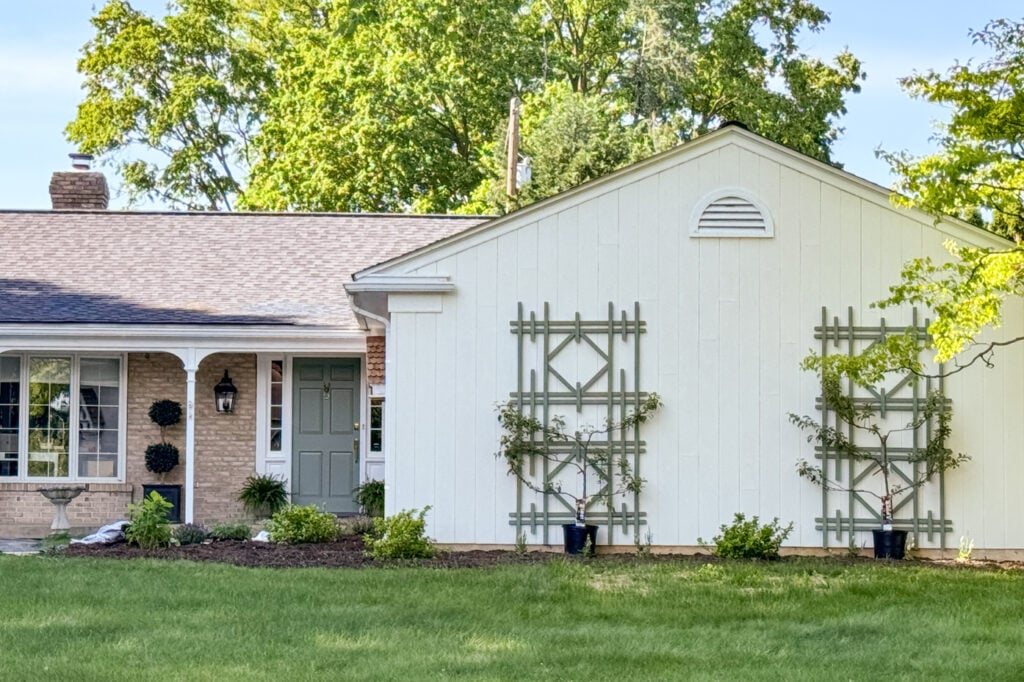
Last week, my mom came out for the day to help me with some work in the garden along with priming and painting the vintage-style trellises. You can find the complete (and free) plan for the trellis we built HERE. When I first brought the lumber home to build the trellis, I wondered about priming and painting the pieces before assembly, but I wasn’t convinced that would be much easier and I would need a lot of space to spread out all of those one-by-twos. In the end, I decided to assemble the trellises and deal with painting all of the little nooks and crannies.
So, my mom and I leaned them up against two sawhorses on the driveway and started priming. She used the roller and I cut into the corners with a brush.
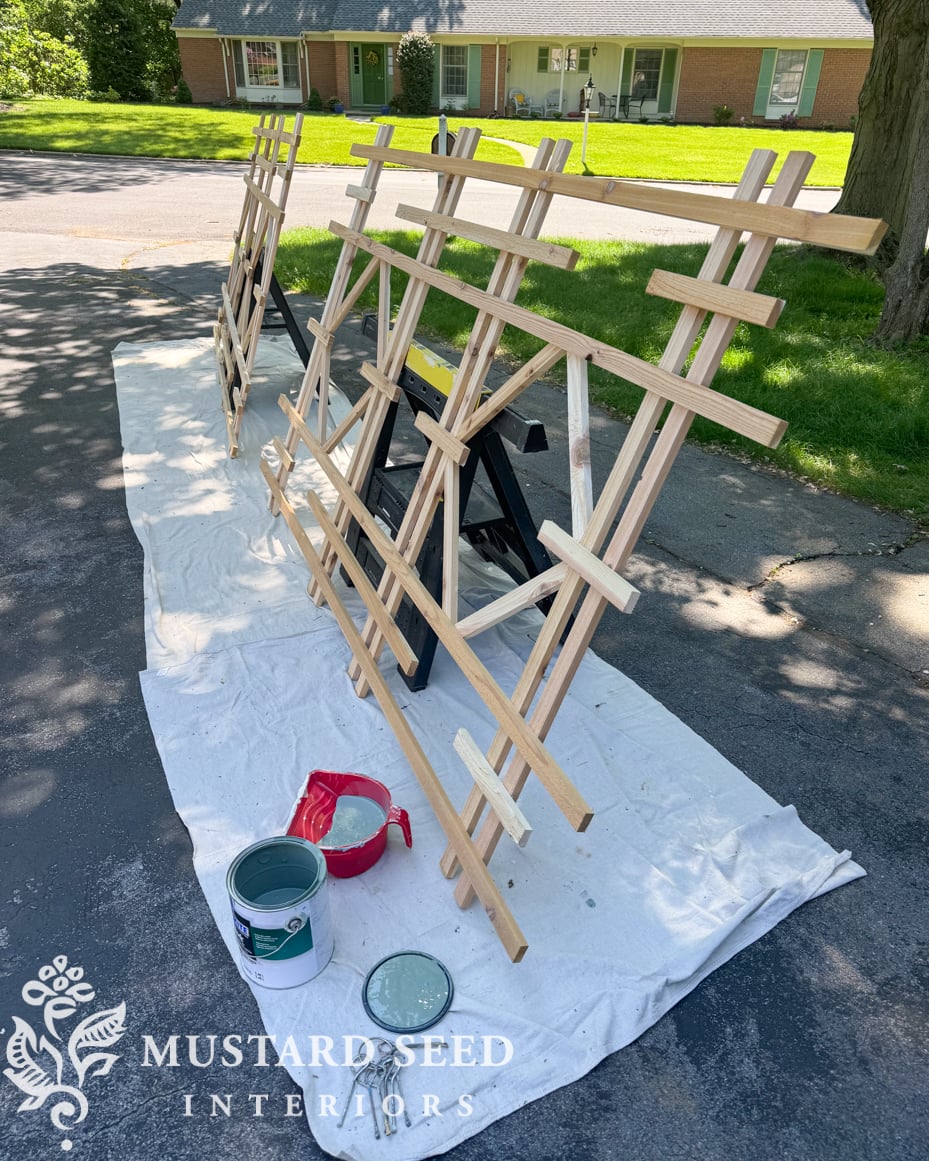
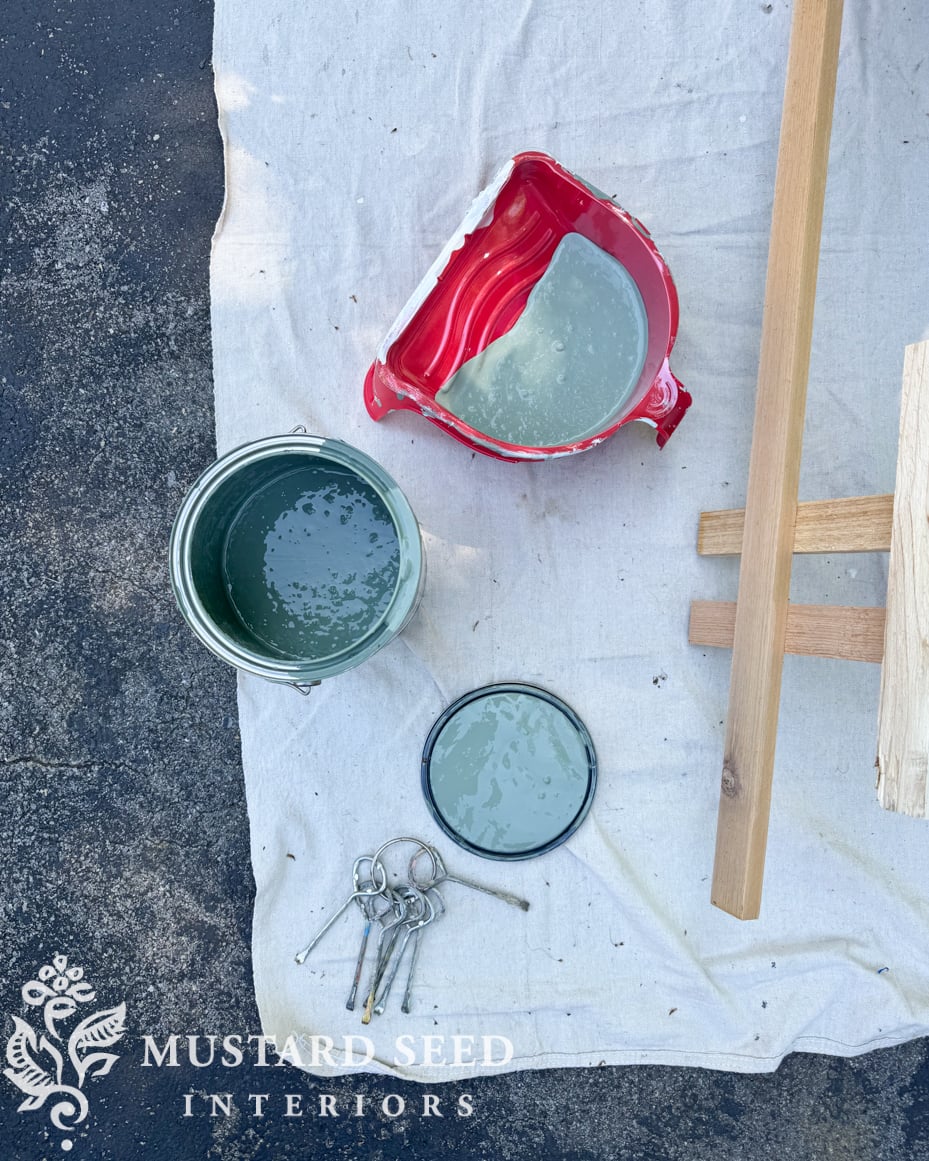
We used Sherwin Williams PrepRite ProBlock Indoor/Outdoor primer tinted to Card Room Green. For our tools, we used the Handy Roller Cup and liner. a 4″ microfiber roller, and one of my favorite angled sash brushes. I found the ring of paint keys at an antique store a few weeks ago and it’s perfect for me! Paint keys are like a pair of scissors in my house. I can always use another one!
To make sure we got every side and corner, we primed the trellises leaning one way and then flipped them around from left to right and up to down when they were dry enough to handle. We were able to get a good coat of primer on every edge of the exposed cedar. Now, you might be wondering why I didn’t use my paint sprayer for this job. I have a professional HVLP sprayer that I’ve used in the past when painting furniture and cabinet doors. The main reason is the size of these trellises. I don’t have a stay tent large enough to put one inside and spraying out in the open is very risky. You think the overspray would be pretty contained and next thing you know, a fine dust of your primer is on your neighbor’s car. I also knew that a brush and roller would do a better job getting a thick coat of primer and paint onto the rough cedar.
Oh, and I didn’t bother with sanding, either. These are outdoor trellises and it was okay if they were a little rough. My mom and I laughed at the sloppiness of my painting specifically. There were drips and all sorts of mistakes that I wouldn’t normally tolerate but I kept saying, “Most people are going to see it from the street, so I’m not too worried about it.”
We also primed eight scrap pieces of cedar, each about 10″ in length, to use for mounting the trellises to the wall. They would act as spacers in addition to minimizing holes in the siding and make the trellises easy to remove for painting or cleaning down the road.
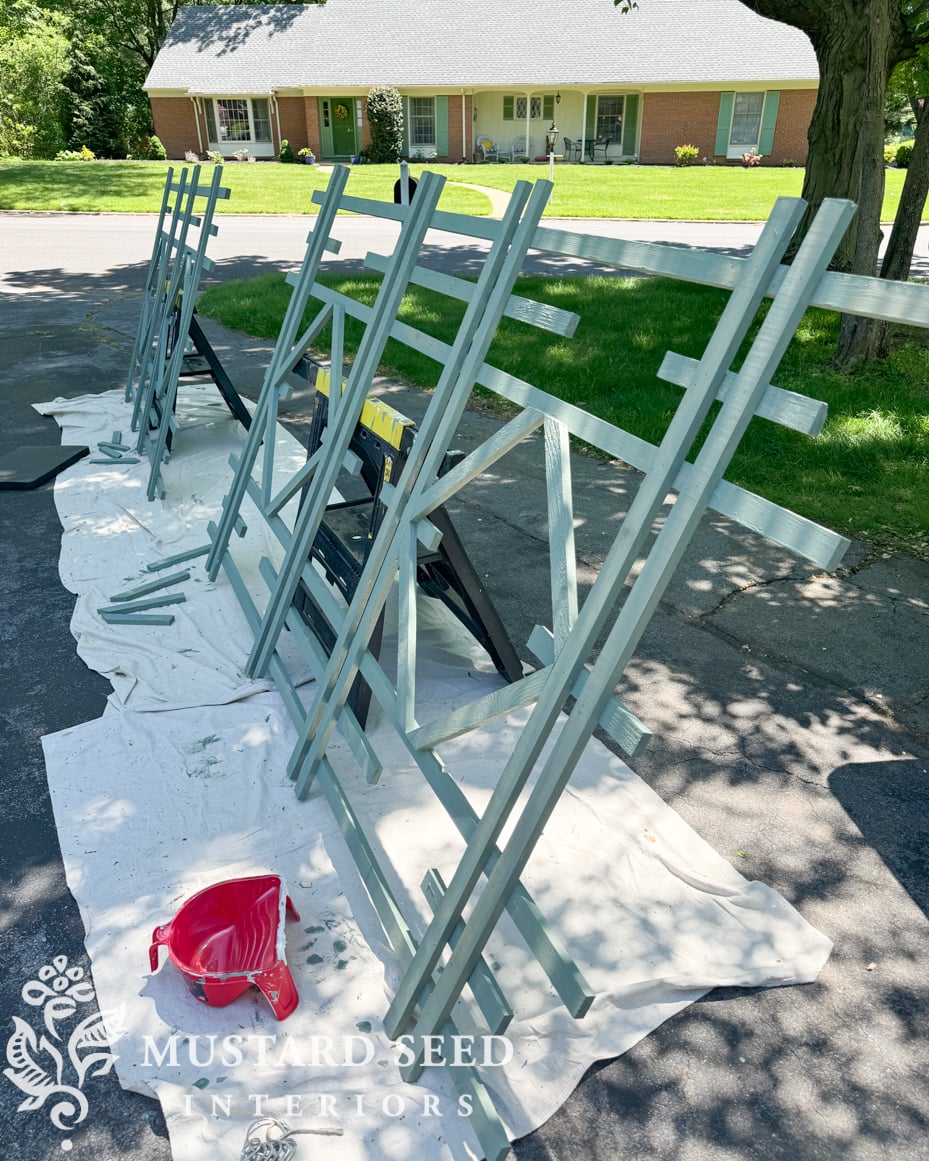
We worked on digging up some bishop’s weed and planting lavender and then put on the paint. We used Card Room Green in Exterior Eggshell, the same paint and finish we used on the shutters and doors of the house. You can read about painting those HERE. The primer coat took much longer than the final coat of paint since we were painting the front and back of the trellis. For the paint, we just focused on the front and the areas that would be visible once the trellis was installed.
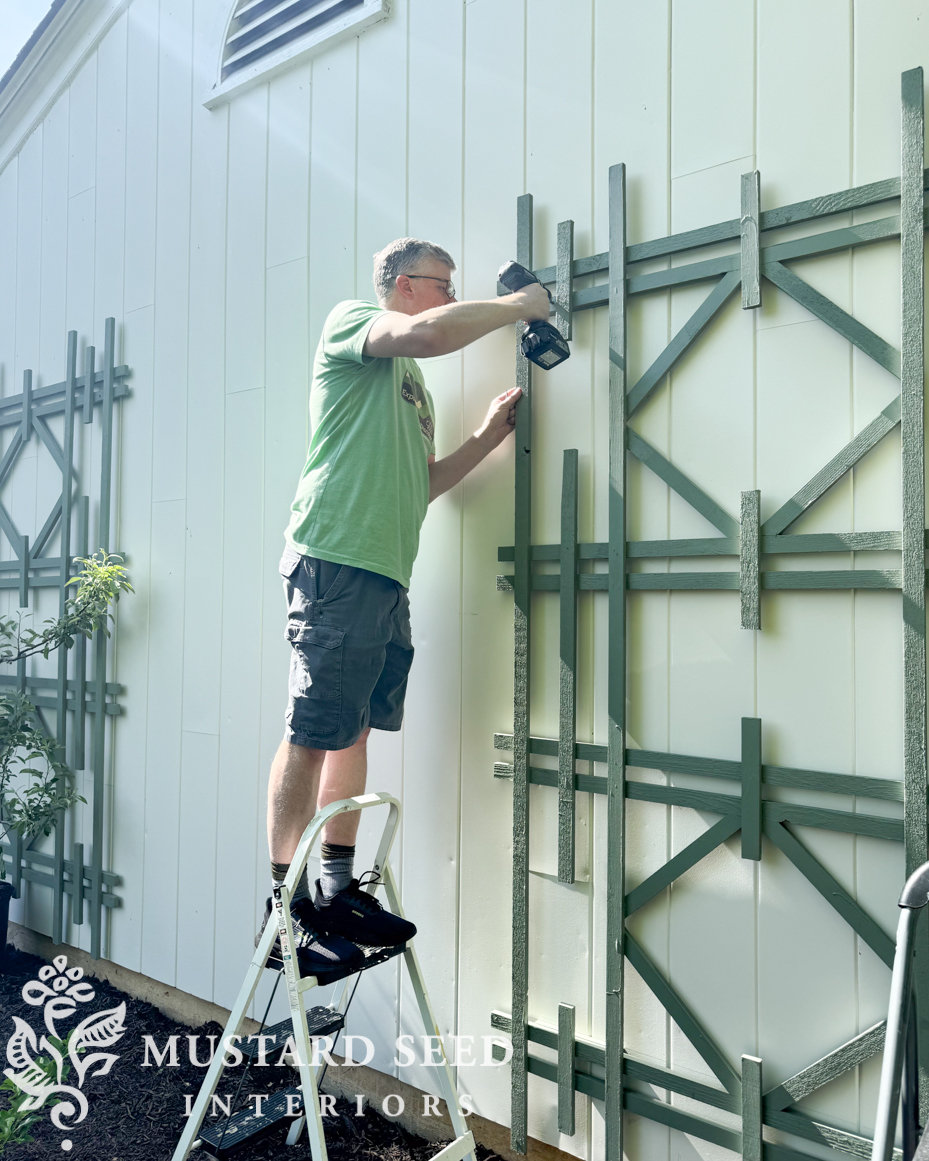
I was being an assistant to Jeff, so I didn’t get pictures of just the spacers attached to the wall. Sorry! We measured out the wall to figure out where we wanted the trellises to be installed. Once we figured that out, we marked where the top and bottom horizontal pieces of each trellis would line up on the wall. That gave us a mark to follow to install the spacers. We also checked everything with a level and visually to make sure it looked level, plumb, and even. Jeff tacked the spacers into the wall with a finish nailer so we could double-check the placement before inserting screws. Once we were set on the placement, he screwed them into the wall. Most of our house is brick, but this wall is aluminum siding over plywood, so we were able to screw directly into the substrate without anchors or looking for studs.
Once the spacers were screwed into the wall, we were able to screw the trellises into the spacers.
They were quick and easy to install, probably taking about 10 minutes per trellis.

The next step is to plant the espalier apple trees and tie them onto the trellises!


16 Responses
What a great way to fill that large, blank wall!
Are you worried about your apple tree roots freezing in the pots in winter? Maybe your winters aren’t as frigid as mine are in Illinois.
Sarajane….she mentions she is going to plant them….I believe that would mean taking them out of the pots. I think she just put them there to give us an idea how it will look….it will be GREAT!!!
Oops!!! Sarajane!!! Sorry, I just saw today’s post and YES! you are correct…she is putting them in pots above ground. I didn’t see that part!!!….skimmed quickly. So sorry….you were right!!!
Gotta read today’s….just quickly wanted to send to you a sorry!!!!
It’s spectacular and while not exactly a cheap project, a lot of bang for your buck:)
The style you designed looks so beautiful against the the wall. You were right–two trellis’s look better than just one lonely trellis. Gorgeous! The 3 of you did a great job! I am looking forward to seeing the apple trees growing along each trellis. I have always liked that look.
Thought you were using different pots for the apple trees!?
This looks fantastic! I love the espaliered trees so much! Wonderful look and choices, Marian. Bravo to you and your helpers 🙂
Fantastic job. You saved a lot of money building those trellises yourselves. Can’t wait to see the apple trees applied to them.
They look fantastic! The scale of these is spot on. also love the color!! Curious though.. in addition to making it easier to remove, are the spacers thick enough to allow vines to twine around the trellis? Or will you just tie everything to the front? We usually allow a few inches behind if mounted to a wall, so wondering if your spacers allow for this.
The trellises look great but I’m a little concerned that the apple tree foliage will obscure them once they start maturing. I think I would have had one trellis in the centre & the apple trees espaliered on wires either side. They will bush up even though you are managing the growth by clipping & training.We have espaliered apple trees & they do take a bit of work. Also, I’m not familiar with your climate but I think the trees would do better in the ground rather than pots. Good Luck!!
MMS!
The trellises are extraordinary!!! The traditional design, the contrasting paint, and their size fill the space beautifully. I also love the ongoing saga of your “MOM” helper/companion adventures. It is inspiring.
Hugs from Mercer Island,
Diney
Oh so beautiful!! I can’t wait to see what you have in store this summer!!
I love this! I have an odd blank wall, and I’m totally going to use your plans! I’m getting to the point where I’d like to avoid maintenance so Azek would be great, especially considering I’d want mine white anyways. Based on your building experience, do you foresee any issues with a cellular PVC? Thank you!!!!!!!!!!!
I love this! I have an odd blank wall, and I’m totally going to use your plans! I’m getting to the point where I’d like to avoid maintenance so Azek would be great, especially considering I’d want mine white anyways. Based on your building experience, do you foresee any issues with a cellular PVC? Thank you!!!!!!!!!!!
I don’t think so. I used PVC trim in our last house and it was pretty easy to work with. I think it would be a good option.
Looks fabulous. Great design and color. Worried about those trees in pots too. I must’ve missed your reasoning behind doing so.
Happy Memorial Weekend. Nice and warm today in the 80s here!