
When we got back from our trip for Thanksgiving, we unpacked the car and while we were carrying things, I had the guys carry the tree up from the basement for me. I usually might wait a day or two so we could settle and unpack, but with December a day away, I wanted to get rolling. Thankfully, I had given myself a gift last year. Instead of putting all of the lights on when the tree was put together, I put them on one section at a time. This allowed me to unplug the lights and leave them on the tree when we put it away. Happily, all of the strands were still in working order and we were able to get the tree up and lit pretty quickly.
If you haven’t been here for past Christmases or you need a reminder, this tree is an 8′ Noble Fir from Balsam Hill. I ordered it prelit, but the lights started going out on about the third year. On year five, only about 20% of the tree had working lights. In fairness, the lights were incandescent (they use longer-lasting LED now) and one wouldn’t expect them to last beyond 2-3 years of use. I tried to fiddle with the fuses and tested each bulb, but it was fruitless. In addition to not being able to troubleshoot, I couldn’t simply replace the non-working strands because they have specialty plugs. The tree is still gorgeous and has years of life left, so Jeff and I cut all of the prelit lights off a few years ago. It was tedious but worthwhile for such a quality artificial tree.
The first year we set it up, I strung the lights on after the tree was assembled. As I said earlier, last year, I was smart and strung the lights on section by section. Not only was it easier to assemble, but it also made the take-down and setting it up again easier.
So, there you go… The History of My Tree Lights – an essay by Marian Parsons.
Now we’re to this year. The tree is up and fluffed, the lights are plugged in and working, and I’m ready to decorate. I started with a crocheted bauble garland I made last year. It’s super easy and quick to make. You can find all of the details and a tutorial HERE.
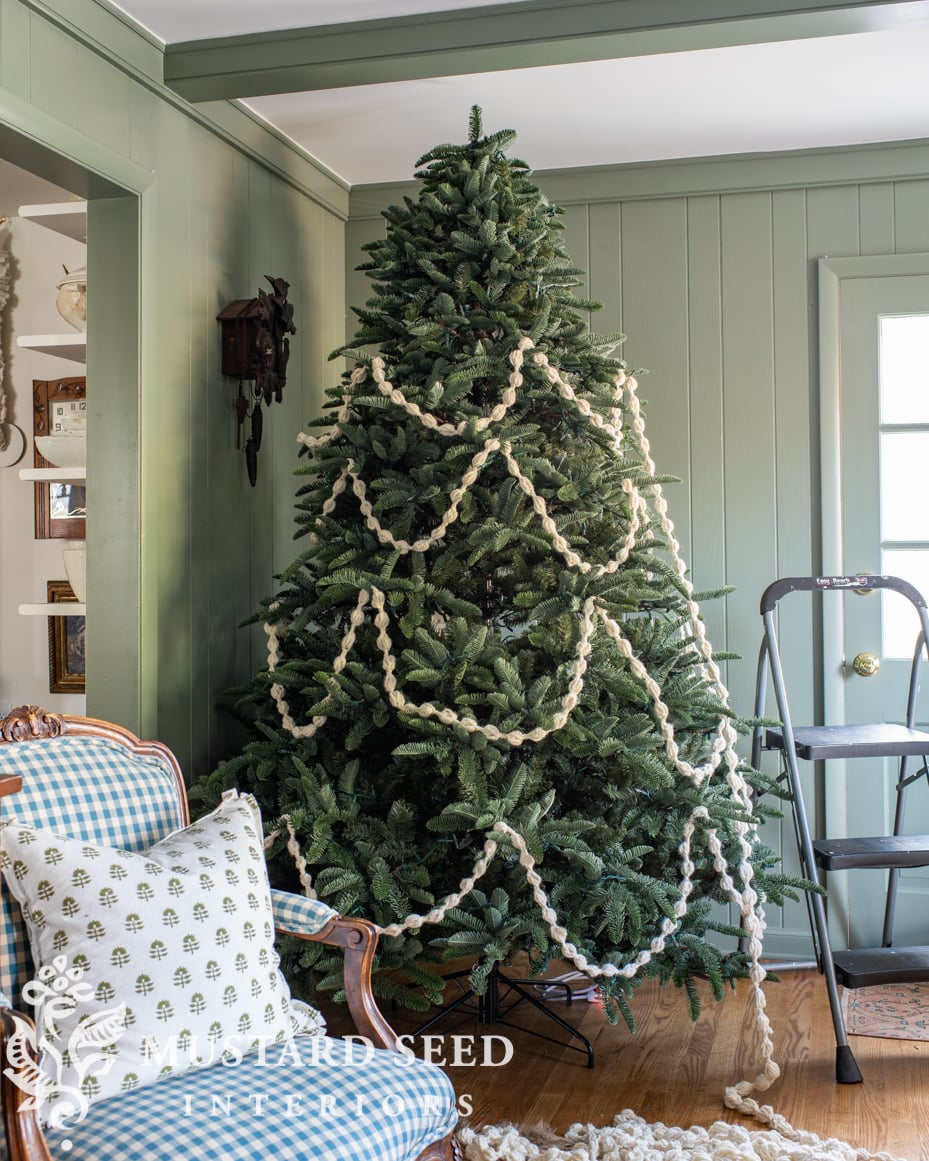
I then layered wool pom-pom garland I’ve had for years. Walmart actually has 6′ lengths of garland that are almost exactly the same for under $5.00/each! You can get them HERE.

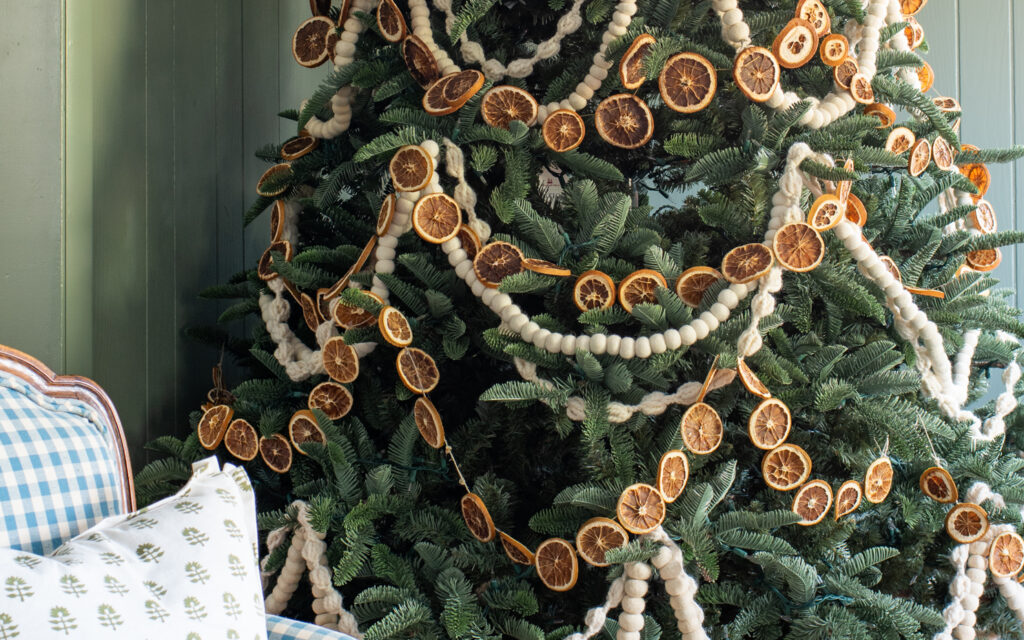
And the last of the garlands is a handmade dried orange slice garland I made last year. You can find the tutorial HERE.
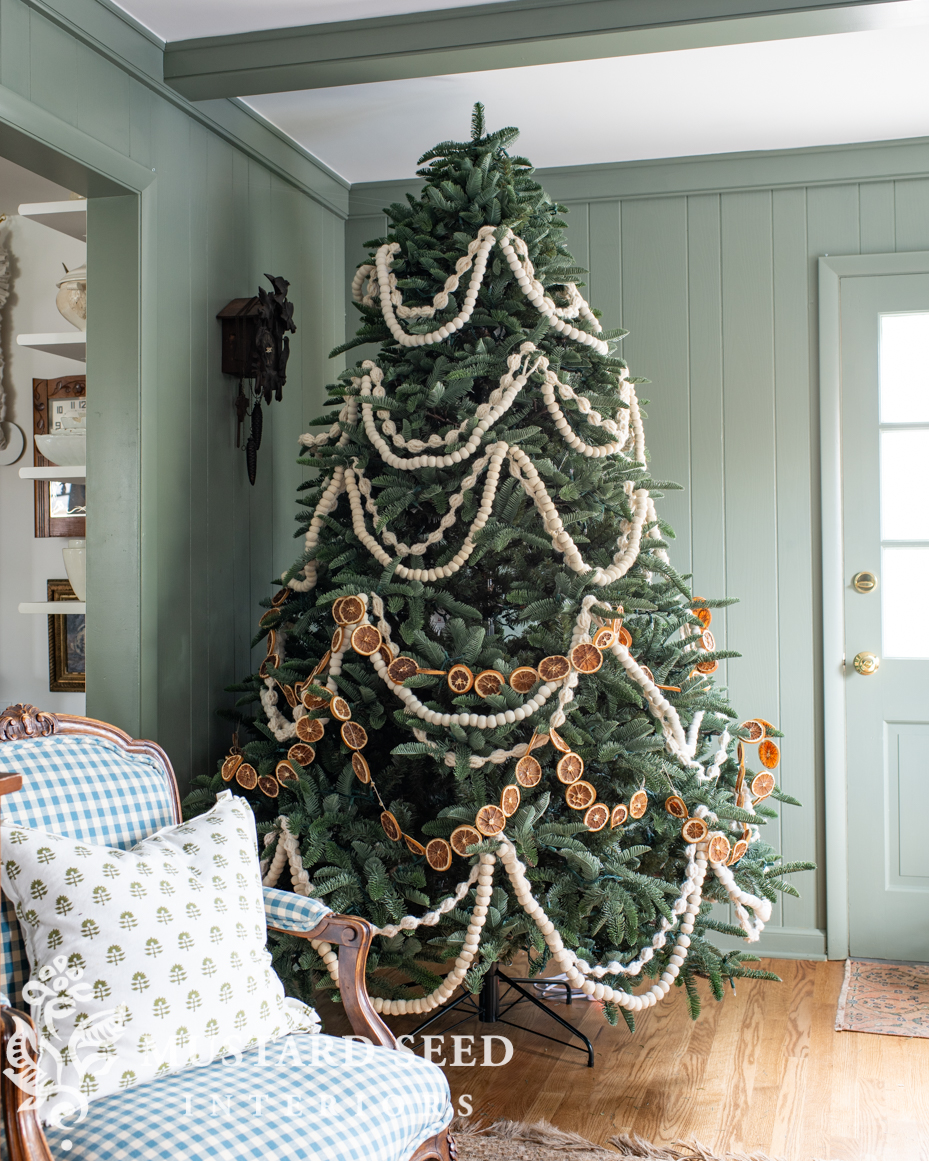
One of my best tips for decorating a Christmas tree is to decorate it with the lights off. This will help you disperse the garland, ribbons, picks, and/or ornaments easier because you can see the gaps more clearly without the glow of the lights. This also means your tree will look better when the lights are turned off instead of sad.

Then, when you turn on the lights, it looks even fuller and more magical. I really could put on a topper add the skirt and call it done at this point, but I am going to add some ornaments, too.

Christmas comes but once a year after all.


9 Responses
Great idea on putting the lights on the different sections before assembly!
Thank you for the tips on dealing with a prelit tree that is no longer working well. I will cut off the lights when I put it away this year.
I may have missed it but what did you do with the chest that was on that wall adjacent to the door and the James Farmer inspired plates and antlers above the chest?
Lovely. The crochet Garland is so fun. No time to make it this year, but in 2025, if I start early, I could make oodles too for next Christmas. Thanks for the inspiration!
What a beautiful tree! Just wondering how many lights you put on it ??? — I is lit beautifully!
Your tree is beautiful. I especially love the orange slices.
Beautiful! Thank you for the advice on placing lights on the separate sections for easier assembly
Everything with lights must have a 3 year timer on them …..lol! My mom was complaining the other day that her outdoor deer with lights were no long working after 3 years.
Marian, your tree is so beautiful! I love all the handmade items on it. Enjoy!