
I’m just getting in from enjoying the beautiful Collegiate Peaks in Colorado, so I’ve asked our MMS Milk Paint Primary Educator, Abbe Doll, to share a tutorial with you. I haven’t had a chance to shoot or write a tutorial on using Wax Pucks, one of our new products, so Abbe, who is a machine, made one for me! Enjoy!

![]()

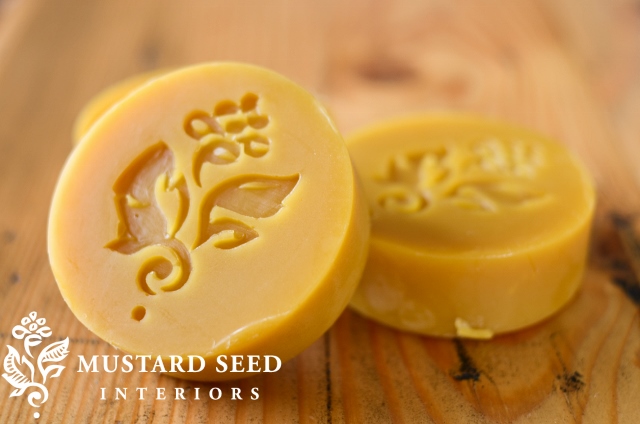
Let me just start by saying I love this little thing! It fits so perfectly in the palm of your hand and creates such fun effects.
Here are some benefits of using the wax puck:
- You can create smooth, precise distressed lines on edges.
- If you want to expose color under color without sanding down to the wood, this allows you to control the amount of distressing you get
- It will allow you to expose or bring out the details of that great wear and tear of an old piece, without covering it totally up

I found this primitive little dresser at an estate sale awhile back. You could tell that years ago someone had put some glossy white paint on it and over the years it started to peel and wear off.
I loved the age and wear on the piece, but wasn’t crazy about the dingy yellowed white glossy paint left on it.
After sanding some of the loose paint off and giving it a good scrubbing, I grabbed my wax puck and rubbed it along all the edges,
I wanted to see the layers of white paint and the exposed wood through my final coat of paint without having to risk sanding down too deep with a sander or sanding block. I loved the darkness of the wood and wanted to preserve that as well.

I also took the rounded edge of the wax puck and rubbed it gently across some of the worn off areas, hoping to expose it, retaining the age of the piece.

After applying the wax puck on all the areas I wanted white to show through I mixed up some of the new color Eulalie’s Sky and gave the entire piece one good coat. I adore this color. It is the perfect shade of aqua!
(This photo below is NOT accurate- it was a “late night/poor lighting phone pic” But I had to show you some of that peeling action.You can thank my talented friend Jen Logan for the pretty photos, or this is what you would get! Painter I am, Photographer I am not!)

When the Milk Paint dries, you can start to see that it might resist some on it’s own, but most of the time you will just need to gently buff the areas your wax puck was applied and the paint will just roll right off.

I like to buff my pieces with a fine grit sanding block before waxing, so when I do this, the waxed areas will just come right off too. Who doesn’t like two steps in one?!

The paint came off in a nice controlled line along the edges, exposing both the white paint and the original stained wood with stain. If I had sanded this by hand or with an orbital sander, I risked applying too much pressure and exposing raw wood. The puck prevented that from happening!

This technique revealed all that great texture from the age of the dresser, yet basically was 4 easy steps: 1. Apply Wax Puck 2. Paint 3. Buff/smooth 4. Wax
Still primitive, but with a new shade of happy!

And the Eulalie’s Sky? Well, that is just aqua perfection my friends. Nothing in my shop is safe from being painted that shade of greatness now!
![]()
As Abbe showed, the wax puck is just another tool when trying different paint techniques. It gives a subtle finish and has been one of my “tricks of the trade” for a long time, so it’s fun to welcome Wax Pucks to my line.


