

Sorry that it’s been over a month since I last posted in the milk paint 101 series! I like blog series, because they help me focus my writing efforts, but I am still Marian and I still get distracted.
So, let’s continue.
But first, here are links to the first three parts of this series, in case you missed them…

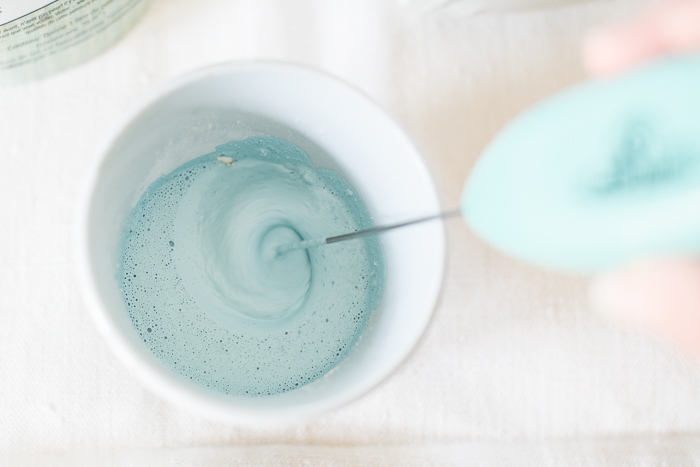
part 2 | how to mix milk paint
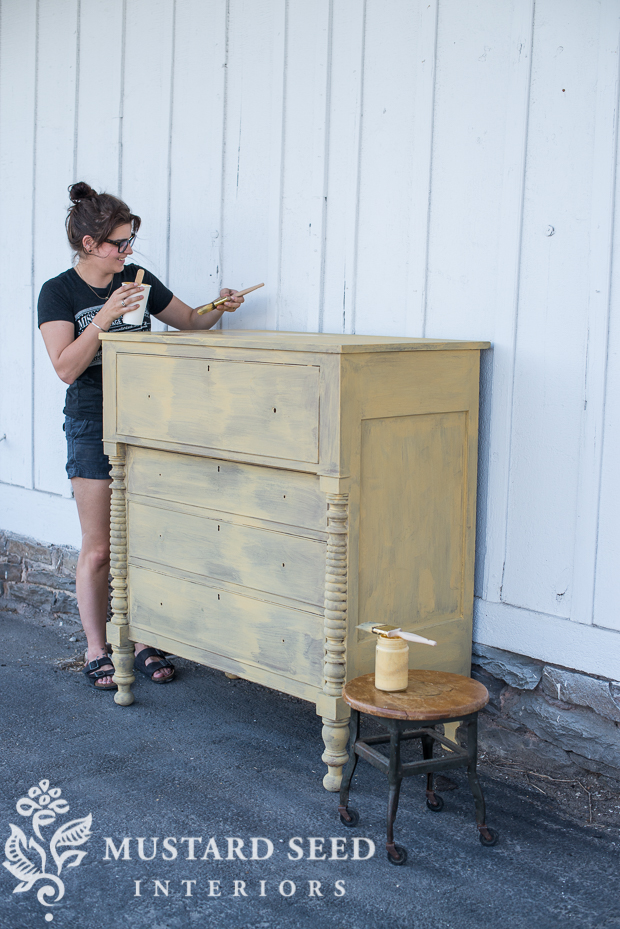
And now you’ve brushed on your first coat of milk paint and you’re pretty certain you’ve destroyed your piece of furniture. Because it looks something like this…

I’ve talked about the ugly stage before. It’s just a thing with makeovers. It’s the part of the makeover when you have foil all over your head or when the entire contents of your closet are on your floor.
It gets worse before it gets better.
The key is to resist the urge to drag that piece of streaky, half-painted furniture to your curb.
It will work out.

Yes. That really is the same dresser.
I will be the first to admit that milk paint can look a little scary after the first coat (and it has on many occasions.)
One of the contributing factors to the ugly stage is that milk paint is thinner than most other paints on the market. This is an advantage because it’s very forgiving when it comes to brushstrokes and drips. It goes on smooth, even for sloppy painters. It’s a pretty good tradeoff is an ugly first coat.
The other nice thing about thin paint is that it dries super fast. I can usually apply the second coat as soon as I’m done with the first coat.
Another factor is that you rarely, if ever, need to use primer before applying milk paint, so the first coat goes directly onto the surface you’re painting.
Just trust me on this one. Push through to the second coat.

Things get worlds better on the second coat.

…and they get even better when everything is finished.

…and we’ll talk about finishes next time.
PS – I added more hemp sheets to the online shop.


21 Responses
Wendy Batten posted her MMSMP monthly sale chart this am on Instagram. First of all, all the pretty pairings got me thinking. I might have to go get some Bergere today. Now you’re showing first coats…I really need to go get my paint on. I have a little time and a little stool just waiting for me.
Thanks for the push,
The Other Marian
Not exactly a milk paint question, but a furniture question.
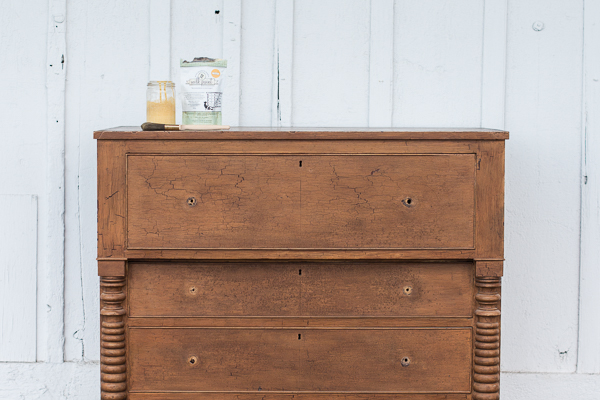
I have an antique empire style dresser which is very similar to those shown and which I am dying to make my first milk paint project. It has the original knobs but one is missing. I don’t know where I could get a replacement for it – it was handmade in the early 19th century. I would be very happy with glass knobs but the existing knobs screw in and there is 1/2 hole to fill.
If only I could decide what to do about the knobs, I could move forward. You must have encountered this kind of problem. Any suggestions?
Caro: I have many I have saved from projects. If you send a photo and measurements, I will happily put one in the mail for you at no charge. There are some with the wood threads on the backs that would fill the 1/2 inch hole, and are about 2 inches in diameter. Some smaller. Contact me at leslie(at)citygirlarts(dot)com.
How extraordinarily kind of you!
I’ll contact you off thread.
Thank you so much for this and the lovely ideas. We are hoping to move soon so I am excited about trying this out soon on some new pieces for our home.
These pieces look gorgeous! Love your work.
Sometimes even the second coat is not enough so the admonition to keep on is the key. Eventually you will get there. 🙂
what do you do if you mix the paint and it is too thick? How much water do you continue to add? Also, what do you do if you had to sand a piece but you want a chippy look?
the furniture is so beautiful. the intricate decorative details, is that free hand or stencil?
Can tell me how you applied the stenciling to either or both dressers? It kinda looks like you painted it freehand – I love it. It adds such a nice touch to both pieces and I want to make sure I follow the same technique and use the proper materials. TXS
She freehands it. I think she has a video how she does it on the site somewhere.
Oh, I can so empathize, though I have never used milk paint. Last week I decided to go ahead and paint an accent wall in our kitchen chalkboard green, and the first coat looked TERRIBLE. I think it was because we were painting a strong green over a white wall. It did not help that it was late at night when I got started, but my husband encouraged me that the second coat would cover a lot more, and it did. I like it better now, though I still need to season it with chalk to soften it up. I agree that “it gets worse before it gets better” applies to many situations – I have often felt that way when sewing a new pattern I am not familiar with.
Marian,
How many hemp sheets would it take to recover a wingback chair or make a slipcover? Thanks,
Mary
I am starting my first milk paint project today! Question : When you mix 1 cup water and 1 cup paint powder, do you have two cups of paint ? Or, a thicker one cup ? I’m trying to figure out how much adhesion product I need to add.
Thanks.
I’ve never measured it exactly, but I would estimate that you end up with about 1 1/2 cups or so.
Your paint is very easy and forgiving. I’m about to paint a Pottery Barn secretary with it. Even if you need a third coat it’s
I have a pine armoire that I will be painting with milk paint. It’s not an old piece and I believe it has a light coat of polyurethane. I am assuming that it would require a full sanding, is that correct? When I do get to the painting I plan to use a mustard color and and a darker color probably a red base. Should the darker color always be applied first? I look forward to your answers.
Hi Marian – I’m in the UK and only recently discovered your amazing website through Pinterest.
I have a question if you don’t mind me asking one; I have a victorian chiffonier that I would like to paint, however its mahogany and has a veneer overlay, can I stil paint it as the paint possibly won’t bond to its shiny surface? What can I use so the paint will stick once applied?
Hi Marian,
I ordered two of your hemp sheets and am excited to see them! Getting them this week will be a nice reward after the 2 + feet of snow outside that we’ve been dealing with here in rural NJ…now to decide which project they will be used for! 🙂
Becca in NJ
I recently was in an antique shop and saw my bed stand in there painted like a slate grey. I just got a new bed and headboard and painting my bed stands that color would update them and match the iron headboard. They have a shiny surface. Does that mean that I have to sand them down or can I paint over it?
Im on my third coat of milk paint and it is still streaky. I just want to cry. What am i doing wrong?