
I know that I’m slipping this one in at the last minute, but I wanted to share one more Christmas craft! You can scrape together the materials for this year or hunt and peck at some after Christmas sales for ribbon and unfinished ceramic ornaments to have some handmade gifts and decorations in the hopper for next year! Here is a tutorial for hand-painted Christmas ornaments using Miss Mustard Seed’s Milk Paint with acrylic and gouache accents…

This hand-painted ceramic ornament tutorial was easier to show in a video as opposed to pictures and words alone, so here is a short video tutorial showing how I painted the first one…
I actually filmed four of the ornaments that I painted, but my hands were out of the frame! That’s happened to me a lot lately, so I really need to pay better attention to that.
Anyway, here are the materials I used…
- Unfinished ceramic ornaments – I bought mine from Hobby Lobby and THIS website
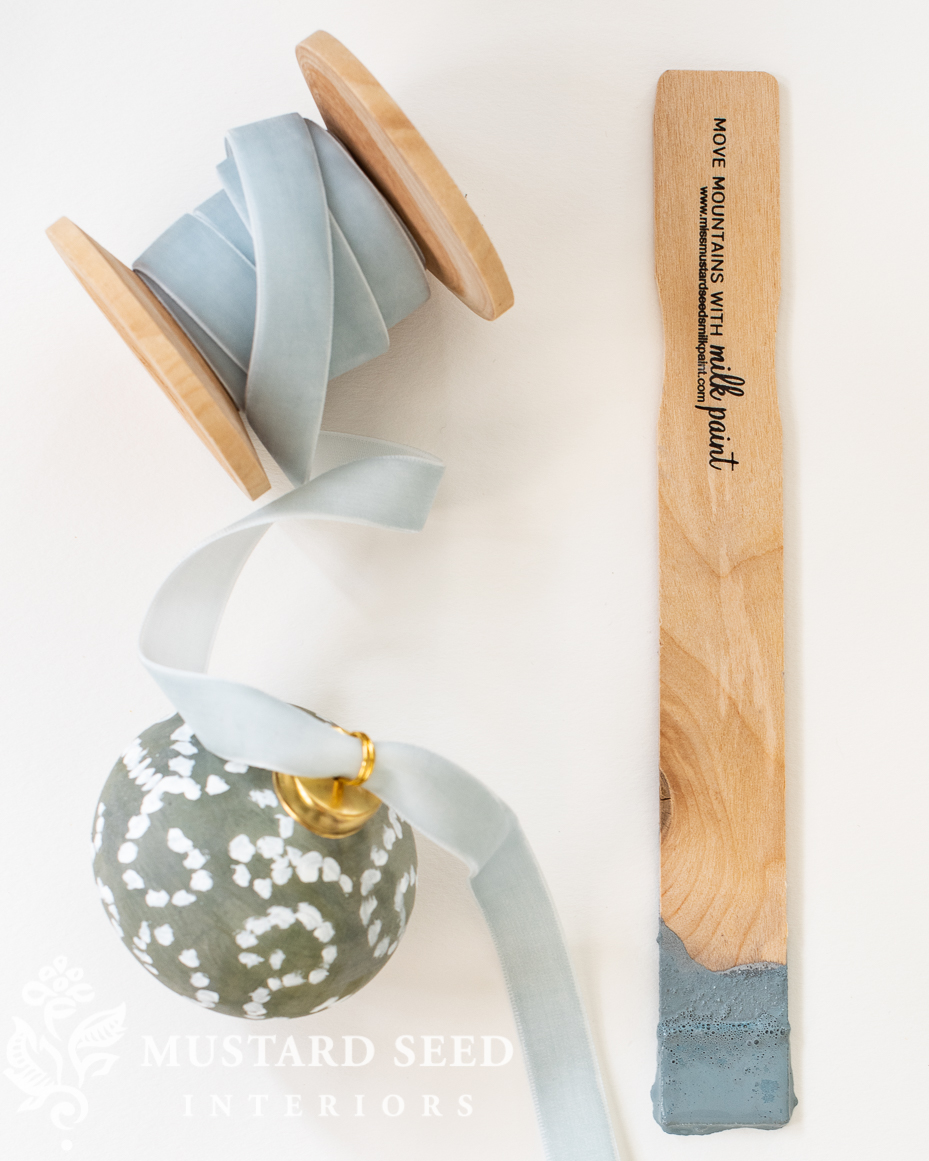
- – a sample size will be plenty and I used Bergere & Boxwood
- Chalk pencil
- Velvet ribbon (The one I used is sold out, but is some beautiful velvet ribbon at a good price)
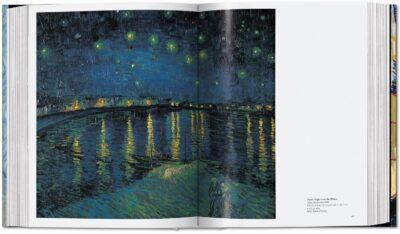
- Brushes, palette, water cup, water, paper towels, inspiration pictures

The process for these hand-painted ceramic ornaments is pretty simple. I mixed up my milk paint and put a coat on each ornament. If you pop off the top and hold the ornament on a pencil stuck through the opening, it’s easier to hold them without making a mess of your hands. Milk paint dries quickly, so it’s a little easier to work with on this type of project.
I used acrylic paint and gold gouache for the decorative painting since they have more body.
Once the ornaments were completely dry, I applied clear Furniture Wax to bring out the richness of the color and give them a little luster. They aren’t shiny but look a little more finished. You could certainly leave them unfinished to keep them looking matte and chalky or use a high gloss spray to make them shine.

I kept the designs very simple to show that hand-painted ornaments don’t have to be elaborate. As I said in the video, pick a design that will be fun and won’t stress you out. Also, pick designs that don’t need to be precise. Organic shapes are more forgiving than geometric ones, for example. And, if you’re unsure of the design, try drawing it out with chalk first (I used a chalk pencil), so you can wipe it away and try again if you’re not happy with it.
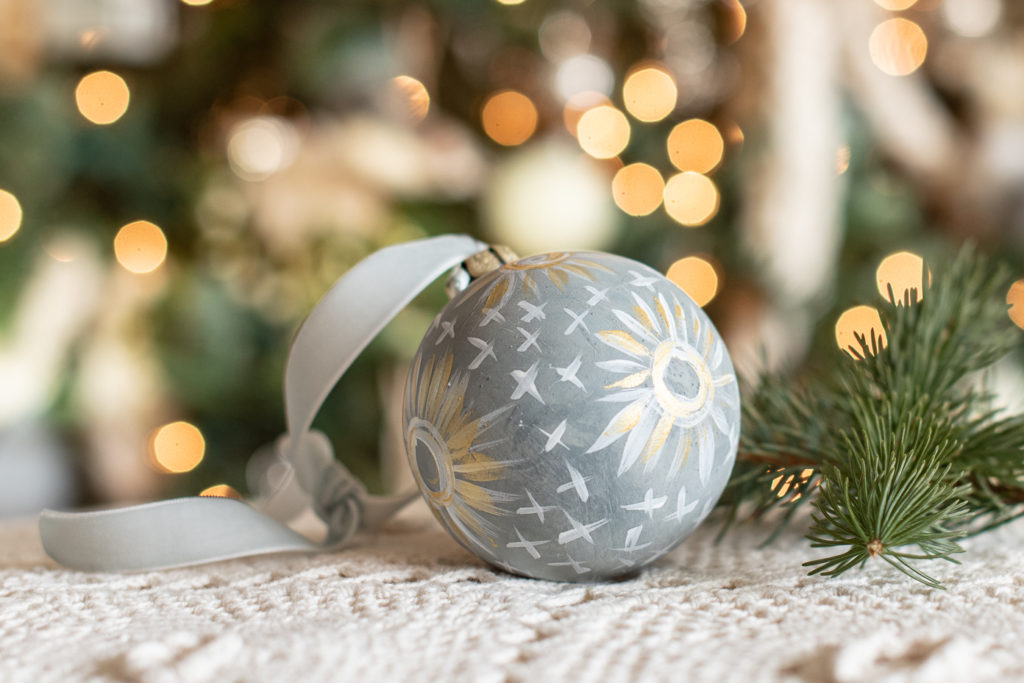
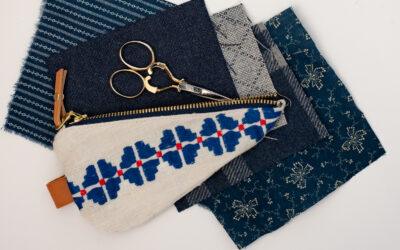
This ornament ended up being my favorite. It’s loosely inspired by a 17th-century embroidery pattern. Isn’t that cool?

I love how the milk paint allows the ceramic to still look like ceramic if that makes sense. It doesn’t smother the surface but allows the character of the ceramic to show through.

I also love how the look is soft and a little irregular.

I made the circles on the ornament above with a little sponge brush and then added loose, hand-painted circles with gold gouache.


Isn’t that a fun little project? I really enjoyed painting these and I love how they turned out. I hope this gives you a little last-minute inspiration.
If you need some more Christmas crafting & decorating ideas, you can find a bunch HERE.


19 Responses
Beautiful.
Would love to see some of your paintings done on baubles!
What do you think?
I think that would be fun, but I was worried about smearing the oil paint as I was turning it and trying to paint! I’ll have to play around with it…
Absolutely stunning! Also, love the creative ingenuity of all you do. Tucking this post for future fun, thanks & Merry Christmas 🙂
Thank you, Mary!
So Pretty!! Thank you for sharing and showing us how to do this.
So gorgeous and special! Do you just use furniture polish like Old English? I have wax for chalk paint but guessing I should not use that. Thanks for your help and Merry Christmas to you and your family Marian and be well!
Yes, it’s just a clear wax and any soft wax will do fine.
I really love these!! Thank you for the inspiration!!
Your color palette is much more subdued than mine is. I still decorate with the traditional red and use a mint green instead of the deeper green. And I put a jingle bell in all sizes on each package. I think the red compliments all the pine and holly I use from our property for decorating. MERRY MERRY
Oh, I bet that is so pretty. I really do like red, but I don’t use it in my home or art very often!
Great tutorial. Thanks. I find that when i am painting with craft paint that distilled water really makes the water flow so nicely.
Great to know! I just used a little tap water in this case, but I do know that water quality can impact the way the paint behaves, especially when mixing with powdered paints like Milk Paint.
These are gorgeous and a great idea for next year!! Thank you!! The unfinished oraments link didn’t lead to tbe ones you used. Did I miss something? It would ne great to get discounted supplies for next year. 🙂
I could not find the ceramic ornaments either. HELP! I love these!!!!!!
Absolutely love these and the gold hanging top! The link appears to be broken. Would you mind listing the site again please?
So so inspiring!
Those were from Hobby Lobby, so I don’t have a link to share. Just start looking for them in August when they put out the Christmas stuff again!
I just used a little tap water in this case, but I do know that water quality can impact the way the paint behaves, especially when mixing with powdered paints like Milk Paint. I have wax for chalk paint but guessing I should not use that. Thanks for your help and Merry Christmas to you and your family Marian and be well. I still decorate with the traditional red and use a mint green instead of the deeper green.
Wednesday was my first time making a mug in my high school ceramics class and wow I love it!
Looks fun, think I will try next year. Thanks for sharing. Blessings.