
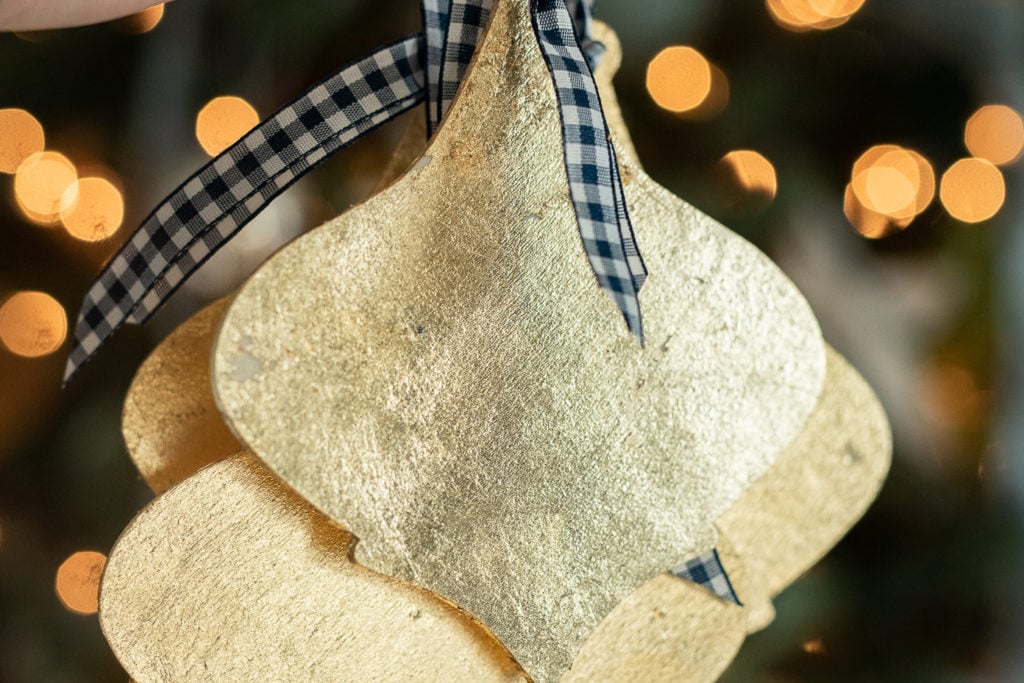
After adding the gold star to the top of my dining room Christmas tree, I felt like I needed a few gold ornaments to add some more shine and gold details that would tie in with the topper. Well, that’s an easy thing to make! Here is an easy tutorial showing how to apply gold leaf to ornaments.

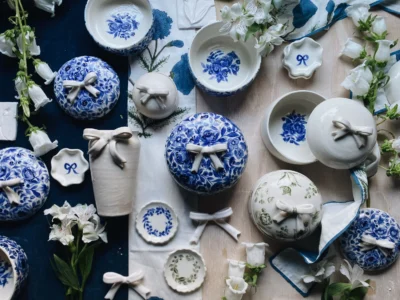
What I love about gold leafing is that it elevates simple, humble materials. I’ve used this trick so many times on dated or boring frames and other home decor items to add a little bit of shine. I started with just some inexpensive ($.50/each) raw wood ornaments. With the addition of gold leaf, these ornaments look elegant and are just what the tree needed.
You could apply gold leaf to almost anything, though. Wood, ceramic, paper, cardboard, glass, and plastic will all work. This opens a whole world of options for elevating cheap, tired, or old ornaments that you might otherwise pitch.

gold leaf ornament tutorial | materials
- ornaments – wood, plastic, glass, metal, cardboard, or paper
- metal leaf (I use
- synthetic brush (1/2″ or so)
- soft, natural bristle mop brush
For this project, I use , but you can certainly use the real thing if you want to splurge. You only need two sheets per ornament, so it wouldn’t be overly expensive. I already had imitation gold leaf in abundance, so I used that. You could also use silver or copper leaf if that fits your aesthetic better.

The other key ingredient for this gold leaf ornament project is made specifically for metal leaf. I have tried glue and it doesn’t do what you need it to do.

gold leaf ornament tutorial | steps
Brush the adhesive onto one side of the ornaments. If you’re working on something that is round, apply adhesive to the entire ornament and hang it to dry. The glue looks milky when applied and will dry clear. Allow the size to dry for about 15-20 minutes until it’s tacky to the touch and no longer wet in any spots. Dry times will vary depending on the material, humidity, and how thickly it’s applied.
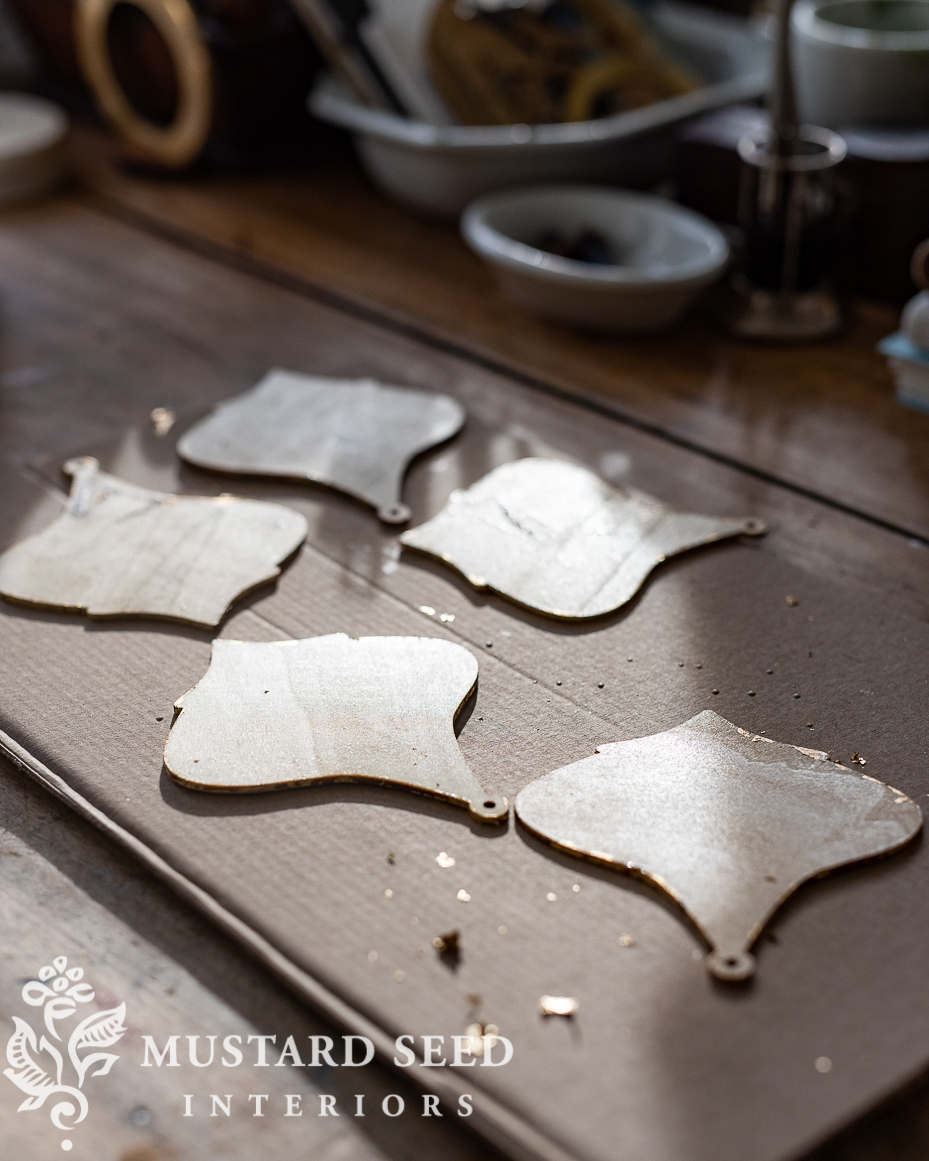
Once the size is tacky to the touch, gently apply the sheets of metal leaf using the tissue that separates them.

Gently smooth the leaf with a natural, soft mop brush and buff off the excess leaf. It’s pretty magical how it happens and you can see it in action in the gold leaf ornament video tutorial below.

gold leaf ornament tutorial | video tutorial
Here is a short video tutorial showing the gold leaf ornament steps in action…
Since the ornaments don’t need to stamp up to wear like a piece of furniture, you do not have to apply any protective coat. if you want to tone down the gold, you can add an antiquing glaze. I would advise against using a wax, though. Generally, waxes have mineral spirits or some kind of solvent in them to soften the wax and that can remove the gold leaf when rubbed over it. I have found a water-based glaze works best. Since this is for Christmas, I left mine shiny!

Add a ribbon or piece of twine to hang and that’s it! It’s a quick and easy project that makes some very lovely, elegant ornaments or embellishments for the holidays.
You can find more Christmas decorating ideas, recipes, and crafts HERE.
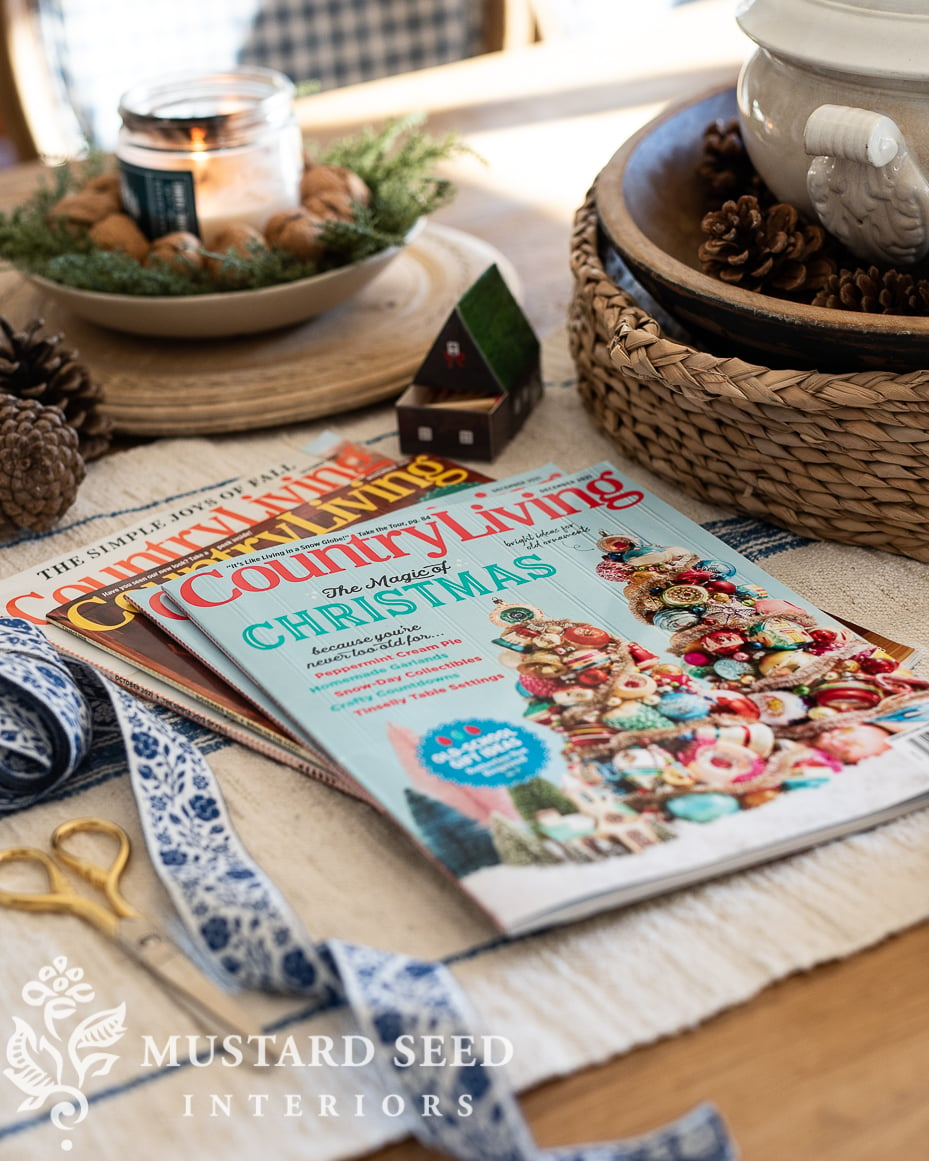
Before I sign off today, I want to share an awesome deal for my fellow Country Living lovers. Use code MARIAN to get 50% off your subscription HERE. On top of other discounts they are running, you can get a subscription for about $3.00! It’d be a nice gift, too.


11 Responses
These are simply beautiful! I definitely want to try this….
Thank you for the video tutorial. The ornaments are so pretty!
Is the Country Living subscription available for Canadians?
I believe so! One of my Instagram followers said it worked for them in Canada.
Hello Marian!
Great way to jazz things up!!! i’ve always wondered about gold leafing. Thanks for the video.
Oops….right under the first picture you wrote “golf” leafing….of course that can be a new sport!!! It happens!
Oh man, that is so funny! I fixed it. 🙂
Beautiful and certainly affordable!
These are so pretty. My Mom was a quilter and always said any mistakes in a handmade item adds character. It’s brings comfort to hear you say the same thing.
Thank you for sharing your crafts and videos.
Thanks for this – it seems like a million years ago, but on the last day of Printmaking tutorial after the four of us had presented the Professor gave us leave to ask anything we wanted to know in our remaining time, which turned into a speed class on a variety of things, including gold leaf – I frantically made a few notes as she described using a tiny piece! I’ve wanted to use it many times, but hesitated.
I am so glad to have an actual tutorial to reference now!!
These turned out great! Real gold leaf sheets are a smaller size. So they take a more sheets. Also they come in single, double and triple thickness so price varies quite a bit. Imitation gold leaf is a little easier to handle. Real gold leaf is extremely fragile.
A Very Merry Christmas Marian!
You have such personable concise instructions.