
I keep hoping and planning to get back into some sort of schedule or groove, but snow days, cold days, hospital visits, doctor appointments, holidays…all sorts of things have prevented that. And this week has been the same story. We had a normal Monday, but then school was cancelled today because of the snow and, as of now, is delayed for tomorrow with the possibility of a closure Well, it is what it is and we’ll have fun with it. There will be more games of “Sorry” and more Rainbow Looms and more of finding ways to fill the time if that’s the case.
Even though the boys were home today, I had a bit of time here and there to sneak away and do some painting. I needed that kind of “therapy.” So, I worked on a small project – my Restoration Hardware horse.
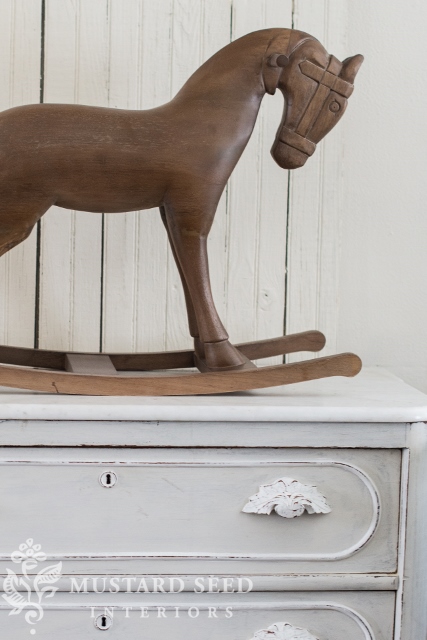
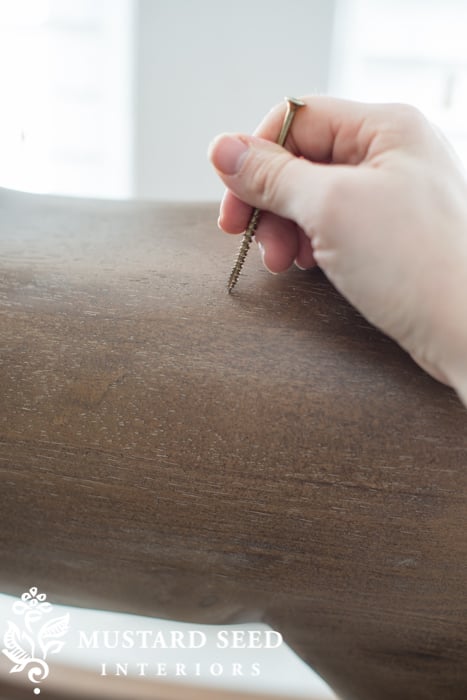
It ended up looking too new for me, so I wanted to paint it and make it look like an antique. The surface of the wood has a nice grain to it, so that gives me some texture to work with, but I wanted to add a bit more. I started by using the tip of a screw to make “worm holes.” It’s the kind of thing that won’t look like much until I antique the finish at the end. I also used the side of the screw to scrape some places that would get wear.
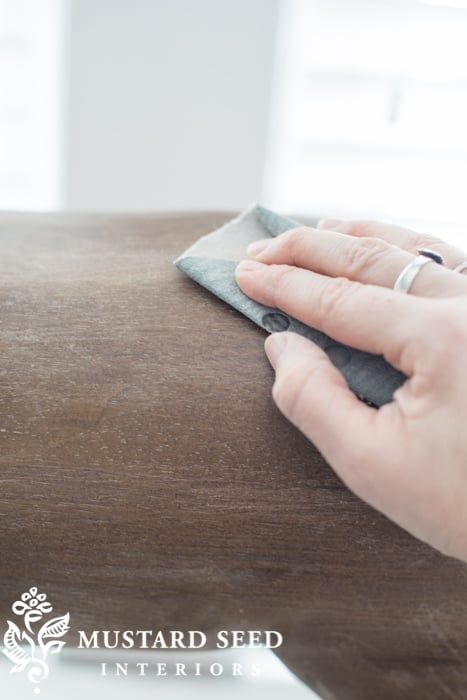
I then moved on to sanding. The finish was pretty glossy on the horse and I had a gut feeling it was going to give me some trouble, so I lightly sanded to rough it up a bit.
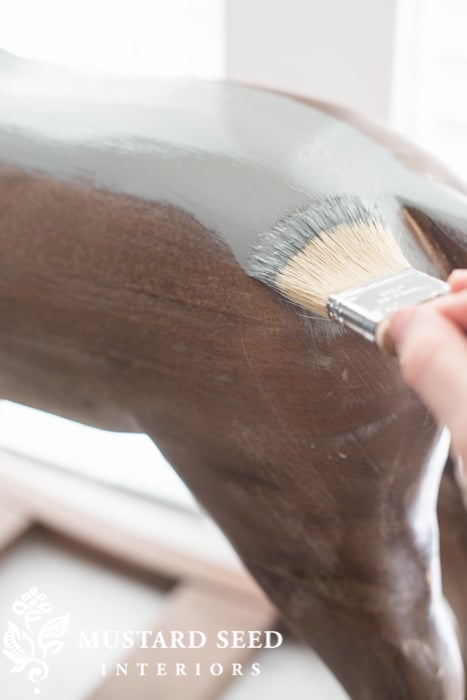
I picked MMSMP Trophy as the base coat. This is just the first layer to create the finish I’m after.
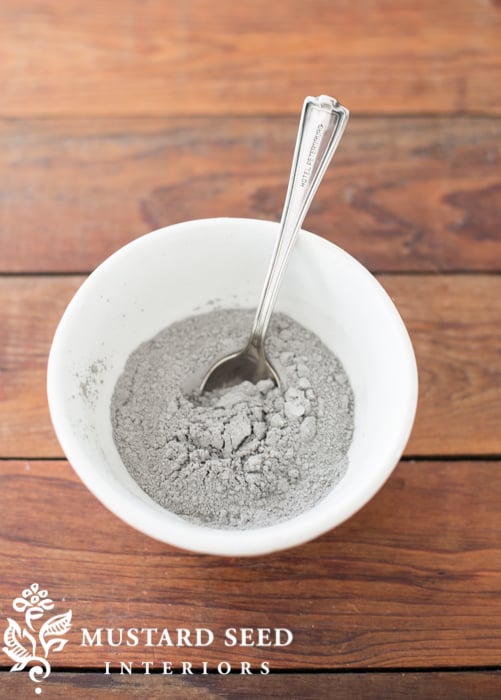
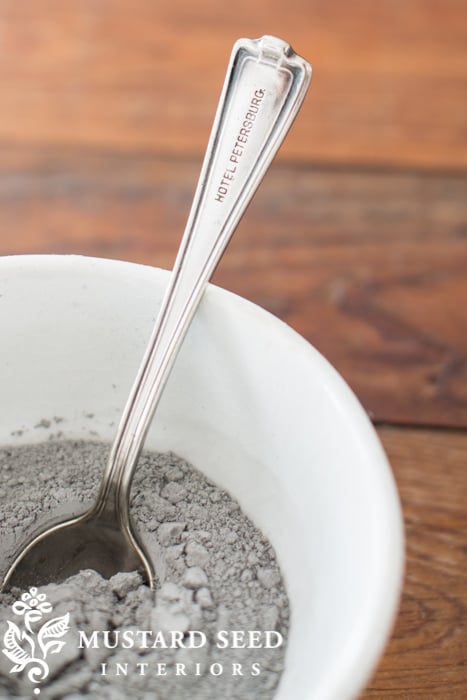
I used an adorable spoon for the mixing that a sweet reader sent me. It’s from the Petersburg Hotel, which happens to be in the city in Virginia that my family is from.
I mixed it to a medium-thick consistency and added a little squirt of bonding agent to help with adhesion. I didn’t care if it did chip and, since this was the base coat, I was willing to paint it on and watch what happened.
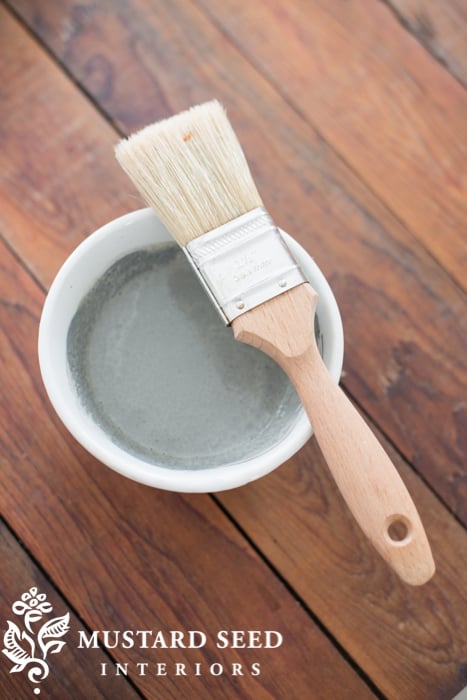

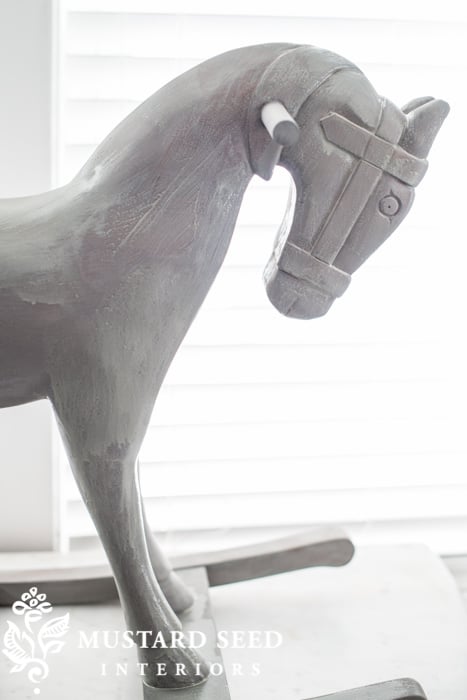
I brushed it all over, but wasn’t too particular about getting full coverage.

I was already liking the horse better with the soft gray paint on it.

Chipping started happening right away. (Remember, I only used a little squirt of the bonding agent, so I wasn’t expecting much from it.)
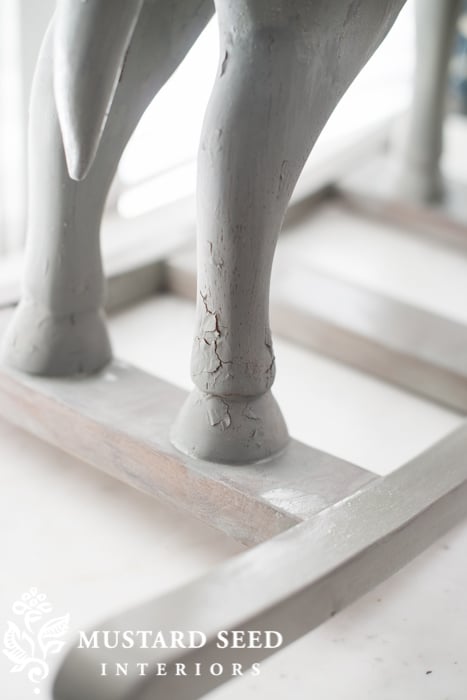
The paint ended up chipping a lot in some place,s obviously where the finish was heavier, and didn’t chip at all in other places. I used a vacuum to remove the chipping paint in a mess-free, indoor-friendly method.
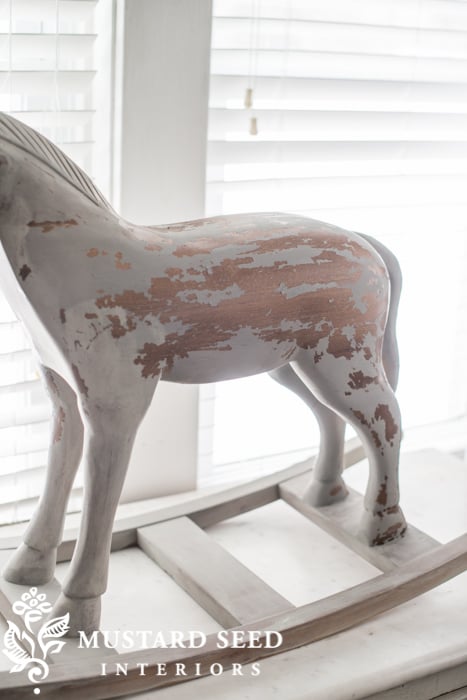
You can see it chipped a lot on the back, but hardly any on the front legs. There are so many variables when painting pieces that it’s sometimes hard to predict exactly what will happen, especially with milk paint. I often find that I end up with something even better than I envisioned when I let the paint “participate” and I don’t try to fight it!
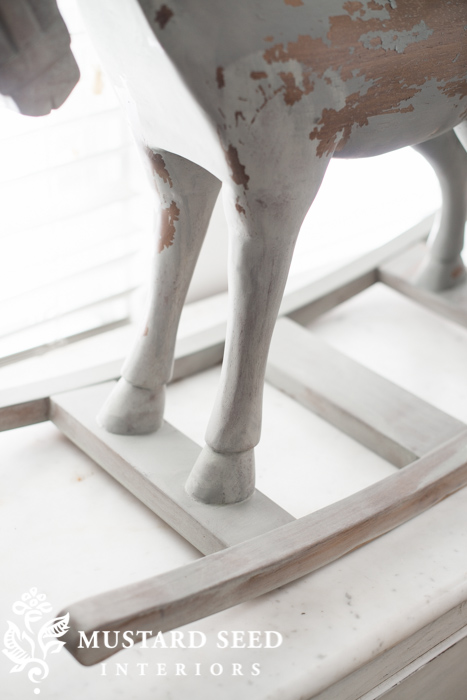
This is just the first step. My next step is to sand the horse to get better adhesion with the next coat in the really chippy areas. I do want to retain some chipping, but I don’t want quite so much and I don’t want to see the glossy finish under the matte milk paint. I’ll plan on using Shutter Gray, Linen and Grain Sack and see how the look develops.
Hopefully I’ll get to sneak away some time tomorrow for the next coat…


40 Responses
What a great start!! I cannot wait to see it finished!!
Enjoy the snow days 🙂
Melodye
Can’t wait to see it!
You are off to a good start on this piece. I am so looking forward to seeing what you do with it. I’ve been in painting mood as well as working on a floor length mirror. It’s such great therapy!
I’m glad you got to paint a little today. It’s just soothing, isn’t it? I have my first sample of your milk paint waiting for me to try it out. Just looking for a little time to experiment with it. The horse is a great piece to paint. Thanks for sharing!
Love it so far! I lucked up on a rocking horse at a thrift store last week and he has just a bit of a gray patina. He’s gonna live on my pie safe 🙂
I love that you just don’t know what to expect with MMSMP — a surprise for everyone!
It’s looking great already, I’m looking forward to trying the MMS paint. Do you have to prep the wood at all first? When the first coat chips do you just paint over that with the 2nd coat and then it chips again? …. can’t wait to try it 🙂
Susan
Looks beautiful!
Since I have a kitchen table I want to give the MMS treatment this is a great little tutorial for me as a beginner. Thanks.
In regards to snow days, sick days, Dr. appts.–that is life I say. Sometimes it is too much running! It would be great to have all the time we want, when we want it, but I have come to understand that my Etsy shop will still be there along with my stacks of fabric, and that being mom and caring for my family (all household duties included!) is my top priority. So I have become OK with the balance I have. I now trust that when my shop is slow (and I am not the biggest seller on etsy) there is a reason. God has planned this balance for me at this time in my life. You are on a much, much different level than I, but I think the idea is the same. Enjoy your cozy time with the boys and your painting! I totally get the need for being creative!
Love the way it looks already! Can’t wait to see it evolve!! 🙂
I can’t wait to see how it looks finished!
Marian, This looks wonderful! I can’t wait to see the finished product. Continuing to keep you and your family in my thoughts and prayers!
Oh boy… this is fun watching the process with your horse! I can hardly wait to see all the steps and how it turns out. I love that the milk paint does it’s own thing… It’s kind of like art, sometimes the unexpected turns out to be the best part of a piece !
Cindy
Marian,
I cant wait to see how your horse looks finished. I spotted that “Hotel Petersburg” spoon right away!! I always look for local pieces since I live in the area. I found some old admission tickets and vintage postcards for Lake Chester (or Flippo’s Lake) recently and gave them to my mother for Christmas. I went there as a kid but it closed many years ago.
I love it when A LOT of the paint pops off! I think it makes this piece look genuinely time worn. Color is perfect!
Be Blessed,
Pamela
Oh I cannot wait to see how this transforms! I have never painted or re-finished a piece of furniture in my life, but because of the different blogs I read (yours included!) I have been inspired to refinish an old dresser that was in my room as a little girl. It was painted even before it was in my room and I was thinking of taking the top back to its natural wood and then painting the bottom half. I think I’ll hop on over to your MMSMP blog and see if there are any tips because I have not a clue how to start a process like this. Thanks for sharing all of your wonderful projects!
Marian,
recently came upon your blog and am just learning about your milk paint. I love the look, the results from it and think I’d like to give it a try. Thank you for sharing your talents….especially with so many other things on your plate right now. Much love to you and your precious family.
xoxo
Looking good and I just know this project is going to turn out even better than you hoped. Can’t wait to see more. Love it so far !!
Fabulous – I am looking at your horse & looking at a small rocking horse & wooden horse ornaments & I just know I am going to paint them ….
The horse looks so much better now….didn’t look like “you” at all to me in it’s original finish! But I knew you’d fix that…can’t wait to see the next step.
Great start, but what does your husband say. MY husband is always saying why are you painting that i have to do it when he is gone ,but when he sees the end results he is always happy.Can’t wait to see the next step.
layers of creativity…how fun!
I know it’s going to look great. I admire your bravery, just wading into such projects without fear like you do!!
Love the original look of the horse and applaud your creativity to jump in and use your skills to make the horse into what you imagine it will become!
I recently decided to take my beloved oak, hand carved dining room hutch, and paint it black to match my Black Country French dining room table and chairs! then highlight the hand carving on the piece with gold and bronze leaf. My dining room table and chairs also have a slight gold and bronze highlight, so now people think they were bought together. Saved me from purchasing a new hutch, and it updated that honey oak look that no longer matched my Country French decor. Some folks say not to paint beautiful wood, but the wood grain shows through, and it will continue to be a part of my home for many years.
Thank you for giving us all the courage to take a chance and make a few changes that will save us money, preserve and keep cherished pieces that otherwise just didn’t quite fit in any longer.
Can’t wait to see how it turns out when finished!
I agree! It is already looking better! The paint really makes the details stand out. Can’t wait to see how this progresses!
Marian, I have regained my faith in you. I thought you had lost your mind when you sold your beautiful antique rocking horse and replaced it with this one from Restoration Hardware! I nearly cancelled my subscription to your site….I should have know that you would have another idea up your sleeve and look forward to seeing how it turns out! What a talented woman you are !!
Now, MMS you aren’t playing fair. You can’t leave us hanging like that. Post the follow up soon. I’m dying to see how this project turns out.
You’re giving me inspiration to dive in and dare to paint some pieces I thought I better not mess with. You’ve shown us that most everything is fair game.
Can’t wait to see what’s next – this is so fun to watch!!
Somtimes amid the crisis, its wonderful to do something “normal”,God has you surrounded with His Love, mercy & answers. In the meantime please get enough rest………..Looking forward to seeing the next step!
Now, it is your horse!! Love it.
Marian, if at all possible, can you take a pic when you put the shutter gray on? I would really like to see a side by side comparison of shutter and trophy (pretty please!)
Thanks for mentioning using “just a squirt” of the bonding agent. I’ve got a project that I want to only chip a wee bit and been wondering what would happen if I added the bonding agent, but not at it’s normal full strength. I’ll keep you posted!
Hi Marion, Looking at the area the paint came off on the body makes me think it may be ‘oily’ wood or have been treated with linseed. I wonder if rubbing it down with ammonia and steel wool will make the surface more able to ‘hold’ the paint. Just a thought.
LOVE IT!!!! I cannot wait to see the finished product. Have a great day. 😉
I would not have been brave enough to paint the horse, but it looks gorgeous already! Wonderful decision. I can not wait to see the rest.
I love the grey on the rocking horse. It is going to be fabulous when he is done!
I have to admit when i saw the title of this post – First Coat – due to all the cold and snow I was thinking winter coat as in snow gear!
But in my defense, between my husband and 3 kids (now all grown an married) I would sometimes spend all day cleaning and rearranging everything to have someone come home and just drop their coat or belongs when the entered the door. So that is what I envisioned was the rocking horse with hat, coat and mittens thrown on top of him!
I am so ready for warm weather!!!
If some one wishes expert view on the topic of running a blog after that i
suggest him/her to visit this blog, Keep up the good work.
It’s difficult to find well-informed people about this subject, however, you seem like you know what
you’re talking about! Thanks