
A few weeks ago, I was browsing Christmas decor and tripped across this sweet “Happy Christmas” banner at Terrain. The vintage-looking stuffed velvet letters appealed to me, but I wasn’t a fan of the color or the unevenness of the letters.

I liked the idea of making one, but I had to think through how to make it. The inspiration banner looks like each letter was sewn and stuffed. That process was not even an option for me. I am not precise when it comes to sewing, which is why I was a horrible quilter, and this project would take precision. I needed to figure out a Marian-friendly way to do this.
Well, I can do upholstery. I wonder if I could upholster the letters…maybe on wood or thick chipboard letters. I looked into a bunch of different wood letters, thinking chipboard wouldn’t hold the staples well, but they were more than I wanted to pay. I ended up taking a gamble on thick (3 ply) chipboard letters, purchased on sale from a craft store.
And the upholstery idea worked perfectly…

Here’s how I made it –
I placed each letter on one layer of light-weight quilt batting…
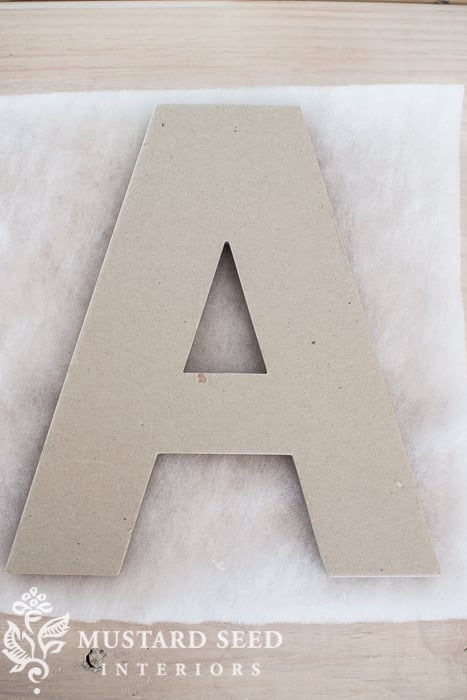
…and traced the letter onto the batting with a permanent marker.
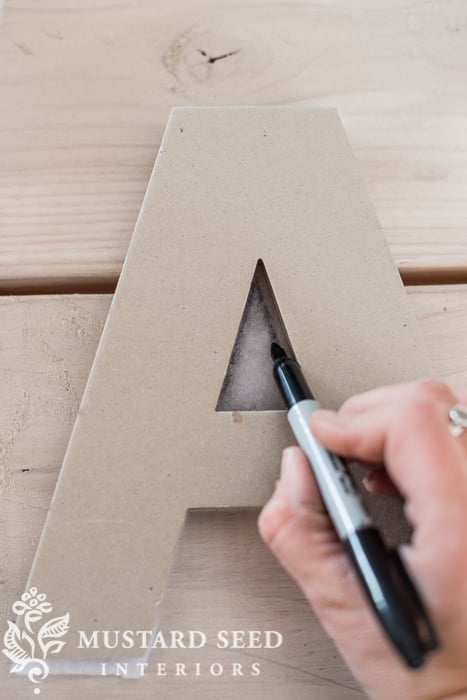
And I cut out the letter along the drawn lines. I then used the batting to trace a letter onto the velvet fabric, leaving a 1/2″ border to pull around the sides of the letter in order to staple it to the back. Make sure the fabric is face down and you’re tracing the letter in reverse, so it looks right when flipped over.
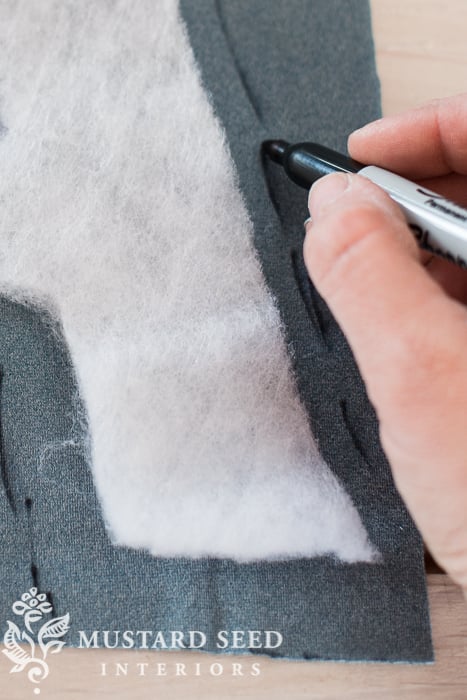
See…I’m not precise at all.
Now, make a little sandwich, starting with the fabric (right side face down), then adding the batting and then the chipboard letter.
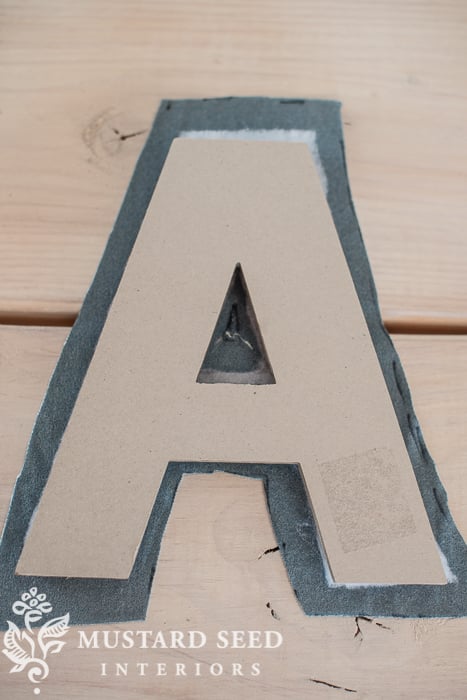
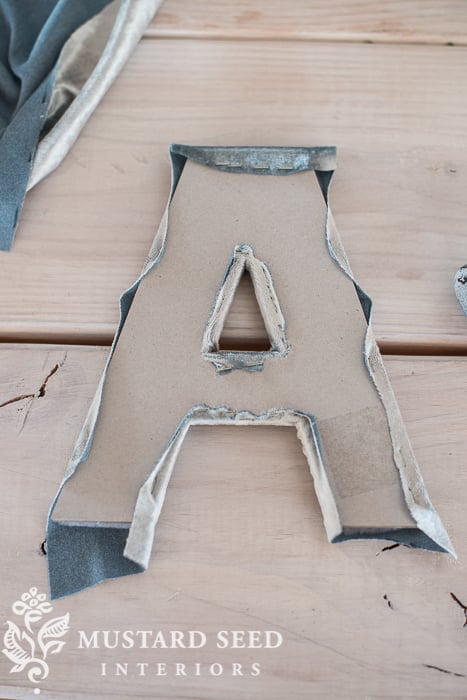
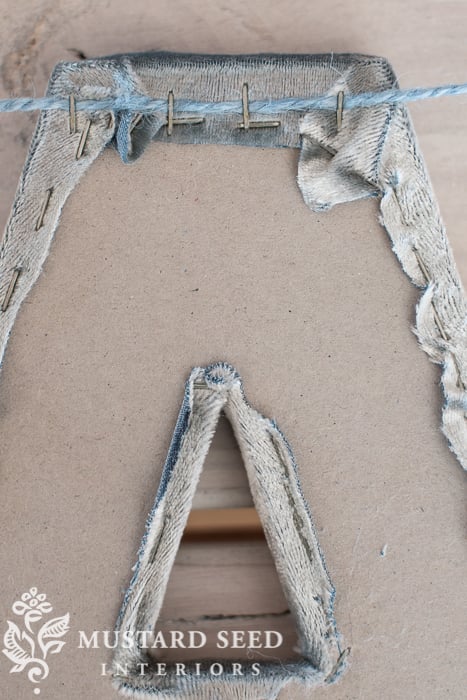
For letters that have a hole in the middle, like the A, P, R, etc., cut a small hole and a few slits that will allow you to pull the fabric through. Just make sure you don’t cut the slits too large.
Pull the excess fabric around the edges of the letter and staple to the back of the chipboard letter. This is why it’s important to use thick letters, so the staples don’t poke through. I was able to use my smallest staples with my pneumatic gun and it worked great. You could also use a manual or electric stapler for this one.
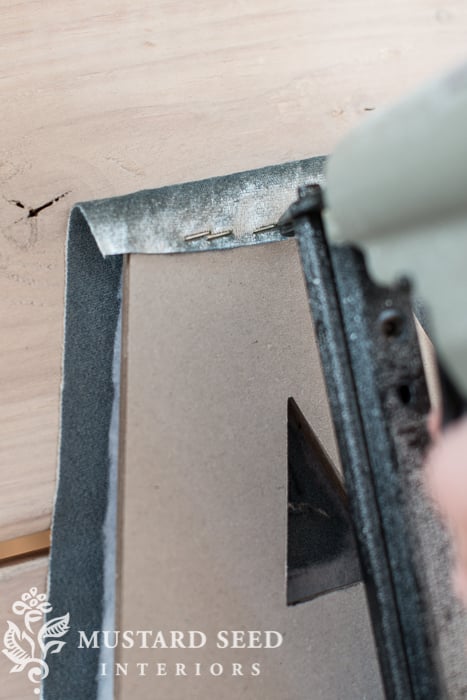
As with upholstery, it’s a good idea to put a few staples on all sides, to make sure you don’t shift the fabric to the point where it won’t fit properly and you have to remove it and start over.
One thing that made this project so successful, and it was quite serendipitous, was the kind of fabric I used. I bought it off of Etsy and was drawn to it, because it had the long-hair, fuzzy quality of vintage velvet. The seller described it as draping well and having stretch. The stretch is what helped me out big time and made the fabric very forgiving to work with in this way. So, if you’re planning to do this project, I would suggest using a fabric with stretch.
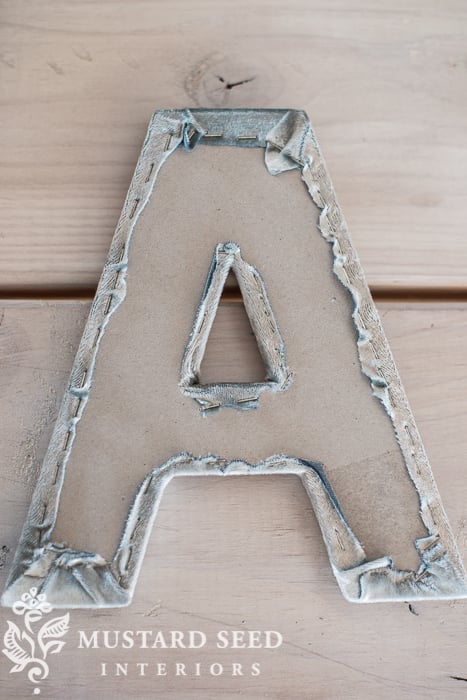
Once the fabric is attached to the letter, trim the excess, so the letter will lay flat against the wall when hung.
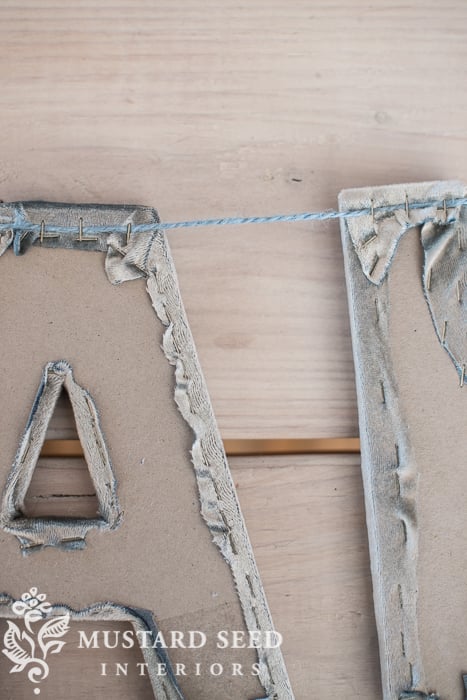
When completed, these letters had a decent weight to them, so I strung them together using a sturdy blue twine stapled to the back of each letter.
The letters were $1.00 each (at 50% off), the fabric was $16 and everything else I used was leftover from other projects, so the total cost came in at $30. It’s not a huge savings from the inspiration banner, but this was a case when making it gave me exactly what I wanted.
And I am so thrilled with how it turned out!

I decided to stage it two different ways…just for fun.
Now, you’ll notice that some of the letters are darker than others. That is because the grain in the fabric is going in different directions. I didn’t realize it until I hung up the banner, but I actually like the variation. If it bugs you, make sure the velvet is facing the same direction for all letters.

I hope I can find the perfect spot in my house for it, so I can use it year after year.


44 Responses
Well that’s just about the cutest thing… and you make it sound so easy to do. I love the fabric you chose and the fact that they are not all the same way makes it more precious and antique somehow… you know what I mean? Looking forward to more “home made” Christmas stuff 😉
Marian, I love it and hope to fit it in with all the other items I am making this year.
That is so pretty Marian. That was a brilliant idea to upholster letters, I just love how it turned out. I think the color variation looks beautiful, I may have to give this a go next year.
How like you to rethink the standard done-to-death banner and make it interesting and lush! You’ve shown us your gifts again…….so thankful for you!!!
Very Smart.. Love it.. Great idea!
It turned out just fabulous, Marian! I love it!
It is so very beautiful Marian – you clever thing xx
Wow is all that I can say, I love the banner! And it’s perfect timing because I just received a 60% off coupon from my local fabric store. I still have a week before my Christmas decorating begins, so this year I’ll have a banner that will become a permanent part of my decorating scheme for years to come. I love velvet but I’m also thinking red and green toile might be beautiful too (I know it doesn’t stretch). Thanks for sharing another wonderful, homey idea! Blessings and have a Happy Thanksgiving.
Oh you are going to have fun trying this in different places in your house! After you are done with your floors naturally, then again, maybe you won’t wait:-) I can see you trying it in your family room, the space between your family room and kitchen, the windows of your living room, above the chair rail in your office. OH THE POSSIBILITIES !!!!! Have fun!!!! Have a blessed Thanksgiving!
I just left a Facebook comment on this, but am commenting here also because I wanted this so bad when I saw it on Terrain! I really wanted it for my Vintage Christmas Shoppe (which was last weekend) but I was going to buy it with the intention that it hopefully wouldn’t sell and I could take it home! I ran out of time though to get it ordered and well now I see yours and like it just as well or better, so maybe I need to make one- Thanks Marian!
Trish
So pretty!
Great idea! I have my letters for a different project and was wondering how to finish them. Upholster, going to try. Thanks for sharing.
What a great idea – one that can be used for all occasions.
By the way, whatever happened to the wagon that was partially painted in a previous post? I need some inspiration for a “twin” that I picked up from the trash!
Gorgeous Marian. Thank you for always inspiring me with everything you do.
Beautiful! The color is so pretty and how cool is it to get two different looks just from flipping the grain!:)
You could also glue some beautiful wool felt on the backs so it could be hung from a ceiling or doorway!:)
The variation is my favorite part about the banner! I thought these were all sewn, but now that I see you did with with a staple gun (one of my favorite tools) I know I could do it too! Love this project!
Marian,
The banner looks gorgeous! I love the silvery-blue velvet material you used as well. After seeing it hung, it looks a little large to hang across my vintage arched window so I am sure you could buy smaller letters and scale it down. Hope the floors are going well!
Oooohhh, what a neat idea! I have yards and yards of stretchy crushed velvet…I think I feel a project coming on!
Blessings, Jeanne
Love this!!!! So simple and pretty!
Such a great idea and fun, new take on decorative letters. Adorable!
This looks like a fun little project, and it turned out beautifully. I love how you “mustardized” the original idea!
I like this!! I think I could do this project. Looks great.
I like your banner. Reminds me of thrift store find, pattern, fabric to make the fabric Christmas trees. I make one and have one almost stuffed. I find it hard to decide what I am going to sew on for the decorations . I had tiny bells and did sew some on the tips of the fabric branches. thanks for the décor idea, a person could use any holiday or b-day and make a banner.
OH Marian,
This is perfect! and I could keep parts of it up all year round since well Chris’s name is “Chris.” 😉 Oh and the chairs, the chairs! They were the best investment EVER! Chris loves them and well, everyone who has sat in them or seen them LOVE them! So thank you, thank you, thank you!!
When I first saw it, I loved it, but knew I would never go to the trouble of all the sewing. Wow, you are a creative genius! Plywood letters. So smart. I think the variation in colors is perfectly beautiful and artistic.
Very nice! What kind, make, stapler did you use! I need to buy one and have no idea what kind to get!
Love it!(much nicer than the original)
How smart are you! I LOVE this!!
Wow, how clever and the photos are so beautifully styled too.
My pleasure to pop in for a look around.
Wow!! Your banner is just so elegant and gorgeous!! That fabric is amazing!! Thank you for sharing!!
I love the look Marian, and especially love the different colour tones. You are such an inspiration giving us all beautiful and different ideas. I have velvet so Im going to give it a go.
Its great seeing how you stage the photos and take close ups, its not as easy as it looks, which of course you make look so easy. So thank you. 🙂
Adorable! The way the grain is laying makes it look like some are dusted with snow!
Whew! I thought you had sewed and stuffed and made them look so perfect! Very cute!! Happy Thanksgiving, Linda
So great!!! I’m definitely going to try this. I love how you see things and then figure out how to do it your own way, I enjoy doing that because it makes it all the more satisfying when it turns out well, or in your case, even better than the original!
So I love these!!!!!! So, so beautiful.
xo,
shaunna
That is very pretty! I thought you made the letters different on purpose! Funny how things turn out for the better sometimes purely by accident!
so so pretty! I really love the color variation. I just thought it was the way the light was catching the velvet but either way it adds a cool unique charm to the words as a whole!
Beautiful where do you find the time and energy to do all this sand floors do Christmas letters take care of your blog ect….
Go girl!!!!
Love this!! The nap in the fabric and your changing direction gives the letters a very cool look.
But sadly what bothers me is Happy???! What happened to Merry? Happy Christmas seems to diminish the meaning of this holiday, and sounds strange just saying those two words together.
So does that mean now we have Merry Holidays?
Umm….maybe more letters to make? 🙂
Lovely idea. Beautiful job. I think I’ll steal it!
Another brilliant project!
Beautiful Marian! I love that some of the letters are darker. If you can’t find a spot in your house I’m SURE I can find one in mine 🙂 LOL
Don’t you just love happy accidents? I love the variation in the letters and may I never be so rigid that such a thing would “bug” me. 😉
Thank You! I made a “Noel and “Joy” banner from your tutorial.