
It’s time for the highly anticipated update on my war on bishop’s weed/goutweed! I’m kidding, but I know some people are looking forward to an update and some advice on how to get rid of goutweed (or at least get it under control). Before I get into the different methods I’ve tried and which have been most effective for me, I want to share a fresh perspective on this aggressive ground cover. While searching online for advice and support can be a good thing, I’m not sure it’s always 100% helpful (except this blog post, of course!) It’s sort of like Googling a surgery you’re about to have or an appliance you want to buy. The majority of the stories, reviews, and advice you find will be negative, especially on open forums. People who are upset about something have a more compelling reason to get online and share their misery with others. People who had a textbook recovery or who love their ice maker don’t usually hop online to share about it in a forum. They just go about their life. Online research can be helpful, but it has to be taken with a grain of salt. I’ve learned the same thing to be true with managing invasive weeds. You can find helpful advice, but you can also find horror stories that make you feel like there is no hope.
As I started weeding this spring, eager to see if my bishop’s weed mitigation plan succeeded or failed, I learned that other weeds are just as annoying as bishop’s weed. I was expecting to dig and pull goutweed as it resurfaced this spring, and I’ve just seen a few sprouts here and there. I pulled hundreds more maple saplings than goutweed sprouts. Clover, wild violets, and onion grass were also popping up in all of my beds and were much more of a headache. Weeds and other unwanted plants in garden beds are just a part of gardening. Instead of obsessing over total eradication, I just want to get the common weeds, goutweed, English ivy, and bindweed under control. I just want it to be manageable. This year, at least, the areas I worked on last spring and summer felt manageable.
With this new perspective, I’ve been much more relaxed about it, not expecting to see a goutweed takeover every time I step outside.
So, what methods did I try to get rid of bishop’s weed/goutweed, and how did each work?
how to get rid of goutweed | method one | black plastic and mulch
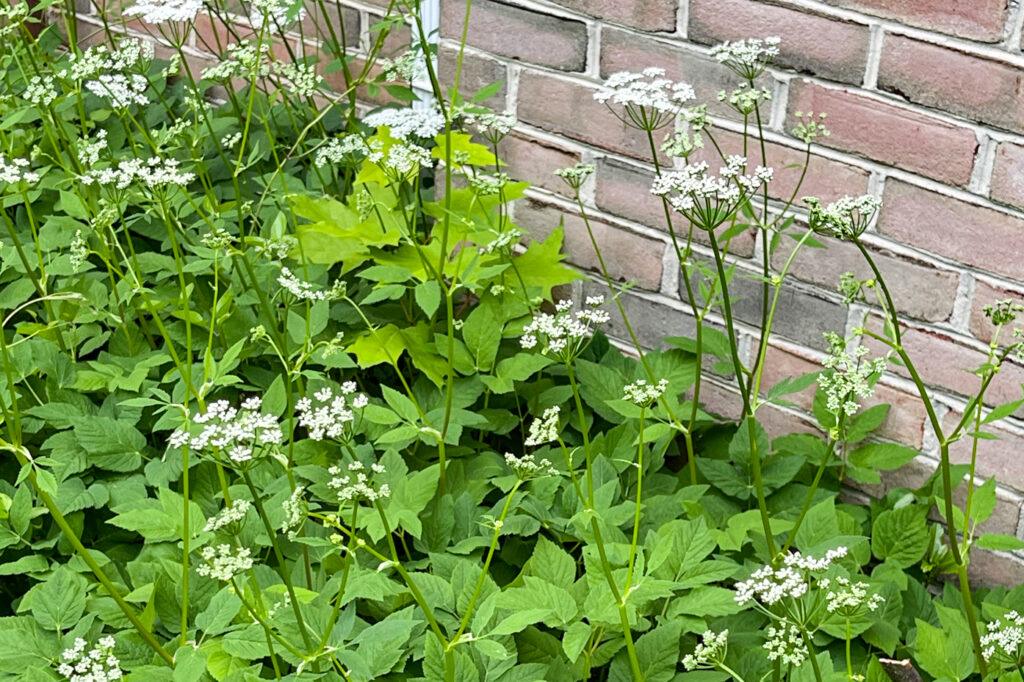
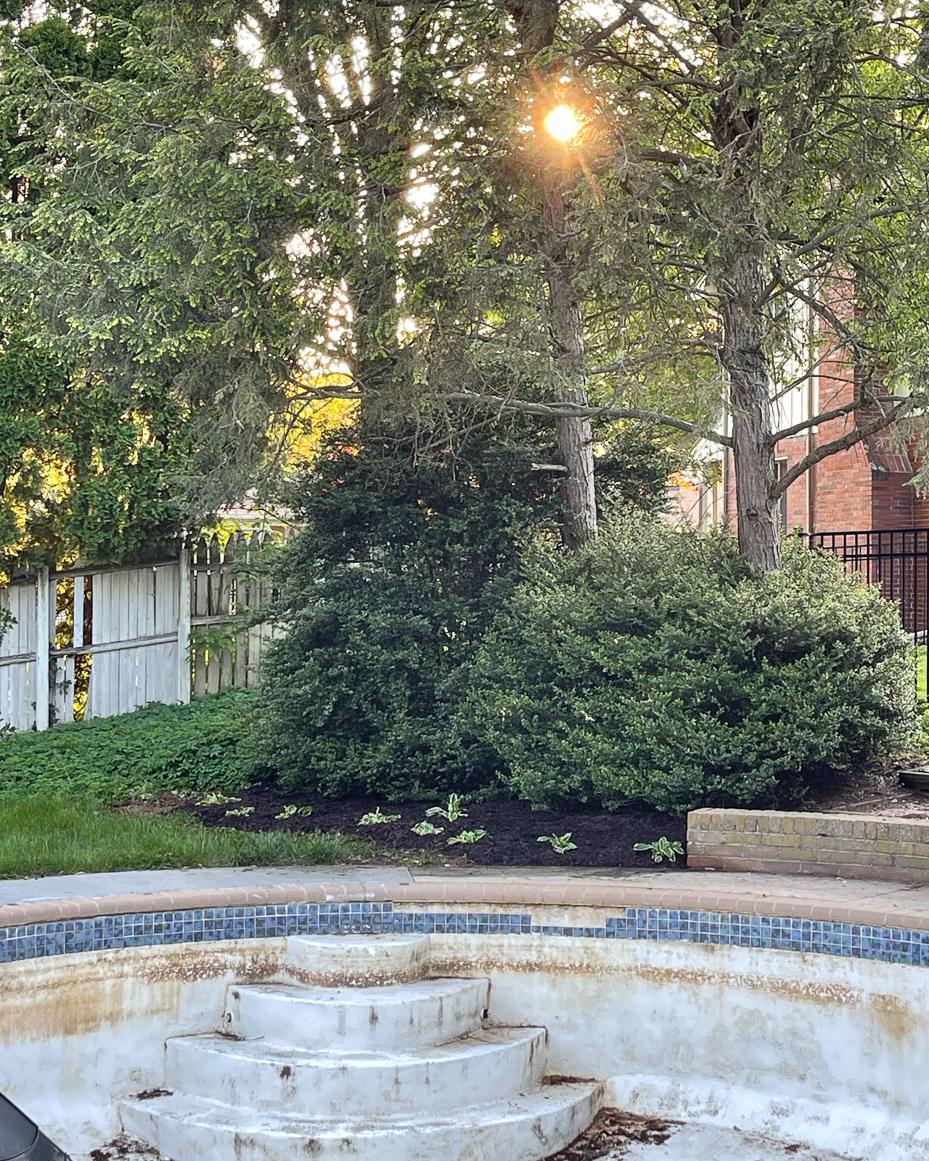
There was about a two-week period in the spring of 2023 when I was happy goutweed was in my garden! I didn’t know what it was, and I loved the lacy white flowers it was producing. It really is a lovely groundcover if it’s away from garden beds and other plants. This was where the goutweed was the thickest, though. We had pulled a few bushes, allowing the goutweed to get all of the light and nutrients, and it took off.
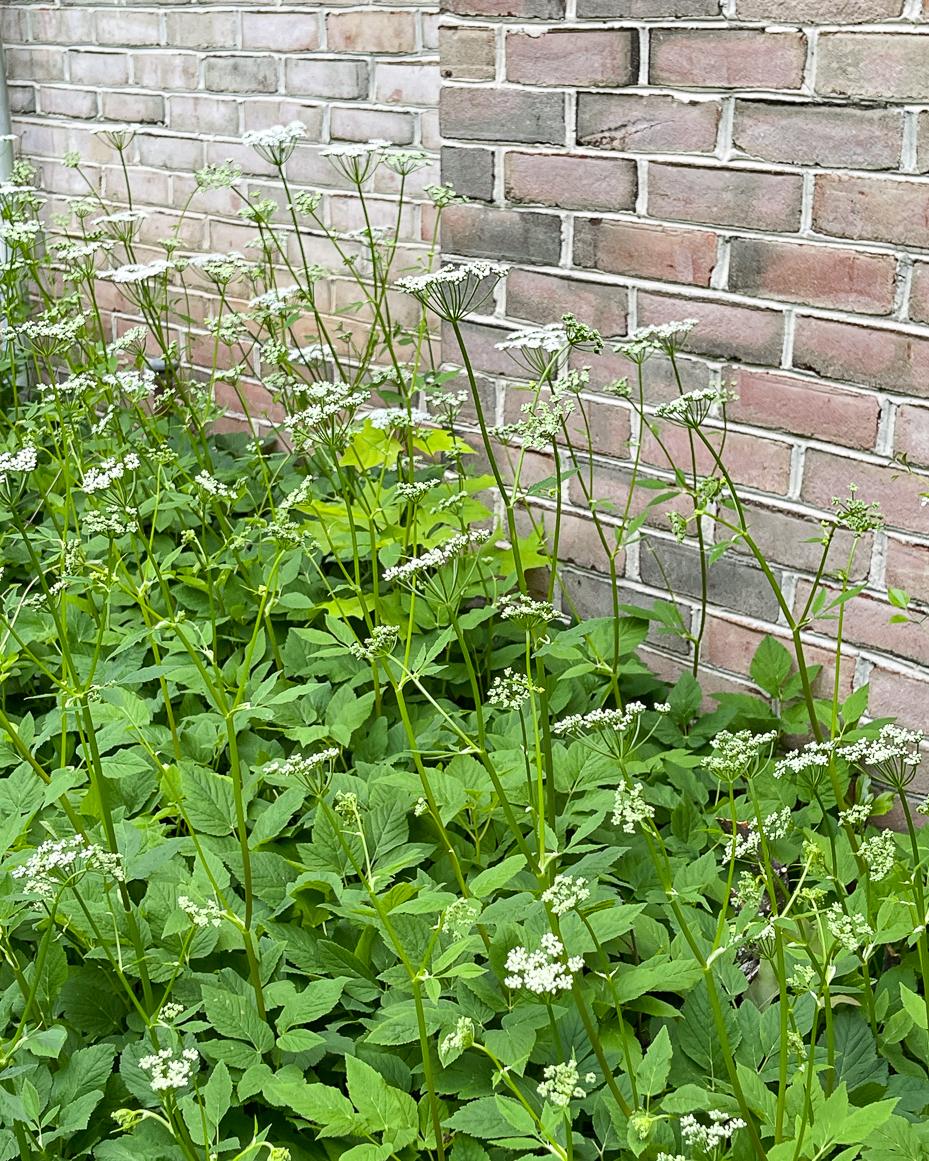
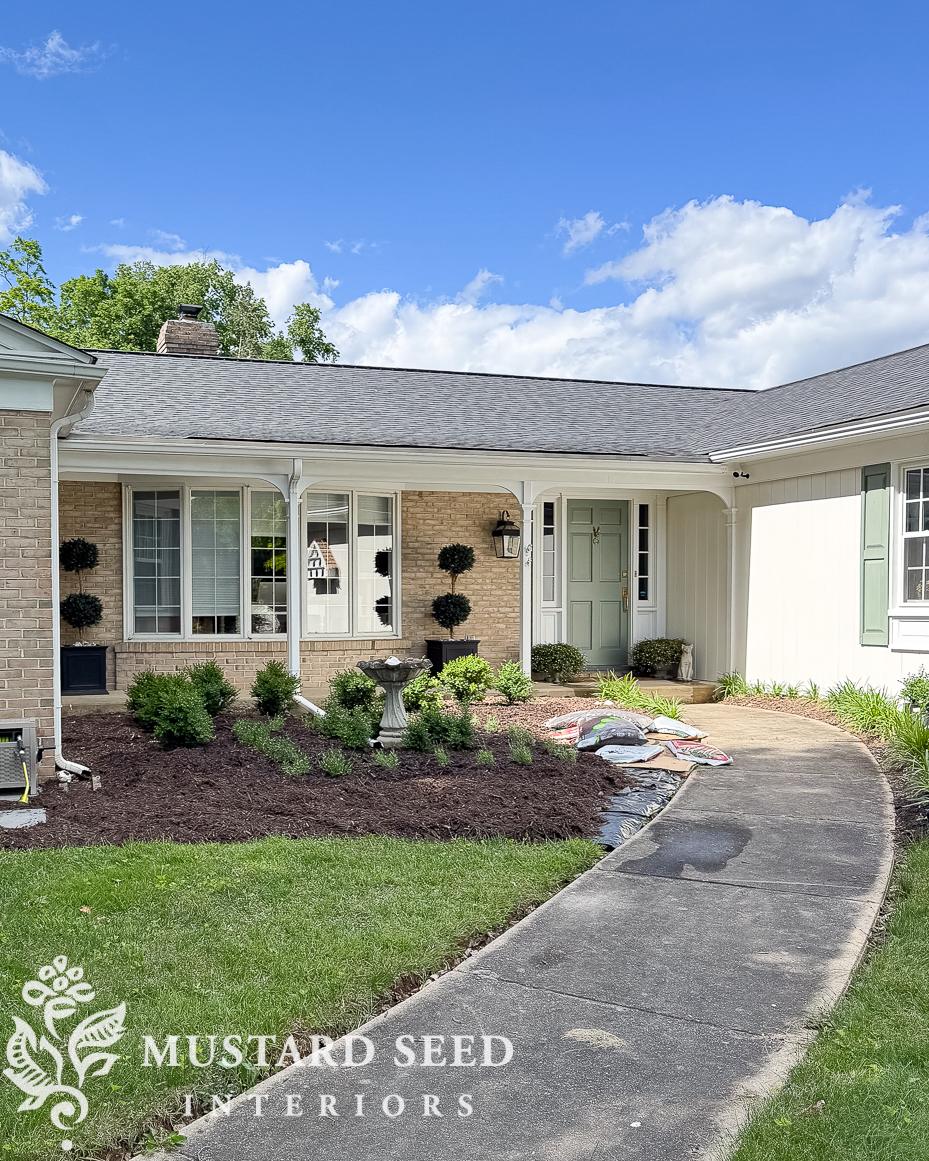
This isn’t a great picture, but it shows where the goutweed patch was by the chimney…
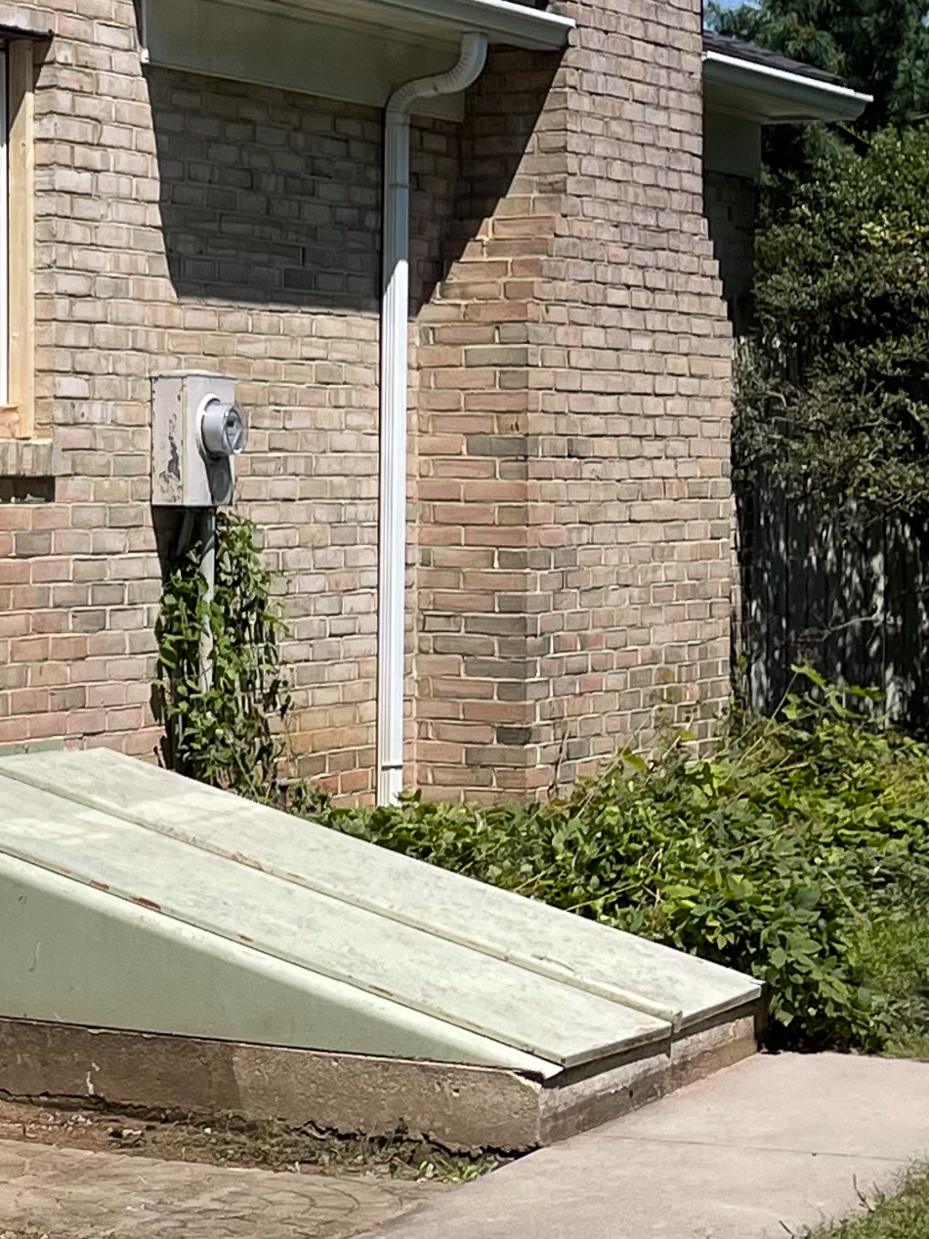
This is what it looks like this Spring…
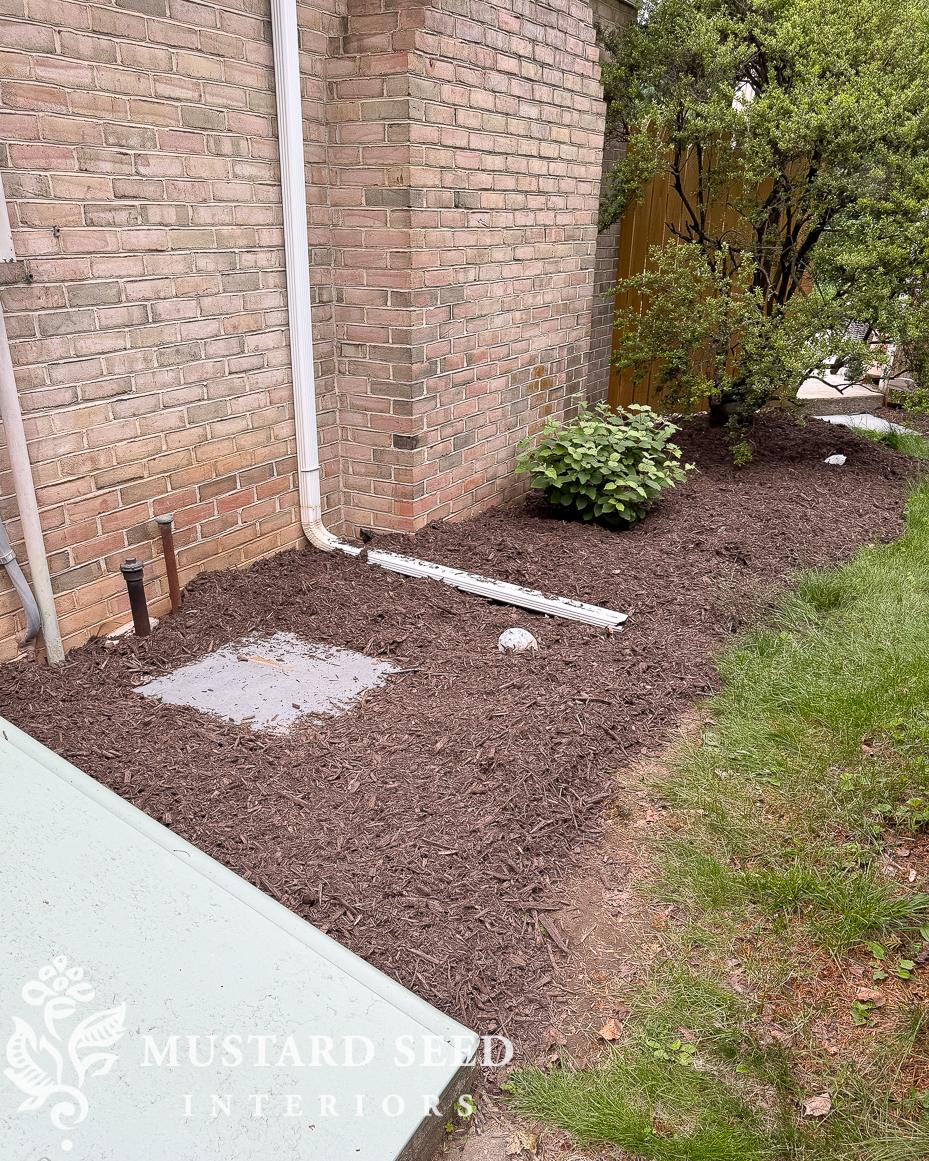
I hand-pulled and dug ip as much of the goutweed as I could and then covered the area with black plastic and mulch. (You can find my favorite weeding tools HERE.) I planted a viburnum bush and have to keep an eye on the base of the bush as well as the Japanese holly. I had a few little sprouts come up around them last spring/summer, and also along the edges of the house, but I haven’t had any sprouts this year. Not one! The sweet autumn clematis sprouts have been more of an issue.
This is not a very visible bed, so I don’t mind that it’s mostly mulch at this point. In a few years, I might rake back the mulch, remove the plastic, and plant some perennials, but it looks fine for now.
how to get rid of goutweed | method two | cardboard and mulch
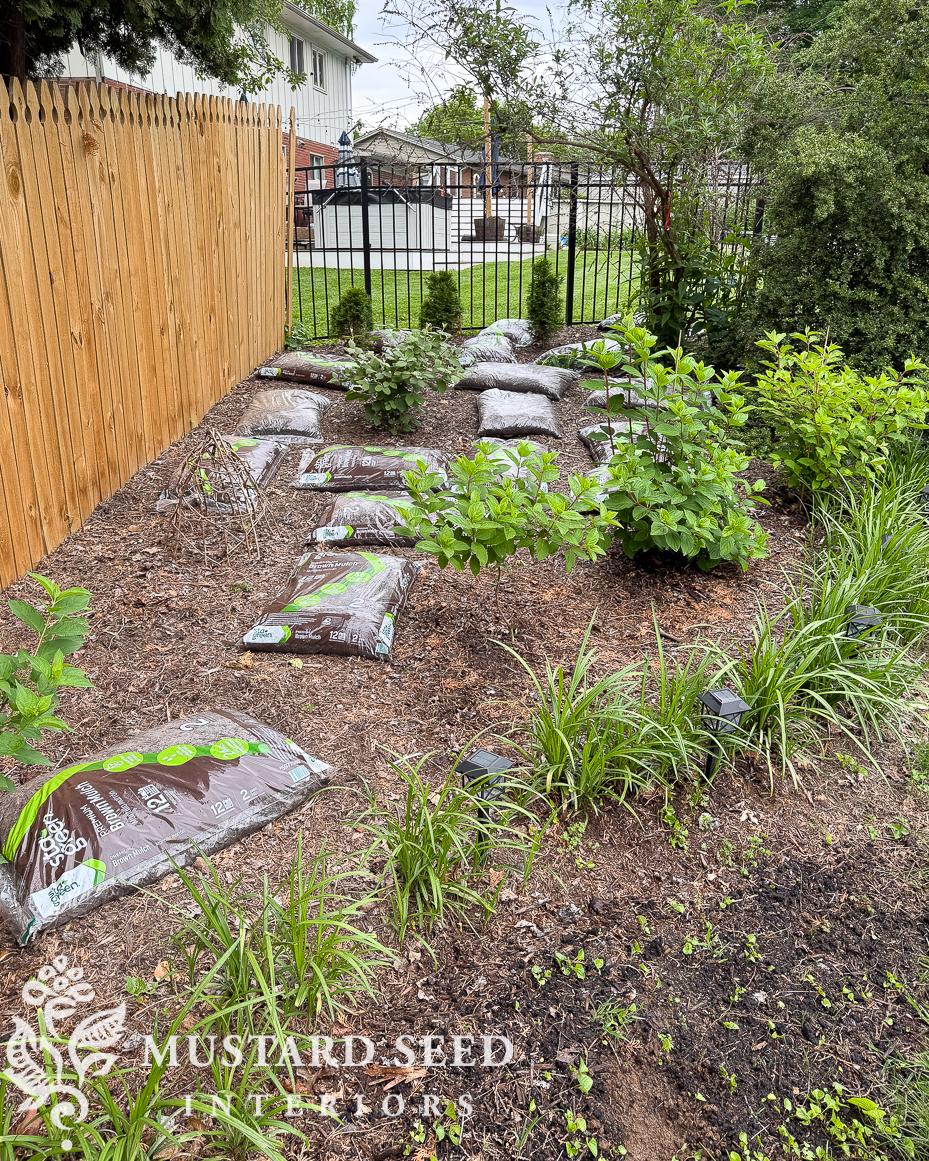
The back corner of the backyard was also infested with goutweed. We eventually started mowing it to try to keep the weeds in check until I had a chance to properly work on the bed last spring.
Oh man, this area was such a mess. I just hated even looking at it! My mom came over one day, and we pulled as much of the goutweed as we could by hand, put in some new bushes, and laid down cardboard and mulch.
Here is how it looked last year when we finished…
Last year, I had to regularly pull little goutweed sprouts, but I stayed on top of it, and I only saw a few this year. They are mostly creeping through the neighbor’s fence and around the base of established bushes. I walk through the beds a few times a week and hand-pull any sprouts I’ve seen. By plucking the sprouts, I’m trying to deprive the goutweed of light and nutrients. I’m hoping that, over the years, the root system will weaken.
Here is how it looks this week. We still need to spread the mulch in the back, but I’ve been pretty impressed with how well the cardboard and mulch worked so far.
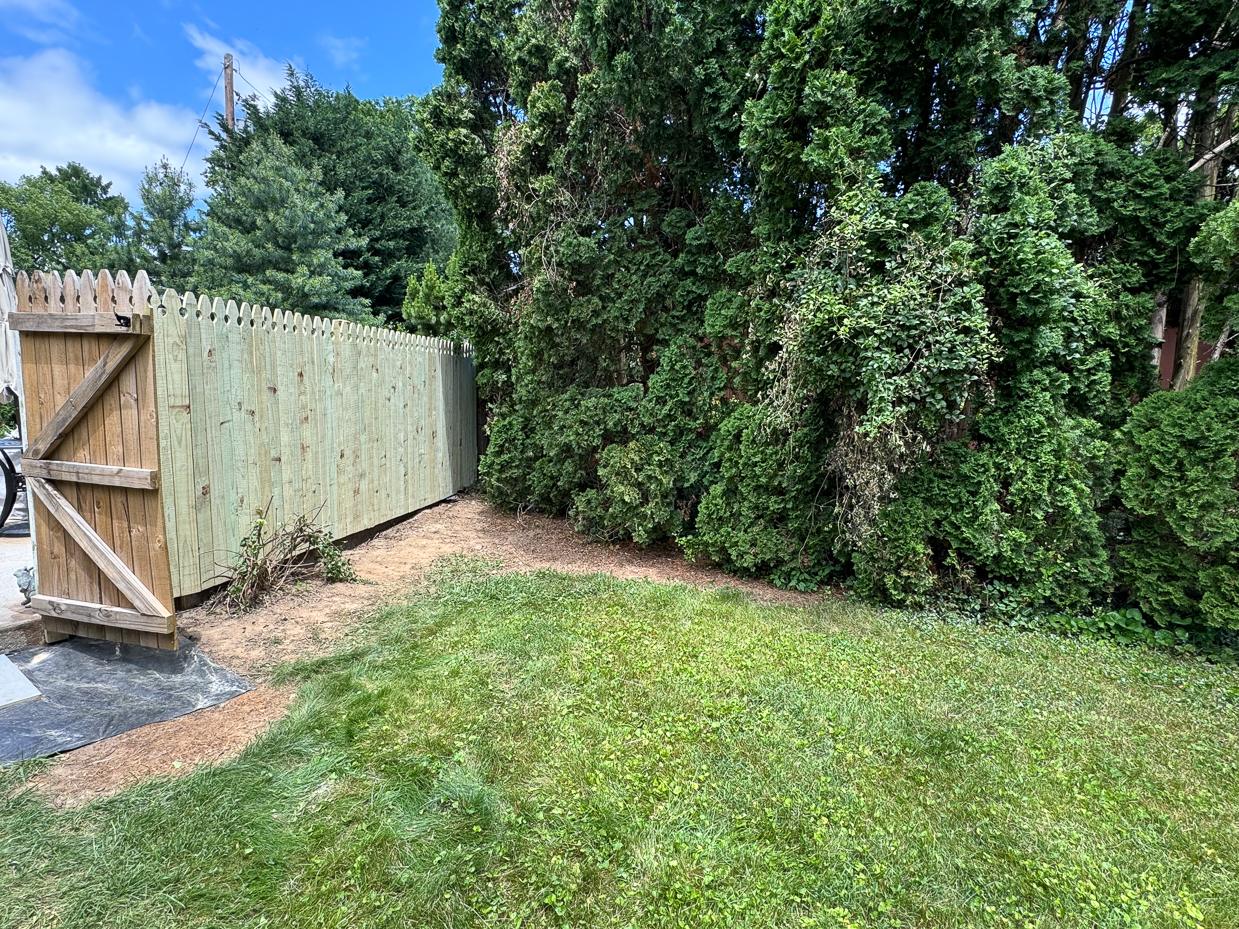
how to get rid of goutweed | method three | weed spray
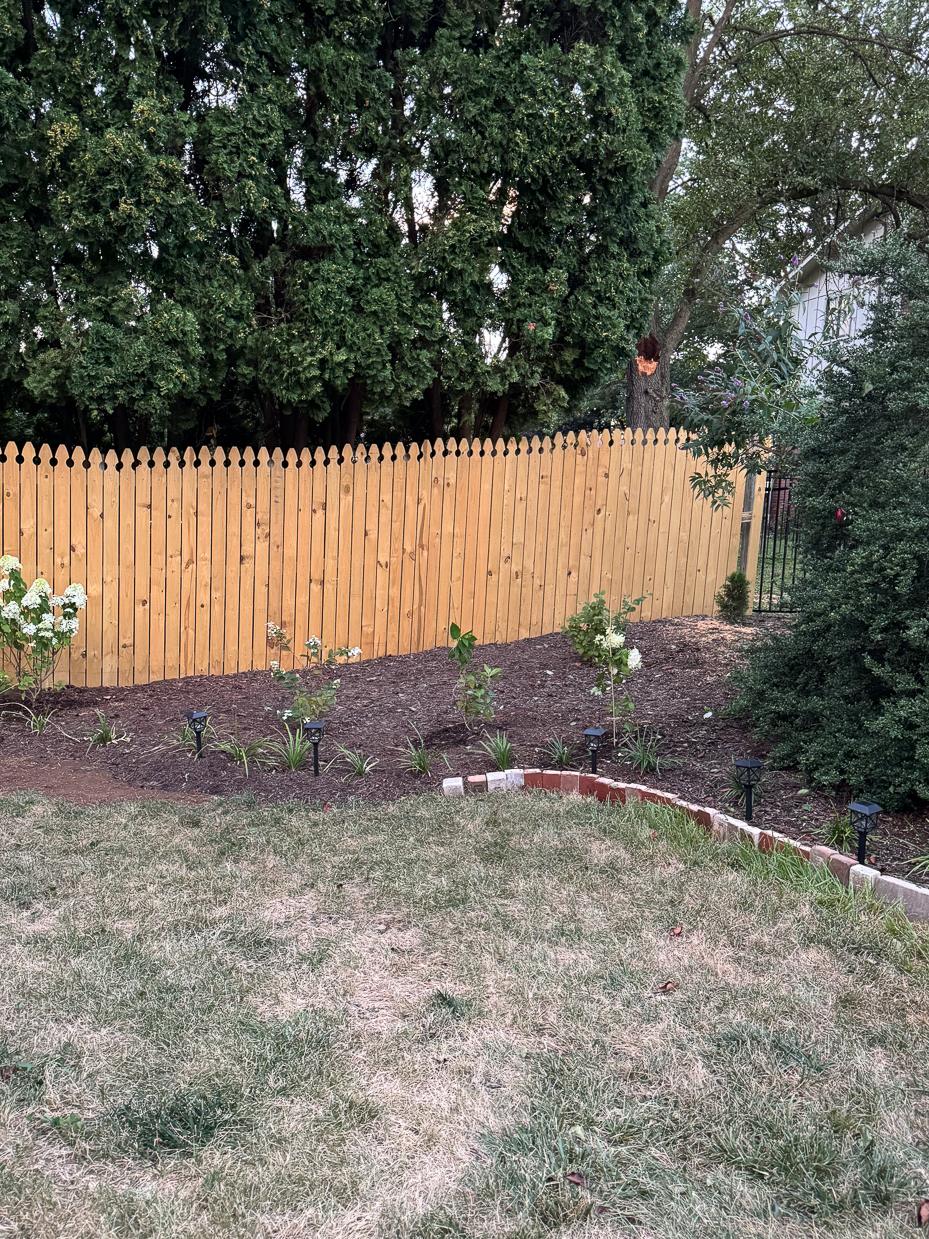
This area has been the most interesting. It’s by our side gate and was a total tangle of sweet autumn clematis, bishop’s weed, and a bunch of other things. Since it’s not very visible and all the vines were holding the fence up, I didn’t worry about it too much. When we replaced the fence, though (you can read about that HERE), I had to cut back the clematis and clean up the area. I had already been working on the goutweed by cutting it down with a weed whacker and then spraying new, tender sprouts with a weed spray that contains glyphosate.
After a few weeks of doing that, you can see that the area is pretty much bald! I hand-pulled goutweed and other weeds that were around the clematis and dug out the roots, but I still needed to keep an eye on it.
This is how it looks so far this year. Some weeds have come back, but I haven’t seen any goutweed at all.
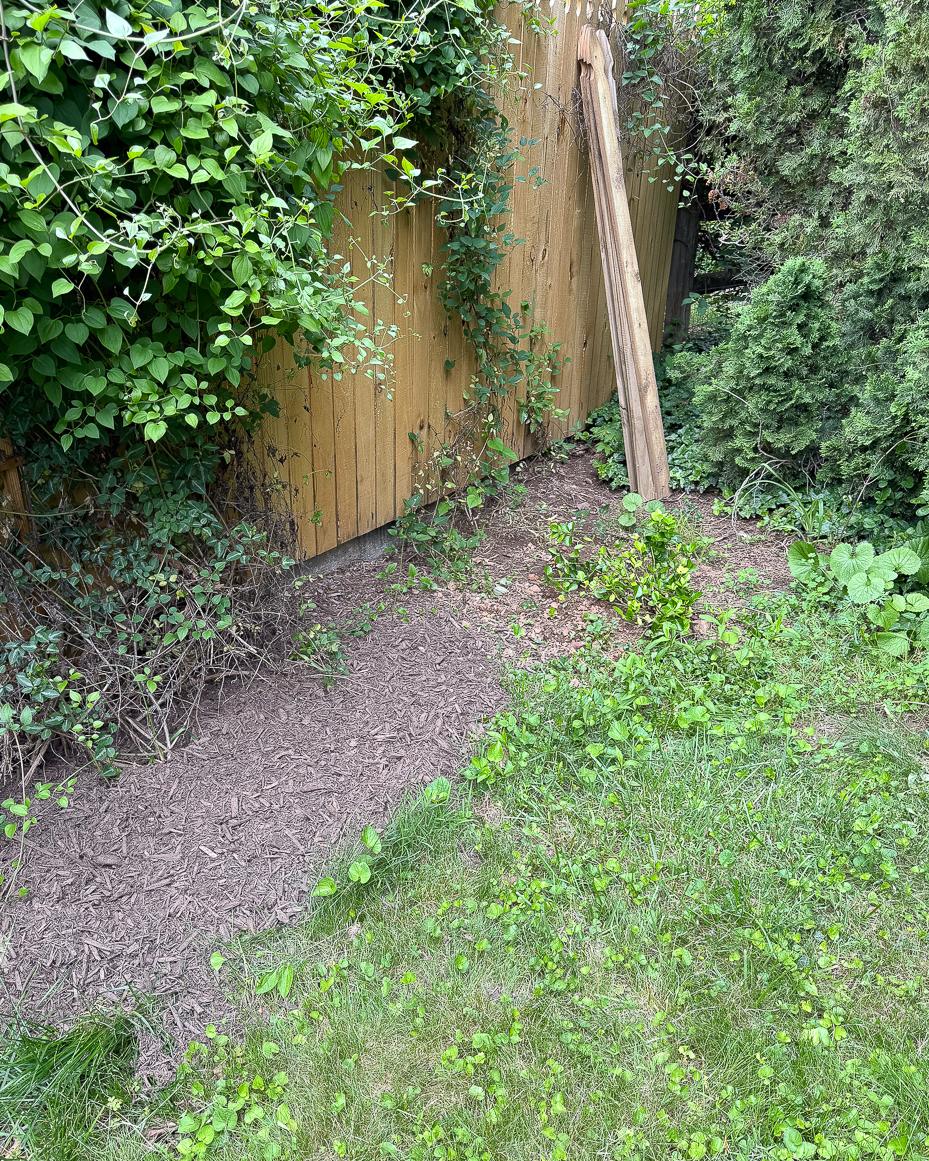
This area still needs more attention to make it look polished, but I’ve been working on the beds that are more visible this year. This will likely be a project for next year.
how to get rid of goutweed | method four | solarization
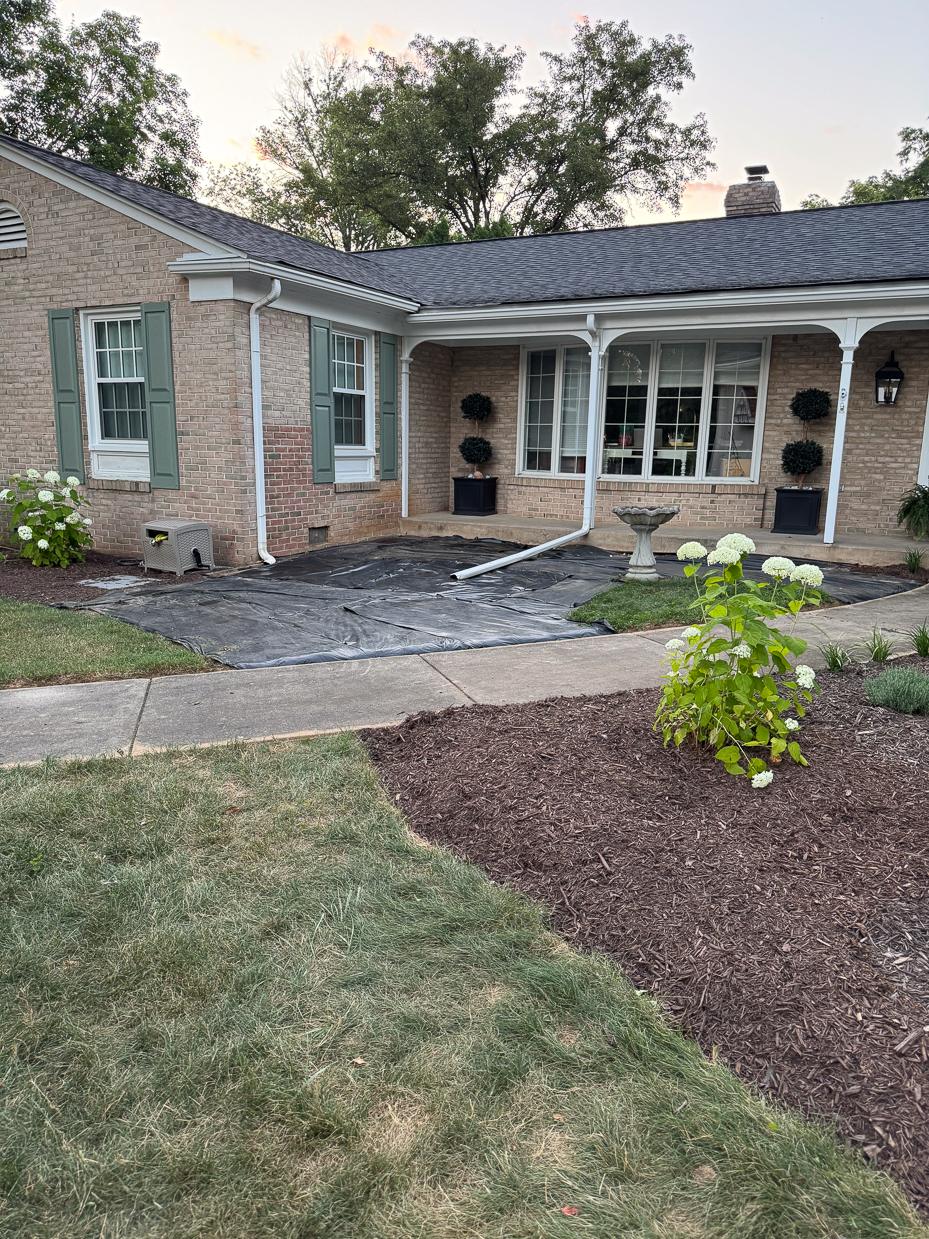
The front garden bed gets full sun almost all day, so it was an ideal place to test out solarization. I dug out as much of the goutweed as I could by hand and then covered the entire area with heavy black plastic. (I ordered THIS roll off of Amazon.) The plastic will heat in the sun, killing plants, weeds, and soilborne organisms like weed seeds, fungi, and bacteria. The black plastic also smothers the weeds and deprives them of light. It’s the bake, smother, and starve approach! I put it down in the spring and left it for a year. It takes patience, but I was willing to give it a try. I had other projects to keep me busy while I let this one literally cook.
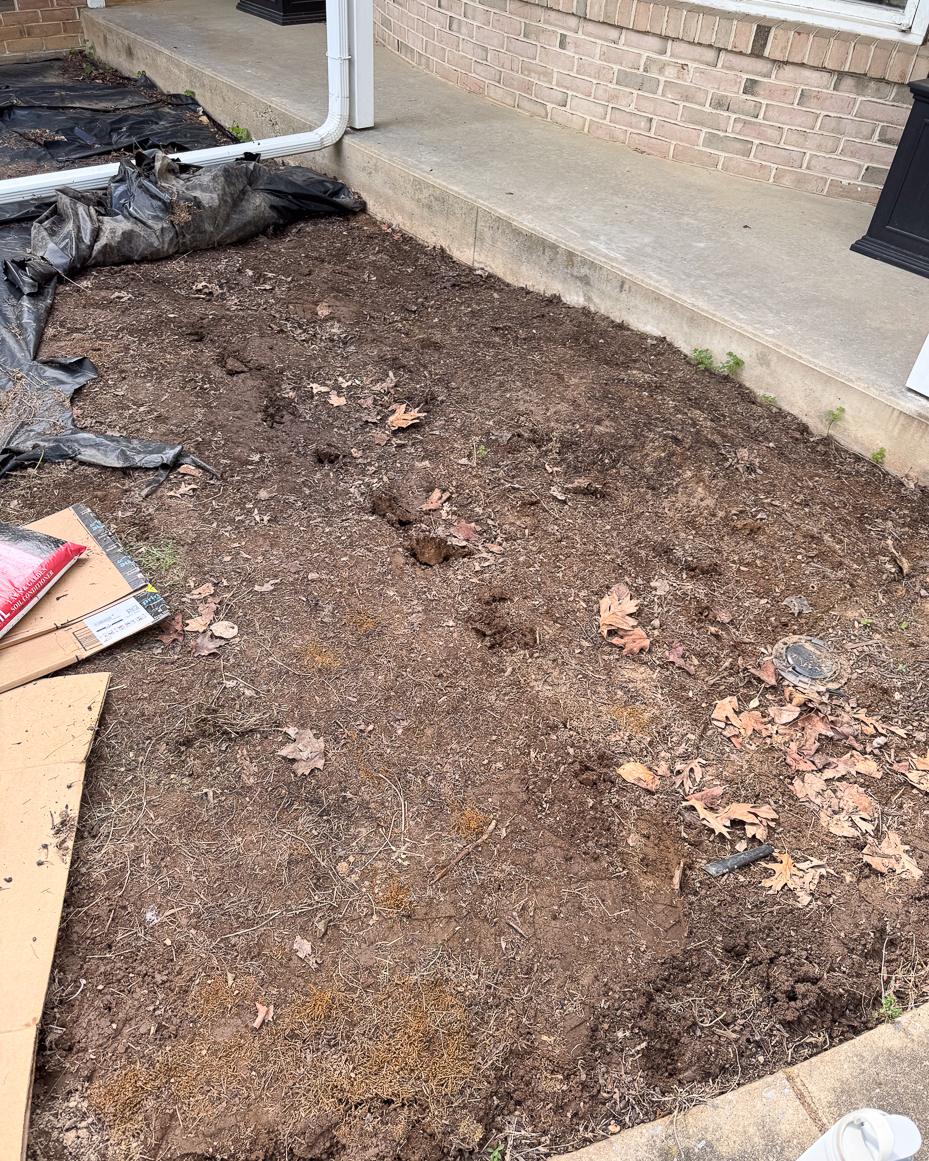
Weeds popped up along the edges of the house and through the pinholes made by the staples, but I would just hand-pull them. I wasn’t sure what to expect when I pulled the plastic up, but what I found was bare earth. There was no evidence of anything that was alive prior to putting the plastic down. Now, are there goutweed roots and other things lurking, just waiting for some light and nutrients? Well, we’ll see! I’ll keep you posted, but I haven’t seen any goutweed so far.
Since the soil was covered for a year and deprived of light and nutrients, I added some garden soil to fix holes, grading issues, and to amend the soil. I pulled all of the plastic up except at the very front of the bed, where I haven’t done any planting yet. I’ll pull that up next year, though. I used cardboard and mulch on the rest of the bed where I planted.
A few people have asked about drainage when it comes to using black plastic for weed control. I was concerned about that and watched it as we had heavy rains to see what would happen. The water drained through the staple holes and along the seams of the plastic, so that didn’t seem to be an issue. I wouldn’t use plastic everywhere, but it’s a nice tool to use strategically for a specific period. Cardboard allows drainage and will compost, so it’s a better long-term option.
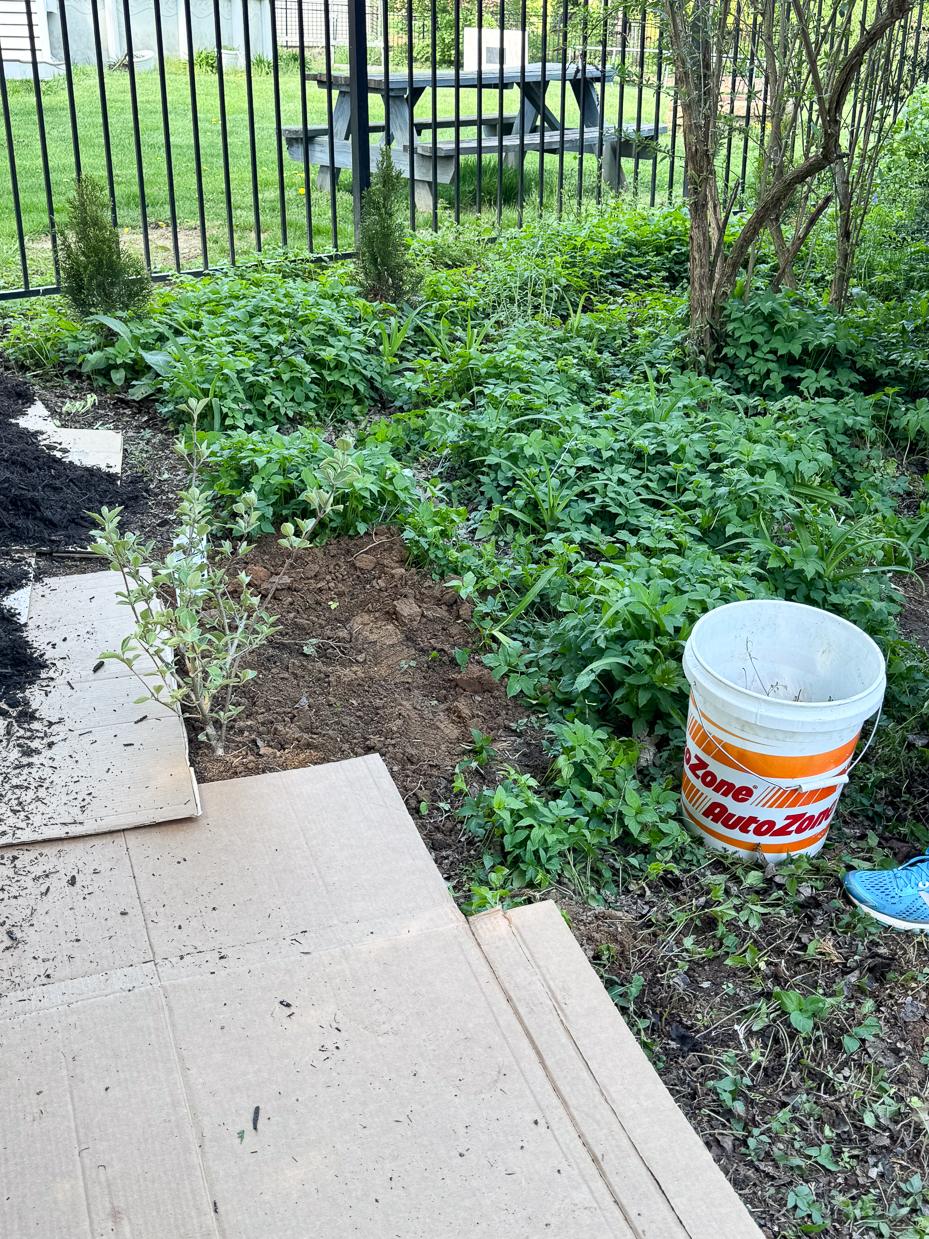
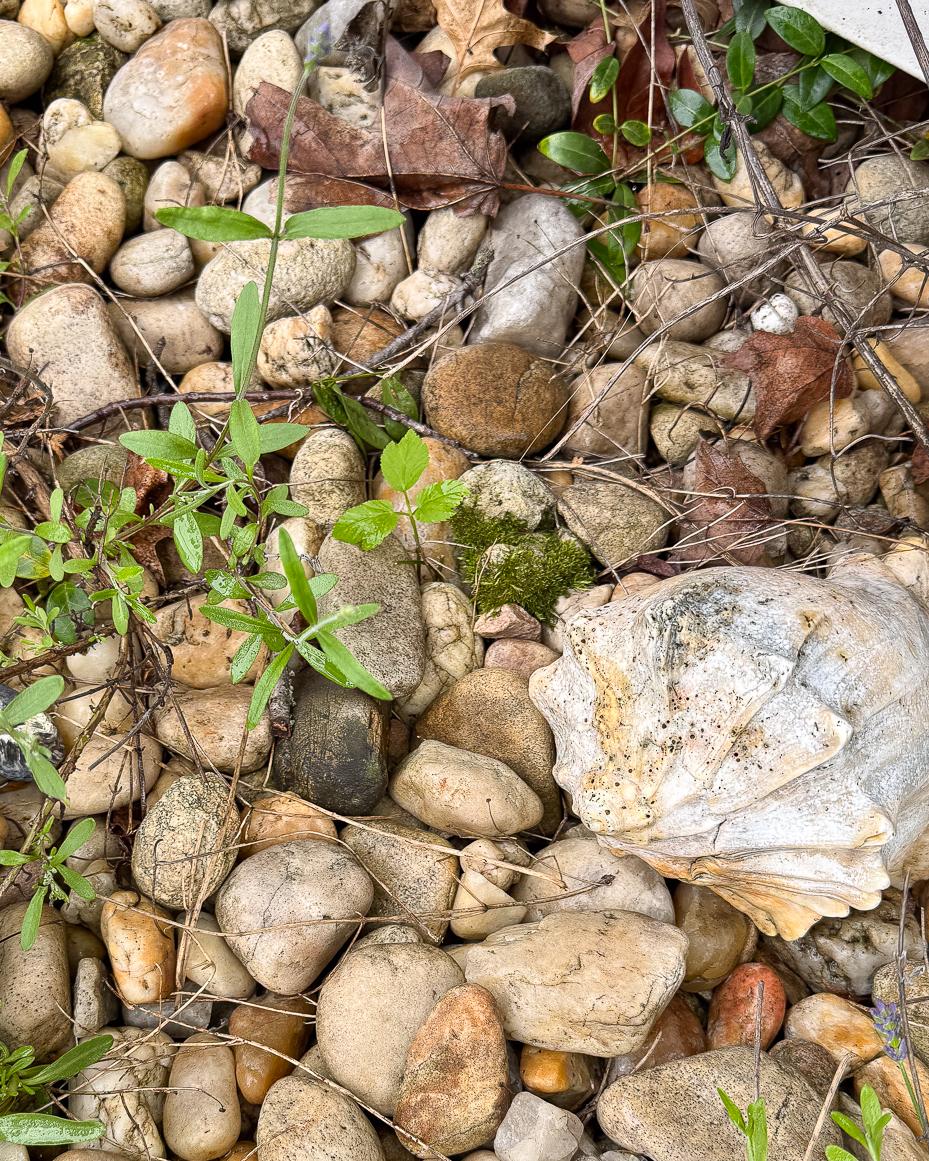
Since I’ve mentioned plucking the sprouts when I see them, here is an example of one coming up in our rock bed. It’s the little three-leaf sprig in the middle of the photo below. I transplanted some sweet autumn clematis here to grow up a trellis and, unbeknownst to me, brought some goutweed along. In areas like this, I just keep an eye on the trouble spots (and all of my beds, really) and pluck them when they are small. It’s simple, doesn’t take a lot of time, and has prevented the goutweed from taking over beds I’ve worked hard to clean out.
So, which was the most effective? I think all of the methods have been effective at getting the goutweed under control. Will it come roaring back? Maybe? I’m not sure. If I keep on the sprigs that pop up, I’m pretty confident that it won’t run rampant again unless it does so overnight. Will I ever get rid of it entirely? Probably not. And that’s likely true of the English ivy and bindweed I’m dealing with, too. I’m hoping that, as other plants and bushes grow and thrive, the goutweed and other annoyances will get crowded out and become less and less of an issue.
If you’re dealing with goutweed or something similar, I suggest testing out a few different methods as I did. I’ve heard from others who have tried these options with varying degrees of success. It may depend greatly on your climate, soil, neighboring plants, or even your approach to the method (how much cardboard you put down and how diligent you are about staying on top of small sprouts). In the end, unless the plant is actually harmful to you or your home, I would encourage approaching any invasive weed that’s messing up your garden plans with a mix of perspective, diligence, and humor.

(I’m not sure of the original source of this photo, but I found it in a goutweed forum.)


9 Responses
We were successful ridding an area of English Ivy that was making its way up a utility pole to our transformer by cutting it all the way back and spraying it really well with white vinegar. (We might have mixed it with something — I can’t remember.)
Wild violets are welcome to spread in our beds — I love the way they mingle with our creeping myrtle. (It’s a sentimental thing too: My father used to buy my mother and me violet nosegays on Mother’s Day.)
Thanks for the tip on white vinegar. I might try that! For a large section against our house, I’m pulling as much as I can and then covering it in black plastic and much. I’ll spray any stragglers.
I recently learned that wild violets should be welcomed since they are early polinators. I guess that’s one less thing to worry about!
I’m dealing with broadleaf! I spent hours digging up hundreds of them and the next year they not only came back, they took over the whole yard! I’m about to pull my hair out! I can’t use and don’t want to use harsh chemicals because the backyard is where my doggies play. So thank you for these ideas. I’m going to use them all! Stupid Broadleaf! It’s a nightmare!
Q: with the cardboard, was it JUST cardboard (1 layer or 2) you put down with mulch on top? No plastic or weed barrier on top or beneath?
Yes, it is just cardboard and typically two layers. I keep the boxes folded when I put them down.
I have had great success with putting down newspaper in new or old flower beds. It works with little or no weeds returning and my flowers are beautiful. Also, 1 gallon white vinegar mixed with 2 tablespoons baking soda and a tablespoon of dish detergent is a natural solution for getting rid of weeds. It works with consecutive sunny days. Cardboard works but takes longer to decompose. It’s a lot of work but daily checks for weeds is a necessity!!! Enjoy playing in the dirt, I sure do!!!
If I cover my phone with cardboard and mulch will that stop the annoying ads from popping up on your site? 😁
Your beds around the house are looking fantastic! All the hard work is def paying off!!
I think you have space on your front porch area for a few chairs, maybe rocking chairs, and a small table. That would add to the welcoming look in the front, IMO. I love your backyard, as well, esp with that gorgeous swimming pool. Bravo, Marian!!
I’ve had the best luck with putting down used carpeting…upside down laying the carpet face down, then covering with gravel. You just have to be sure to overlap the seams a lot or those pesky roots will find a way thru the seam. We found a carpet store that thew away old carpeting in trash bins, and sometimes even the parts that were cut off their new installs…either works.