
A part of me felt like sharing the process of this basement makeover here on the blog wouldn’t be very fulfilling. With other rooms in the house, there is going to be a transformation with well-lit photos at the end of the journey. With zero natural light in this space, a drop ceiling, and cold fluorescent lighting, this makeover isn’t going to end in an Instagram-worthy photo shoot. But, I know that many people who live in older homes in the US states where basements are the norm are dealing with a similar situation. Basements in the 1970s and 80s were typically unfinished or, if they were finished, they were places for the Christmas decorations, the washer, dryer, and chest freezer, ping-pong tables, workout equipment, a playroom for the kids, and a hangout for the teenagers. I remember rollerskating in my friend’s basement in the early 1990s because it was just a wide open space with a smooth concrete floor and a few support beams
These basements were typically finished on the cheap with fake wood paneling, Berber carpet, and drop ceilings. The basement has evolved, though. In newer suburban homes, these subterranean spaces are often beautifully finished with walk-out doors, full-sized windows, a generous ceiling height, and actual drywall. They feel like an integrated, fully functional part of the house instead of a bonus afterthought. The basement in our MN house had a huge family room with large picture windows, a fireplace, a wet bar, a bonus/workout room, and a guest bedroom suite. This 1970s basement is a far cry from that.
But it is still a part of our house that is included as finished square footage in the real estate listing, so we want to make it feel more like a part of our home. It likely won’t ever be an amazing space to photograph, but it can be a great hangout when we have a lot of people over. It can look a little less 1970s and a little more finished. So, we’ll continue on this journey, flourescent-lit photos and all.

As I shared in THIS POST, I’ve been removing the carpet glue bit by bit and I finally finished one section. I mentally have the finished part of the basement divided into four parts, so I’m 1/4 of the way there.
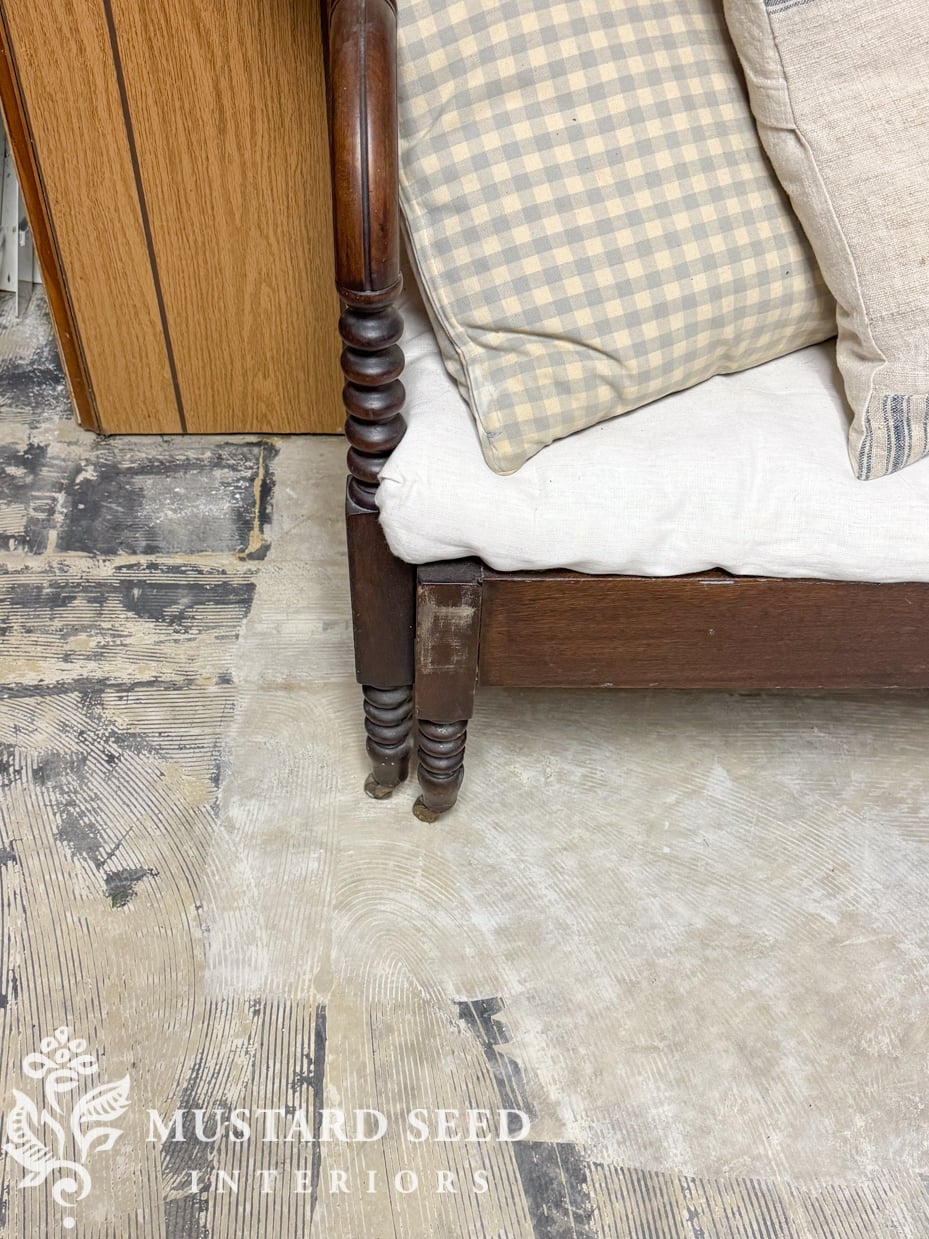
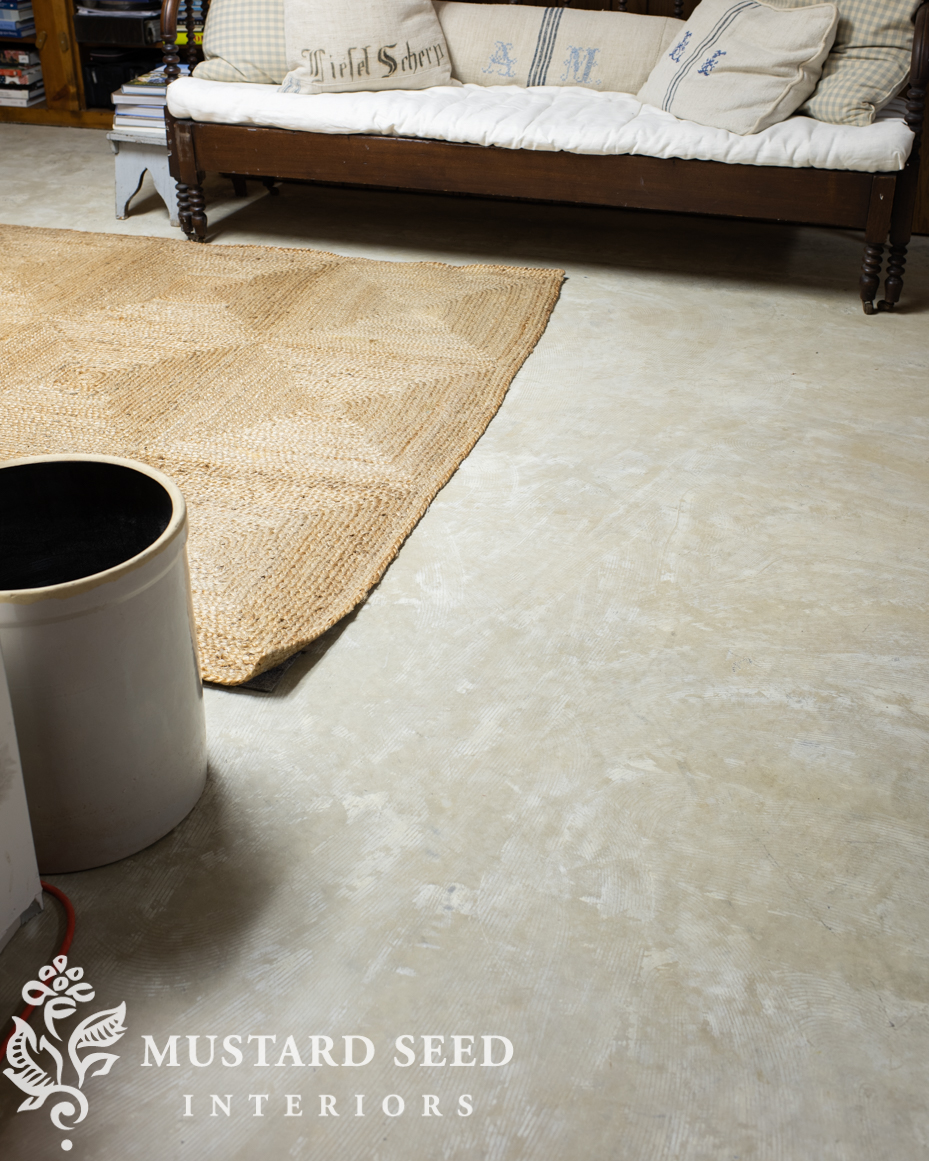
I worked on the “library” section of the basement first since it had the least amount of furniture and stuff to move. Once all of the glue was removed, I mopped the floor a couple of times with Simple Green cleaner and hot water. I let it dry and wet over the floor with a vacuum to make sure it was really clean. I can’t tell you how amazing it feels, after living with floors covered in old carpet glue and bits of foam padding, to have the floor look and feel clean. Yes, the space is still ugly, but look at that clean floor!
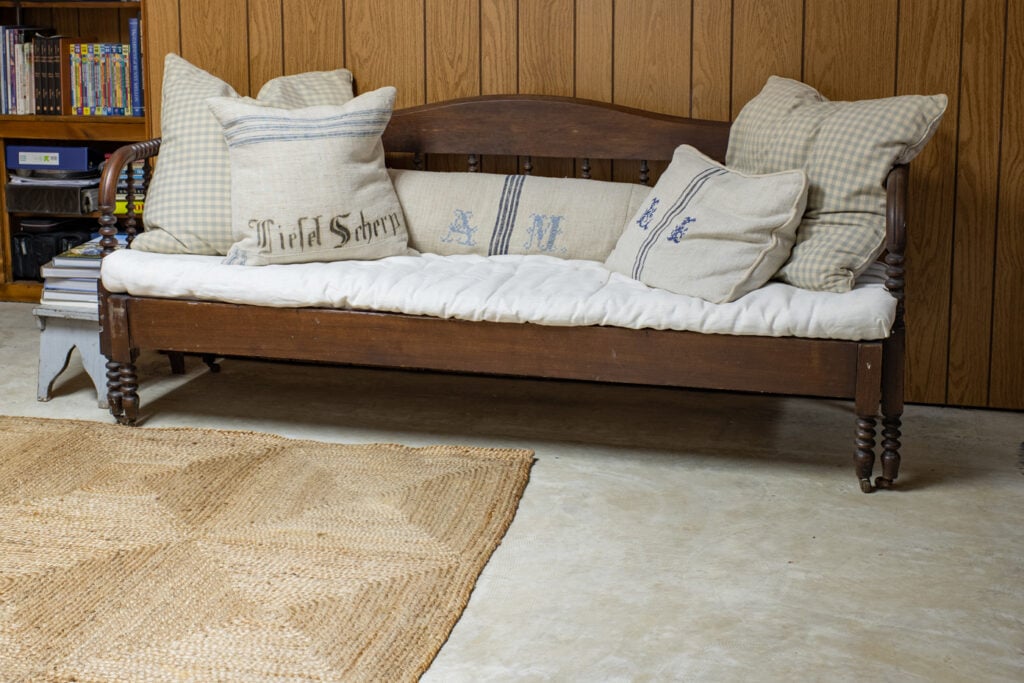
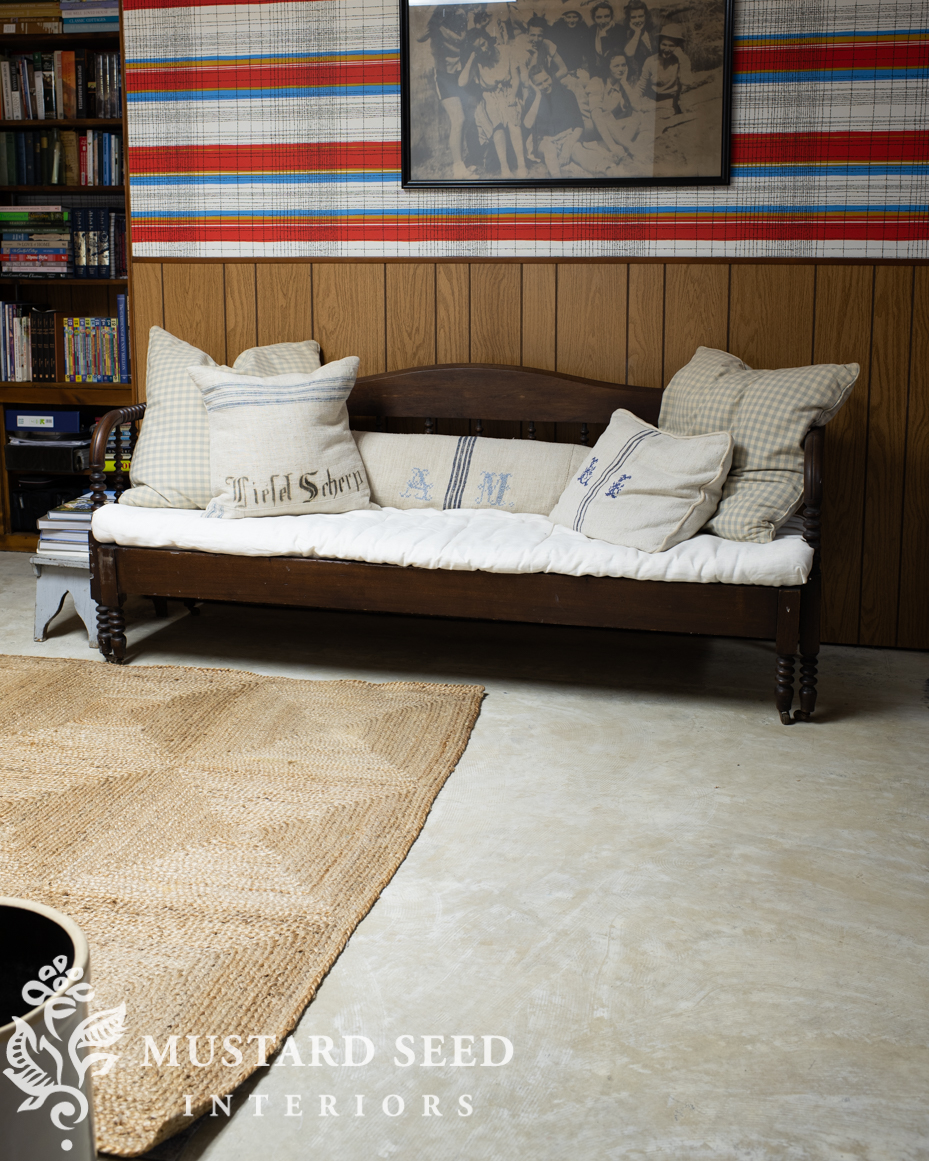
I put down a braided jute rug (THIS ONE) that was in our bedroom with a pad under it to add a bit of softness. I’ll be moving the daybed to the nook that will be used for hanging out, playing games, etc., and I would like to add a couple of armchairs and an ottoman in the library area.
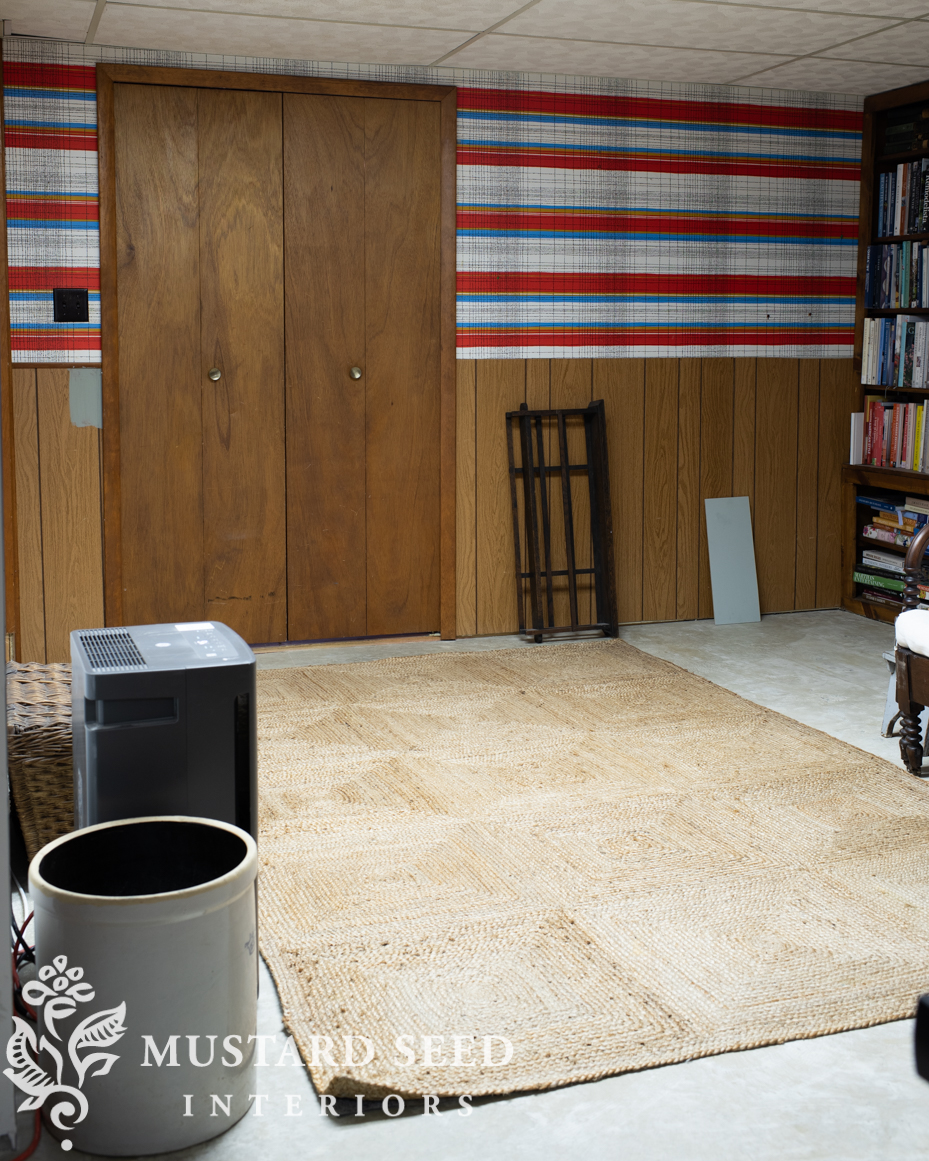
In the photo above, you can see where I tested a swatch of paint to the left of the laundry room doors (that was Pigeon by F&B) and a painted sample (Light Blue) leaning up against the wall. I wanted to look at the colors under the fluorescent light. Pigeon, which is a gorgeous color, looks muddier and darker than I want. Light Blue looks like a nice blue/gray, so that’s the color I’m going to go with for the wood paneling, trim, doors, and bookcase. I’ll use a white I already have for the wallpaper. After applying a high-hiding primer, of course!
I actually don’t mind how the concrete looks now, but you can see where the glue has stained the concrete, so I still plan on painting it to make it bright and fresh.
The built-in bookshelves are a nice start to the library zone so I will keep them and paint the wood and backing in Light Blue. The shelves are removable and adjustable, so I’ll adjust them to fit the books better.

I also have three Ikea bookshelves (the same ones that are in my studio) to put on this wall once it’s primed and painted. I’ll also add baseboards and replace any missing trim.
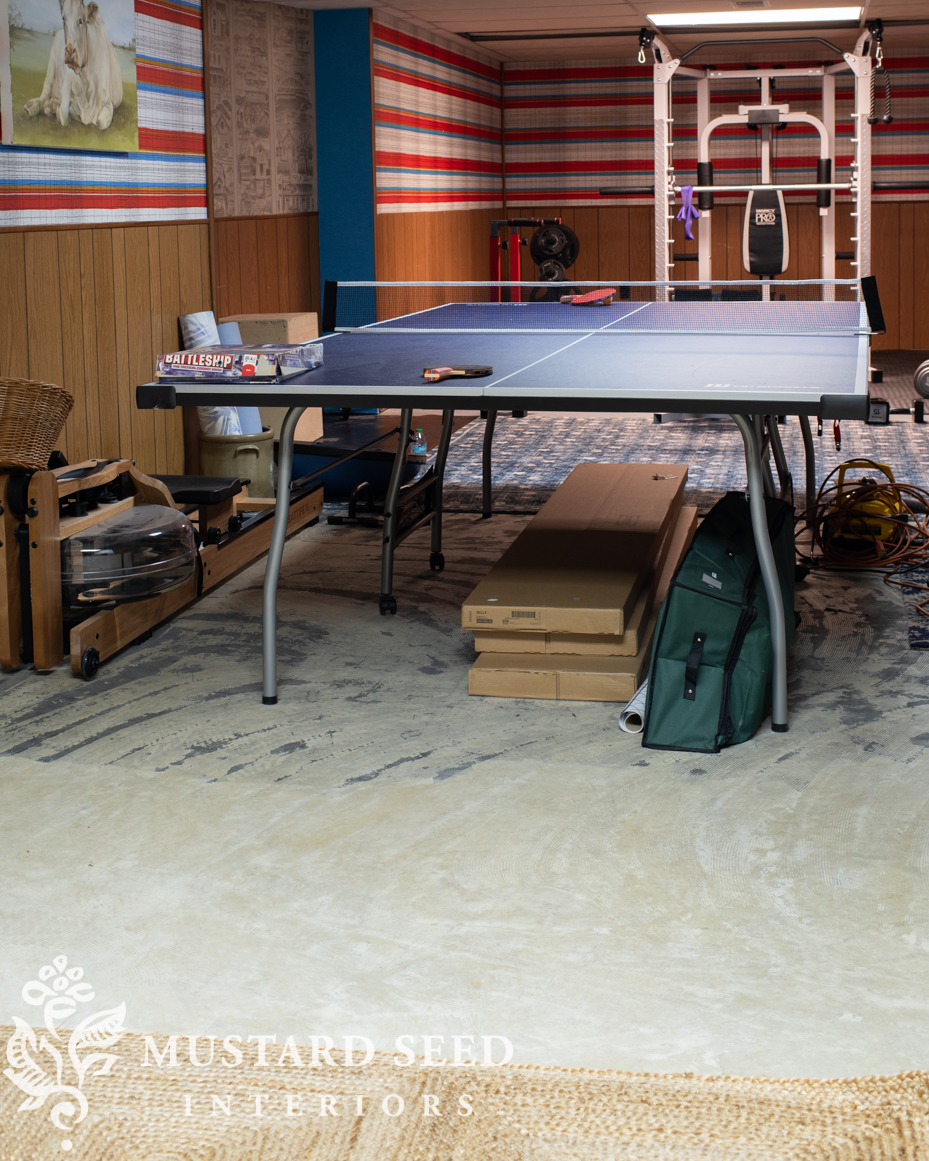
The next section of the floor I’m working on is under the ping-pong table and then the workout area (under the blue rug.) The space under the Smith machine didn’t have glue, so I was able to clean, prime, and paint that area shortly after we moved in. I’ll just paint it to match the rest of the floor once I get to that stage. (It’s gray porch/floor paint currently.)
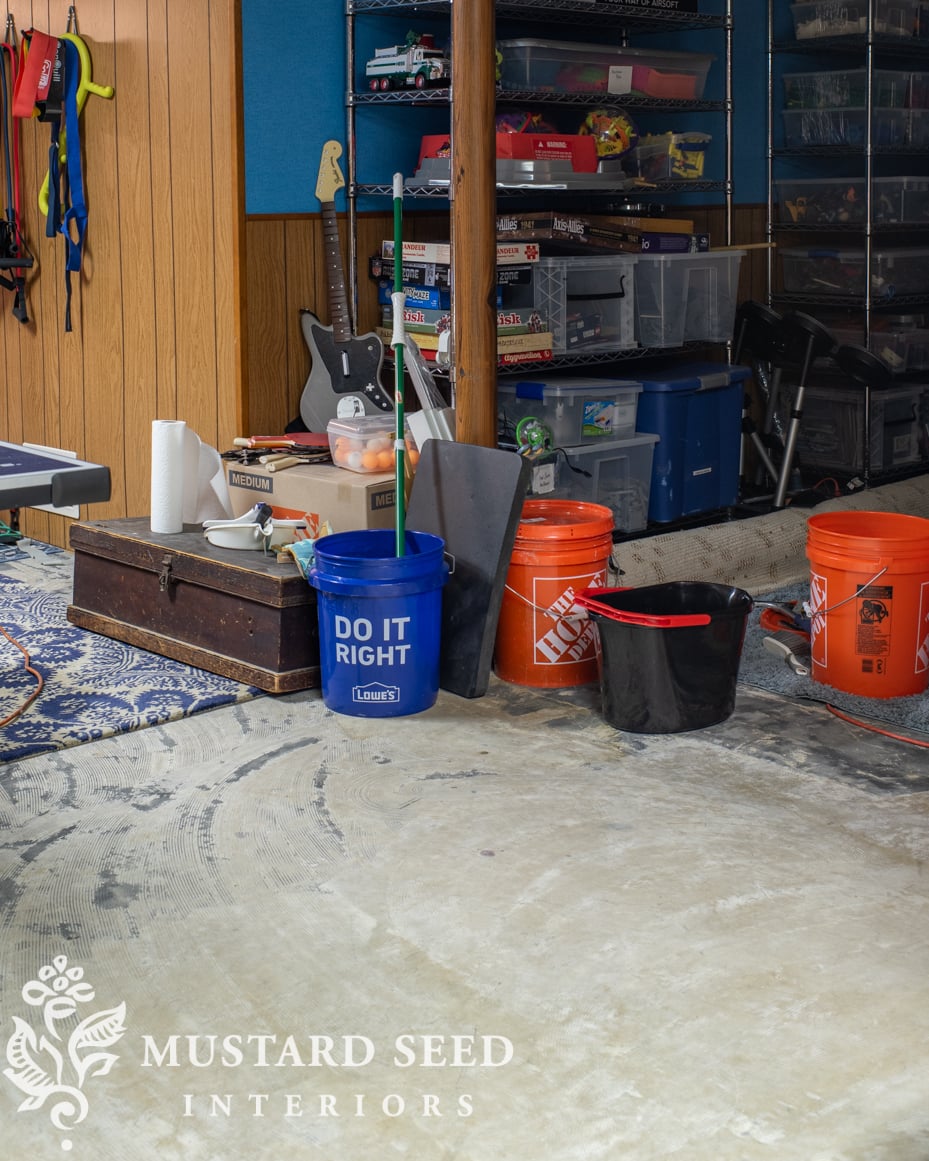
And then, I’ll move on to the alcove which will be the game/hangout area. We’ll move the storage shelves to an unfinished part of the basement and do some thorough purging! When we moved, my boys just weren’t ready to get rid of some of their toys, even though they didn’t play with them anymore. Moving is traumatic enough for kids, so I didn’t push it. I knew they would be ready one day and it was okay that they weren’t ready yet. I think we’re ready to sort through things and pass them along to new homes, though. We’ll keep some things that would be good for kids who come over to play, though, or things they might want to have for their kids one day.
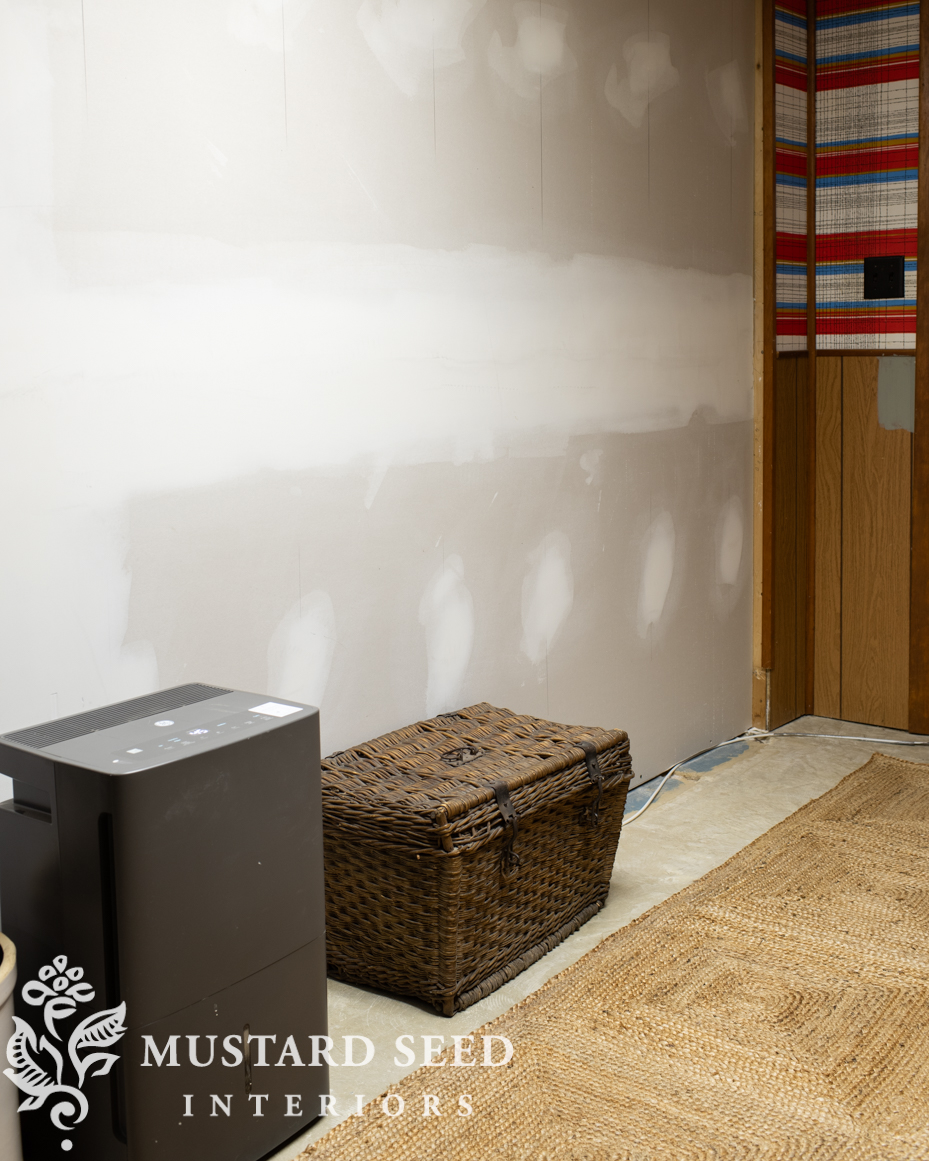
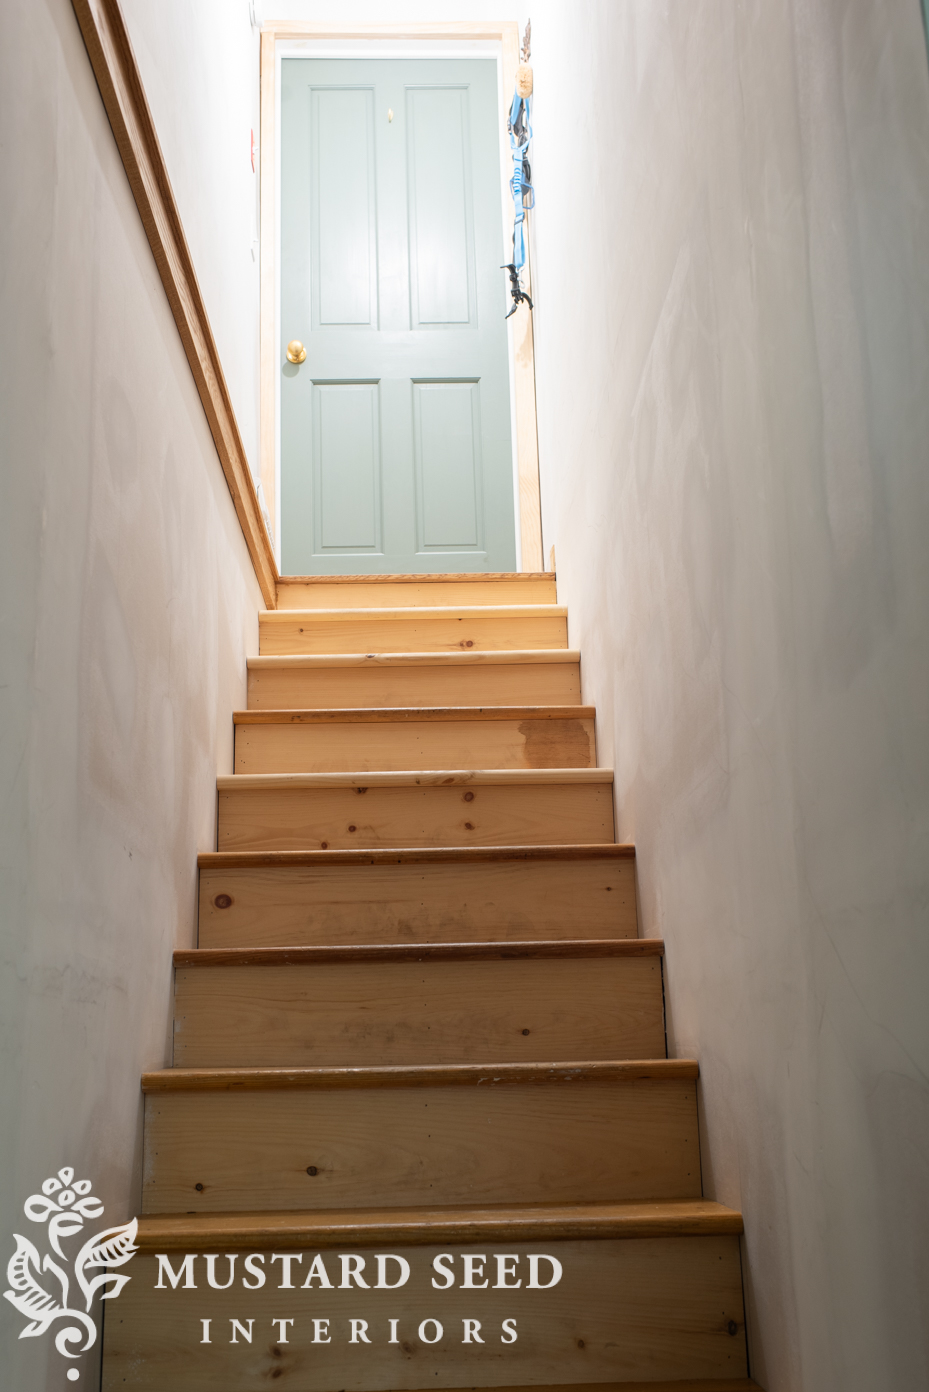
I’m also going to work on the new staircase. If you recall, we moved the stairs to open up the kitchen, so we have unpainted drywall walls and unfinished stairs. I’m going to stain the new treads to match the old ones, paint the risers, and prime and paint the walls.
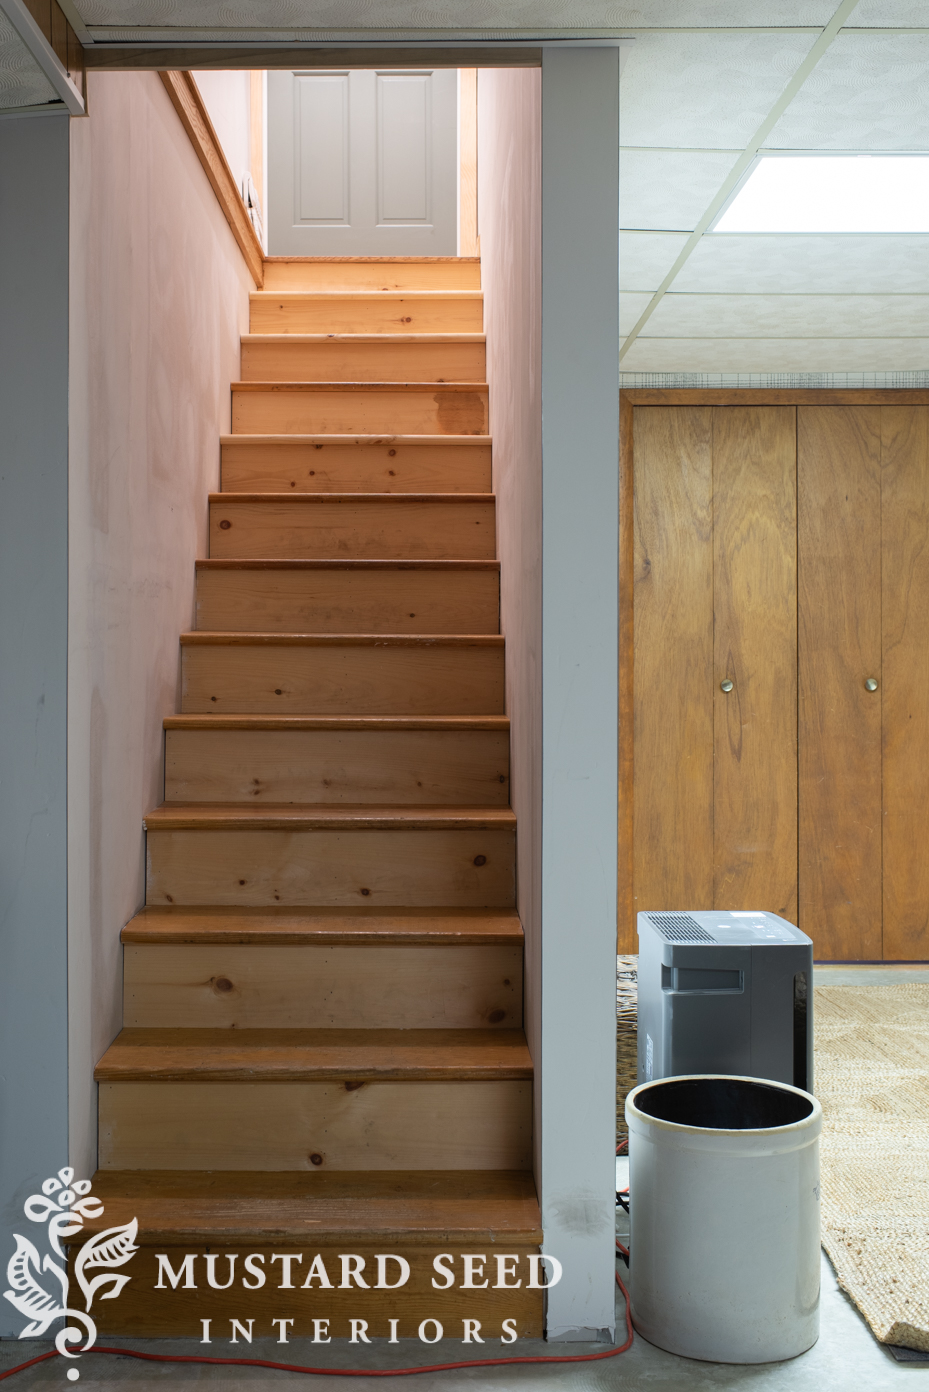
It’s not a huge, expensive project, but it will do a lot to make the basement feel more like a finished part of the house.
I’m hoping to have all of the glue removal, trimming, priming, and painting done by early spring when I’ll be spending more time back out in the garden. It’ll be a good winter weather project. I’ll keep you posted on my progress…


18 Responses
Hi Marian,
Did you ever think about replacing the fluorescent bulbs with LED bulbs? It’s very simple & it would really improve the lighting in your basement without a major expense.
My husband has been gradually doing this in our storefront and it makes a world of difference. Now we wonder why he waited 35 years! lol
Hi Marian,
I’m glad you keep us updated on your less glamourous projects. We all have them and seeing you make progress on yours is encouraging! Slow and steady wins the race.
Just out of curiosity, why don’t you just simply cover over the basement floor with a low pile carpet and call it a day? It’s just so much effort and time to get the floors ready for paint. Just wondering…
Well, the carpet was removed because it got wet from flooding. It doesn’t happen very often, but it can happen if the gutters are clogged or not draining properly. I would just prefer not to mess with the possibility of wet carpet and have the flooring something that is water-friendly, just in case.
WOW!!! You really have been moving along. The floor looks soooo much better without the glue/carpet. I have never had a home with a basement…but I wish I did!!! Looks to be a cool storage and hang out place.
Is there a worry of a possible flooding with severe rain? How would those lower books fair?
I hope you are going to put a handrail on those kitchen leading steps….might be needed on a big laundry day. The only picture I cringe at is the second to last one….that extension cord right in front of the last/first step……a shoe could get hooked up under ….another broken foot…Oh!! NO!!! Bad for all ages too. I know it is not meant to stay there….just thinking ahead.
PS….I forgot to say…I love seeing the pretty, of course, but I also love seeing the dealing with the everyday not so pretty spots. My garage is a mess right now!!!
Some water has come into the basement, which is why they pulled up the carpet, and we had water come in the cinderblock wall on the back side of the house when we had 6″ of rain in a few hours, but that was in the unfinished/storage part of the basement. So, this water has had and can have water issues, but there is a drain in the floor and it’s unlikely for the flooding to be significant enough to mess up the furniture and books. We have sensors to alert us to the first bit of water, so we could be down there pumping it out.
And yes, that cord is for our dehumidifier and we need to get everything moved and positioned better to eliminate the tripping hazards. Also, we’ll add some sort of a low-profile handrail.
I love all that you do. This is the one I am really looking forward to.
You are starting with really ugly. I will be excited with you to see the ‘pretty’ happen.
This will and should be a lesson on what can be done with ugly and determination.
Best of luck and Prayers that your hands and knees hold up!
The less inspiring, more mundane spaces are always more challenging. Thank you for showing us your process so that we can be inspired and motivated to tackle spaces and projects that will transform our homes.
I agree with Beverlee! I appreciate being along for the ride on this project. And I am really looking forward to how you finalize the design and accessories. From my perspective, this is a real project and a real challenge. You inspire us in so many ways, just add removing glue from a concrete floor to the list!
Have you done mold spore tests on the basement? Just the knowledge of water being down there at all would make that a good recommendation to test. Are you sure there isn’t anything scary lurking behind all that paneling?
Fortunately, we can see behind the majority of the paneling since there is unfinished space behind it. It’s all in good shape without any visible water damage or mold. The basement was very musty when we first moved in, but that was likely from the carpet that was removed. We started running a dehumidifier immediately and that cleared it up. Anyway, it’s something to be mindful of, but not a serious concern.
Hi Marian,
always so much to do when buying an older home! Kudos on your progress with the floor. When I have had huge jobs like removing wallpaper from nearly every room in one house we bought in the 70’s; I calculated the labor by season! The first year we did the public rooms first; living room, entry and guest bath. Next was popcorn ceilings scraped and painted with starting crown molding and chair rails. Year Two was several new larger insulated windows and a sliding glass door. The dining room was the easiest; because it only had masonite paneling painted. We replaced it with nice real wood paneling and trim etc. ourselves, similar to what you have done in your Minnesota house. We refinished the hardwoods and had neutral carpeting bound for inexpensive area rugs. Years three and four was the kitchen, mudroom and half bath, a total gut job lasting
seemingly forever! We had to replumb most of the whole house and had asbestos remediation. Unexpected budget busters… Seven years and we were pretty much finished. My husband came home from a meeting and had been offered a milestone promotion. Our daughter was ending elementary school and was starting Junior high school in the fall of 1987. My husband and I both worked full time during this saga of house remodeling and never has time rushed by so quickly!
Rooting for you and your family with your newest house journey!
Marian,
You have inspired me! I’m living in a smaller home, and the windows are the old aluminum framed windows that were the norm in tract houses in California back in the day. I won’t be replacing them, but I decided to paint the frame of each window in white. I investigated the proper way to do this, and I couldn’t be happier with the results. I have five windows left to do. You are the one that gave me the confidence that I could accomplish this, thank you.
If your boys (and/or Jeff and/or you!) are going to be lift weights in the workout zone you might think about putting down rubber mats instead of fussing with removing all the glue. They absorb some of the impact from dropped weights and cushion the body when lifting.
Thank you so much for sharing this journey, Marian. We have a 1980s ranch style home and at first there were so many things I didn’t like about it. I have grown to love it and appreciate it over the years and even am grateful for the many aspects of beauty – like the white oak floors and huge windows. It has a full basement that is not as outdated as yours but does have the dreadful dropped ceilings. Oh! How I would love to change those out! I’m sure it will eventually be beautiful to behold and welcoming like a warm hug.
I like it when you show the ugly and unfinished. We all have that, do we? I live close to a big river, on it’s dyke. These last 9 years, my house never flooded but last year was bingo. The cellar had an unbelievable 15cm of water in it. That took some effort to empty. I feel for you having to do that floor. It is worth it in the end.