

I finished painting, staining and slip covering the four Craig’s List chairs for the dining room a fewweeks ago and have been on the hunt for chairs to use for the ends of the table.
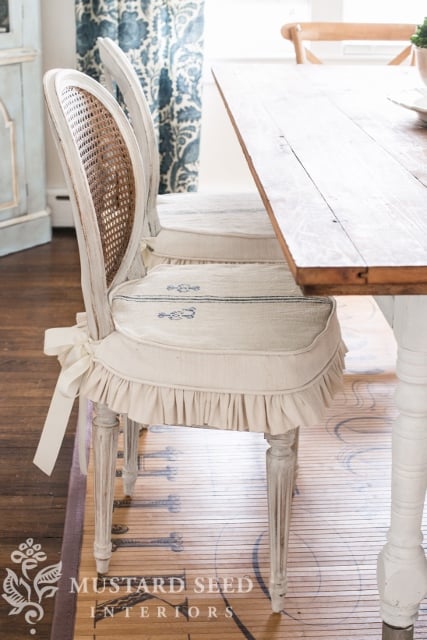
As it happens, I’ve had two other French cane chairs that are almost identical to the Craig’s List ones in my basement stash. I bought them at Lucketts for $50/each, but haven’t been excited to work on them. The seats on both of them are broken and I wasn’t sure how to deal with that. The caning isn’t in sheets, but hand done, so I wasn’t about to try repairing the cane! So, they’ve been sitting in my basement for over two years. The ones I bought off Craig’s List had pretty good seats, but at some point, an upholstered seat was made for them, so I used that as my inspiration for “fixing” these chairs.

Since the chairs are almost identical, I was able to use those cushions as a template to make a wood cutout that fit on the seats perfectly. I then added two inch foam and a layer of thick batting. All of the layers are held together and to the wood cutout with spray adhesive. I cut the foam with an electric carving knife…like the kind people use for turkey. I coincidentally received mine as a white elephant gift and it was perfect!

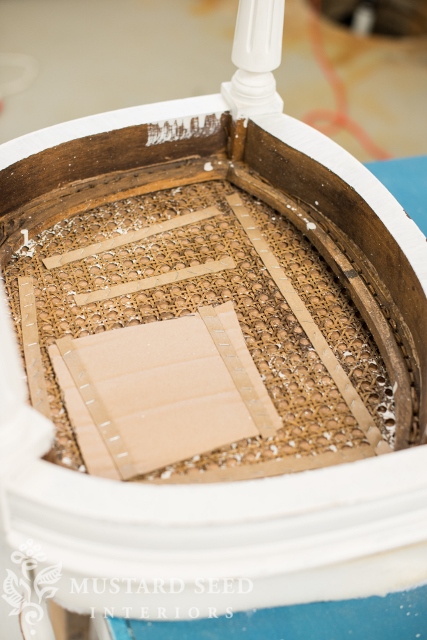
To attach the seat to the chair, I again looked at how the “pros” had done it on the Craig’s List chairs. The seats were stapled to the cane using cardboard upholstery strips, so that’s how I did it. I did have to address the tangled mess of punched out caning, though, so I put a piece of cardboard over it, to keep it from hanging down, fraying further, etc.
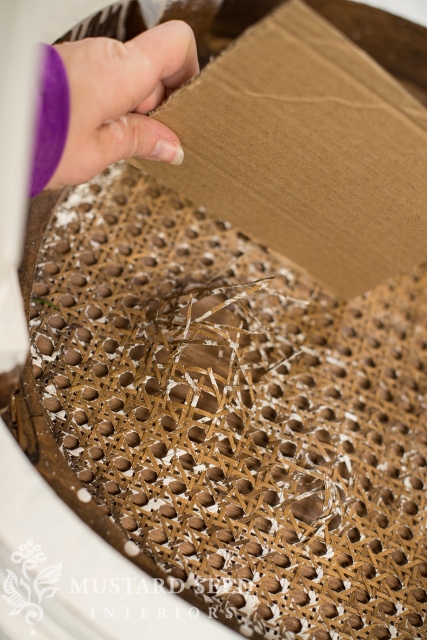


It is the underside of a chair, so it doesn’t have to be pretty. Just sturdy. The nice thing about this method is that it can be removed without damaging the cane. So, if you have a chair where the cane is in good condition, but you want to add an upholstered seat, you can still do that and remove it later if you change your mind.
Now the seat is functional and ready for a pretty slipcover…

I’ll show you how to make one of those next…
![]()
Now, you may have noticed the absence of Christmas decor posts on my blog this year. That’s because I hadn’t done one thing to decorate for Christmas. Not one thing. So, finally yesterday, I decided it was time to put on the Christmas tunes and do a little bit of decorating. It’s going to be on a smaller scale this year than it has been in the past. We are having a lot of family over, so I want the house to look festive and my boys are really excited about it, of course, but it’s all going to be simple.
Here’s what I started with…

I used brown paper that is in the drop cloth aisle at the hardware store. It’s meant to protect flooring when renovating, but it’s great for craft projects. It’s thinner than brown craft paper, so it holds a fold better, but it looks the same. And it’s really cheap for a huge roll! The blue and white butcher twine is from Hobby Lobby.
I filled a large ironstone tureen with pine cones (sent to me all the way from Arizona by a very sweet reader) and some sheet moss.


And I sprinkled a few seasonal nuts and sparkly ornaments around an ironstone tray with a preserved boxwood topiary in it on the dining room table.

Very simple. We’ll hopefully get a tree this weekend, weather permitting.
Tomorrow, though, I have an upholstery date with a sofa…


