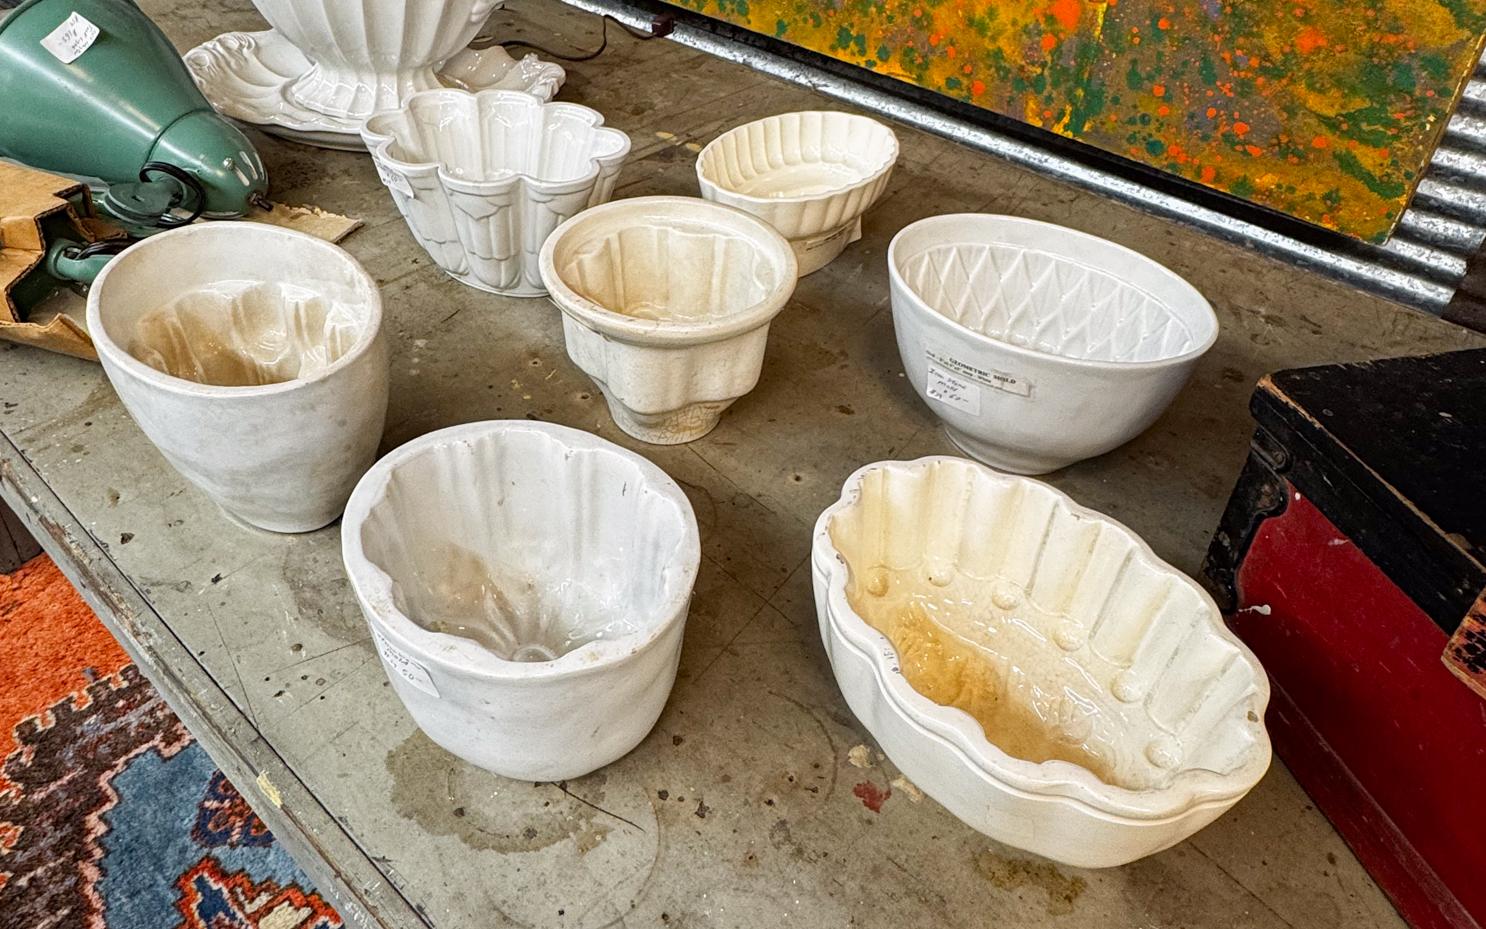
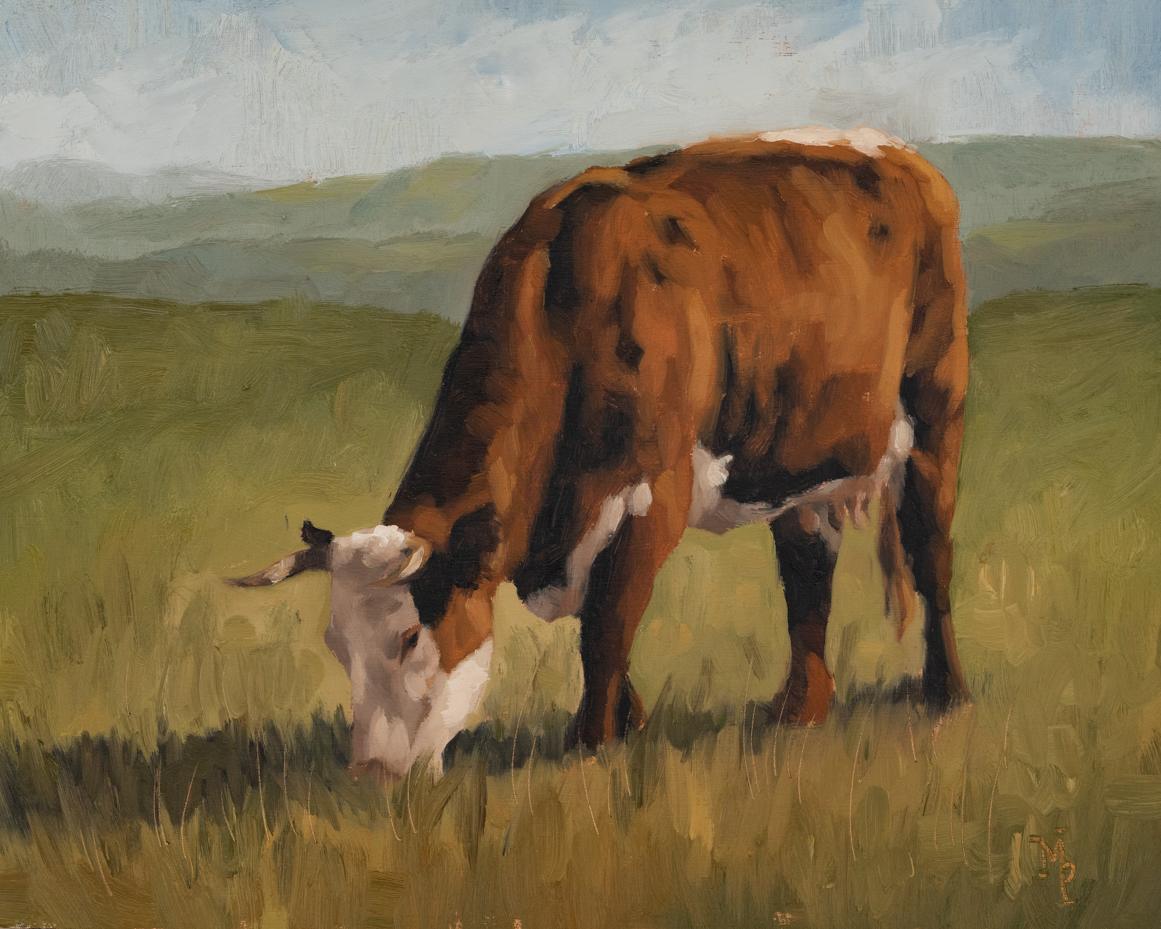
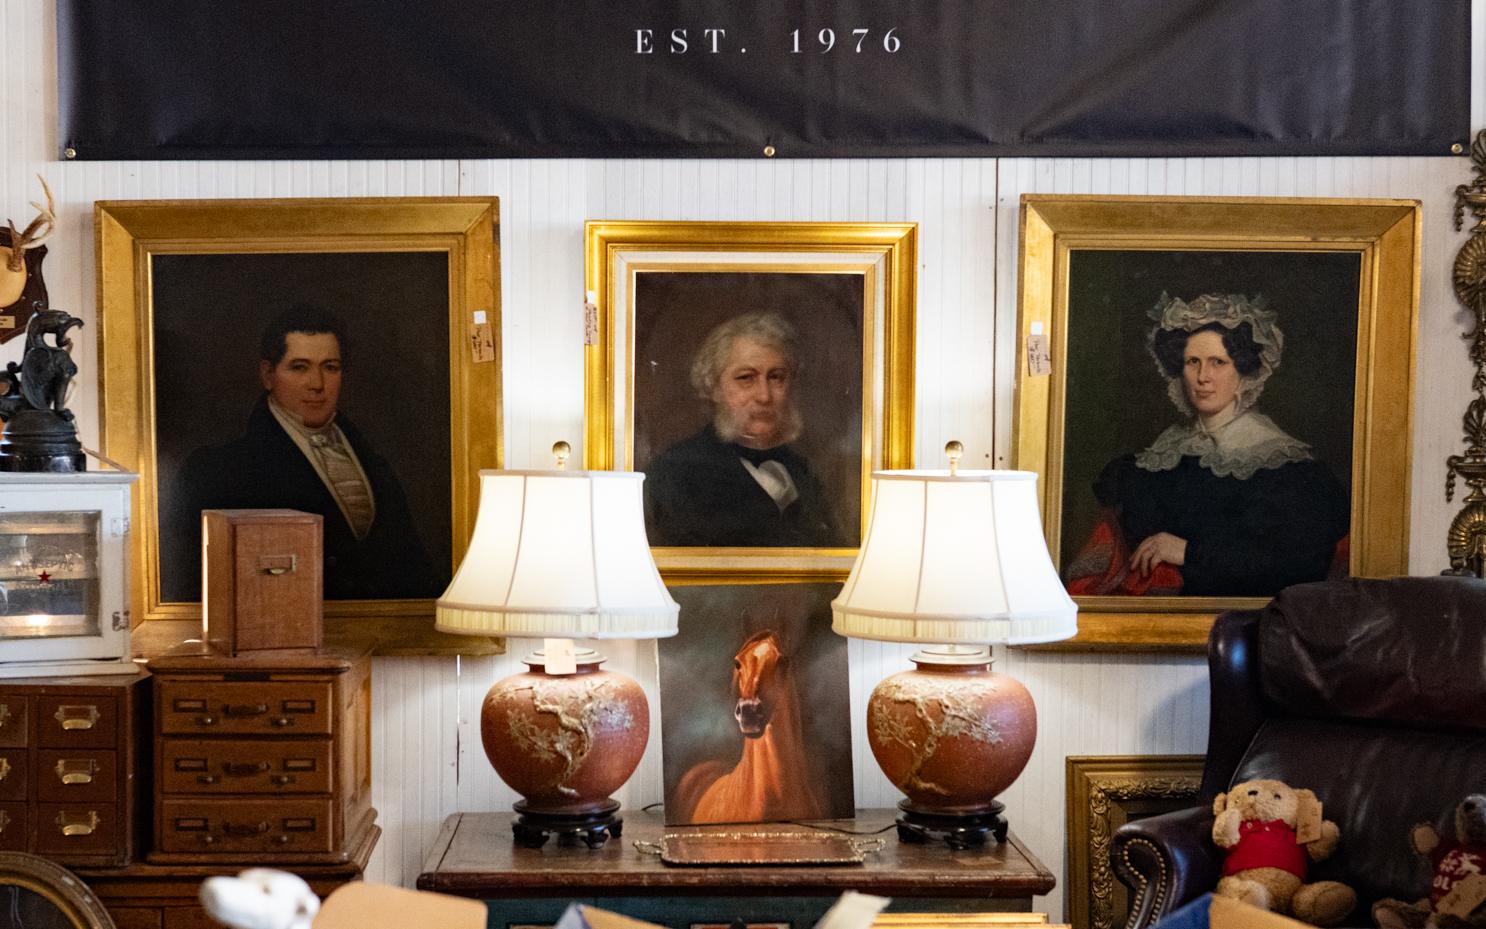
Since I love using antique frames for my original paintings, I’ve been wanting to delve deeper into frame restoration. I currently do basic repair work and sprucing up, but I haven’t gotten into anything too complicated. I approach it much the way I did furniture makeovers – I just want the piece to look better than it did before I started working on it. It’s old, and it’s okay that it looks old and isn’t perfect. I don’t want the imperfections, though, to detract from its beauty or the painting. Most frames just need cleaning, and maybe a rub-down with hemp oil and a few touches of some appropriately-colored Rub-n-Buff, but some pieces need a bit more.
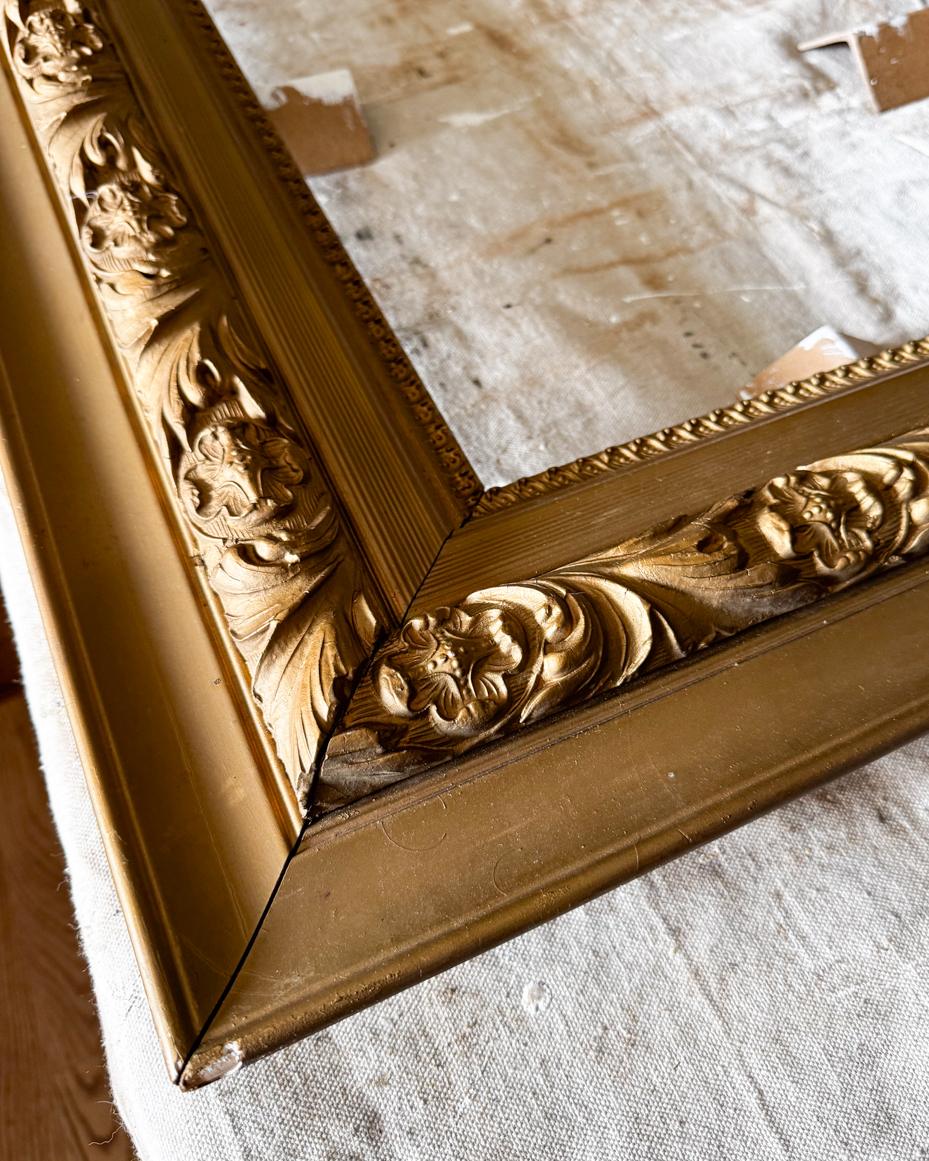
I have had this frame in my stash for a while. I’ve tried it on several pieces, but it hasn’t been right for any of them. I love the detail and chunkiness of the frame, but it was the gold finish that wasn’t right. Somewhere along the way, it had been painted gold, and the color wasn’t doing this particular frame any favors.
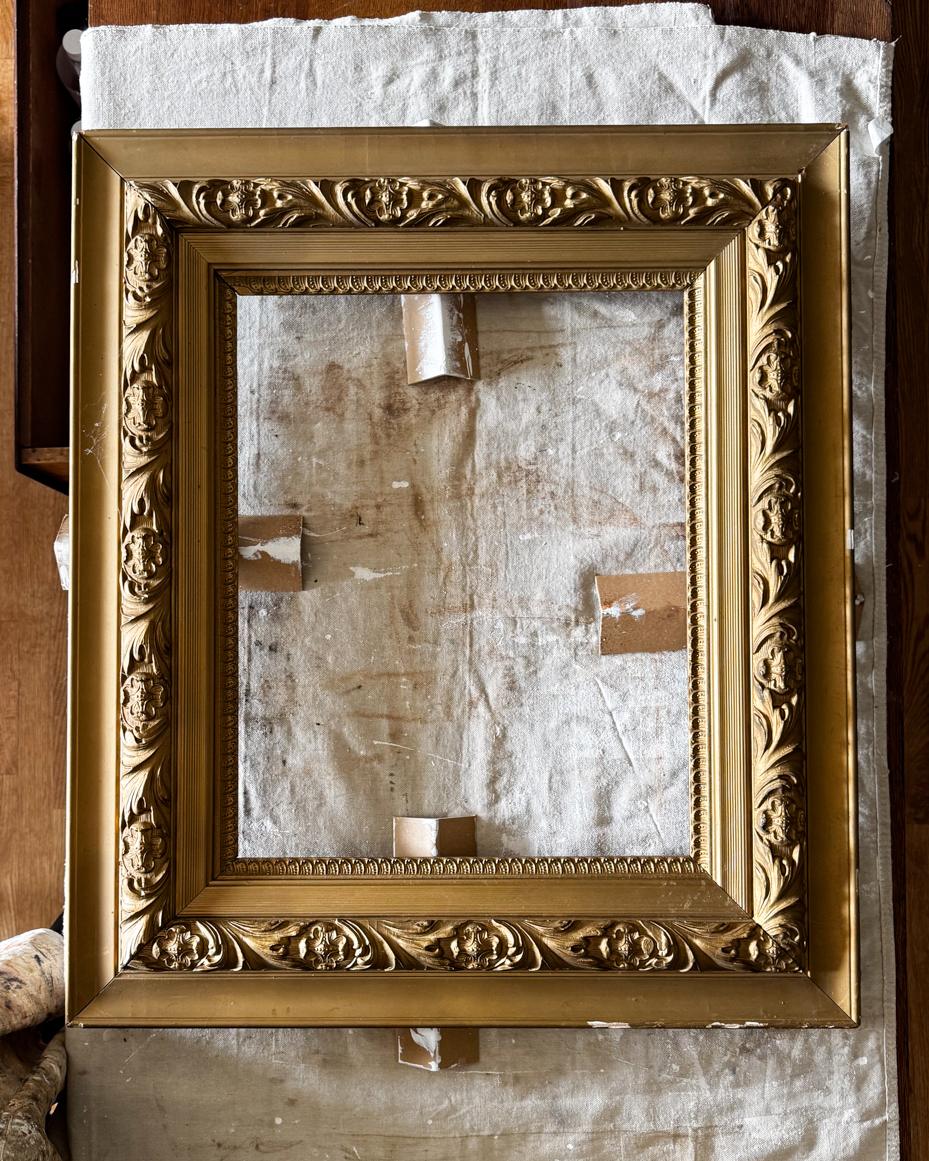
It looks a bit better in these pictures than it did in real life. It looks pale and flat, and I felt like it could be better. I decided it was a good candidate for gold leaf. I’ve applied gold leaf many times before, but I always ran into issues when I tried to antique it using the same methods I’ve used over paint. So, I did a bunch of research on gold leafing and antiquing frames and decided to try a different way.
I started by applying a red primer to the frame as a warm layer under the gold leaf. Red, black, and yellow are traditional primer colors to use under gold leaf. There are literal gold leaf primers, but I decided to use what I already had on hand that I figured would be similar. It’s a red (burnt sienna) acrylic primer by Michael Harding.
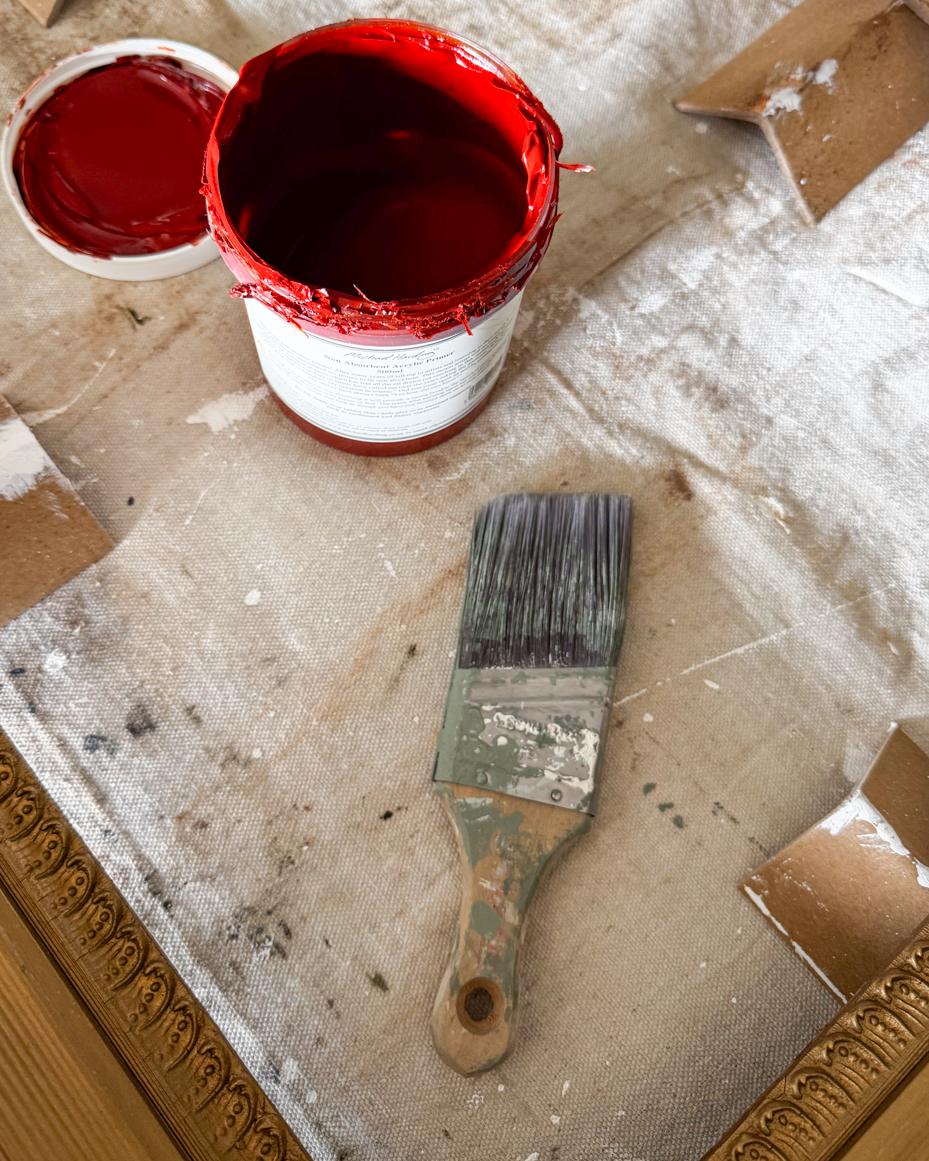
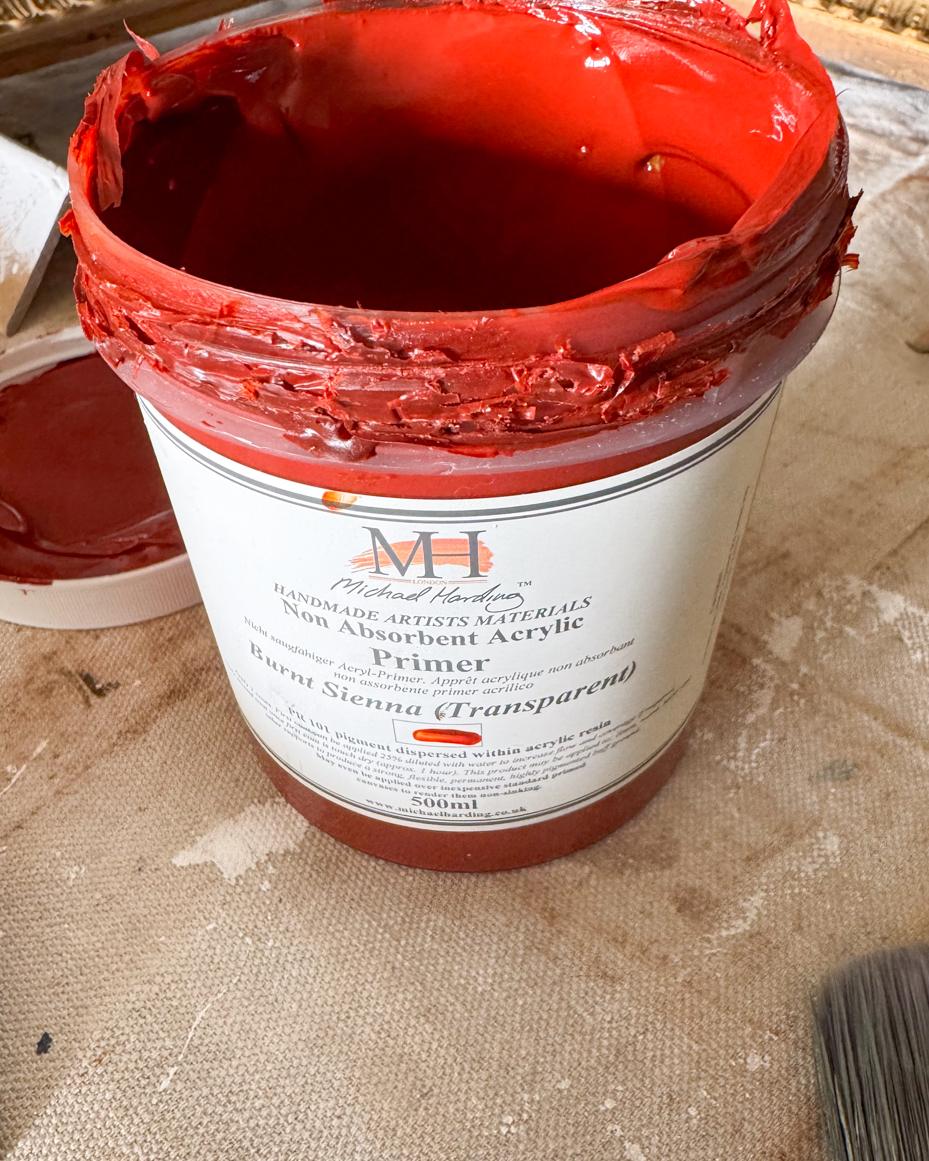
It went on pretty bright, but dried to a softer, matte red.
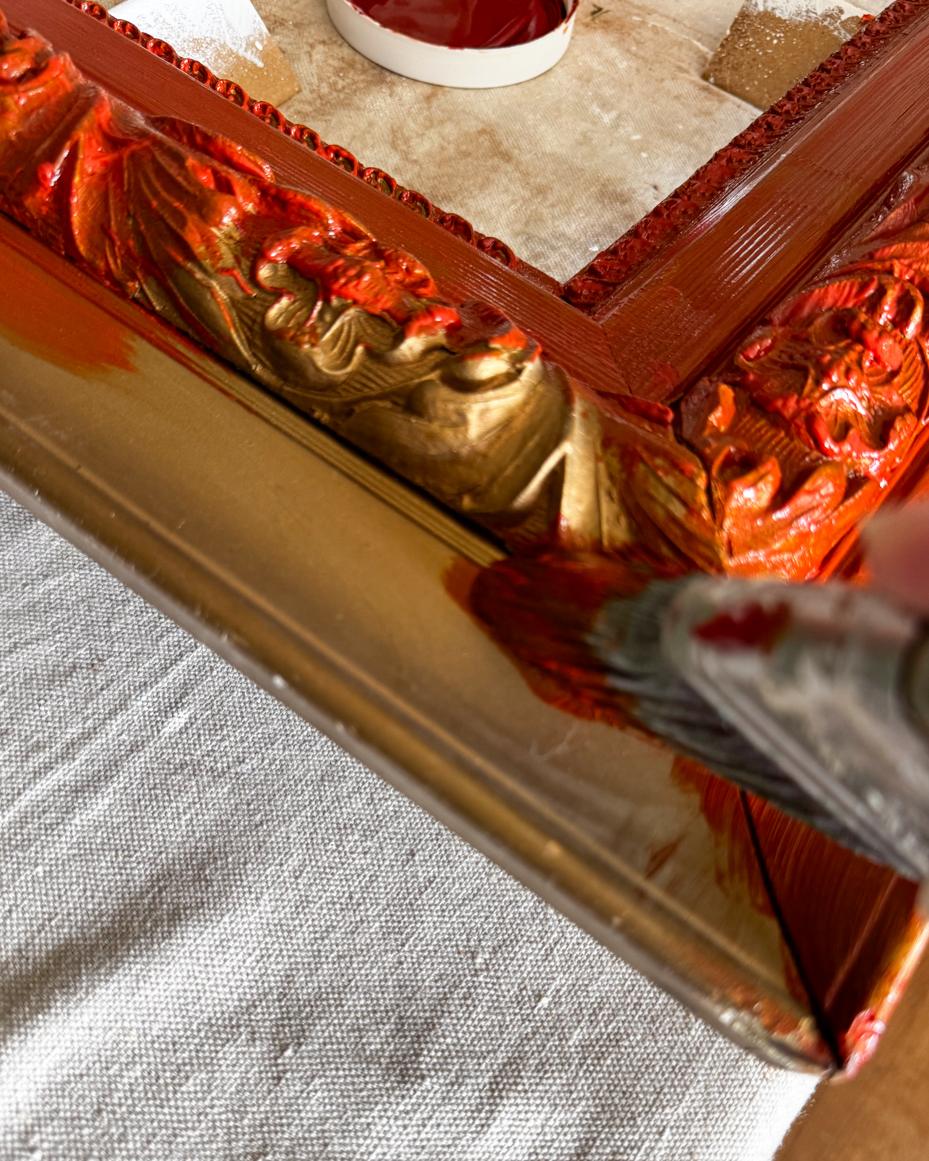
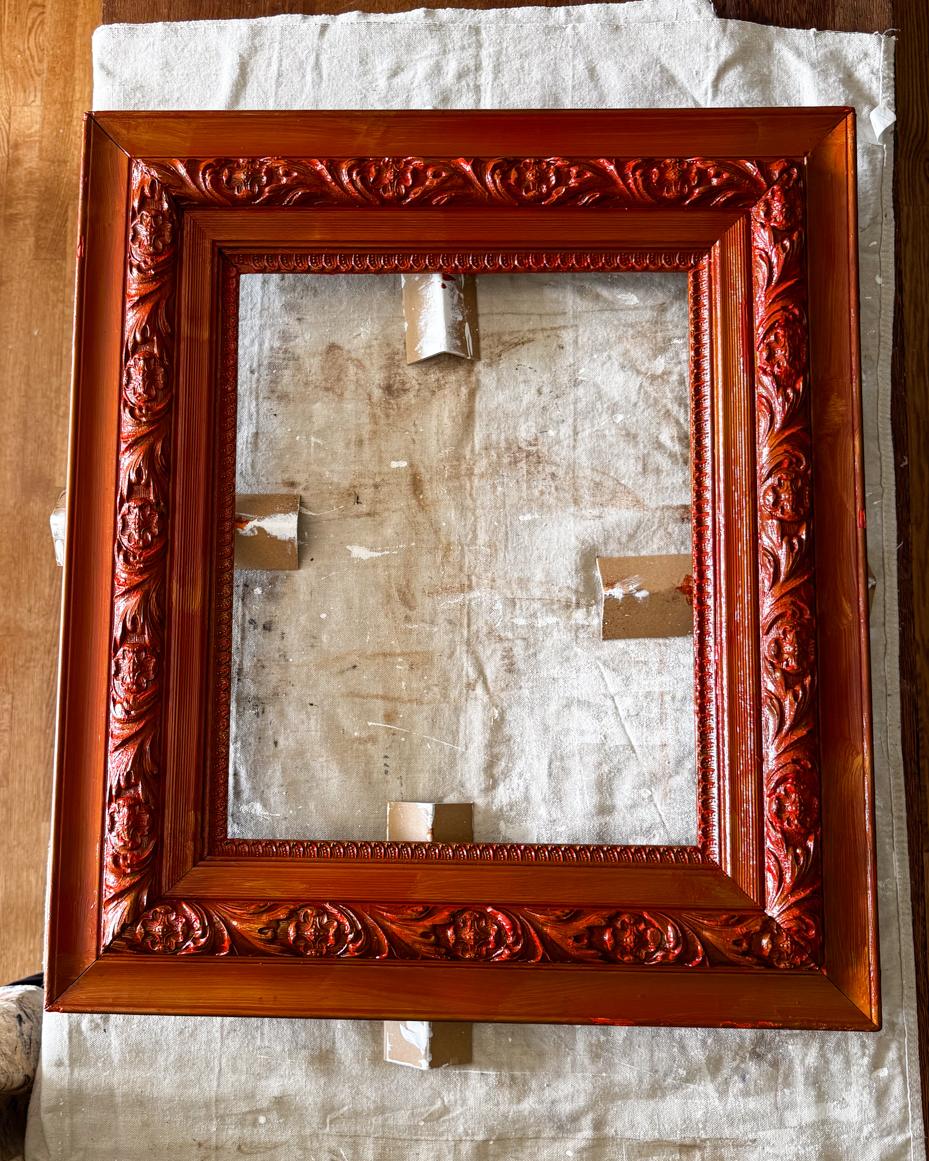
Once the primer was completely dry, I applied a coat of gold leaf sizing. It’s a special kind of glue that will dry to a tacky finish in about 30 minutes. It’s important to use sizing specifically made for applying leaf.
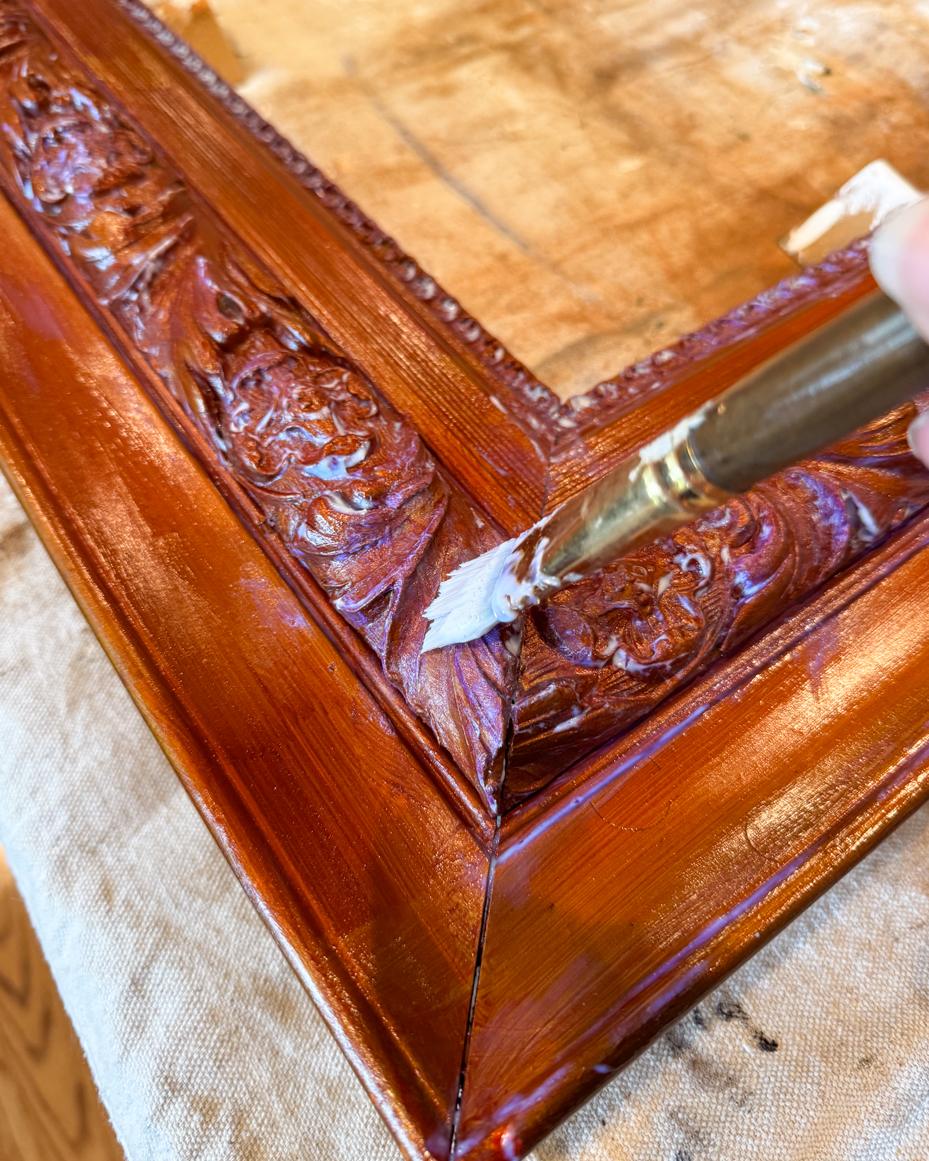
Once the sizing was tacky to the touch, I applied the imitation gold leaf. It always looks like a mess at this stage, but it’s magic once you start brushing off the excess leaf.
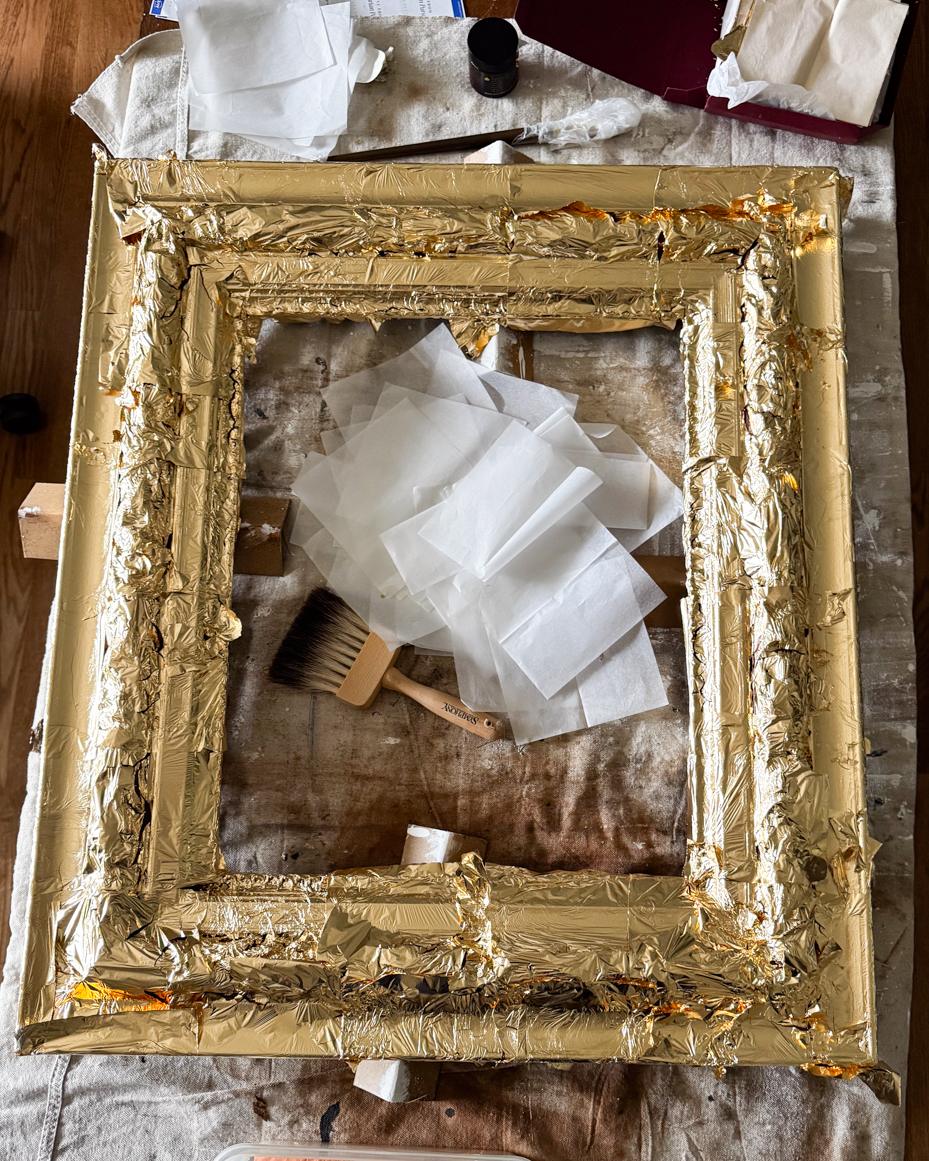
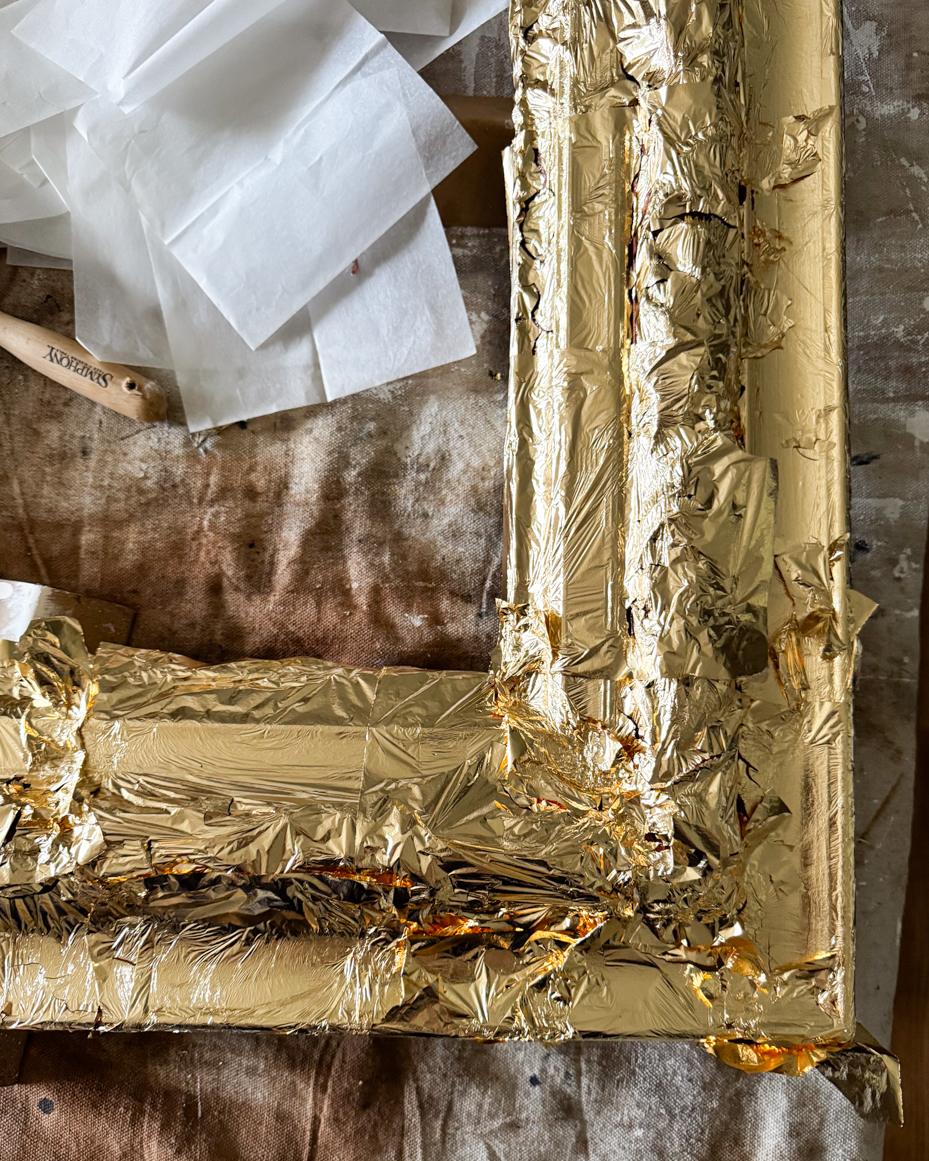
I started to remove the excess by brushing it gently with a soft badger-bristle brush. Once the large pieces were removed, I burnished the gold leaf with a natural-bristle wax brush that will remove any stray pieces of leaf that are not properly glued down.
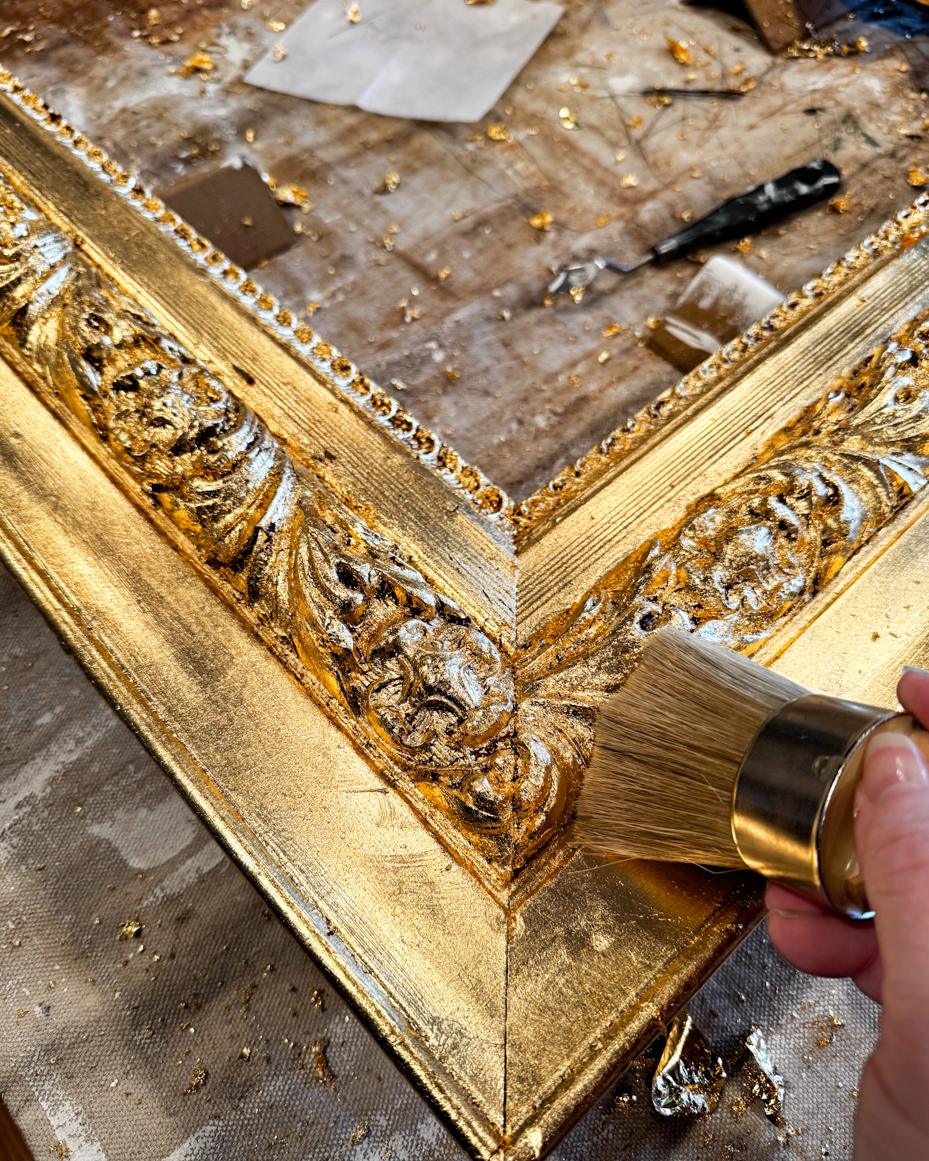
At this stage, I ran the vacuum outfitted with a brush attachment to clean up the bits of leaf. If you’re working with genuine gold leaf, save the excess in a jar to use it for filler or in other applications. It’s expensive stuff, so you don’t want it in your vacuum canister.
After burnishing, it looked a bit too shiny for my taste, so I wanted to antique it.
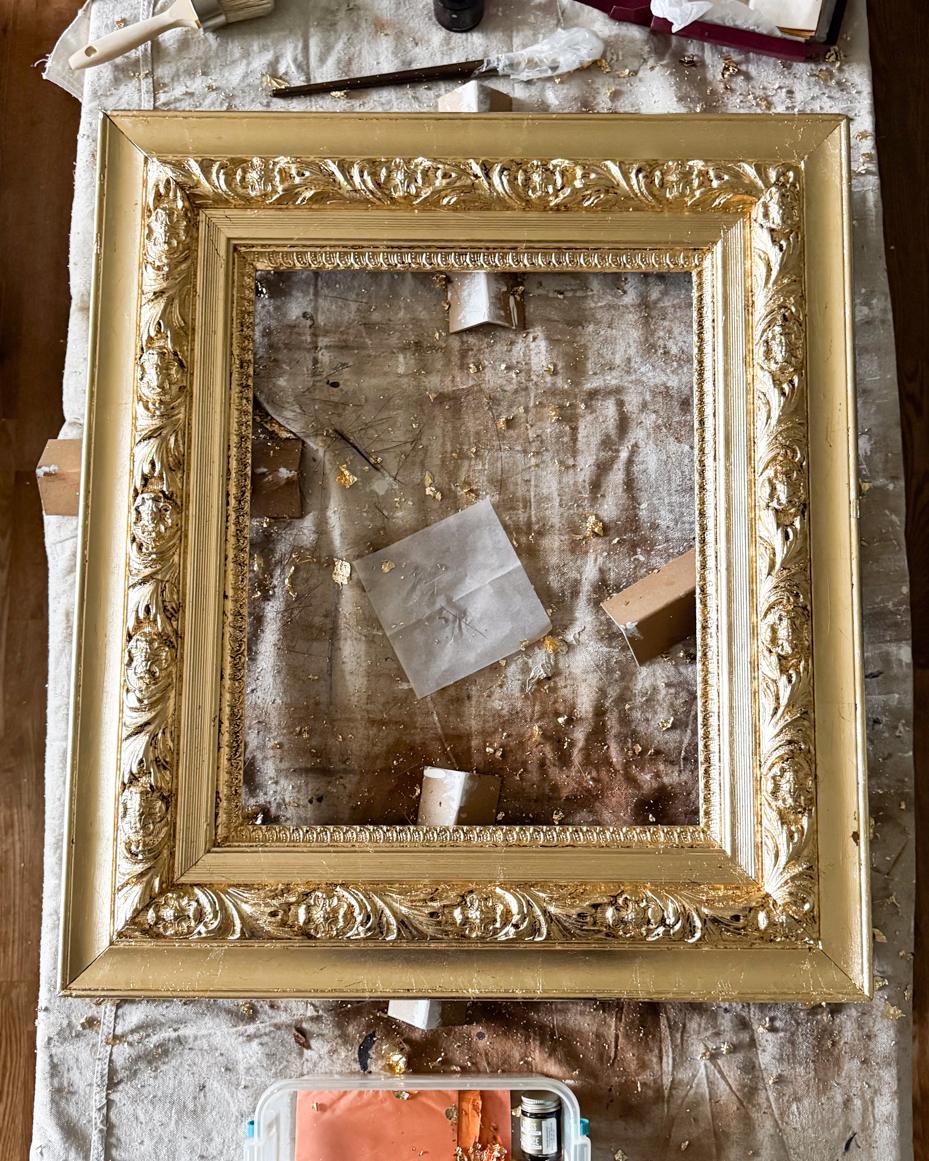
I sealed it with a solvent-based gold leaf sealer so it would protect the gold leaf and so I could use oil-based paints for antiquing. It’s a little fumey, so I did that step in the garage with the door open. Once the sealer was dry (after a couple of days), I made a mix of ultramarine blue and burnt sienna to make a warm, transparent brown. I thinned it with Gamsol and applied the mixture with a brush.
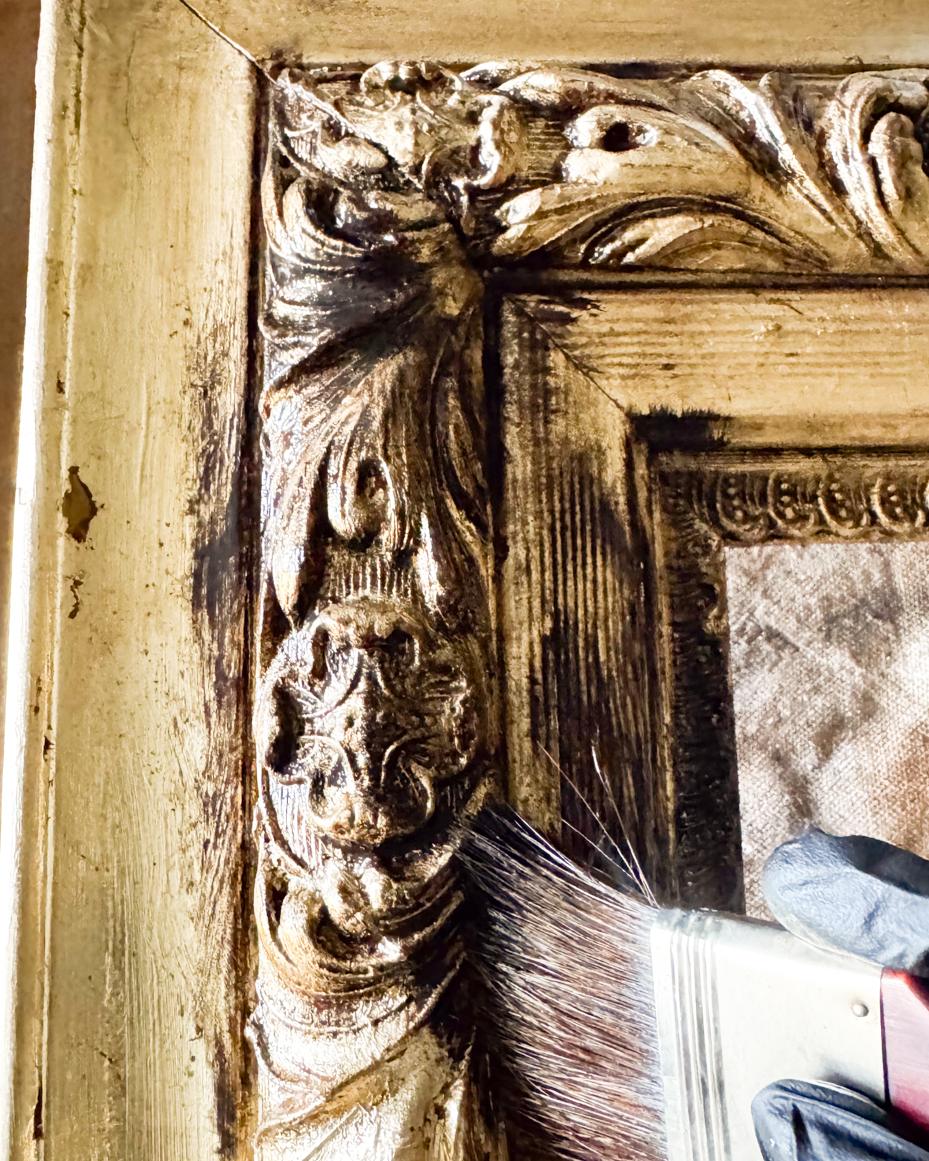
I worked the glaze into the crevices of the frame and wiped it back from the high points with a shop cloth.
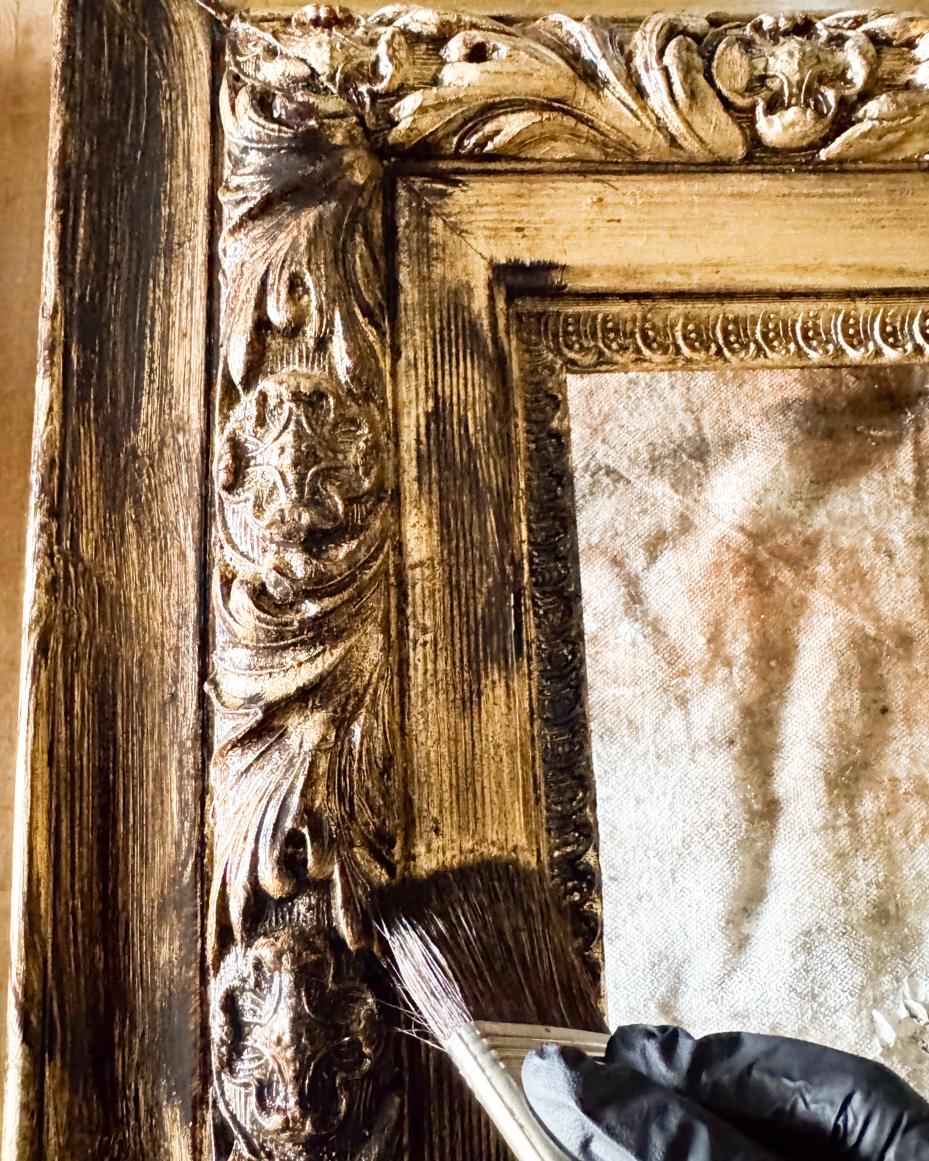
After the glaze was dry (again, after a couple of days), I applied a final coat of oil-based sealer.
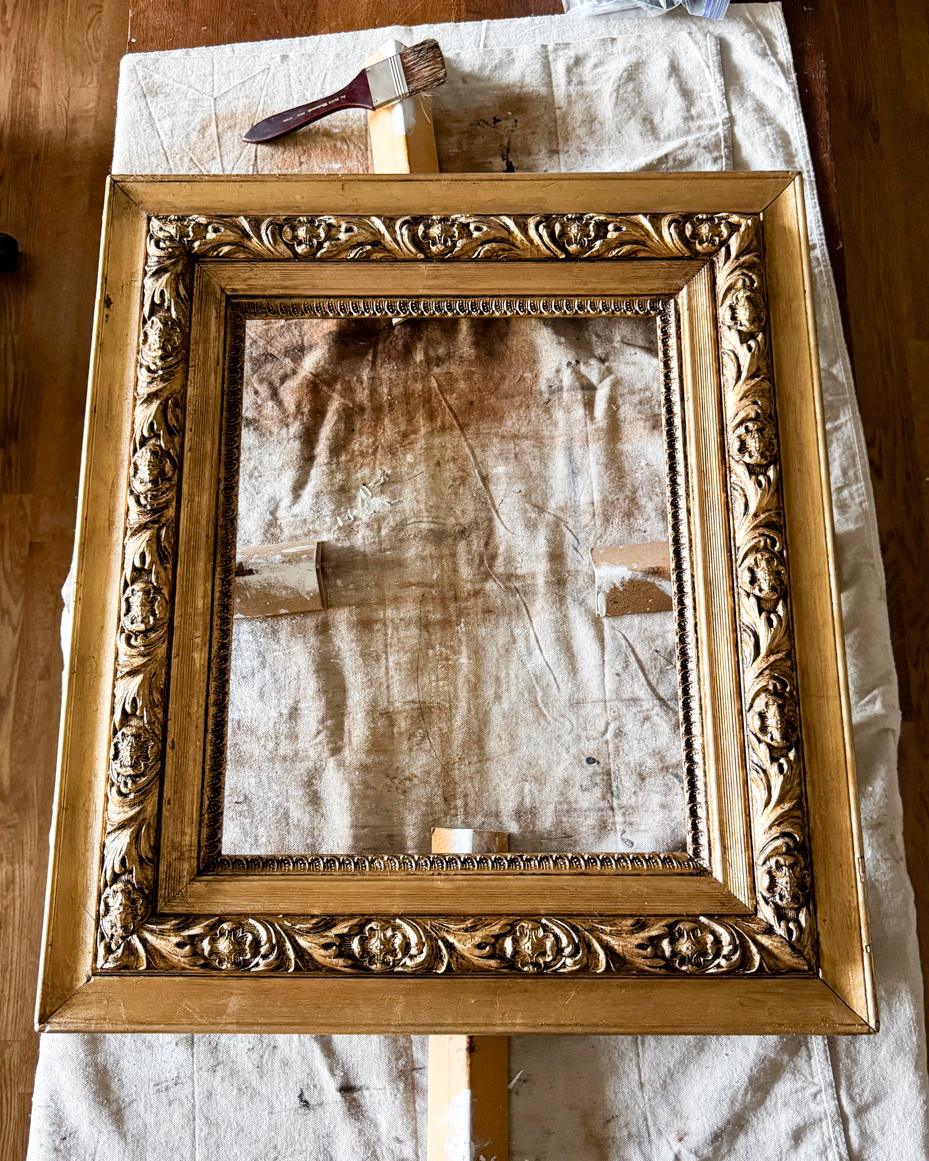
It’s a subtle makeover, but one that gave the frame the depth and richness it deserved. The gold paint made this beautiful frame look cheap and “off,” and now it looks appropriately finished for its age, style, and scale.
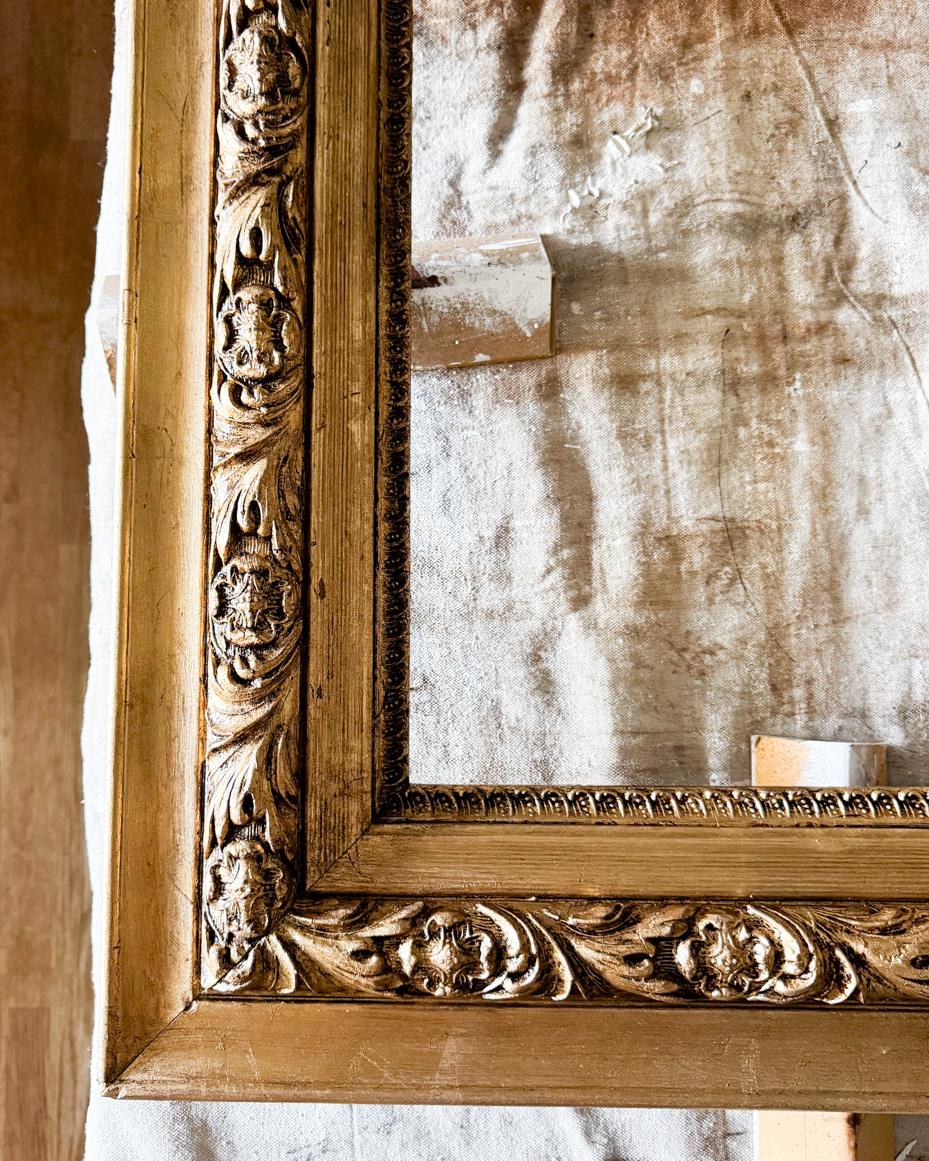
I took pictures, but I didn’t film the process to make a tutorial because I wasn’t sure how it would turn out. I was sort of making it up as I went along, using tools and materials I already had on hand. The only product I purchased especially for this project was the solvent-based gold leaf sealer. THIS is where I purchased it.
Now, I need to pair it with the right painting…