Preorder Move Slow & Make Things, and enjoy a collection of thoughtful bonus content created just for you!

Miss Mustard Seed’s Milk Paint

Before and Afters

“vintage chalkboard” highboy

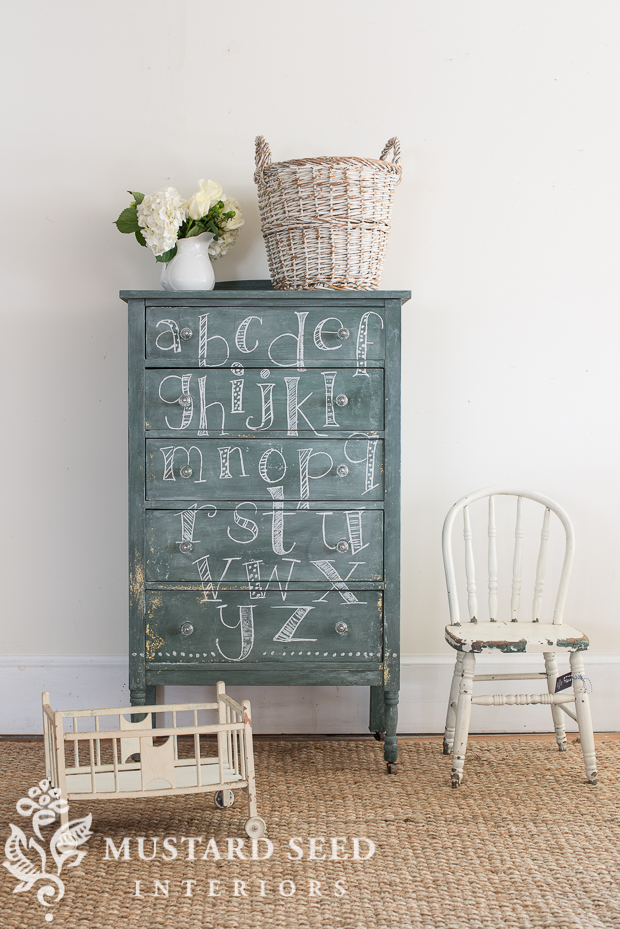
Before I hop into the post, I wanted to share that I listed soaps (Savon de Marseille block & liquid lavender) and brushes (German dish, vegetable and flowerpot brushes) in the online shop as promised! I also have put the Look Book as well as my book, Inspired You, on sale. Sooo, I’ve been on a bit of a roll with the “vintage chalkboard” milk paint recipe.  It really has made me fall in love with chalkboards all over again. When Kriste and I spotted this small antique highboy during a recent shopping trip, I immediately imagined it wearing that vintage chalkboard paint.  It was a similar color to start with, so it was easy to envision. I used the same recipe I used for the two chalkboards I painted –  MMSMP 2 parts Artissimo to 3 parts Boxwood. Kriste lightly sanded the piece and then painted the dresser in
Read More
All Things Home

the wood wardrobe with the painted interior

I know that some of you probably think I paint everything.  I will paint my mother, if she will just hold still long enough!  Well, that’s not at all true.  While paint is “my thing”, I really appreciate beautiful wood, too. When I acquired this old wardrobe off of craigslist, I wasn’t sure if I would paint it or not, but when I saw it in person, I decided against it.  The wood just has a pretty grain pattern, warmth and it was in good condition.  Most wood pieces I purchase have issues with the finish, so painting is the best route. This one just needed a little bit of help.  I felt like it would benefit from installing shelves and painting the interior. I painted it in two coats of MMSMP Mora… (Here it is after the first coat.) My dad installed the shelves, similar to the way he installed

Read More
Artistic Endeavors

building a mobile shop counter

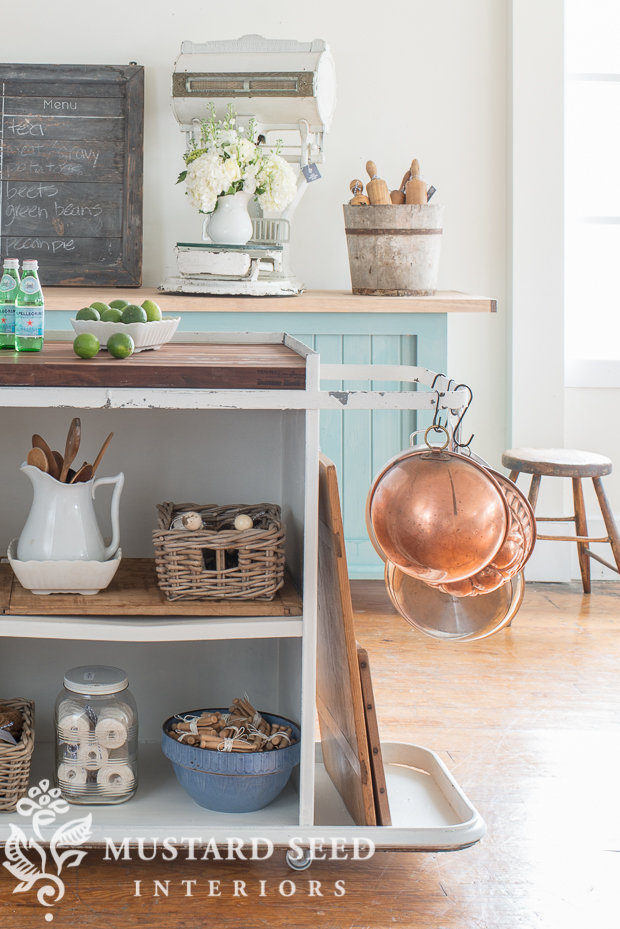
A few of you noticed the counter in the background of the cleaning cart turned kitchen cart post.  It is actually a mobile shop counter I designed and Jeff built for me!  I wanted a counter that had a vintage look and feel, but would be mobile and reasonably lightweight to take to the Lucketts Spring Market and any other future events.  While I would love another large, antique counter, they are usually not mobile and definitely not lightweight.  Building a new one was really a much better option. So, Jeff and I went shopping for materials, discussing the design elements I wanted to incorporate as well as the practical aspect of how this mobile shop counter needs to function. I wanted beadboard and a wood top.  Jeff had the idea to put it up on feet, in case the ground is wet.  We also needed a shelf on the

Read More
All Things Home

the cleaning cart turned kitchen cart…

So, I was trolling craigslist one night and ran a search for “industrial” in the general “for sale” category and I spotted two of these industrial cleaning carts for sale… I closed the listing, dismissing it, and kept clicking around, but those carts stuck in my mind.  There was something about the shape of them…  AND they were dirt cheap.  Cheap enough that it was worth the gamble, even if it seemed a little nutty. I sent the listing along to my dad and he delivered them a couple of weeks ago to my studio.  When he drove up with them in the back of the truck, I realized they were much larger than I anticipated.  Carts that I thought would be about waist high were almost up to my shoulder! The gigantic wheels were cool in their own way, but not right for what I had in mind and

Read More
All Things Home

oak buffet reveal & new matte Tough Coat

Unless you follow me on Instagram, you last saw this piece with the top stripped and one coat of paint.  It’s in the “ugly stage” – the stage when you want to drop it on the curb and let someone else look at it.  But, that would be a mistake. It may not look like it at this point, but this buffet is almost there. The graining on the top was so beautiful and I didn’t want to hide it with paint or stain, so I just stripped it down (see the in-the-works post for details on that) and applied two coats of Hemp Oil to bring out the natural beauty.   As it was drying, I could tell the piece was crazing and cracking, but I didn’t know the extent until I ran a sanding sponge over the surface and the paint just flaked off!  My mom, who does not

Read More
All Things Home

milk paint 101 | topcoats

I realized I totally dropped the ball on our Milk Paint 101 series!  I left you at the first coat and promptly forgot about you. So, you’ve applied the number of coats needed in order to get the finish as opaque as desired.  In most cases, two coats do it.  Sometimes more are required if there is a high contrast between the color you chose and the surface you’re painting. Once everything is dry, this is when I like to distress.  Some people like to apply wax or oil finishes first, then distress, then apply the finish again, while others like to dive right into the distressing.  I fall in the latter camp.  It’s one less step and it uses less product.  The advantage to waxing or oiling first is that it cuts down dramatically on the amount of dust that is produced. If you’re interested in my distressing tips and

Read More
Before and Afters

the hutch wearing an unfortunate shade of brown…

Does this cabinet look familiar? In case you don’t, let me refresh your memory. Here is how the hutch looked when I found it on craigslist… It had a lot going for it.  A pretty and simple shape, interesting details and I liked the wire in the upper cabinet doors. It was painted a most unfortunate shade of brown, though, and the interior was a mess. The contact paper and a smattering of cream paint wasn’t working for me.  As I was working on upholstery, Kriste asked what she should do with it.  I suggested painting the outside first and then we’ll deal with the inside.  It was just a delay tactic and we eventually had to deal with it. It involved scoring the contact paper, ample amounts of Goo Gone, and scraping with a scraper and then a razor. It was not a fun job. I know it looks like I

Read More
All Things Home

making a “vintage” chalkboard with milk paint

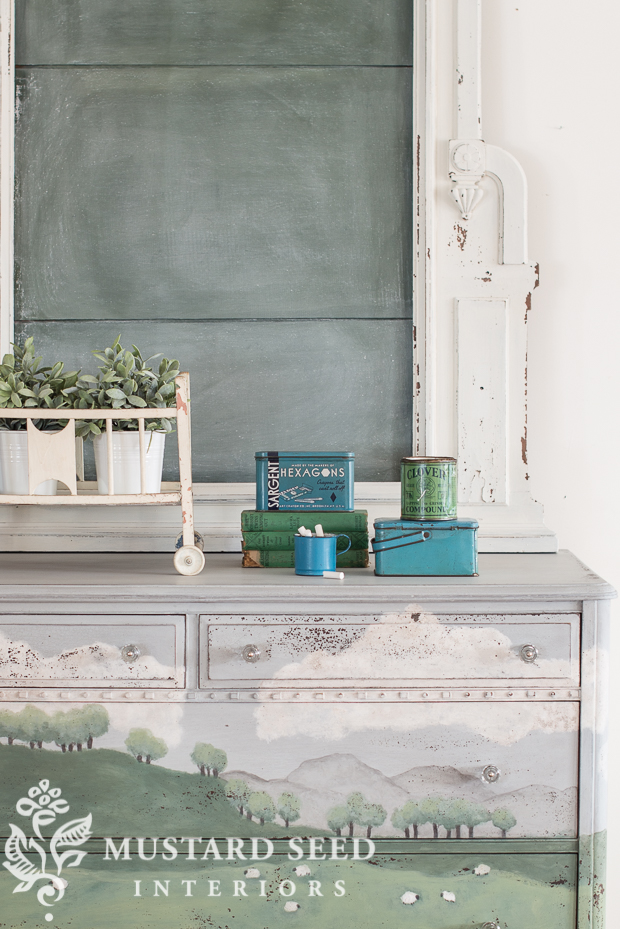
As I shared yesterday, the past couple of weeks in the studio have been devoted to getting things finished that have been hanging around for way too long.  I’ve ignored some of them, because I knew they would be a pain-in-the-rear to work on, like the French chair with nailhead trim (yet to be revealed), and I ignored others because I just didn’t know what to do with them.  I knew they had potential and I wasn’t quite ready to give up on them, so they languished in “the stash”.  This oversized Eastlake mirror frame, minus the mirror, was one of those pieces, but it was a perfect piece to repurpose.  Here’s how I went about making it into a vintage chalkboard with milk paint. Before we get into the tutorial on making a vintage-style chalkboard with milk paint, a bit of history…  I picked it up at a yard

Read More

I’m Marian, a painter, writer, and lover of all things creative. From art and antiques to home projects and everyday life, I share my journey in hopes of inspiring you to embrace your own creativity and make beauty in the spaces you live.

next art sale

May 20th, 2026 at 1pm EST

Now Available for Preorder

Move Slow & Make Things

A book about creativity, intention, and making things with care. Sign up to receive updates, preorder details, and exclusive bonus content.

From the Studio

Artful pieces for your home and everyday life.

From original paintings and art prints to Pup Club releases and curated goods, each piece is created or chosen to bring warmth, creativity, and character into your home.

From the Studio and Home

Shop the Feed

A handpicked collection of items styled and shared throughout posts, projects, and social feeds. Every product is thoughtfully chosen to reflect a timeless, collected aesthetic.

Recent Video

Spring Posts

Explore the Shop

Explore the Blog

Categories
error: Content is protected.

Pin It on Pinterest