kim’s coastal bedroom | the bedskirt & built-ins
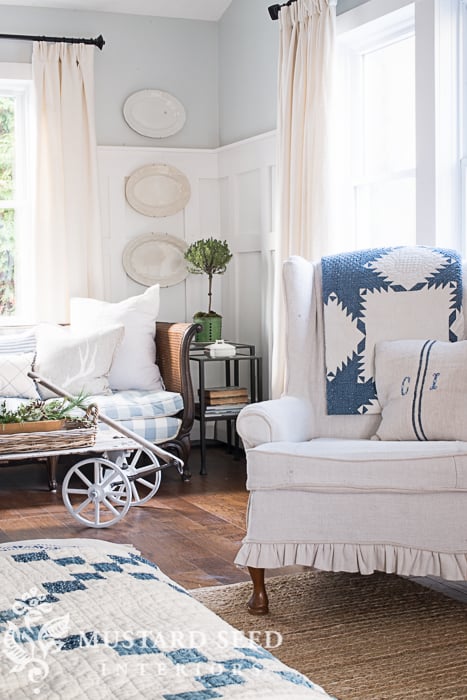
I know lots of you are eagerly awaiting the reveal of my mom’s room makeover. Trust me…she is, too! My design services are free, but they aren’t fast! We have been making some progress, though. I mentioned before that I made a bed skirt, but I didn’t have a chance to get a picture of it, until this weekend. (…when we watched the Redskins beat the Bears. Just throwing that out there.) Here it is on the bed… It really adds a finished look to the bed and a hint of color and pattern in the neutral space. The fabric is Adelaide Mist from Sailrite. I wish I had made a tutorial of the skirt, but I flew through it to get it made for my mom’s birthday, so I could present it to her when I took her out to dinner a few weeks ago. It involved lots of