Preorder Move Slow & Make Things, and enjoy a collection of thoughtful bonus content created just for you!

Tutorials

All Things Home

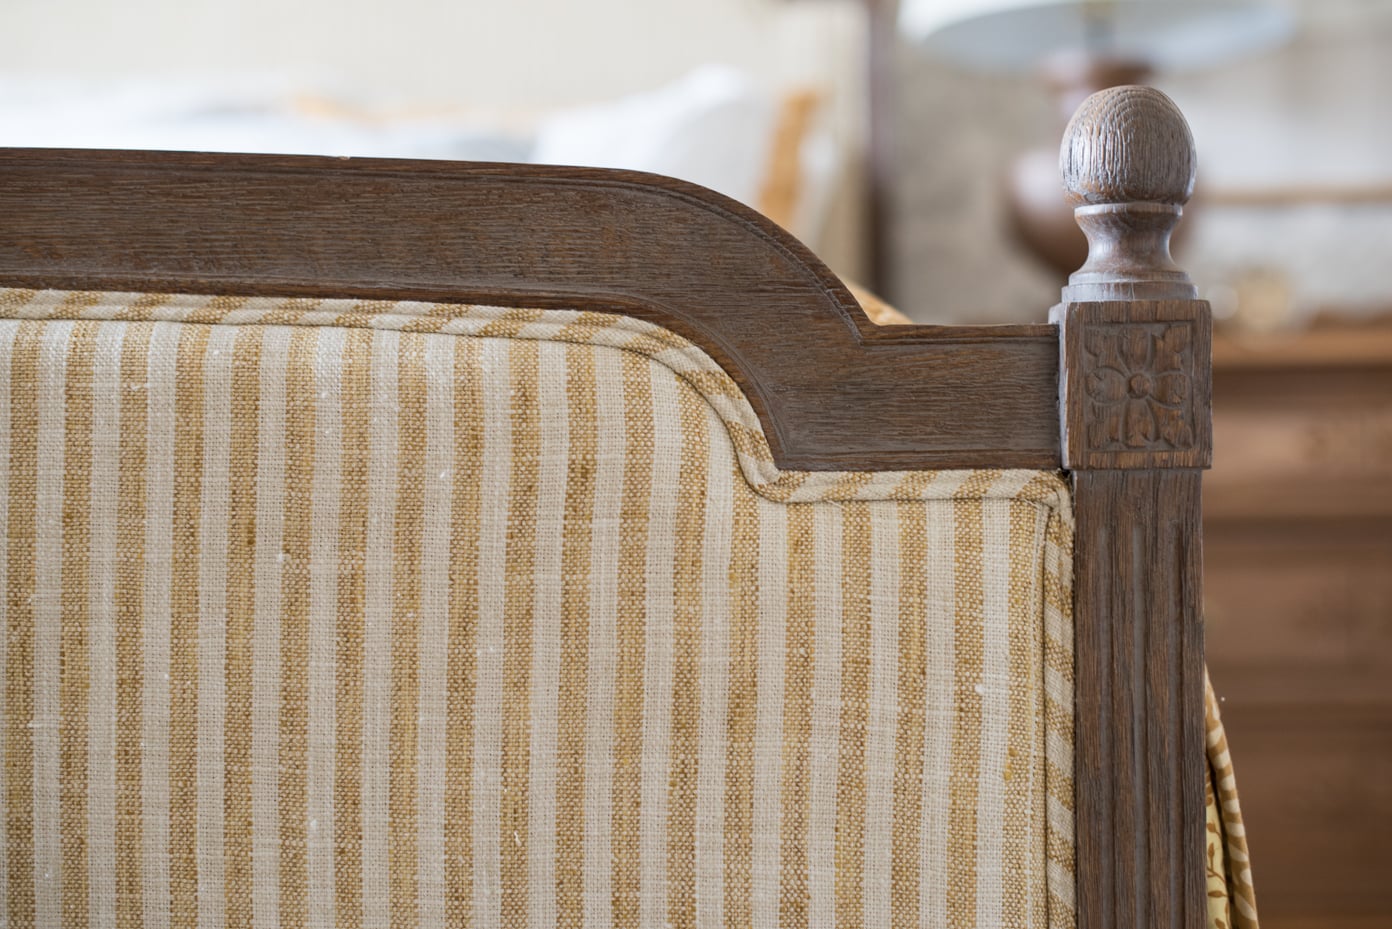
reupholstering the guest bed

The boys and I had a good time over spring break, but not having my usual work hours was a bit of a struggle for me.  I’m behind on pretty much everything…e-mail, errands, projects.  And I really hate being behind.  But, I tried to relax and embrace the time with them, knowing that the years will fly and work can (usually) wait.  I do feel the crunch that is coming, though, to get in as much work as I can before school is out for the summer. While they were home, they played a lot with friends and we even had some weather that was nice enough for backyard soccer and bike rides to the park.  We went to a rock climbing gym, which both boys loved and discovered an aptitude for climbing.  I took them to trial music lessons for drums and guitar from young, tattooed teachers who taught

Read More
All Things Home

how to frame a baby dress

I’m still chipping away at the finishing details in the guest room.  One of the details that had me a little stuck was what to hang to balance out the mirror hung by the left side of the bed, but I finally have it figured out.  I’ll share my solution and also how to frame a baby dress… You can find the wallpaper  I used in this room HERE. I tried holding up a few different things…mostly collections of smaller pieces.  As I looked through pictures in my stash that still haven’t found a home on a wall, I found this large bird print.  I bought it shortly after we moved in, but I realized that it really didn’t work with anything.  (I really needed a pair and I could only find one.)  It was one of those purchases I regretted, but I didn’t have the heart to take a

Read More
All Things Home

picture frame molding tutorial

While my mom was here, the biggest job on our project to-do list was wallpapering the guest room.  I was planning on installing the chair rail as a part of that, but I was going to stop there and work on the picture frame/box molding with Jeff.  He’s the real woodworker in our family and he is much more detail-oriented than I am. Plus, there’s the math. But once we got the wallpaper done and the room was looking so good, we didn’t want to stop.  I decided to just go for it.  I’ve done other types of trim and I took a chance that I would be able to figure this out. So, my mom and I went and bought all of the trim we would need for the guest room and we even got a little ambitious and bought it for the bathroom, too! One tip – The

Read More
All Things Home

wallpaper paste comparison

I know you’re just dying to know which type of wallpaper paste won out in my head-to-head challenge.  Was it Roman 880?  Was it Dynamite 780?  Oh, the suspense.  Oh, the drama.  This is the post you’ve been waiting for all your life. Okay, not really.  Wallpaper paste isn’t exciting, but I will tell you that you will appreciate this post if ever you’re installing unpasted wallpaper! By the way, I was paid heaps of money by the brand I’m going to encourage you to use and I bought stock in their company.  I’m just kidding.  I bought both pastes with my own money and I have no affiliation with either brand.  I compared them on my own, primarily because I ran out of the first gallon and had to run out and buy whatever I could find locally to finish the project, so I had to use two brands

Read More
All Things Home

wallpapering the guest room | pasted vs. unpasted

I have been looking at wallpaper patterns for a couple of rooms in our house for months, but I haven’t pulled the trigger on any of them for one main reason – almost all of the papers I liked came unpasted.  To me, “unpasted” might as well have read “you cannot install this on your own and will have to hire a professional.”  Unpasted seemed complicated and intimidating and, perhaps, easier to mess up. Well, now that I have installed both pasted and unpasted paper, I can tell you that my assumptions were wrong.  Not only that but I now prefer unpasted. I used prepasted wallpaper for the upstairs bathroom in our PA house.  It was beautiful mural from . The upside to prepasted is that you don’t have to go through the extra step of applying the paste.  The downside is that you don’t have any control over how

Read More
All Things Home

studio closet

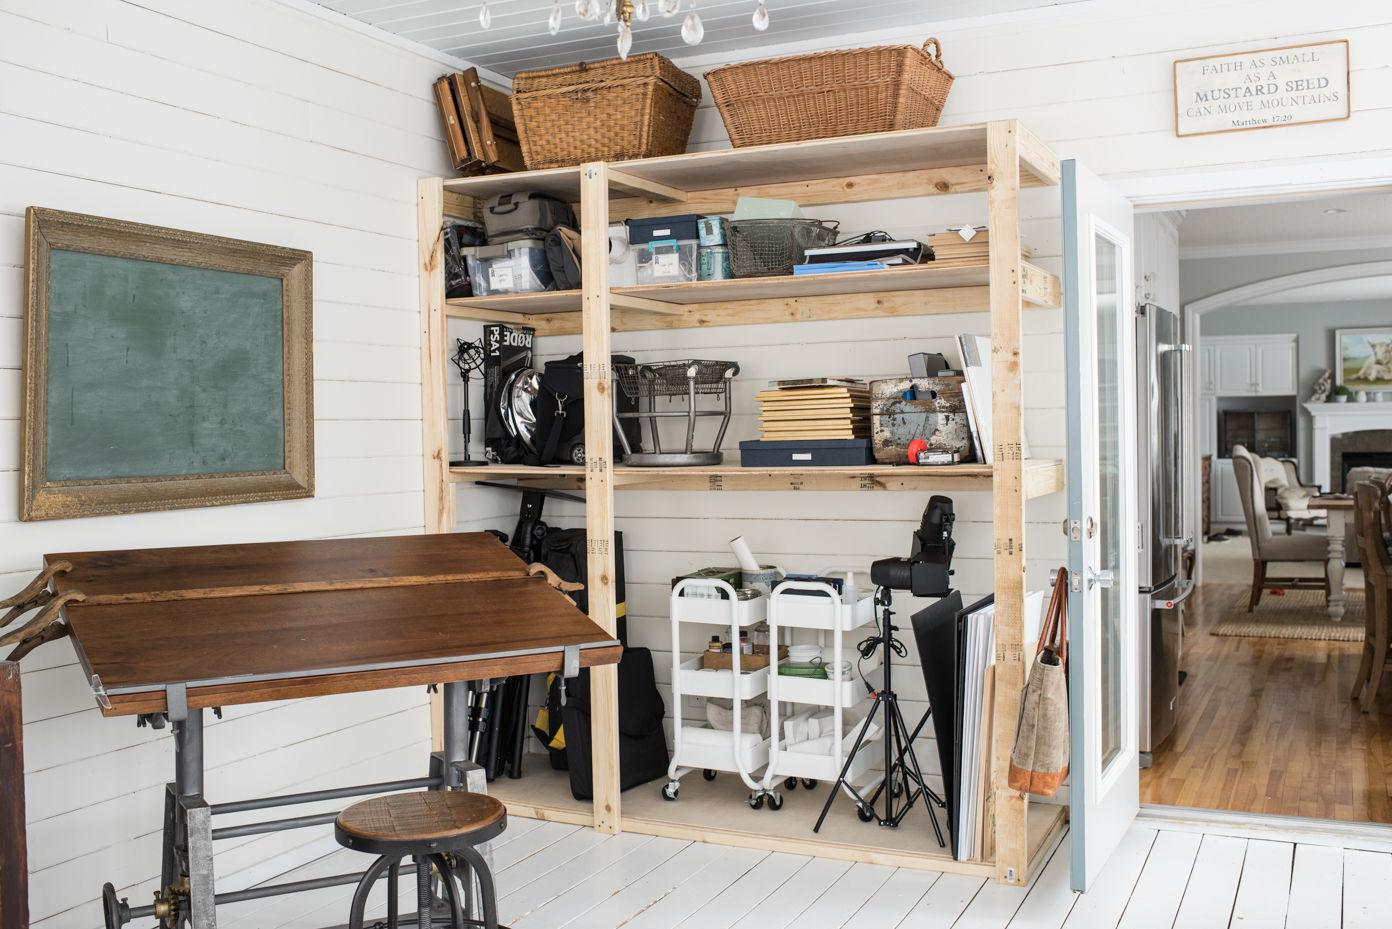
I have always loved this corner of the studio…  the oak hutch with the bird pulls, filled with art books.  The vertical row of brushes and the dress form flanking it. Having a good storage piece seemed like the best solution for that wall, but once I started really using this space, I realized that the oak hutch only provided a fraction of the storage I needed.  I had bulky photography equipment and video lighting and tripods and stands tucked all over the house and I really dislike work stuff encroaching on spaces meant to be just our home.  (I know it’s a fine line, but I try to keep the spaces distinct as much as possible.) So, over the Christmas break, I made a list of things I wanted and needed in my workspaces.  More storage was at the top of the list and that had me looking a

Read More
All Things Home

hand painted bread sign

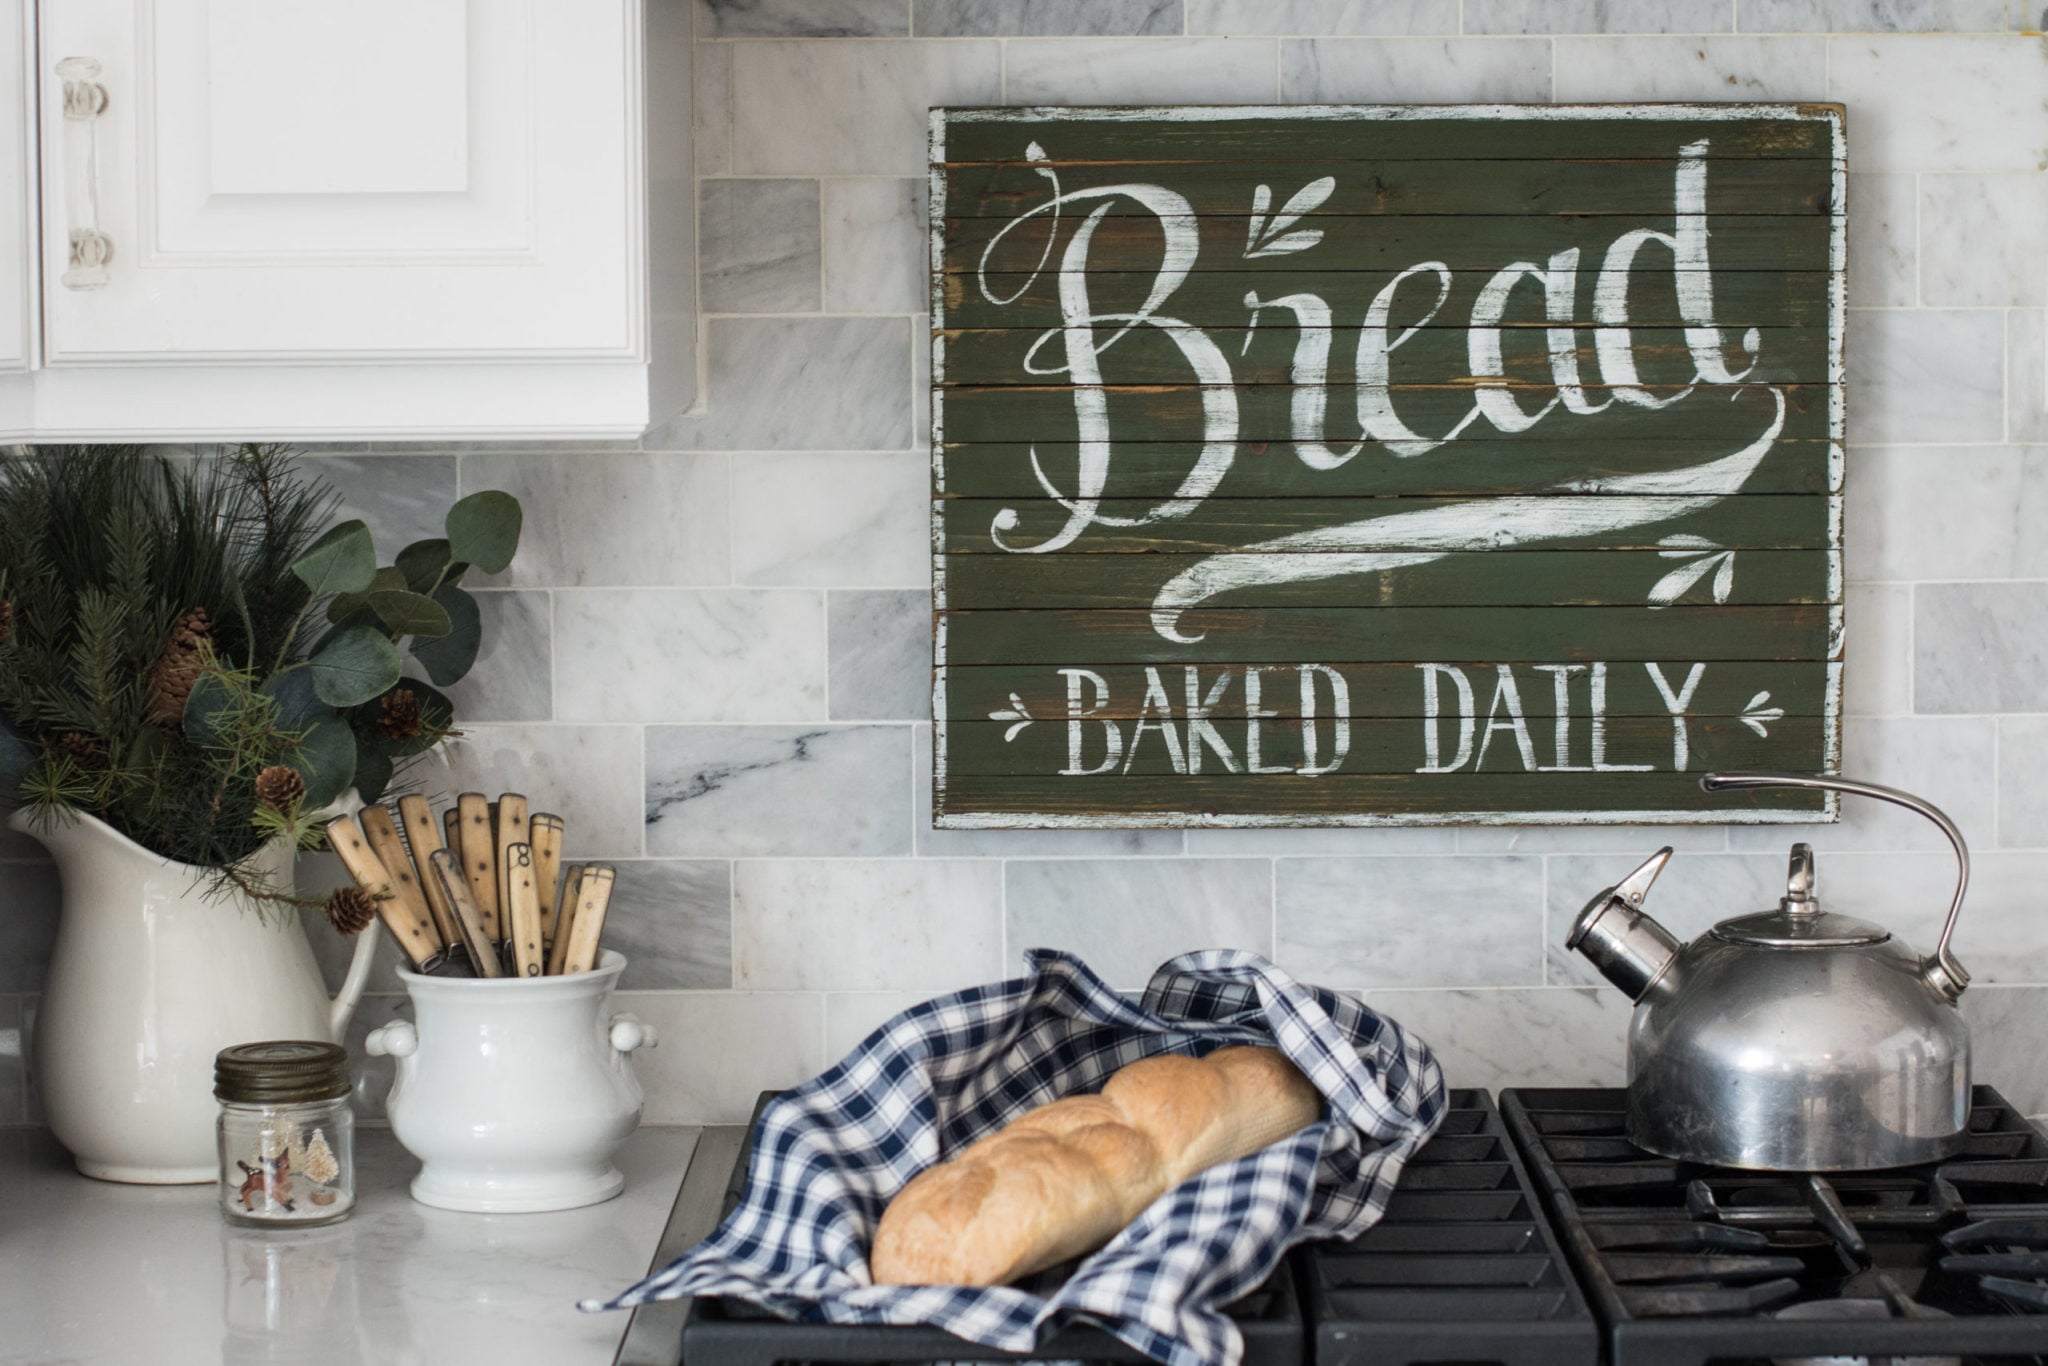
Let me start off by saying this was supposed to be a tutorial, but it won’t be.  The reason is that I mindlessly deleted all of the process photos!!  Ah!  I try to keep my camera card “uncluttered”, so I delete all files once they are uploaded.  Well, I got a little overenthusiastic in my decluttering and deleted these files before I put them on my computer.  Not only did I delete these pictures, but also pictures for a freelance tutorial.  I redid those because I had to, but this will just be the tutorial that wasn’t meant to be. Anyway, I’ve been looking for something to hang over my range, but I just haven’t come across anything that is just right.  I even did some thorough shopping of my house and tried a few different platters, trays, breadboards, etc.  I would hang one and leave it for a day

Read More
All Things Home

two-toned milk paint dresser | part three

The two-toned milk paint dresser in Layla’s Mint is finished and she is a beauty.  Well, in my opinion, anyway! Before we get into the details of the finish, if you missed the first two installments of this dresser makeover, you can find them here… Part 1 – Prepping the piece & applying the first coat of paint Part 2 – Using the Wax Puck, applying the second coat of paint, and distressing In this post, I’ll share about applying the Tough Coat finish.  Before I do, though, here is the before & after… I adore how this piece turned out.  You can still appreciate the beautiful lines and the age of this dresser, but it looks softer now.  And I am over the moon for the antique brass hardware that now pops against the pale green. When thinking about which finish I wanted to use for this piece, I

Read More

I’m Marian, a painter, writer, and lover of all things creative. From art and antiques to home projects and everyday life, I share my journey in hopes of inspiring you to embrace your own creativity and make beauty in the spaces you live.

next art sale

May 20th, 2026 at 1pm EST

Now Available for Preorder

Move Slow & Make Things

A book about creativity, intention, and making things with care. Sign up to receive updates, preorder details, and exclusive bonus content.

From the Studio

Artful pieces for your home and everyday life.

From original paintings and art prints to Pup Club releases and curated goods, each piece is created or chosen to bring warmth, creativity, and character into your home.

From the Studio and Home

Shop the Feed

A handpicked collection of items styled and shared throughout posts, projects, and social feeds. Every product is thoughtfully chosen to reflect a timeless, collected aesthetic.

Recent Video

Spring Posts

Explore the Shop

Explore the Blog

Categories
error: Content is protected.

Pin It on Pinterest