Preorder Move Slow & Make Things, and enjoy a collection of thoughtful bonus content created just for you!

Painting & Refinishing

All Things Home

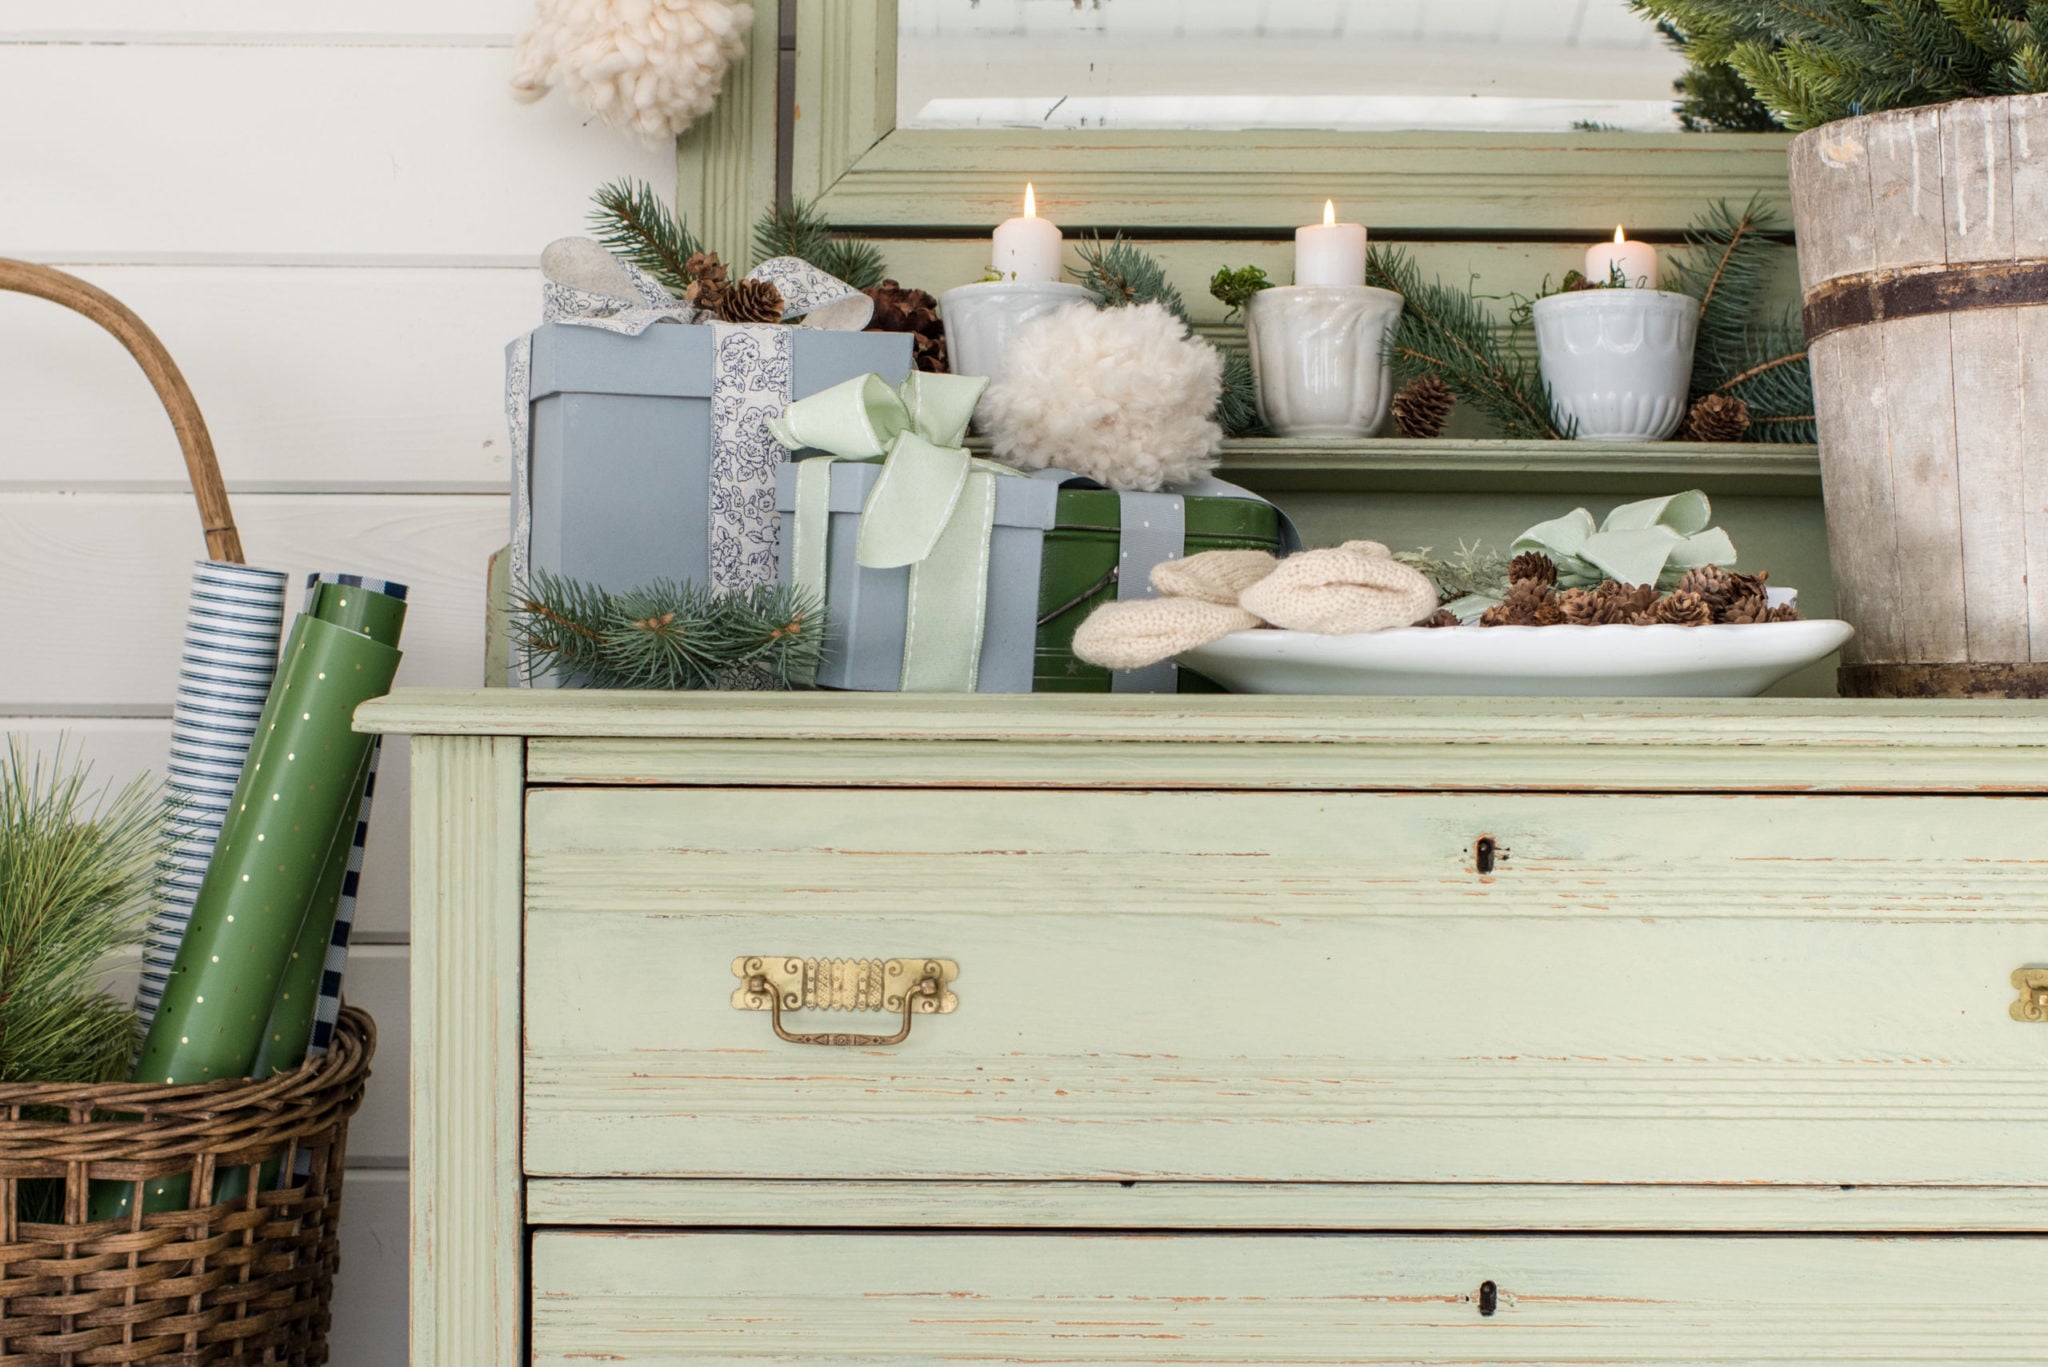
Furniture Dilemmas | Connie’s Queen Anne Highboy

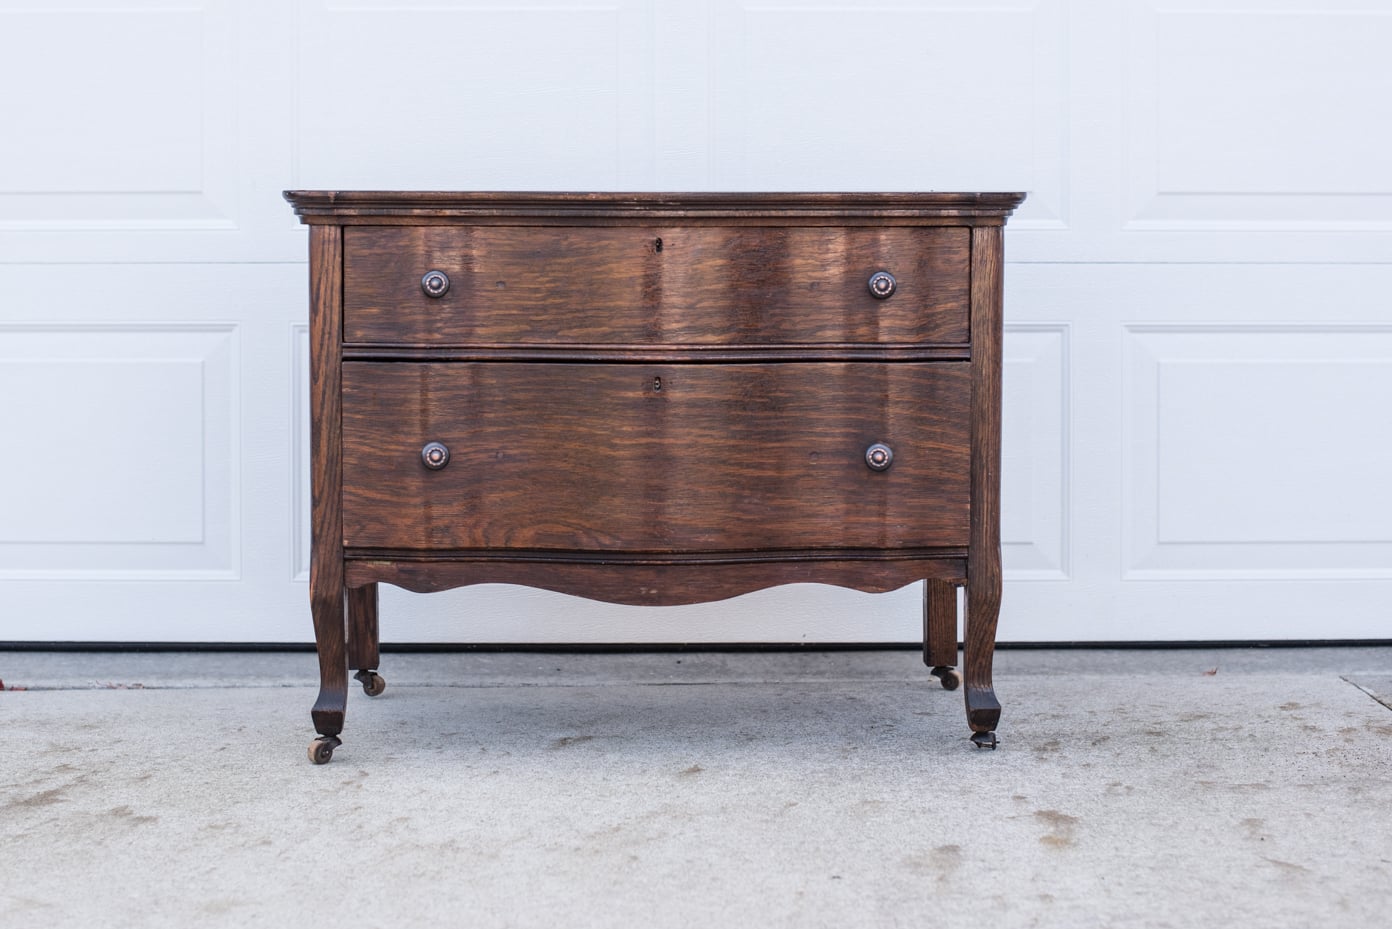
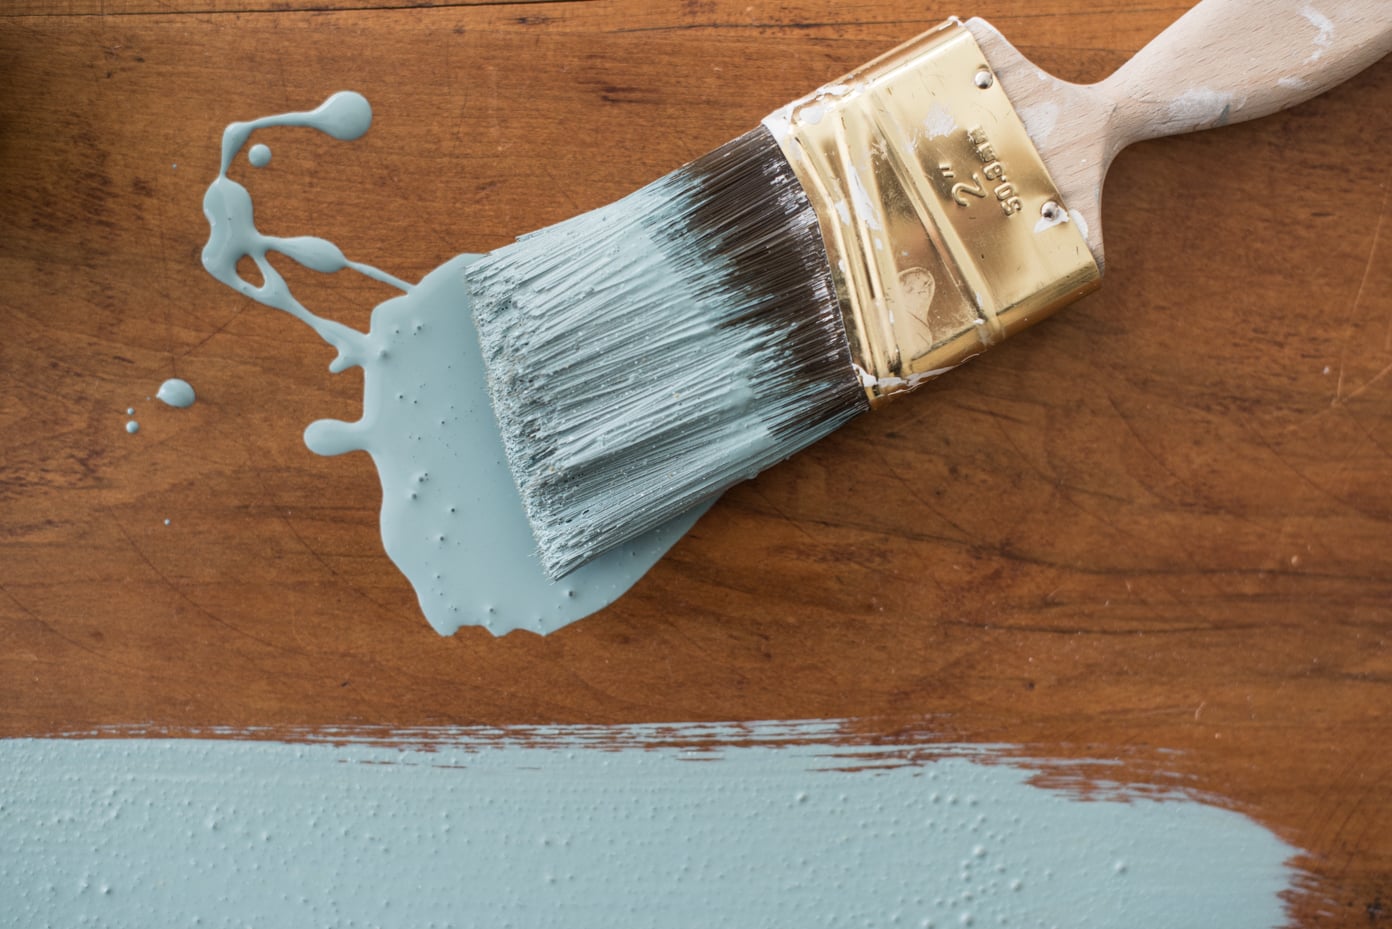
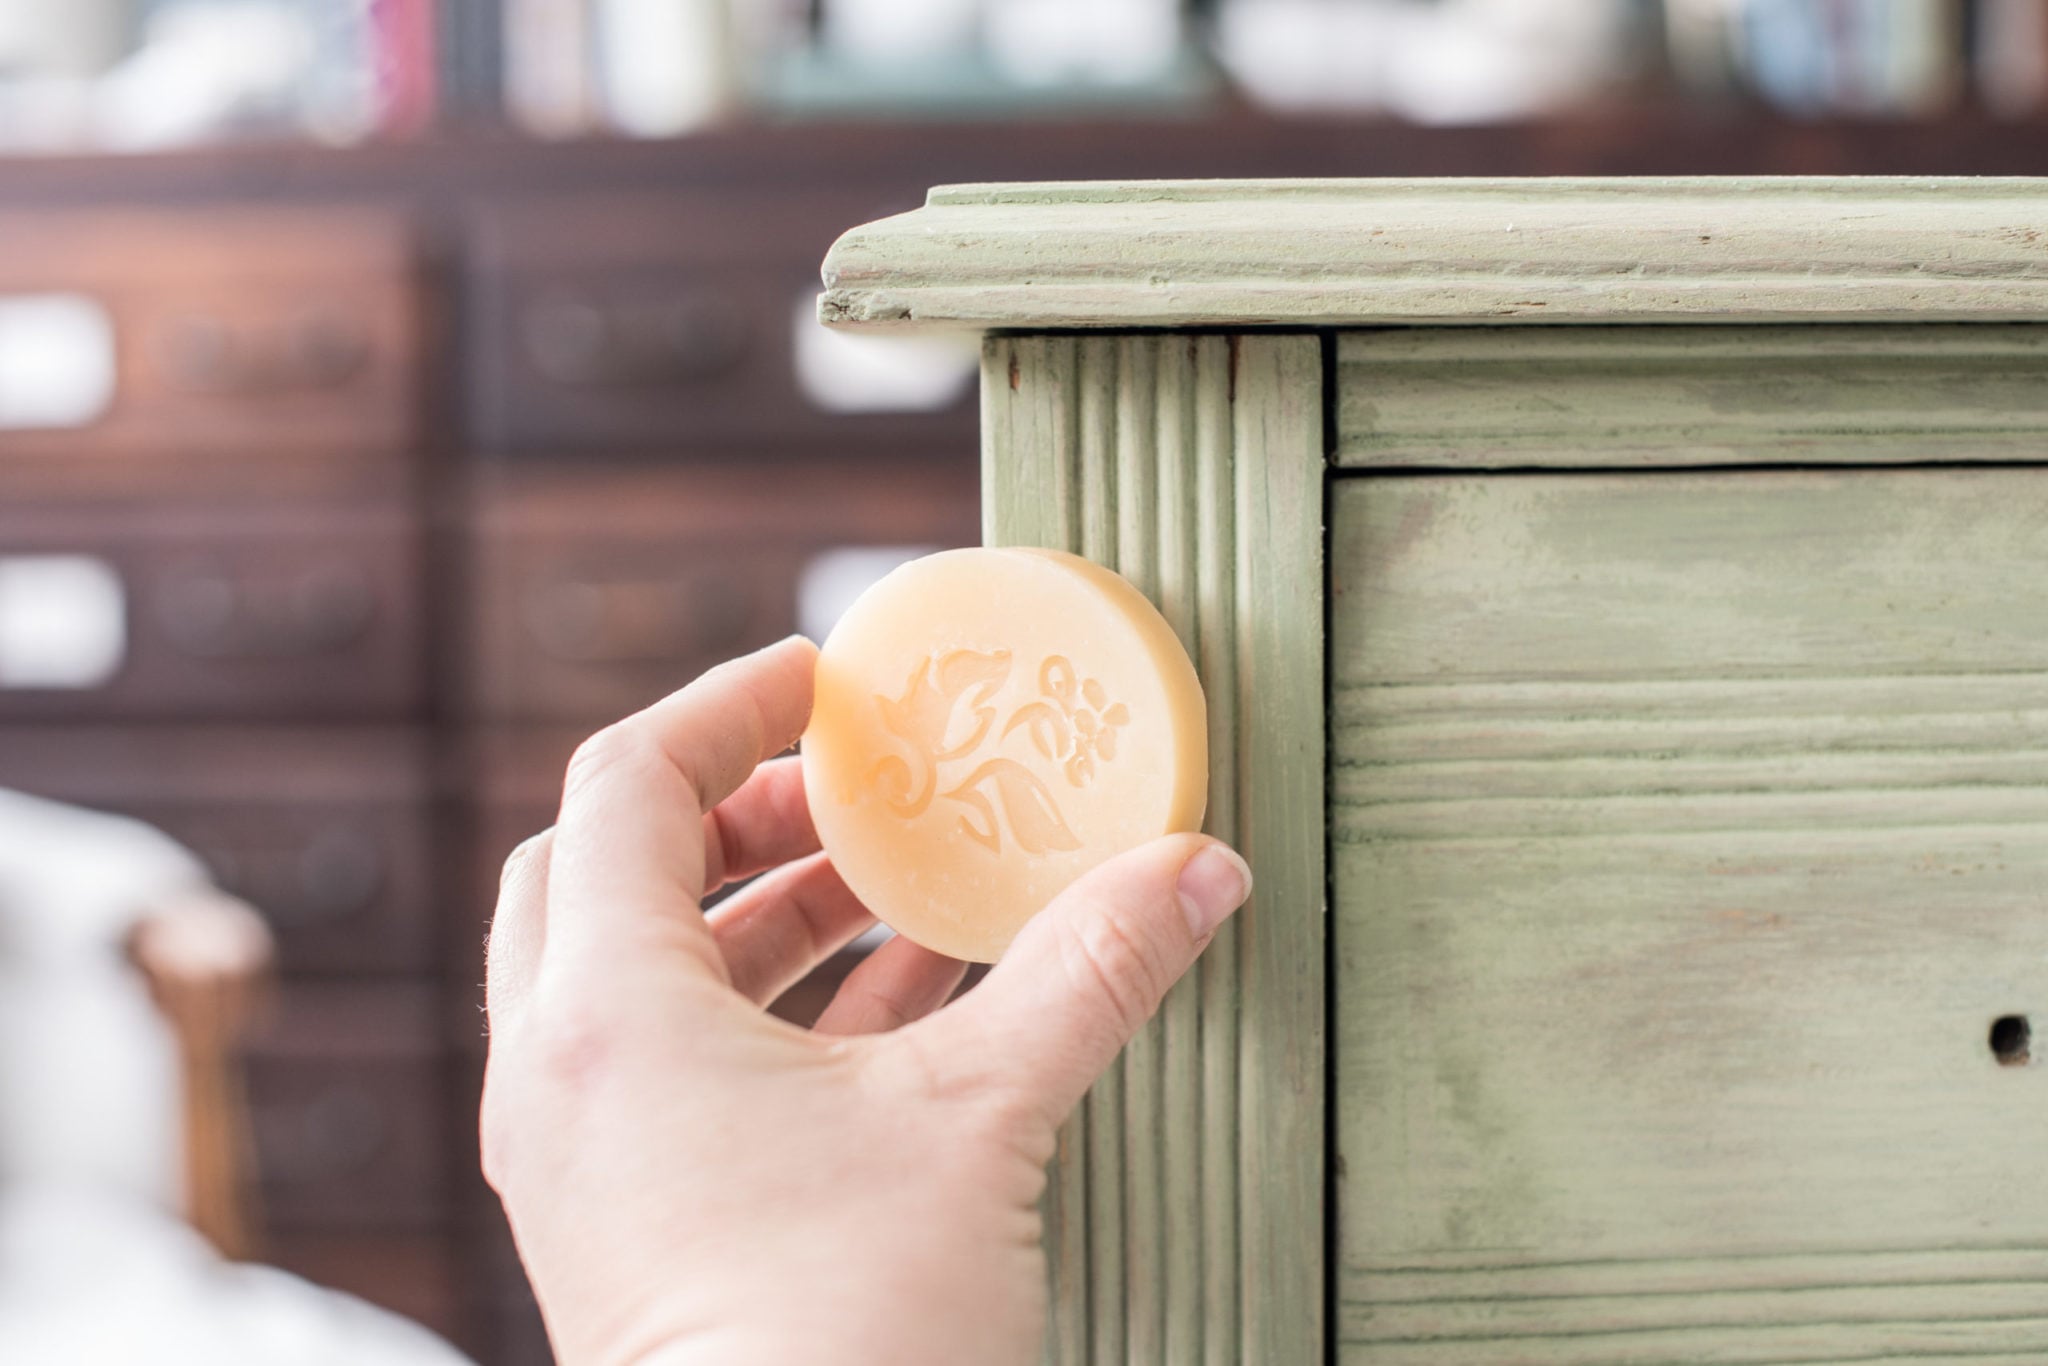
Let’s talk about furniture, shall we?  That seems like a welcome diversion! Today, I’m going to share the step-by-step how-to for painting and finishing a piece like Connie’s Queen Anne highboy…. Here is how it looks in the context of her room…   Isn’t that a lovely space?  It reminds me a lot of my Opa’s house.  And I mean that in a good way, not in a way like it looks like an “old person’s” house!  It looks welcoming and traditional, but tasteful and stylish.  It’s collected and comfortable.  I think it also has something to do with the fact that they had a similar rug and an almost identical gooseneck rocker.  Anyway, I love her room! The dresser in the corner was a piece handed along to her and she feels like it’s a little dark in the room and just another heavy wood piece next to that

Read More
All Things Home

painting checkerboard floors | part 2

When you last saw the floors, they were all taped off and ready to paint.  You can find that post HERE if you missed it. The taping was definitely the most time-consuming part.  After that, it’s pretty much smooth sailing for this project. I initially purchased the same color I used on my kitchen walls – Stonington Gray mixed at 50%.  I wanted the squares to be a very pale blue/gray, so the checkers would be subtle and not too high contrast with the bright white.  I painted the first row of squares, removed the tape and knew, even before it dried, that it wasn’t what I wanted.  The color looks very blue/gray in my kitchen, but in the studio, it looked like a pale beige.  I pondered it for a few minutes and decided I spent waaaaaay too much time and energy taping off those squares to settle.  So,

Read More
All Things Home

Painting Checkboard Floors | Part 1

I’ve had the painting-checkerboard-floors itch for a long time!  Back in 2012 I was contemplating finishing my dining room and living room in a two-toned stained checkerboard pattern (you can find that post HERE), but Jeff didn’t love the idea and talked me out of it.  I was slightly relieved because the prospect of doing all of that geometry made me nervous.  I just wasn’t sure I had the patience or attention to detail to pull it off well. When we moved into this house, I knew the studio would be the perfect candidate to finally try a checkerboard floor, but there was just so much to be done that it seemed to be silly to crawl around on the floor taping off squares for an entire day.  I just needed to get paint on the floors and then deal with more elaborate ideas later. Can you believe this is

Read More
All Things Home

Hand Painted Mora Dresser | Part 2

In case you missed part one of this dresser makeover, you can check it out HERE. At the end of yesterday’s post, I said I would show how the dresser turned out as well as how I distressed and finished it, so this post is fulfilling that promise. And here it is… I did a light distressing with 120 grit sandpaper, just to “knock down the newness” of the fresh paint.  I also wanted to soften the decorative painting.  You can see how I did it in the video… I also replaced the broken caster, added new glass knobs, and finished the piece in MMSMP’s Hemp Oil… This piece still followed my tradition of scrolly decorative painting on drawer fronts, but I changed it up a bit by adding the folk art animals as well as some different strokes. I love the rabbit and I think I need to play

Read More
All Things Home

Hand Painted Mora Dresser | Part 1

Last week, I finally got around to painting a dresser that’s been hanging out in my garage since October!  I put it off originally because the winter weather set in, but then this spring has been busy and it’s been out of sight, out of mind.  Jeff cleaned out the garage a few weeks ago and I promised I would paint the dresser and get it out of there. Well, I finally did and I made a video of the process. So, here is how the dresser started… It’s a pretty little piece, but the finish was a bit dinged up.  A part of me wanted to sand it all down and do some kind of a whitewash or bleach the wood or something, but a reader of me asked if I would paint it specifically for her.  Since I was just going to sell it, anyway, I was happy

Read More
All Things Home

mixing a custom color & fixing too much chipping

The first thing I have to say about painting these two antique washstands is that I didn’t follow my own advice. But, before we get into that, let me show you how the pieces looked before… I painted these pieces in MMS Milk Paint in Linen a few years ago for our master bedroom in PA.  They were the perfect size for that long and narrow room, but they looked dinky against in our new home’s higher ceilings. I knew I was going to sell them when I found replacements for them.  As I was working on the guest room, I found two dressers to flank the bed and that meant I needed to get this pair ready to sell.  I could’ve sold them as-is, but some of the paint rubbed off during the move and I felt like they could use some freshening up.  Chris, my Junk Bonanza booth-mate,

Read More
All Things Home

two-toned milk paint dresser | part three

The two-toned milk paint dresser in Layla’s Mint is finished and she is a beauty.  Well, in my opinion, anyway! Before we get into the details of the finish, if you missed the first two installments of this dresser makeover, you can find them here… Part 1 – Prepping the piece & applying the first coat of paint Part 2 – Using the Wax Puck, applying the second coat of paint, and distressing In this post, I’ll share about applying the Tough Coat finish.  Before I do, though, here is the before & after… I adore how this piece turned out.  You can still appreciate the beautiful lines and the age of this dresser, but it looks softer now.  And I am over the moon for the antique brass hardware that now pops against the pale green. When thinking about which finish I wanted to use for this piece, I

Read More
All Things Home

two-toned milk paint dresser | part two

As I shared yesterday, I prepped this piece and painted it in MMS Milk Paint Lucketts Green… I wanted a two-toned look with some subtle variations, so I decided to layer Layla’s Mint, a softer green, on top with a rub of our Wax Puck in between. The Wax Puck is perfect when you want some differentiation between two different colors, but you don’t want it to be chippy.  The wax simply makes it easier to remove the paint when you get to the distressing stage. So, I rub the Wax Puck along the edges and lightly over the flat surfaces, so it can catch any “high points”. Since it’s easier to show you than to tell you, here is a video showing the Wax Puck in action, applying the coat of Layla’s Mint over it, and then distressing… (Just a safety note, it’s a good idea to wear a

Read More

I’m Marian, a painter, writer, and lover of all things creative. From art and antiques to home projects and everyday life, I share my journey in hopes of inspiring you to embrace your own creativity and make beauty in the spaces you live.

next art sale

May 20th, 2026 at 1pm EST

Now Available for Preorder

Move Slow & Make Things

A book about creativity, intention, and making things with care. Sign up to receive updates, preorder details, and exclusive bonus content.

From the Studio

Artful pieces for your home and everyday life.

From original paintings and art prints to Pup Club releases and curated goods, each piece is created or chosen to bring warmth, creativity, and character into your home.

From the Studio and Home

Shop the Feed

A handpicked collection of items styled and shared throughout posts, projects, and social feeds. Every product is thoughtfully chosen to reflect a timeless, collected aesthetic.

Recent Video

Spring Posts

Explore the Shop

Explore the Blog

Categories
error: Content is protected.

Pin It on Pinterest