Preorder Move Slow & Make Things, and enjoy a collection of thoughtful bonus content created just for you!

Room Makeovers

1970 home renovation

dining room makeover | painted wainscoting

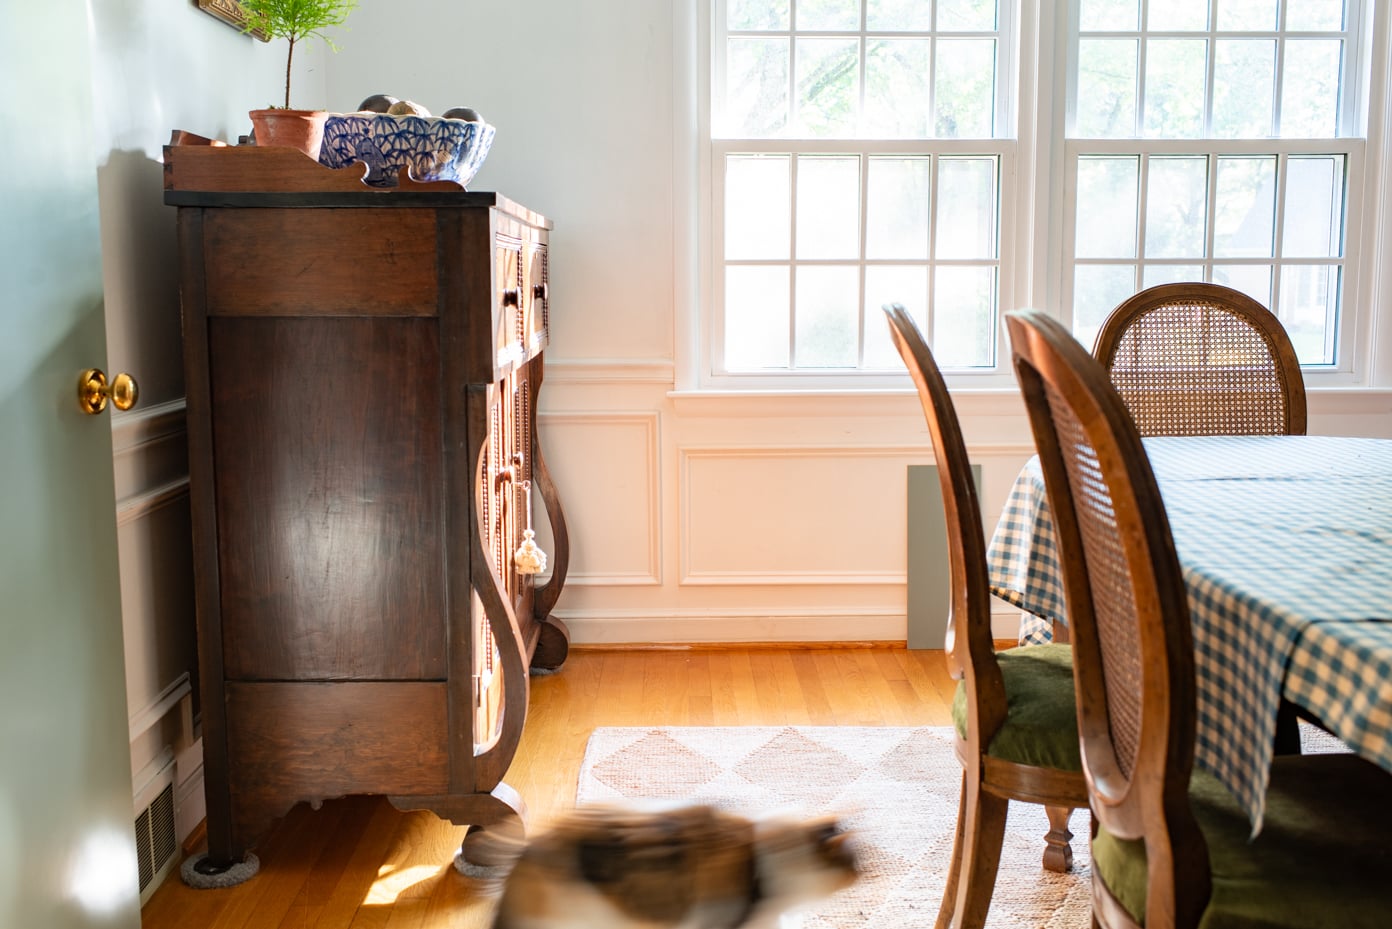
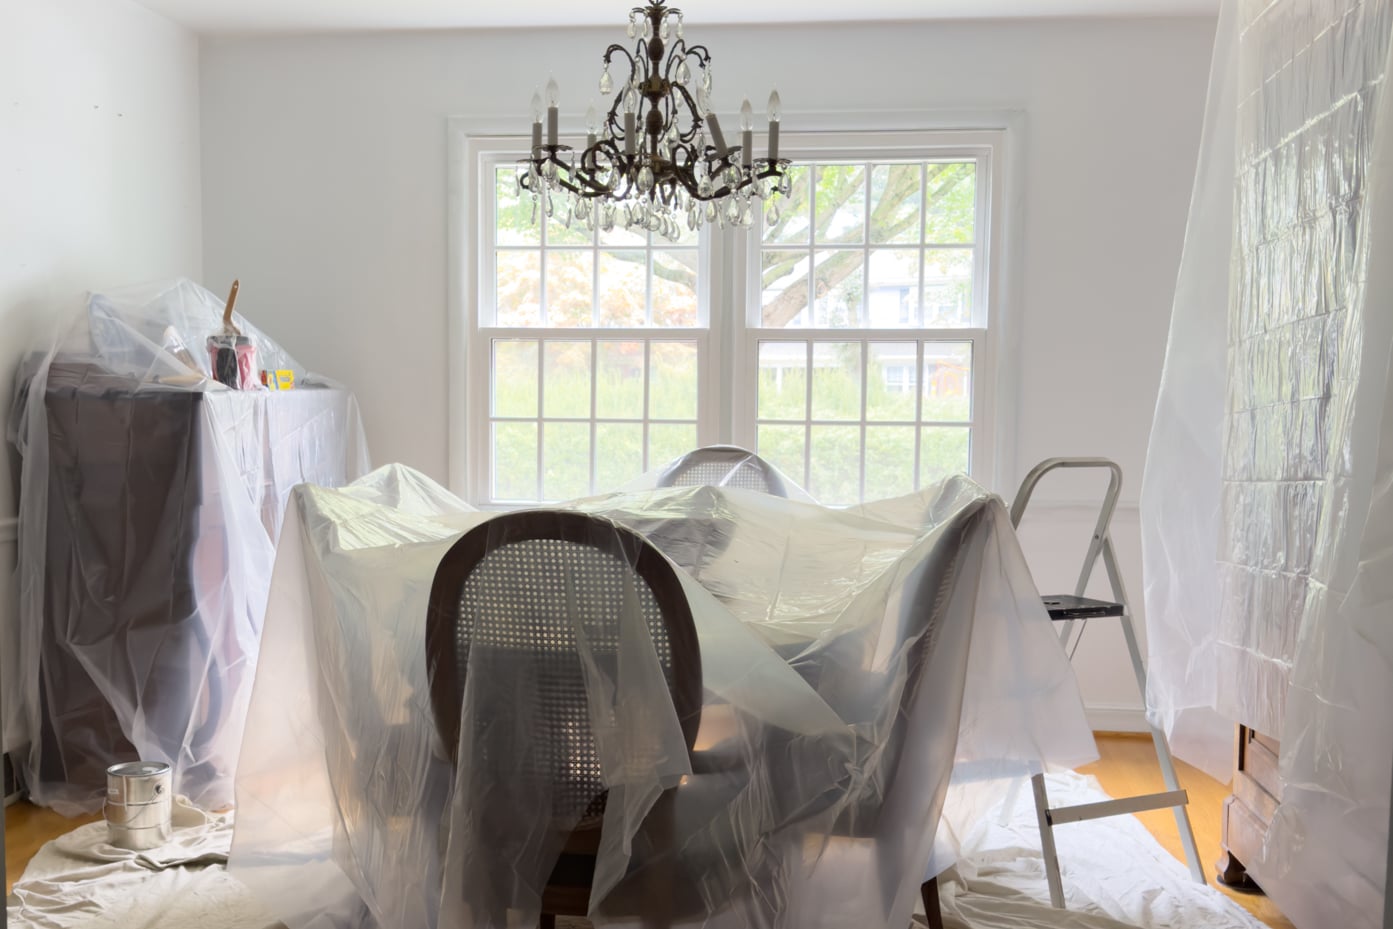
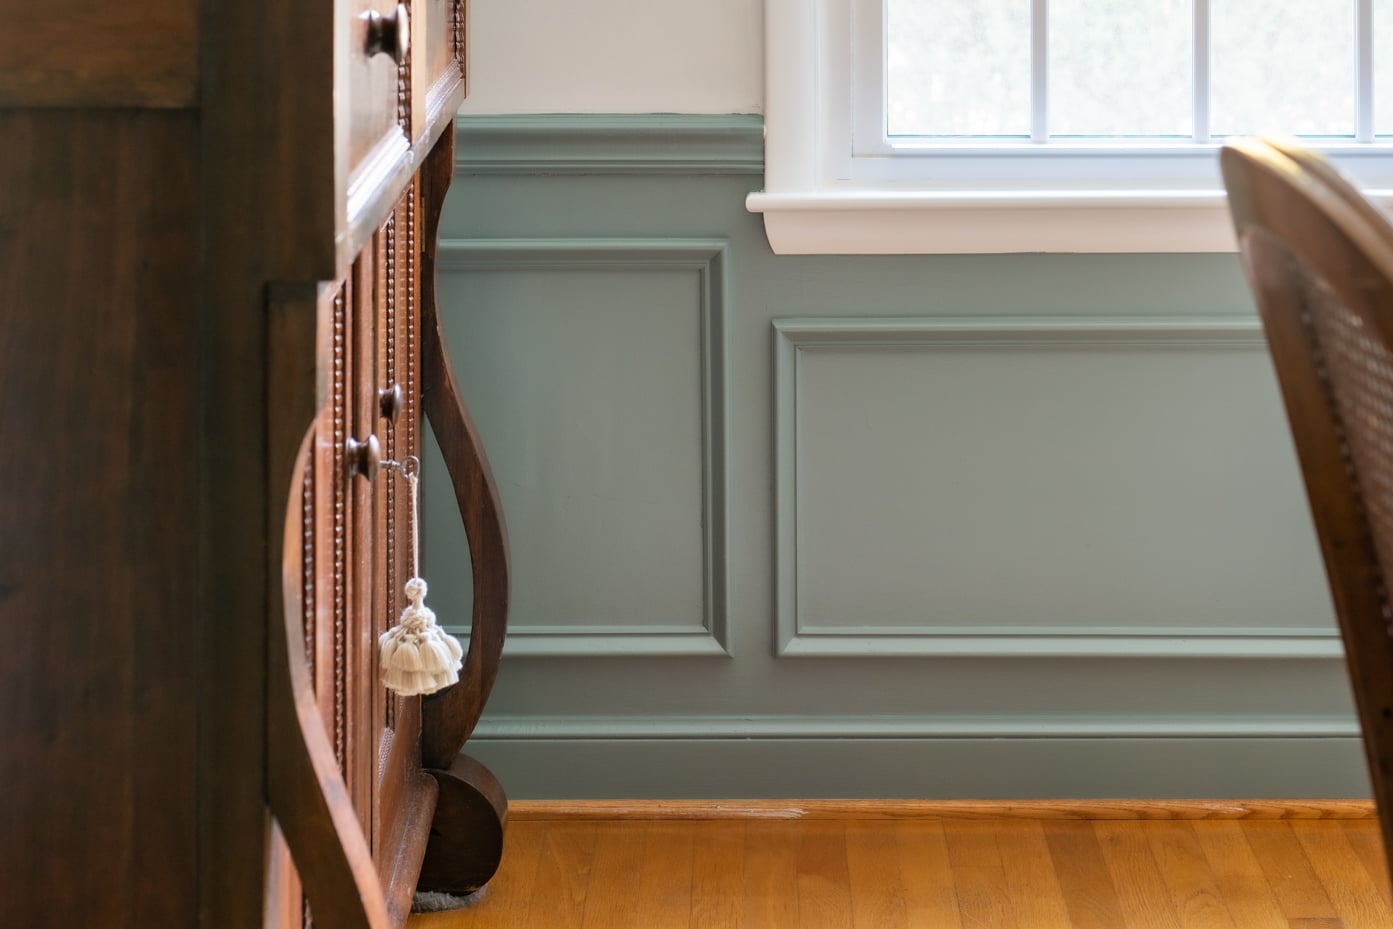
I have finally finished all of the trim and painting in the dining room that needed to be done before I started on the mural.  After having only primer on the walls for over a year, this feels like a huge accomplishment.  I don’t know why painting the ceiling and installing trim made me procrastinate for so long, but it’s done and now I can get to the fun part. This is how the dining room wainscoting looked after it was installed and caulked.  At this point, it looked pretty sharp and I was considering painting it white. I don’t know if I can explain why, but this house seems to like colored trim and doors, so I decided to follow my gut and move forward with my plan for painting it Oval Room Blue. As I expected, it took two coats and I used the Estate Eggshell finish.  It’s

Read More
1970 home renovation

picture frame molding | dining room makeover

I feel like I keep returning to the same decorating bag of tricks with picture frame molding, but it is such an inexpensive and easy way to add architectural detail to a space that it’s hard to resist.  A room can look stately, classic, and more interesting with just a couple hundred dollars invested in trim and a few hours of installation and caulking.  I love it and am sure I will keep going back to it since I can’t imagine trim details like chair rail and picture frame molding will ever go out of style.  If you’re interested in installing picture frame molding in your home, HERE is a tutorial showing how. Instead of trying to get all of the trim done in the dining room in one long day, I decided to work on it in bite-sized pieces.  I took measurements and drew out a plan and cut

Read More
Decorating

adding doors back on a hutch | dining room makeover

The dining room makeover has been at a standstill since I painted the ceiling last weekend because I have been in bed sick for several days.  I am up and about now but still moving slowly and not feeling the greatest.  It’s just normal virus stuff – congestion, sore throat, cough, and aches.  I’ve missed my daily walks and making progress on projects, but I’ve been enjoying some period dramas, interesting documentaries, reading books, and spending hours snuggling with the cats until I feel up to returning to my normal routines. Last week when I finished painting the dining room ceiling, though, I decided to make an additional small change. When we first looked at this house, I imagined the dining room as a library/dining room with built-in shelves lining most of the walls.  Once we started settling in and using the house a bit more, I wasn’t sure that

Read More
1970 home renovation

painting the dining room ceiling

Well, I finally did it.  I’ve been dragging my feet for over a year, but I painted the dining room ceiling.  I have been hung up on working on this room just because I knew the ceiling had to be done first and I just really didn’t want to do it.  It wasn’t the painting I was dreading, but all of the prep work of moving things out and making sure the furniture and floors were protected.  I’m usually pretty casual when it comes to using dropcloths, but when painting a ceiling, I have to be more careful.  Saturday morning was dreary and cold, so I almost talked myself into a low-key day, but I was ready to have this job behind me.  I knew it would be a relief, so I pulled out the dropcloths, removed all of the small stuff from the room, got out the paint and

Read More
1970 home renovation

Landscape Mural Design & Colors

I’m getting things lined up to start “dining room mural take two.”  I painted the mural in my last dining room with very little planning.  I just had an idea in my head and used MMS Milk Paint and some acrylics that I had on hand.  I was just going to throw the paint on the wall to see how it worked.  It’s just paint after all and I could always paint over if it wasn’t working.  I kept it very loose, drippy, watery, and light, so I was able to finish it in just a couple of days. For this mural, I decided to use Farrow & Ball paints so there is cohesion with the paint colors (Light Blue and Card Room Green) used in adjoining rooms.  I also like the idea of having a palette of colors instead of mixing my own colors.  I’m sure some amount of

Read More
All Things Home

Kim’s Coastal Bedroom Updated

If you’ve been reading my blog for a while, you might remember I worked with my parents on a makeover of their bedroom.  You can find the reveal of that bedroom makeover HERE and there are more detailed links at the bottom of the post.    It was such a fun project and they loved the result.  They have loved it so much that they have hardly changed a thing since the day of the reveal.  Here is how it looked when I shared it… They swapped out the bedspread because it had been washed a lot over the years and they were looking into getting a new rug.  This one has held up well for a woven cotton rug, but it was a little hard to clean spills and stains.  It was the one thing in the room that was looking a little tired. When my parents came over

Read More
All Things Home

tips on hanging peel-and-stick wallpaper

Back in April, I worked on the boys’ bathroom to give it a little refresh until it reaches the top of the renovation project priority list and we can completely gut and redo it.  I actually liked the wallpaper and vintage blue accents in the bathroom, but after over 50 years of use, they really are tired.  The ceiling paint was peeling and stained, the wallpaper was peeling, grout was missing, and the original fan sounded like it was churning marbles when you turned it on.  It needed some addressing to make the room feel fresh until it could be renovated.  Instead of fighting the existing blue finishes and vintage feel, I decided to lean in and embrace it by hanging some fun peel-and-stick wallpaper that ties the beige and blue together. Here is a before picture of the bathroom… You can read about the makeover process in these posts

Read More
All Things Home

1970 bathroom refresh with Society6

Disclosure: This post is sponsored by Society6.  I have worked with them as an artist and customer for years, so it’s a pleasure to partner with them for this post. If you’ve read my blog for a while you have probably heard about Society6.  I have been selling my artwork and photography there for almost ten years.  For those who don’t know what Society6 is, it’s a print-to-order marketplace for artists to share their work with a wider audience.  Society6 makes quality art prints, canvases, framed wall art, stationary cards, and other obvious products for artwork, but they also offer apparel, furniture, home and office accessories, and their library of available items is growing each year  So many new products like tapestries and bedding have been added since I first listed my work on their site. In addition to selling wrapping paper and prints on Society6 as an artist, I

Read More

I’m Marian, a painter, writer, and lover of all things creative. From art and antiques to home projects and everyday life, I share my journey in hopes of inspiring you to embrace your own creativity and make beauty in the spaces you live.

next art sale

May 20th, 2026 at 1pm EST

Now Available for Preorder

Move Slow & Make Things

A book about creativity, intention, and making things with care. Sign up to receive updates, preorder details, and exclusive bonus content.

From the Studio

Artful pieces for your home and everyday life.

From original paintings and art prints to Pup Club releases and curated goods, each piece is created or chosen to bring warmth, creativity, and character into your home.

From the Studio and Home

Shop the Feed

A handpicked collection of items styled and shared throughout posts, projects, and social feeds. Every product is thoughtfully chosen to reflect a timeless, collected aesthetic.

Recent Video

Spring Posts

Explore the Shop

Explore the Blog

Categories
error: Content is protected.

Pin It on Pinterest